
The best patio structure for your yard depends on three things above everything else: how much weather protection you actually need, how much of your budget you want to put in the ground permanently, and whether you want something attached to the house or freestanding. If you're in a hot, sunny climate and mainly need shade, a pergola or shade sail might be all you need.
Best Patio Structures: Types, Costs, Pros, and DIY Tips

Phoebe Foster
7 Jul 2026
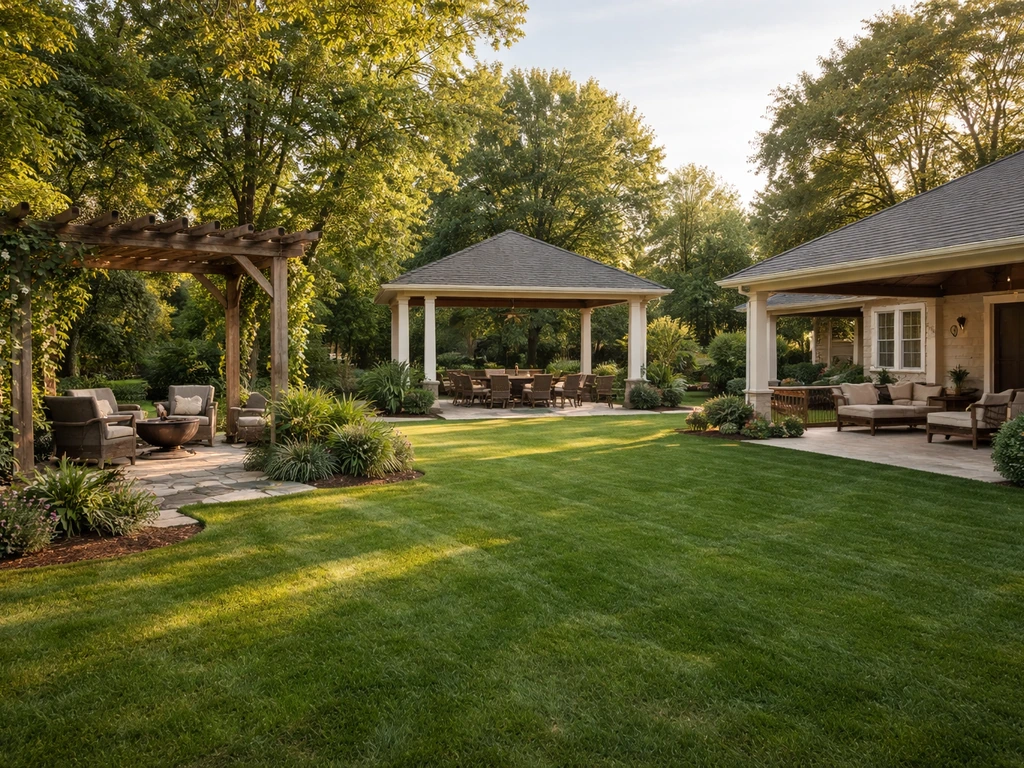
If you get real rain or live somewhere humid with bugs, you'll want a covered patio roof or screen room. If you want a destination feature in the middle of the yard, a gazebo or pavilion does that job. There's no single "best" structure, but there is a best one for your specific situation, and this guide will help you figure out which one that is.
What "best" actually means for your yard
Before you start comparing pergolas to pavilions, you need to define the problem you're solving. A covered patio that works perfectly in San Diego is completely wrong for a backyard in Houston or coastal South Carolina. Ask yourself the following questions honestly, because the answers eliminate most of the wrong options right away.
- Sun vs. shade: Do you need full shade all day, or is filtered light enough? Pergolas and shade sails filter; solid roofs and awnings block.
- Rain protection: Is this a "wait out a drizzle" situation or do you want to use the space during actual downpours? Only solid-roof structures and screen rooms handle real rain.
- Wind exposure: Is your yard open and exposed, or sheltered by fencing and trees? Freestanding structures in open yards take the most beating.
- Bugs and privacy: Screen rooms and solid-sided structures solve both. Open pergolas solve neither.
- Attached or freestanding: Attached structures borrow the house's structural support but require permits and a ledger connection. Freestanding structures give you placement flexibility but need their own footings.
- Permanence vs. flexibility: Do you want something you can take down, adjust, or upgrade seasonally? Or is this a forever-install?
- Budget ceiling: Some structures are $500 DIY projects; others are $40,000-plus contractor builds. Know your number before you fall in love with a concept.
Climate is the one factor most people underweight. If you're in Florida or the Gulf Coast, you're dealing with wind-load requirements that are codified in things like Appendix H of the Florida Building Code, which requires patio covers to handle specific dead loads, vertical live loads of at least 10 psf, and design wind pressures that vary by your exposure zone. That's not bureaucracy for the sake of it; it's the difference between a structure that lasts 20 years and one that becomes a projectile in a storm. Whatever climate you're in, the structure you build has to be designed for the worst day of the year, not the average day.
The main patio structure types, compared
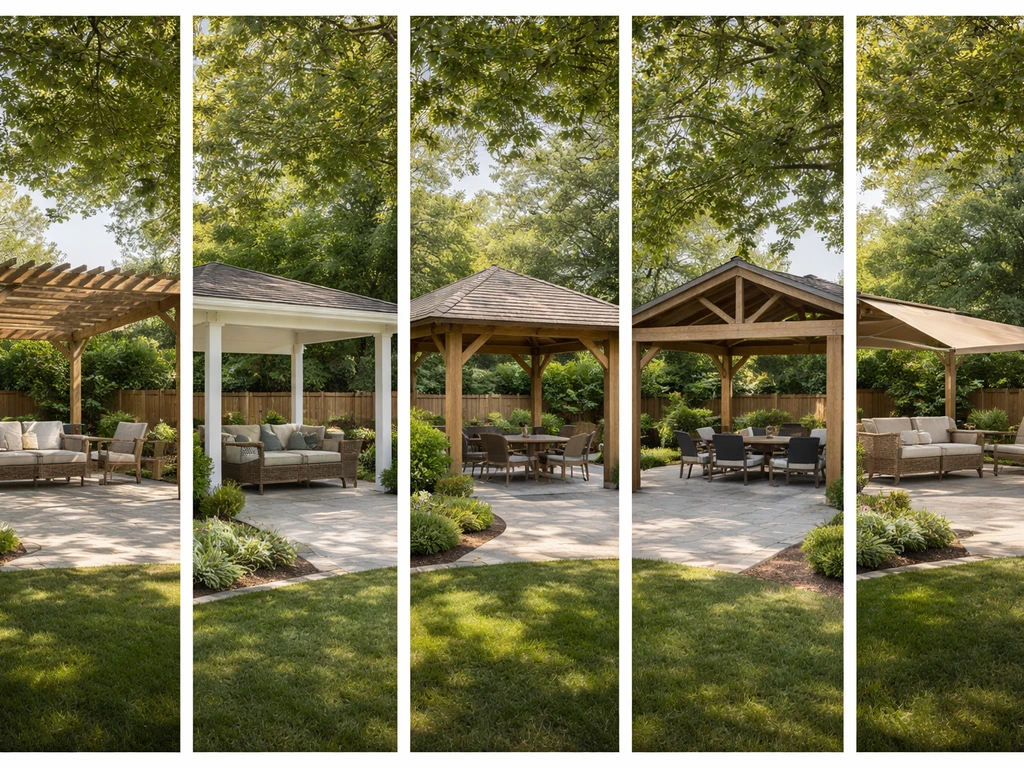
Here's a practical rundown of every major structure type, with honest pros and cons for each. These aren't sales pitches; they're what you'd hear from someone who has spent time with all of them.
Pergola
A pergola is an open-beam overhead structure, typically with rafters or lattice on top that lets light through. It's the most popular DIY patio structure in the country because kits are widely available and the basic concept is forgiving to build. The big limitation is that a standard pergola offers zero rain protection and only partial shade.
You can upgrade a pergola significantly by adding a polycarbonate or louvered roof panel system, which turns it into something much closer to a covered patio. If you want ideas to compare, patio cover examples can help you visualize different roof styles and materials for your yard. Louvered pergola systems are genuinely clever but have a real pitfall: when the louvers are closed, the roof acts like a solid surface and needs proper drainage slope.
One common mistake is building the frame perfectly level and then discovering that rain collects instead of draining. A slope of around 2 inches per foot is a reasonable working guideline for rain-proof covered pergola systems.
Covered patio roof (solid attached cover)
A solid covered patio roof is exactly what it sounds like: a permanent roofed structure attached to the house with a ledger board, sharing the home's eave line or extending from it. This is the most functional everyday structure for most homeowners because it handles sun, rain, and wind in one shot, and it looks like part of the house rather than an add-on. The tradeoff is cost and commitment.
It requires a permit almost everywhere, it has to match or complement the home's roofline pitch, and the attachment to the house has to be engineered correctly. Metal connectors that transfer roof load from rafters to beams to the foundation are non-negotiable in this type of build; you don't want to learn that the hard way in a windstorm.
Gazebo
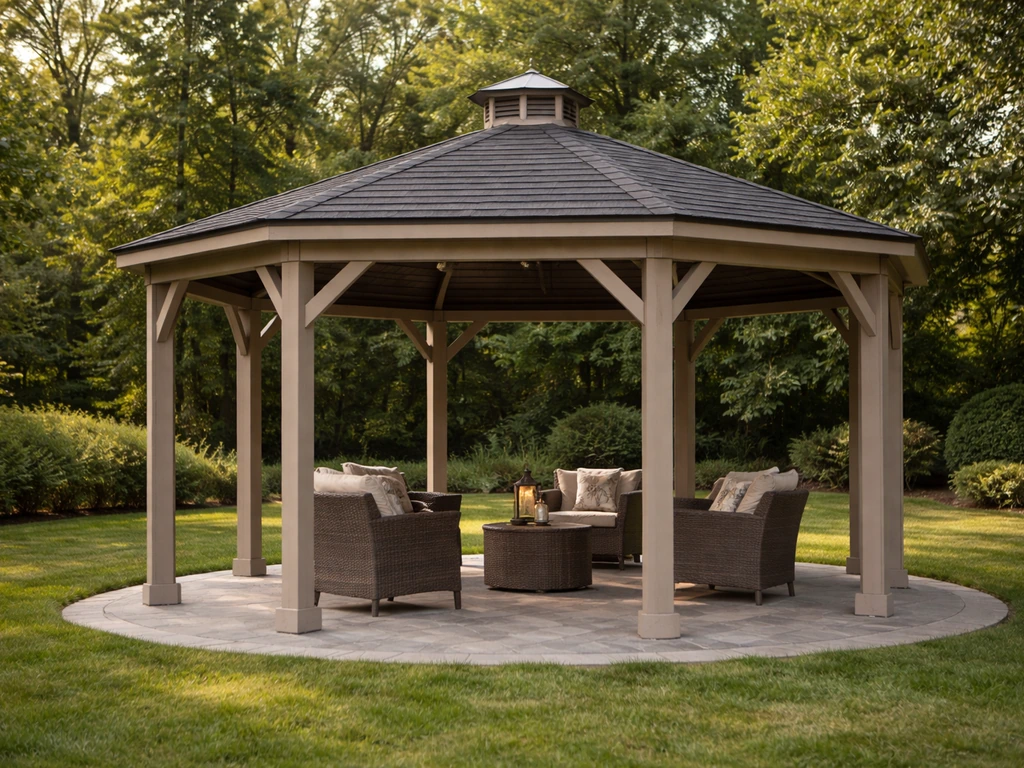
A gazebo is a freestanding, usually octagonal or hexagonal structure with a solid roof and open sides. It's a destination feature, not a functional extension of the house. Gazebos work well for entertaining, hot tub surrounds, or as a focal point in a larger yard. They don't make sense for small yards because they eat a lot of square footage for what they deliver.
Professional installation runs from roughly $1,600 to $7,900 according to current cost data, with most homeowners landing around $4,700 all-in for a mid-range project. DIY gazebo kits are available, but the foundation work is often trickier than the kit instructions suggest, and a freestanding gazebo in a windy area needs properly engineered footings or it will shift over time.
Pavilion
A pavilion is essentially a large, open-sided structure with a solid gable or hip roof supported by posts. Think of it as a pergola's more serious sibling. Pavilions are freestanding, which makes them flexible for placement, and the solid roof means they handle rain well. They're popular in the South and Midwest for outdoor kitchens and large entertaining spaces. They're also one of the more expensive freestanding options when built with quality materials, and they almost always need a permit and a concrete footing system.
Retractable awning
A retractable awning is the most flexible covered option because it rolls away when you don't need it. It attaches to the house wall or fascia and extends over the patio on demand. The functional constraint is clearance: you need at least 7 feet 6 inches from your patio or deck floor to the bottom of the eave or roof overhang to install a retractable awning properly.
Awnings won't stand up to serious wind or heavy rain the way a solid structure will, but they're excellent for UV blocking and everyday shade, and the cost is dramatically lower than any permanent structure. Some awning systems include a front drop screen that unrolls vertically for privacy or wind buffering, which adds useful functionality.
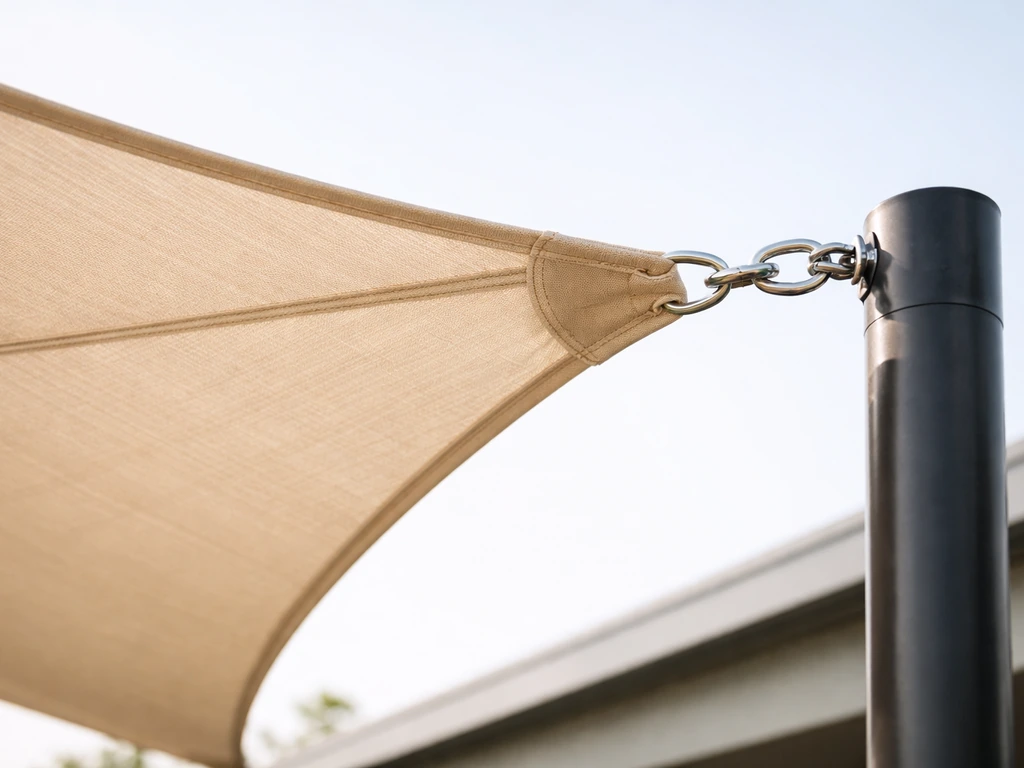
Shade sail
Shade sails are tensioned fabric panels anchored to posts or existing structures. They're the lowest-cost shade option and work well for filtering UV light in hot climates. They are completely useless in rain and can become a serious problem in high wind if the anchoring and tension aren't done correctly. If you're in a region with frequent storms, shade sails need to come down seasonally or during weather events. They're a good fit for desert climates (hot, dry, predictable) and tight budgets.
Screen room or patio enclosure
A screen room adds a framed screen system to an existing covered patio or builds one from scratch with screened walls. This is the go-to solution for bug control, and it significantly increases usable hours in humid, mosquito-heavy climates. Florida and the Gulf Coast are the natural home of the screen enclosure, and Florida's building code even has specific engineering requirements for the framing. One important operational note from the code: screen panels may need to be retracted or cut-open during wind events exceeding 75 mph, so they're not a substitute for a hardened structure in serious hurricane zones. They're a comfort and usability upgrade, not a structural one.
| Structure Type | Rain Protection | Sun/UV Block | Bug Control | DIY-Friendly | Typical Cost Range | Best Climate Fit |
|---|---|---|---|---|---|---|
| Pergola (open) | None | Partial (filtered) | None | Yes | $1,500–$8,000 | Dry/sunny climates |
| Covered pergola (louvered/poly roof) | Good | Full | None | Moderate | $4,000–$18,000 | Most climates |
| Solid attached cover | Excellent | Full | None (add screens) | No (hire out) | $15,000–$50,000+ | All climates |
| Retractable awning | Moderate | Excellent | None | Yes (kit install) | $1,500–$5,000 | Low-wind, moderate rain |
| Shade sail | None | Good (UV filter) | None | Yes | $200–$1,500 | Hot/dry climates |
| Gazebo | Good | Full | None (add screens) | Moderate | $3,500–$12,000 | Four-season yards |
| Pavilion | Excellent | Full | None (add screens) | No (hire out) | $8,000–$35,000+ | Large yards, all climates |
| Screen room/enclosure | Good (needs cover) | With roof above | Excellent | No (hire out) | $5,000–$20,000 | Humid/bug-heavy climates |
Materials and coverings: what holds up and what doesn't
The frame material and roof covering you choose are the two biggest factors in how long a structure lasts with how much maintenance. Let's be direct about each option.
Frame materials
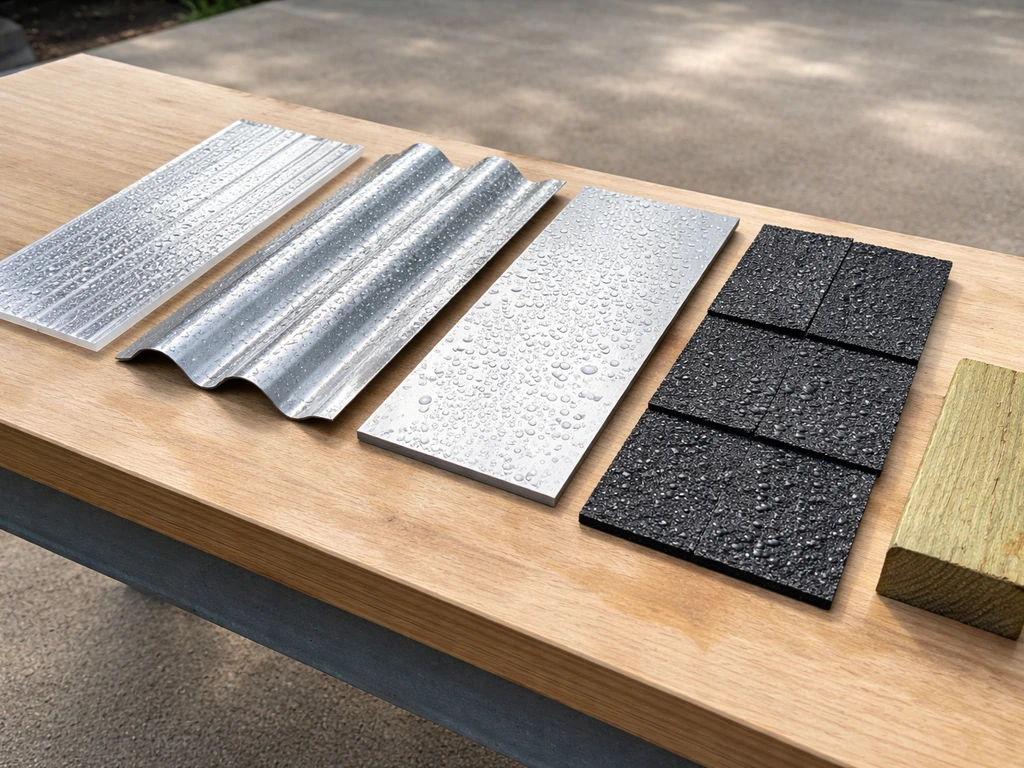
Pressure-treated lumber is the workhorse of DIY patio builds. It's affordable, widely available, and handles moisture reasonably well, but it needs periodic sealing or staining to avoid cracking and checking over time. Cedar and redwood are more naturally rot-resistant and look better longer, but they cost more upfront. Aluminum frames (popular in aluminum patio cover kits) are maintenance-free, won't rot or rust, and are the best choice if you want something that stays looking good without annual upkeep.
The tradeoff is that aluminum can feel less substantial and isn't ideal for large spans without proper engineering. Steel is used in heavier commercial-grade structures and is overkill for most residential projects. Vinyl or PVC framing shows up in some kit systems and is genuinely low-maintenance but can flex and look cheap in larger spans.
Roof covering options
For rain protection, your main choices are solid polycarbonate panels, aluminum panel roofing, corrugated metal, asphalt shingles (for full solid-roof structures), and louvered systems. Polycarbonate panels offer UV filtering with natural light transmission, but they vary widely in quality. Cheap single-wall polycarbonate yellows and becomes brittle within a few years in direct sun. Multi-wall polycarbonate with a UV-blocking coating lasts significantly longer.
Aluminum panel covers run approximately $20 to $35 per square foot installed and are genuinely durable with almost no maintenance. If you're building a full solid-roof attached cover to match the house, asphalt shingles or metal roofing matched to your home's existing roof is the cleanest solution aesthetically and structurally. For louvered systems, make sure the manufacturer provides documentation showing the design wind pressure the system is rated for.
An ICC-ES evaluation report (the manufacturer's engineering documentation) is what you're looking for when comparing systems.
Longevity expectations
- Pressure-treated wood frame: 15–25 years with maintenance; faster degradation in wet climates without upkeep
- Cedar or redwood frame: 20–30 years with occasional oiling or staining
- Aluminum frame (quality kit or custom): 30+ years with essentially zero maintenance
- Standard shade sail fabric: 5–10 years in UV-heavy climates before fading/degrading
- Single-wall polycarbonate panels: 5–8 years before yellowing; multi-wall UV-coated: 15–20 years
- Aluminum panel roofing: 25–40 years
- Asphalt shingles (on full solid cover): follows home roofing lifespan, typically 20–30 years
What it costs: budget tiers, DIY vs. contractor
The honest cost ranges for patio structures span from under $500 for a shade sail you hang yourself to well over $100,000 for a premium outdoor living structure with a full kitchen and screens. But for most homeowners, the realistic tiers look like this.
| Budget Tier | What You Can Build | DIY or Hire | Rough Cost Range |
|---|---|---|---|
| Entry level | Shade sail, basic wood pergola kit, retractable awning | DIY | $300–$3,000 |
| Mid-range | Aluminum patio cover, louvered pergola, mid-grade gazebo, screened enclosure (with existing cover) | DIY or contractor | $4,000–$15,000 |
| Upper mid-range | Custom wood pavilion, solid attached cover, quality screen room | Contractor | $15,000–$40,000 |
| Premium | Full outdoor living structure, high-end louvered roof system, attached solid-roof addition | Contractor | $40,000–$125,000+ |
The biggest cost drivers are size (square footage is the most direct multiplier), foundation and footing requirements (concrete work adds up fast), roof type (solid roofing costs more than open-lattice or polycarbonate), and whether the structure is attached to the house (requires ledger work, flashing, and typically a permit). Aluminum patio covers come in around $20 to $35 per square foot installed as a fairly consistent benchmark. If you want an alternative to standard aluminum patio covers, compare options like louvered systems, retractable awnings, and shade sails based on your weather needs. A covered patio or pergola at the higher end of the market can run $40,000 to $125,000 depending on scope and finishes.
DIY saves money but isn't appropriate for every structure type. A basic pergola or shade sail installation is genuinely DIY-accessible, and kit manufacturers like the ones at major home improvement stores include step-by-step assembly that covers anchoring the posts to the patio using anchor screws through the base after pilot holes. Louvered pergola kits are DIY-possible for capable builders but require more precision, especially around drainage slope and post anchoring. Anything attached to the house, any structure requiring engineered footings, or any screen room with a dedicated roof should be handled by a licensed contractor. The risk isn't just structural failure; it's also permit compliance and, in some cases, homeowner's insurance coverage if something goes wrong with an unpermitted structure.
Sizing, layout, and making it actually work
How big should it be?
The most common mistake in patio structure sizing is building too small. A 10x10 pergola sounds reasonable until you put a table and four chairs under it and realize there's no room to pull a chair back without hitting a post. For a comfortable dining space, plan for at least 12x16 feet. For an outdoor living room with a couch and chairs, 16x20 or larger is more realistic. If you're adding an outdoor kitchen, you'll need even more depth. The structure footprint should match the activity it's serving, not just the available slab.
Height and clearance
Standard post heights for residential patio structures run 8 to 10 feet at the beam. Lower than 8 feet starts to feel cramped; higher than 10 feet can look disconnected from the house. If you're installing a retractable awning, the minimum clearance from your patio floor to the bottom of the eave or roof is 7 feet 6 inches. For attached solid covers, the roof pitch needs to match or complement the home's existing pitch to avoid water pooling where the two rooflines meet.
Drainage
Drainage is one of the most overlooked layout considerations. Any covered structure needs a way to move water off the roof and away from the foundation. For attached solid covers, this means gutters and downspouts tied into your existing drainage system. For louvered or polycarbonate-covered pergolas, it means building in a slope during installation. A 2-inch-per-foot maximum slope is a reasonable working guideline for rain-proof covered pergola systems. Get this wrong and you end up with water pooling on the roof or draining directly onto whoever is sitting underneath it.
Wind resistance and anchoring
Wind is where structures fail. The load path concept is simple: roof loads transfer from roof panels to beams, beams to posts, posts to footings. Every connection in that chain needs to be engineered for the wind loads in your area. To determine design wind pressures for exterior components like roof coverings, ICC 600 provides concepts that adjust pressures for height and the project’s exposure category using referenced tables [wind loads in your area](https://codes.
iccsafe. org/content/ICC6002020P1/chapter-3-structural-design). Metal connectors and straps are not optional extras; they're what keep a structure from lifting in a bad storm. The IRC (and regional codes like Florida's FBC Appendix H) specify design wind speeds that your structure must be designed to resist.
If you're in a coastal area, high plains, or any region with tornado or hurricane exposure, do not skip the engineering. For freestanding structures, concrete footings sized for your soil conditions are the foundation of everything else.
Add-ons that make the space actually usable
A bare structure is just the starting point. The add-ons are often what make a patio space genuinely comfortable, and the smart move is to plan for them before you build rather than trying to retrofit them later.
Screens and privacy
Outdoor curtains and fabric privacy panels are the easiest add-ons for an open pergola or pavilion. They're inexpensive, removable, and add wind buffering and visual privacy simultaneously. For a more permanent solution, fixed or sliding screen panels on a covered structure keep bugs out without fully enclosing the space. A full screen enclosure is the most complete version of this, and in humid or bug-heavy climates it dramatically extends the usable season. Some retractable awning systems also include a front drop screen that rolls down vertically up to five feet for privacy and wind shielding.
Fans, misters, and heating
Ceiling fans are one of the best investments you can make in a covered patio structure. In hot climates, a good outdoor-rated ceiling fan makes a 90-degree day feel dramatically more comfortable. Plan electrical rough-in during construction; adding it after the fact is expensive. Misting systems work well in dry heat (think Phoenix or Las Vegas) but are counterproductive in humid climates because they add moisture to air that's already saturated. For homeowners searching for the best patio covers in Las Vegas, this same heat-focused approach is often what makes the difference in comfort Phoenix or Las Vegas. Patio heaters extend the season in cooler climates and are easier to add post-construction since most are freestanding or wall-mounted.
Lighting
String lights are the easiest lighting add-on for any patio structure and require almost no planning. For a more polished result, plan for recessed LED fixtures in a solid roof or low-voltage pathway and step lighting around freestanding structures. Anything hardwired into the structure needs electrical work planned before the build is finished, not after.
Additional shade
Even under a covered structure, afternoon sun coming in at a low angle can make the space uncomfortably hot. Shade sails or fabric panels hung at the open sides of a pergola or pavilion address this. Side screens, bamboo roll-up shades, or fixed privacy lattice panels can all cut low-angle sun without fully enclosing the space.
How to compare options and work with contractors
Questions to ask before you commit to anything
- What are the permit requirements in my jurisdiction? (Many cities exempt patio covers under 300 sq ft from permits in certain residential situations, but requirements vary widely.)
- Is this structure attached to the house or freestanding? (Attached structures almost always require permits and proper ledger/flashing work.)
- What are the local design wind speeds, and is this system rated for them? (Ask for the ICC-ES evaluation report or engineering documentation for any proprietary system.)
- What foundation/footing system is included, and is it engineered for my soil conditions?
- What is the drainage plan, and where does water go off this roof?
- What maintenance does this material require, and what's the realistic lifespan?
- What is the warranty on materials and on the installation labor separately?
Getting and comparing bids
Get at least three bids for any contractor-installed project, and make sure they're all bidding on the same scope. Vague bids like "covered patio, approximately 300 sq ft" hide a lot of variation in material quality, footing depth, roof system type, and what's actually included in the price. Ask each contractor to itemize: demo and site prep, footing/foundation, frame material and size, roof system (material and brand), electrical rough-in if applicable, permits and inspections, and final cleanup. The bid that comes in dramatically lower than the others is usually missing something.
For specialized systems like motorized louvered roofs or branded aluminum patio covers, many manufacturers route customers through pre-screened local dealers or independent installation companies. This isn't necessarily a problem, but it does mean you should verify the installer's license and insurance directly rather than assuming the manufacturer has done all the vetting for you.
Permits and code basics
Permit requirements vary by city, county, and state, but the general pattern is this: freestanding structures under a certain square footage threshold (often 200 to 300 sq ft, though it varies) may be exempt in some jurisdictions, while anything attached to the house almost always requires a permit.
San Diego, for example, explicitly exempts some patio covers not exceeding 300 sq ft projected roof area in certain residential cases, but still requires documentation for attached covers and compliance with California Building Code for any light-transmitting plastic panels. Don't assume your project is exempt. A 10-minute call to your local building department will save you a lot of headache later.
When you submit plans for an attached cover, most jurisdictions want a floor plan showing the structure footprint, attachment method, and material specifications.
Common pitfalls and how to avoid them
- Poor anchoring in wind: Every post needs to be anchored to a proper footing with metal connectors throughout the load path. This is the most common failure mode.
- Drainage-blind installations: Any closed or solid roof needs a slope and a clear path for water to exit. A flat or poorly leveled covered pergola will collect water on the roof.
- Cheap polycarbonate: Single-wall polycarbonate yellows within a few years in direct sun. Spend the extra money on UV-coated multi-wall panels.
- Wrong height for awnings: Measure clearance before you buy. You need at least 7 feet 6 inches from patio floor to eave bottom for a retractable awning.
- Skipping the permit on attached structures: Unpermitted additions can cause insurance claims to be denied and create problems when you sell the home.
- Building too small: Size the structure to the activities, not just the available concrete slab.
- Ignoring maintenance requirements: Pressure-treated wood needs periodic sealing. Fabric elements degrade faster than frames. Know what you're signing up for before you build.
Direct recommendations by homeowner scenario
If you're in a hot, sunny, dry climate (Phoenix, Las Vegas, inland California): A solid aluminum patio cover or louvered pergola system is the best value. Open pergolas don't give you enough shade; shade sails are a budget option but short-lived in intense UV. Misters are worth adding to an aluminum cover system in dry heat.
If you get frequent rain (Pacific Northwest, Southeast, mid-Atlantic): You need a solid roof above you, full stop. A properly built attached solid cover or a pavilion with a gable roof is the only structure that gives you genuinely usable space in wet weather. Louvered pergolas with drainage slope are a middle-ground option, but they require more careful installation.
If you're in a high-wind region (Great Plains, coastal areas, tornado alley): Engineering is not optional. Whatever you build needs to be designed for your local wind speed, anchored with metal connectors throughout the load path, and footings that go below frost depth. A lower, more compact structure is more wind-resistant than a tall open one. Get documentation of the wind rating for any system you're considering.
If you have a small yard: A pergola or attached covered patio maximizes usable area because it doesn't require the yard space a freestanding structure eats up. Shade sails can work in tight spaces if you have existing structures or walls to anchor to.
If privacy and bug control are the primary needs: A screened structure is the right answer. Either a full screen room addition or a covered patio with added screen panels gives you both. Budget-focused readers can start with an open covered pergola and add screen curtains or panels as a second-phase project. If you're shopping specifically for a portable outdoor setup, a patio tent can be the best patio tent for quick shade and weather coverage.
If you're on a tight budget and want to start now: A retractable awning or a DIY pergola kit gives you the most comfort per dollar spent. Neither requires a permit in most jurisdictions (check yours), both are genuinely DIY-installable with basic tools, and both can be upgraded later. These are also good options for renters or homeowners who may want to take the structure with them.
If you want to go the louvered or covered patio cover route, that comparison is worth researching as its own decision tree, since quality varies enormously across the options available today. High-quality patio covers typically use durable roof materials and are engineered for the wind and drainage conditions where you live quality varies enormously.
FAQ
Are louvered pergolas actually rain-proof?
If your main concern is rain, do not assume a pergola with louvers is “almost covered.” Confirm the system includes a drainage slope plan, sealed joints, and water management at the ledger or beam lines. Without those details, louvers can redirect water into the seating area even when the rafters look closed.
What clearance should I measure before choosing a retractable awning?
For any roof-and-slat style structure, measure from your finished patio/deck surface to the lowest point of shade (including any awning arm or eave). If you are also adding a fan, confirm the fan hanger height will not conflict with the awning when it is retracted or partially open.
Can I add patio lighting and ceiling fans after the patio structure is built?
Plan for electrical during rough-in, and decide what you are actually powering before you order fixtures. Use outdoor-rated, covered locations for outlets, avoid putting low-voltage transformer components in locations that collect runoff, and consider separate circuits for lights versus fans so a breaker trip does not kill everything.
How do I decide between shade-only and full weather protection?
Start with a “3-sided weather test.” Check where wind-driven rain lands, whether afternoon sun enters between the house and posts, and where the prevailing breeze pushes bugs. If two of the three are unfavorable, move toward a solid roof or screened enclosure rather than adding only curtains after the fact.
Is it better to build attached or freestanding to simplify permits and construction?
Yes, and the key is whether the attachment requires a ledger and flashing. A freestanding structure may avoid some complexities, but it can still need permits based on size and local rules. For attached covers, flashing and roof-to-wall waterproofing are usually the make-or-break items, not just the square footage.
What details should I ask for in contractor bids besides price per square foot?
When you get bids, ask for footing depth, footing size, and how the contractor will handle soil variability and drainage away from the posts. “Footings included” is too vague, because shallow footings can be code-noncompliant and may shift over seasons, especially in freeze-thaw or saturated soils.
Do I need engineering paperwork even if I buy a patio kit?
Most homeowners should not treat “kits are DIY” as “no engineering needed.” If you are in high-wind regions, in areas with tornado or hurricane exposure, or you are building a roof system that relies on slope for drainage, require wind-load documentation and confirm the kit’s approved installation method.
Can a screened patio substitute for a stronger storm-rated structure?
Screen panels can still be a weak point during extreme wind, even if the rest of the structure is well built. Verify whether the system is designed to retract, open, or otherwise relieve wind pressure at high speeds, and understand that the screen is typically not intended as a structural component.
What is the best way to plan add-ons so you do not have to rebuild later?
Treat it as a two-step upgrade. Phase one should handle rain, structural movement, and basic comfort (shade and airflow), then phase two can add privacy and bug control. If you plan to add screens later, ensure the initial frame and fasteners are compatible with future screen tracks and loads.
What drainage mistakes cause the most patio structure problems over time?
If you are in wet climates, insist on a water plan at transitions, where the roof meets the house, where downspouts discharge, and how water is directed away from footings. A common failure is tying runoff to a spot that later saturates soil, causing settlement and cracking or shifting over time.
How should I size and choose a structure if I only use my patio seasonally?
If you do not need year-round weather protection, choose an option that matches how you actually use the space. For example, if you mainly need afternoon sun relief, prioritize operable shade (curtains or retractable options) rather than paying for full solid roofing.
Next Articles
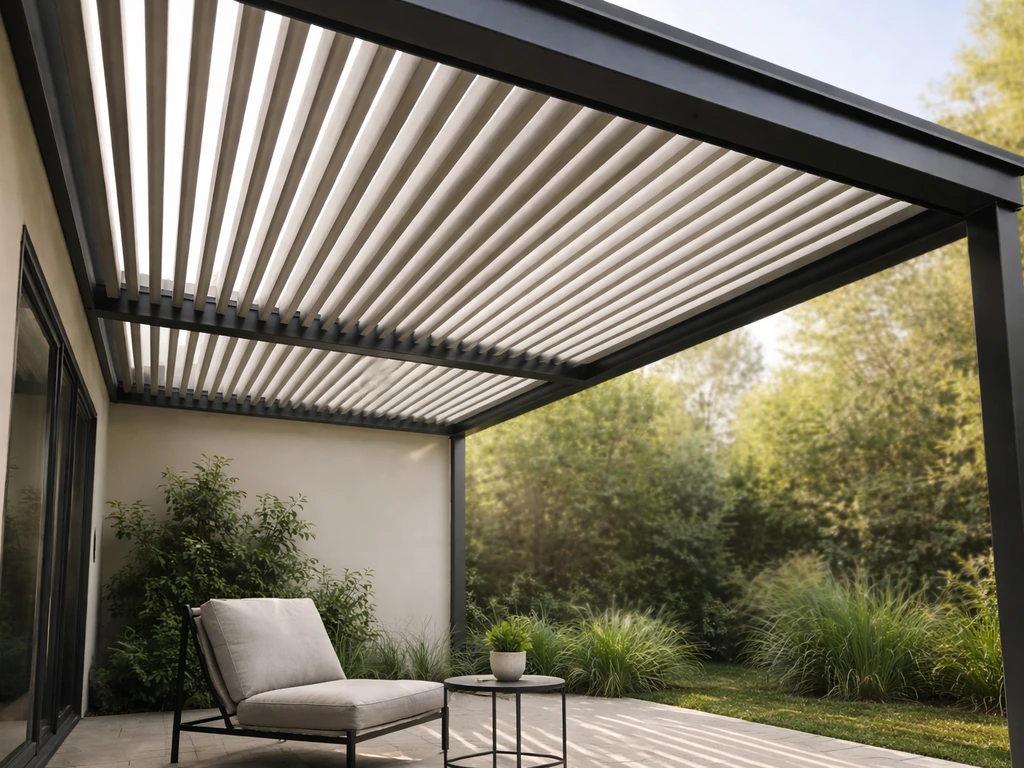
Best Louvered Patio Cover: How to Choose, Size, and Install
Choose the best louvered patio cover with sizing, design types, cost drivers, installation guidance, durability and main
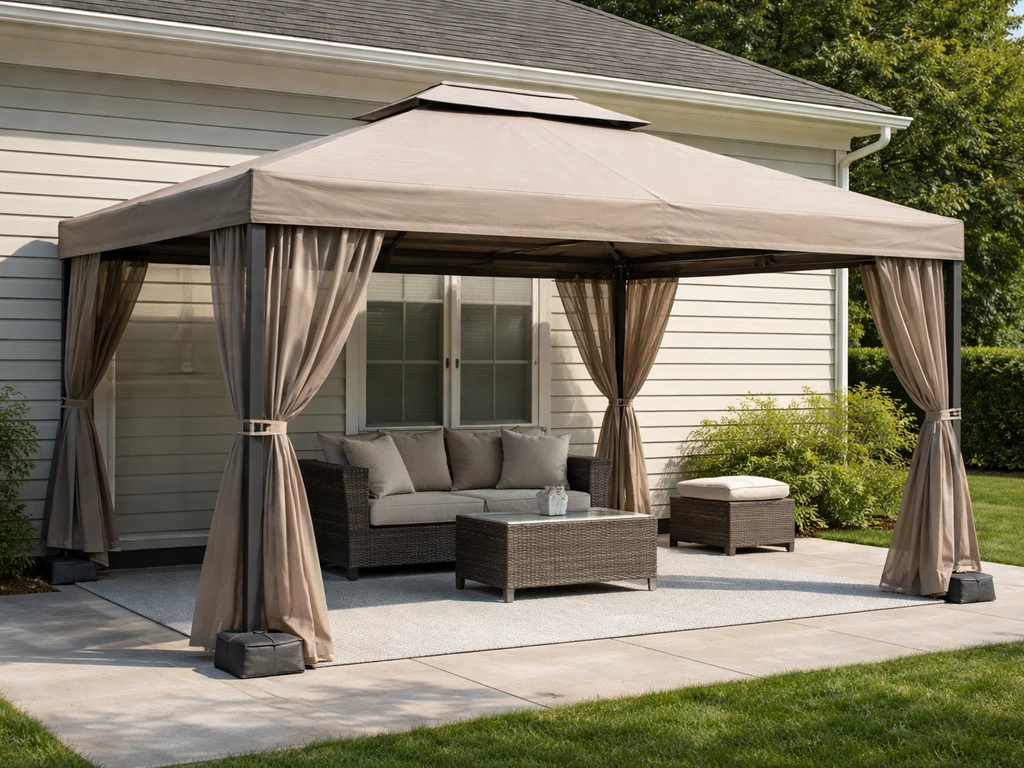
Best Patio Tent Guide: Choose Size, Style, and Weatherproofing
Pick the best patio tent with size, style, weatherproofing, airflow, and value-tier tips plus patio measuring and care.
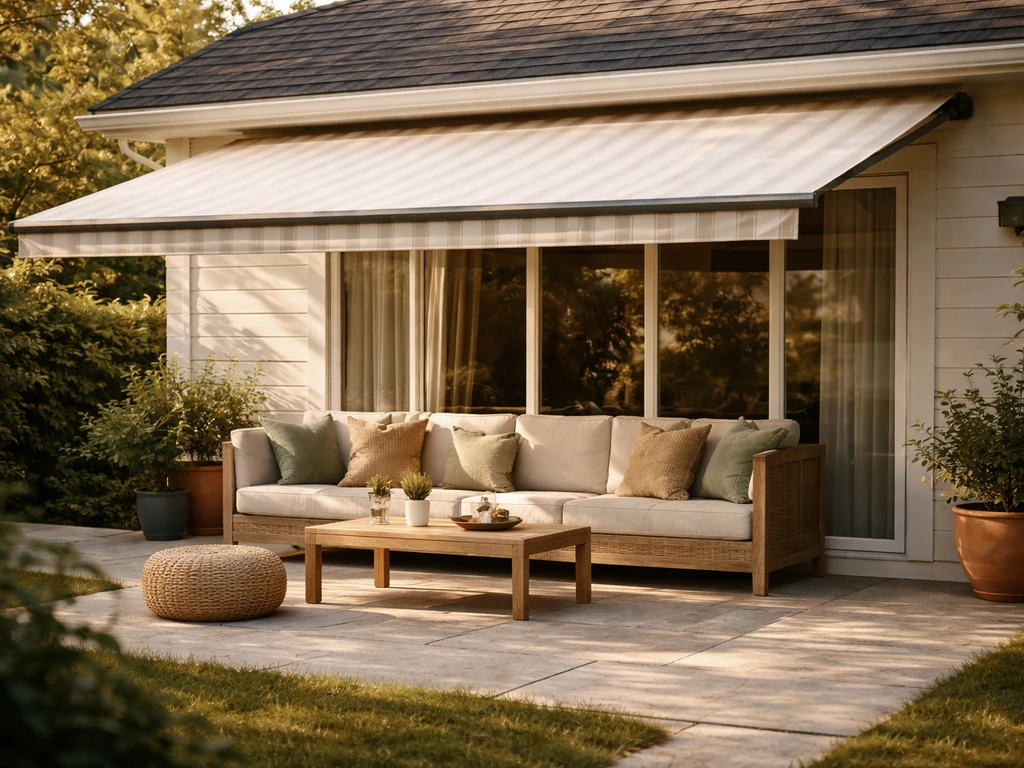
Alternative Patio Covers: Options, Costs, and How to Choose
Compare alternative patio covers with costs, pros/cons, and a step-by-step plan to choose by weather, budget, and upkeep