
The best patio covers for winter depend on your climate and your goals, but for most homeowners the winning combination is a solid-roof structure (aluminum, polycarbonate, or insulated panel) paired with side enclosures or retractable screens to block wind and drafts, plus fitted, waterproof furniture covers to protect whatever you leave outside. If you get heavy snow, you need something engineered for snow loads, not just a pergola with a shade sail. If you mostly deal with rain and cold wind, a well-anchored vinyl or polycarbonate roof with drop-down side panels can extend your usable season by months.
Best Patio Covers for Winter: Options, Specs, and Fit Guide

Phoebe Foster
7 Jul 2026
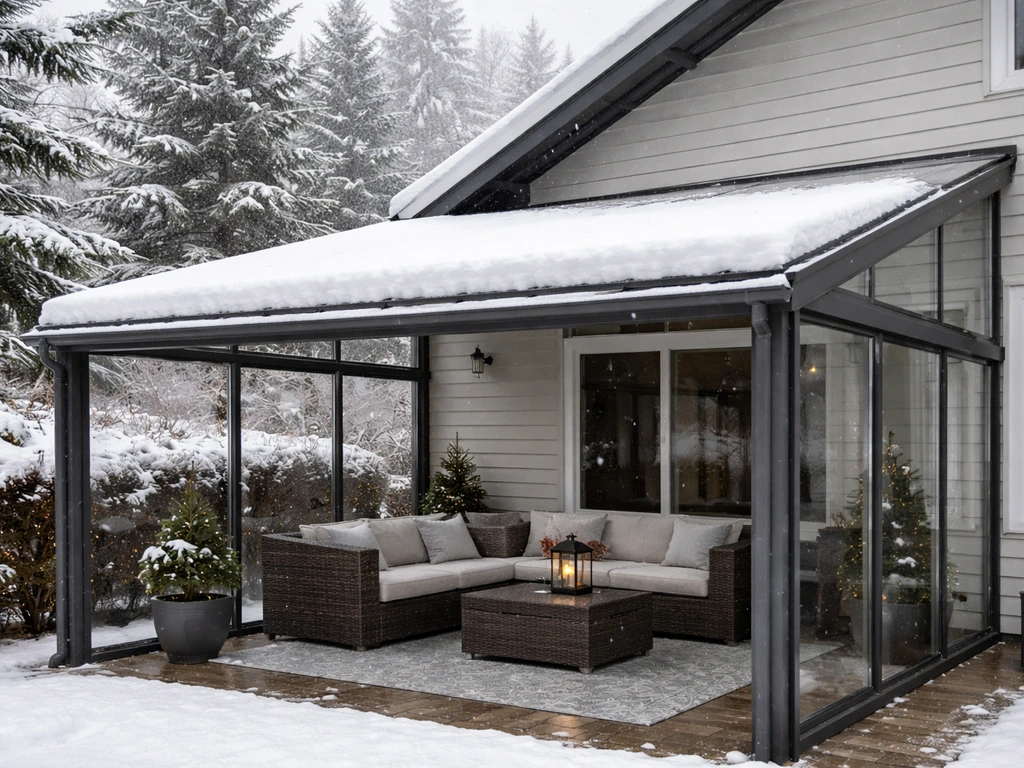
What a winter patio cover actually needs to do
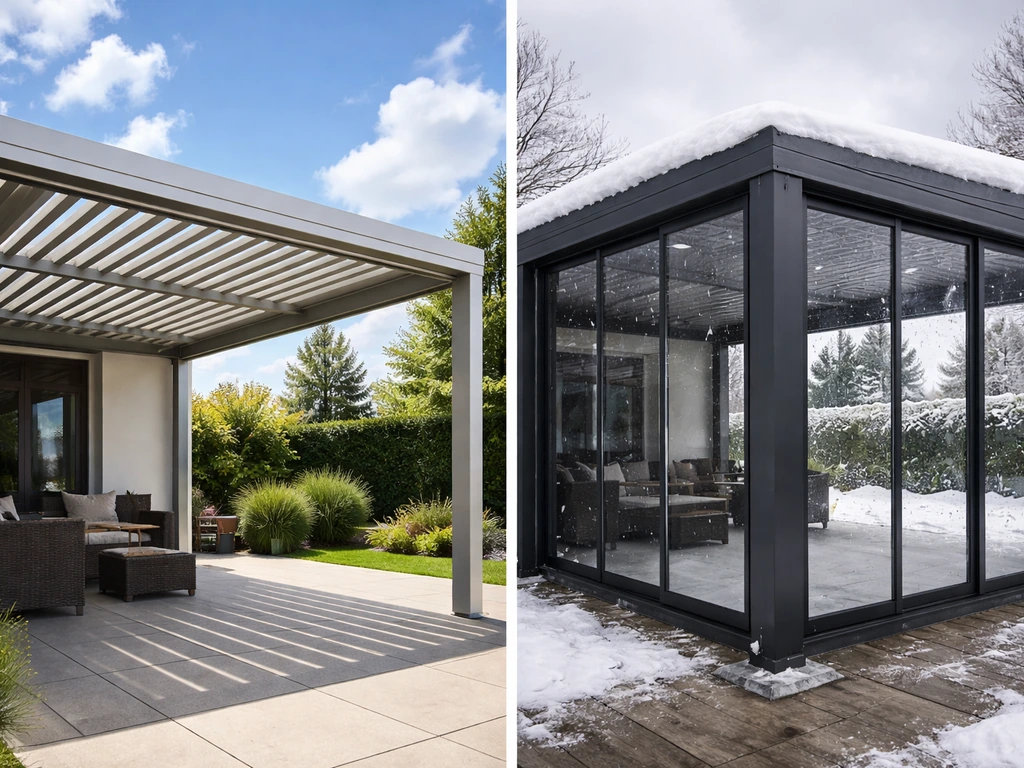
A summer shade structure and a winter patio cover are not the same thing. In summer you are managing heat and UV. In winter you are managing structural loads, moisture, freezing temperatures, and wind. Before you pick a cover or enclosure, nail down which of these problems you are actually trying to solve.
- Shed snow and handle snow load without collapsing or deforming
- Drain rain and condensation without pooling or ice dam formation
- Block wind and reduce drafts enough to make the space comfortable or at least livable for furniture
- Prevent freezing rain and sleet from soaking furniture, flooring, and fixtures
- Hold up against wind uplift, which is one of the most common failure points in non-engineered patio covers
- Protect furniture and surfaces from freeze-thaw cycling that cracks, warps, or discolors materials
The 2018 IRC Appendix H requires patio covers to be designed for a minimum vertical live load of 10 psf, but that minimum gets overridden wherever local snow loads exceed it. In northern states, snow loads regularly push into the 25 to 50 psf range or higher. If you live in a snow climate and are buying or building any kind of rigid roof, verify the rated snow load before you commit. A lot of budget aluminum kits sold online are rated for light-duty use only and will not survive a heavy Midwest or Northeast winter.
Cover and enclosure types that hold up in winter
Not every patio cover design makes sense for cold weather. Not every patio cover design makes sense for cold weather, but the best patio cover ideas can help you narrow down options that are actually winter-ready. Here is a realistic breakdown of what works, what works with modifications, and what does not hold up well once temperatures drop.
Solid-roof aluminum patio covers
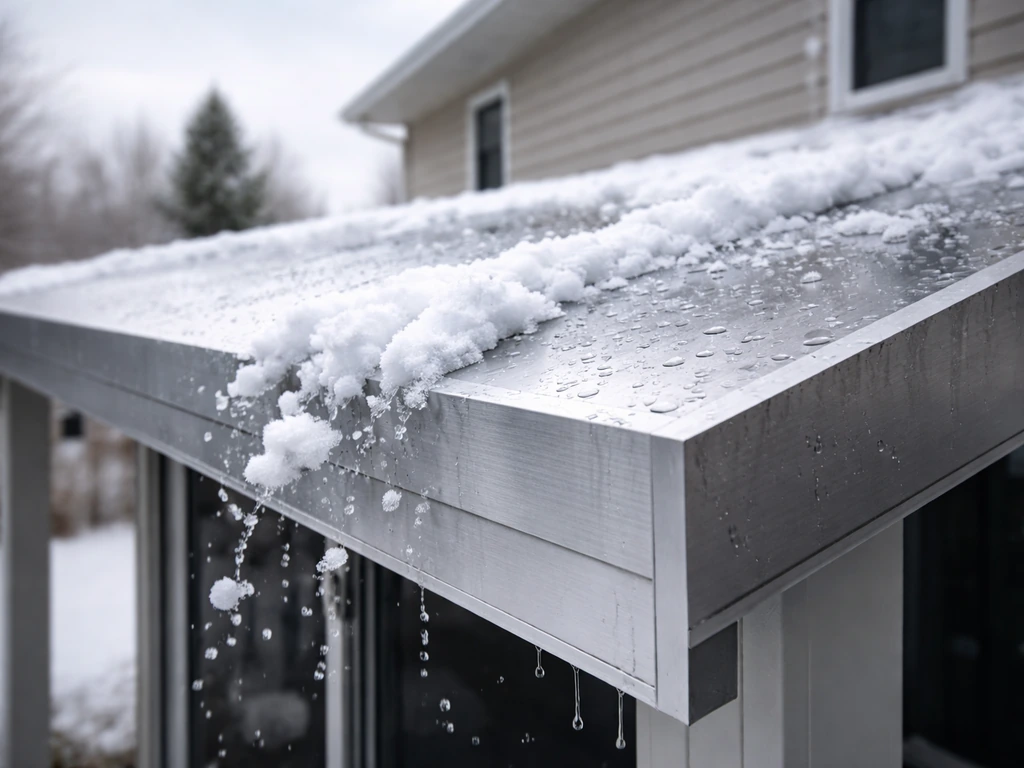
Aluminum solid-roof covers are the most popular winter-ready option for good reason. They shed water and light snow reliably, they do not rot or corrode, and insulated aluminum panel systems (sometimes called insulated patio roof panels) dramatically reduce heat loss compared to single-skin aluminum. A 3-inch or 4-inch insulated panel with foam core cuts cold transfer noticeably if you are using a patio heater underneath. Look for systems rated for at least 20 to 30 psf snow load if you are in a climate that gets regular snowfall. The downside is that aluminum expands and contracts with temperature swings, so make sure fasteners and seals are designed for that movement or you will develop leaks over time.
Polycarbonate roof panels
Twin-wall or multi-wall polycarbonate panels are a strong winter choice if you want natural light to come through. A 16mm triple-wall polycarbonate panel has a thermal rating (U-value) around 1.5 to 2.0 W/m²K, which is meaningfully better than a single-pane glass or single-layer corrugated poly. They handle moderate snow loads well and shed water cleanly on a proper slope (aim for at least a 5-degree pitch minimum, and more is better for snow). One thing to watch: polycarbonate can flex under heavy snow accumulation, so in high-snow regions you need either a steeper pitch or a frame rated for the local snow load. Clear panels also show ice buildup more than opaque materials, so keep drainage channels clear.
Screened or three-season enclosures
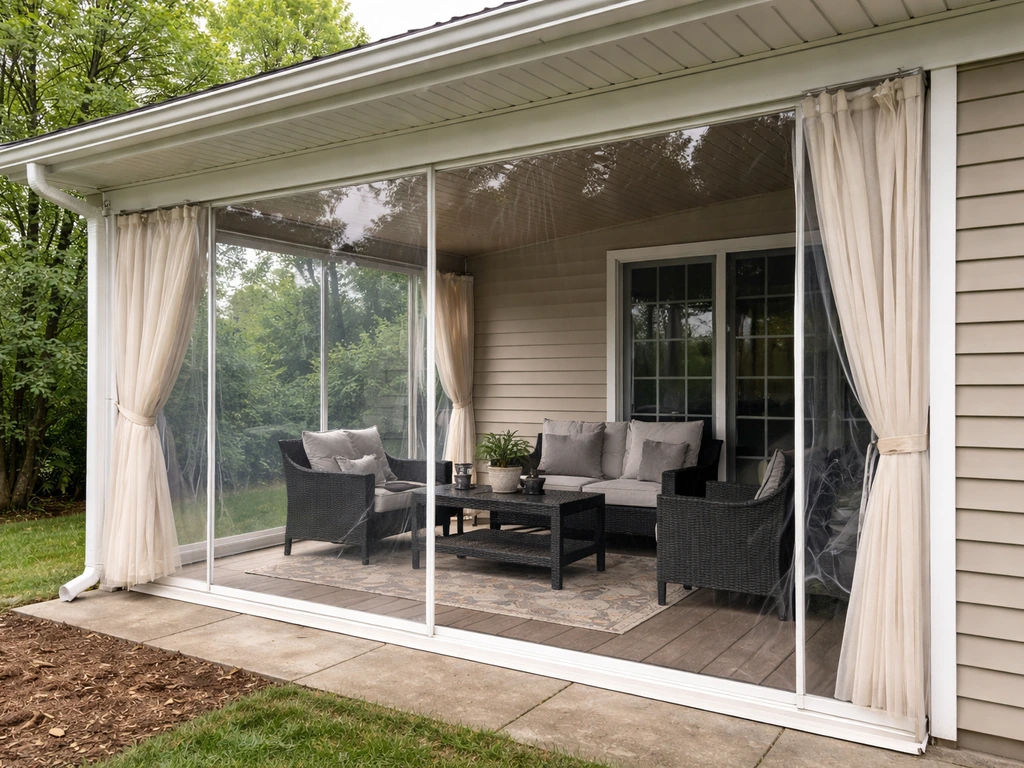
A screened porch or three-season room enclosure adds clear vinyl or tempered glass panels around an existing roofed structure to block wind and precipitation while keeping visibility. These are excellent for climates where winter means cold rain and drafts rather than heavy snow. Retractable clear vinyl curtain panels (sometimes called weather walls) can be rolled up in mild weather and deployed when temperatures drop. For true four-season use in cold climates, you would upgrade to insulated glass panels and add a heat source, which crosses into sunroom territory and a different budget range entirely.
Pergolas with winter add-ons
A standard open pergola is not a winter cover on its own, but louvered pergola systems with motorized adjustable blades can close fully to shed rain and block wind. Some premium louvered systems include integrated gutters in the louver blades and are rated for wind speeds in the 60 to 90 mph range. They are a legitimate four-season option if you are prepared for the cost (typically $8,000 to $25,000+ installed depending on size). Fixed-lattice or shade-sail pergolas, on the other hand, offer almost no winter protection and should not be considered for snow regions.
Canopies and temporary fabric covers
Heavy-duty fabric canopies (think 600D polyester or vinyl-coated polyester with PVC backing) can serve as seasonal covers in mild winter climates, but they are not appropriate for heavy snow and need to be well-anchored or they become wind hazards. Vinyl-coated polyester is commonly used in flexible fabric structures, and PVC/vinyl coatings can help make the fabric waterproof and more resistant to dirt, mildew, oil, and UV vinyl-coated polyester with PVC backing. A properly anchored canopy rated for moderate wind loads is a reasonable budget option in climates like the Pacific Northwest or the mild South where winters are wet but not heavily snowy. Anything lightweight or marketed as a "sun shade" should come down before winter hits.
Materials and features to prioritize for winter
Once you know what type of cover makes sense, the specific material and feature choices within that category make a big difference in winter performance. Here is what to actually look at in product specs.
| Feature | Why It Matters in Winter | What to Look For |
|---|---|---|
| Snow load rating | Structural safety in snow climates | Match or exceed your local ground snow load per ASCE 7 maps; at minimum 20-30 psf for northern US |
| Wind uplift resistance | Wind is the most common failure mode in patio covers | Rated wind speed (mph); look for ASCE 7-compliant or tested ratings |
| Roof slope/pitch | Controls snow shedding and drainage; prevents ice dams | Minimum 5 degrees; steeper is better for heavy snow regions |
| Insulation value | Reduces cold transfer; improves comfort with heaters | Insulated panels with foam core; polycarbonate multi-wall rated R-2 or better |
| Waterproofing | Keeps space dry; prevents freeze-thaw damage to flooring/furniture | Fully sealed roof panels; integrated gutters; sealed eaves |
| Frame material | Durability and corrosion resistance through freeze-thaw cycles | Powder-coated aluminum or galvanized steel; avoid bare steel or untreated wood |
| Drainage/gutter system | Channels melt water and rain away from the structure and house | Integrated gutter channels; downspout clearance from walkways |
| Side enclosure compatibility | Wind and draft blocking | Tracks or channels that accept drop-down vinyl curtains or glass panels |
Ice dams are worth calling out specifically. They form when heat escaping through a roof melts snow, which then refreezes at the colder eave overhang. On a patio cover attached to a house, an ice dam can back water up under panel seams and cause leaks into the patio or even into the house wall. A properly insulated panel roof combined with adequate pitch and clean drainage channels prevents this. If you have an existing patio cover that is developing ice dams, adding a heat tape strip along the eave is a practical short-term fix.
Sizing, measuring, and installing for a winter-ready fit
A cover that is slightly too small, poorly anchored, or pitched incorrectly will fail faster in winter than in summer. Here is how to measure and think about installation before you buy anything.
- Measure your patio footprint precisely: length and width to the nearest half-inch. If your patio has irregular edges, break it into rectangles and measure each section separately.
- Add at least 6 to 12 inches of overhang on any open sides for rain and wind protection. A cover that just barely clears your patio edge will let in driving rain and wind.
- Determine your attachment point: attached covers that tie into the house wall carry structural loads into the home framing, so you need to anchor into structural members (studs or header), not just siding or sheathing.
- Check your roof slope options: for attached covers, the slope is often dictated by the house attachment height. Calculate whether you can achieve at least 5 degrees of pitch toward the outer edge for drainage. If not, build in a drainage channel.
- Look up your local snow load zone using ASCE 7 maps (your local building department can tell you the design ground snow load for your address). Compare that to the rated snow load of any kit or structure you are considering.
- Check local permit requirements. Most jurisdictions require a permit for permanent attached patio covers above a certain size (often 200 sq ft). Freestanding structures may have different thresholds.
- If you are adding side enclosure panels, measure the clear opening height and width of each bay between posts so you can order panels that fit with room for weatherstrip sealing.
For DIY kit installations, follow the manufacturer's anchor bolt specifications exactly. Wind uplift is where non-engineered covers fail most often, and it is almost always a fastener or connection issue rather than a panel failure. On a 10x12 foot cover in a 90 mph wind zone, uplift forces can exceed 1,500 pounds on the roof assembly, which means lag bolts into studs (not drywall anchors or trim screws) and properly embedded post bases.
Choosing the best patio table cover for winter
Even if you have a full patio roof, a good patio table cover is worth using for winter. If you are trying to pick the best cover for patio furniture, focus on a waterproof design and a secure fit for winter wind. Temperature swings, moisture, and UV in late winter will degrade table surfaces faster than summer use does. If you do not have a full enclosure, furniture covers become your primary protection line.
Waterproof vs water-resistant: know the difference
Water-resistant covers repel light rain but will eventually saturate in heavy or prolonged rain and in snow. For winter use, you want fully waterproof covers, meaning the fabric has a PVC or polyurethane coating or laminate that completely blocks water penetration rather than just slowing it. Look for covers described as "100% waterproof" with sealed or welded seams, not just "water-resistant" or "weather-resistant." Vinyl-coated polyester with a PVC backing is the standard material in quality outdoor furniture covers and performs well in freeze-thaw conditions.
Breathability and mold prevention
Here is the counterintuitive part: a 100% waterproof cover that seals completely can trap moisture from condensation underneath and promote mold and mildew on your table surface. Good winter furniture covers include air vents (usually small grommeted vents near the bottom hem) that allow moisture vapor to escape without letting rain in. If your cover does not have vents, lift it on dry sunny days during winter to let the furniture breathe. Covers with a soft inner lining are also gentler on tabletop finishes, especially for glass tops that scratch easily.
Fit, sizing, and anchoring in wind
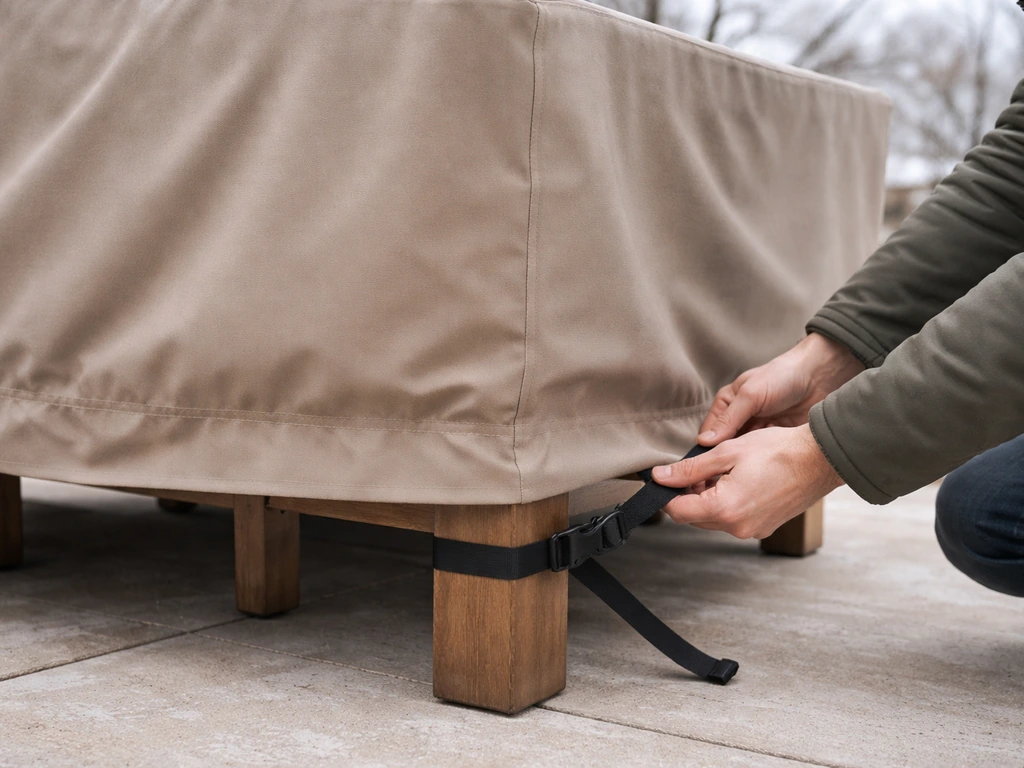
A loose cover in winter wind is worse than no cover because it can flap and abrade the table surface, blow off entirely, or act as a sail and tip furniture over. Measure your table's length, width, and height including any umbrella hole or leaf extensions. Most quality furniture cover brands give you a chart or selector to match your exact table dimensions. Look for covers with adjustable straps, buckles, or drawstrings at the hem, not just elastic edging. Elastic alone is not enough in a sustained winter wind. Padded covers with elastic plus buckle straps are the best all-around choice for winter. For very windy regions, you can also run a bungee cord or strap under the table apron through the cover's vent holes for extra security.
What to look for on the label
- Material weight: 600D polyester or higher for durability; lighter weights (210D to 300D) are budget options that wear out faster
- Waterproof rating: look for fully waterproof with PVC or polyurethane coating, not just DWR (durable water repellent) treatment alone
- UV resistance: important for late winter and early spring sun exposure
- Seam construction: double-stitched and taped or welded seams hold up better than single-stitch
- Vent placement: at least two air vents to prevent moisture buildup
- Fastening system: adjustable buckle straps, drawstrings, or both
- Warranty: reputable brands offer at least a 2-3 year warranty on covers used outdoors
Budget, DIY, and hiring a contractor: what to expect
The range for winter patio cover solutions is enormous, from a $30 furniture cover to a $40,000 insulated glass enclosure. Here is a realistic breakdown of the main tiers and what you actually get at each level.
| Approach | Typical Cost Range | Best For | Winter Performance |
|---|---|---|---|
| Furniture covers only | $30-$200 per piece | Protecting furniture when you do not use the patio in winter | Protects furniture; zero improvement to patio usability |
| DIY fabric canopy (seasonal) | $150-$600 | Mild-winter climates; budget-conscious; temporary setup | Moderate; must be properly anchored; take down in heavy snow |
| DIY aluminum solid-roof kit | $800-$3,500 (materials) | Intermediate DIYers in moderate-snow climates | Good if kit is rated for local snow/wind loads; check specs carefully |
| Pro-installed aluminum or polycarbonate solid roof | $3,500-$10,000 | Most homeowners wanting a permanent, low-maintenance solution | Very good; properly anchored and pitched; permit-ready |
| Louvered pergola system (motorized) | $8,000-$25,000+ | Four-season use; premium outdoor living spaces | Excellent; rated for wind and rain; customizable side enclosures |
| Three-season or four-season enclosure/sunroom | $15,000-$60,000+ | Year-round use in cold climates; maximum protection | Best-in-class; essentially a conditioned or semi-conditioned room |
When to DIY vs hire a contractor
DIY makes sense for furniture covers, fabric canopies, and simple freestanding aluminum kit covers on smaller patios (under 150 square feet) in mild climates. Once you are attaching a structure to the house, working in a snow-load climate, or dealing with any permit requirement, the risk calculus shifts. Permits exist for good reason: a patio cover that fails under snow load or wind can injure people and damage the house. A licensed contractor who does patio enclosures regularly knows local code, pulls the permit, and is accountable if something goes wrong. Get at least three quotes, ask specifically whether they will engineer or engineer-stamp the project if your jurisdiction requires it, and check that their design accounts for your local snow and wind loads.
If you are somewhere in the middle, consider a hybrid approach: hire a contractor for the structural roof and attachment, then do the side curtain or screen installation yourself afterward. Many homeowners save 20 to 30 percent this way without taking on structural risk.
Your winter patio cover checklist
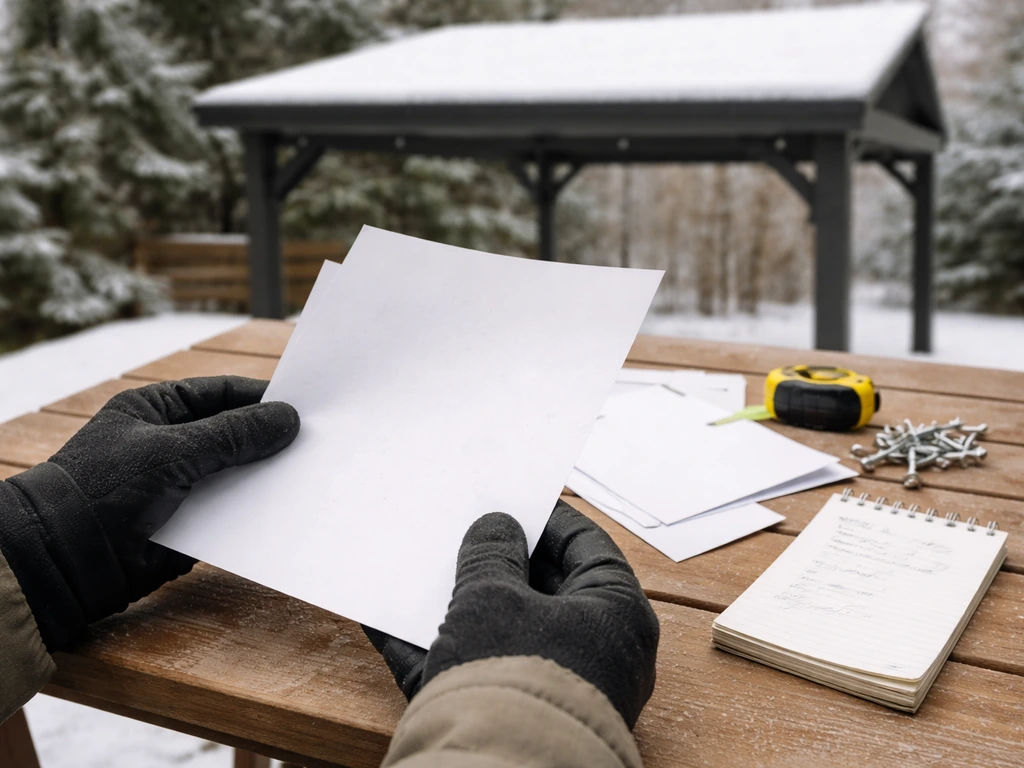
Before you order anything or sign a contract, work through this list. It covers the decisions that most people regret skipping.
- Define your goal: are you trying to use the patio in winter, or just protect it? Full enclosures and solid roofs for active winter use; furniture covers and seasonal canopies for storage and protection only.
- Look up your local snow load (ground snow load in psf) and design wind speed from your local building department or ASCE 7 maps before comparing any products.
- Measure your patio footprint (length x width), the height at the house wall, and the clear height at the outer edge you want to achieve.
- Check whether your plan needs a permit. Call your local building department with the structure type and square footage for a quick answer.
- Compare cover and enclosure types against your climate: solid roof for snow regions; polycarbonate for light-to-moderate snow with light preference; fabric canopy only for mild climates.
- For furniture covers: measure each piece (length, width, height), choose fully waterproof covers with vents and buckle straps, and prioritize weight (600D or heavier) for durability.
- If hiring a contractor, get three quotes, verify they pull permits, and confirm snow and wind load ratings are part of the design scope.
- If going DIY on a kit, verify the kit's rated snow load and wind speed against your local requirements before purchasing, not after.
The best patio cover for winter is ultimately the one that matches your climate's actual loads, your budget, and how you want to use (or simply protect) the space. A solid aluminum roof with insulated panels and retractable vinyl side curtains hits the sweet spot for most homeowners in four-season climates. Pair that with properly fitted, waterproof furniture covers and you have covered both the structure and the gear underneath. Start with your snow load and wind speed numbers, and everything else falls into place from there.
FAQ
My patio cover is attached to my house and I get ice dams at the eave, what should I check first?
If you already have a patio cover and you are only seeing ice dams at the eave, start with the eave heat-loss and drainage path. Check that gutters and panel drainage channels are clear, and confirm the roof has enough slope. If you retrofit, prioritize insulation and air sealing at the top of the attached structure first, then use a heat-tape strip as a temporary supplement rather than the only fix.
How do I make sure a patio cover’s snow-load rating really matches my setup?
Look at the design snow load rating, then compare it to your local ground snow load and exposure. A common mistake is relying on the panel rating but using a frame or attachment system that is not engineered for the same snow load. Also confirm the pitch requirement is compatible with the panel, because a “rated” snow load on paper can fail if the actual slope and drainage are wrong.
What are the most common DIY installation mistakes that cause winter failures?
For attachments to the house, fastener type matters as much as anchor spacing. Use structural connections into studs or engineered members, not drywall anchors or trim screws. If your cover uses posts, verify the post bases are rated and embedded to the proper depth for your soil conditions, because uplift and lateral shear failures often start at the foundation rather than the roof panels.
What should I do if I live in a heavy-snow area but my budget can’t support a fully rated rigid roof?
If you can’t get a rigid roof engineered to your snow load, your best option is usually an enclosure that handles wind and rain plus a plan to remove lightweight elements before the first heavy snowfall. For example, screened or curtain-style weather walls can be used when paired with a removable canopy or louvers above, but keep anything with fabric or shade-sail characteristics off in high-snow regions.
Will adding insulation to my patio cover increase condensation or mold risk?
Yes, but only if you pick an enclosure system that matches winter condensation behavior. Insulated panels and tight seams reduce heat loss, which can also reduce melt cycles that lead to ice dams, but you still need ventilation management. Plan for condensation by using roof venting or controlled airflow, especially if you install insulated glass side panels that trap humid air indoors.
How can I tell whether my cover will handle wind-driven rain in winter, not just light rain?
In wind-driven rain climates, “water resistance” is a common underperformer. For winter, verify your cover or side panels have sealed or welded seams, and that the side enclosures have a bottom weather seal or track system to stop sideways water intrusion. Also confirm the enclosure’s opening points, zippers, or overlap joints are designed for cold flexibility, not just mild weather.
Are retractable vinyl weather walls effective for winter, and what can go wrong?
If your goal is to prevent drafts, retractable clear vinyl panels can work, but you need them to be deployed and tensioned properly. In freeze-thaw conditions, loose panels can stiffen and leak at overlaps, and vinyl can also sag if not supported. Choose systems with defined guide rails and a tensioning method, not only ties or hooks.
Can I use a patio heater under an insulated patio cover in winter, and what should I watch out for?
For using a patio heater under a solid roof, choose a heater rated for enclosed or semi-enclosed spaces and keep safe clearance from panels. Also, because insulated panels reduce heat escape, heat can build under the cover more than under an open pergola. Use a thermostat or turn on only when needed, and follow clearance and ventilation instructions for your specific heater model.
My outdoor table cover keeps blowing around in winter, how do I fix it?
If you are seeing flapping, noise, or abrasion, it’s almost always a fit or securing issue. Measure your furniture including umbrella hardware, then choose a cover with buckles or drawstring straps at the hem, not elastic-only edging. For very windy locations, secure through vent holes or around the table apron with an additional strap so the cover can’t lift and act like a sail.
Should my winter furniture covers be fully airtight, or should they vent?
For winter storage, “100% waterproof” is about water penetration, not about allowing moisture vapor to escape. Quality covers include small vents near the bottom hem or an internal breathable design that reduces mildew on tabletops. If your cover has no venting and you notice musty odors, lift and dry the furniture on sunny dry days to reset the moisture balance.
When is it worth hiring a contractor instead of buying a kit for the best patio covers for winter?
Start with the structural system. If you’re in a snow region or attaching to the house, plan to budget for engineering and permits rather than treating it like a cosmetic upgrade. Ask your contractor whether they will provide an engineered design for snow and wind loads, and confirm whether they handle permit submission. If they cannot answer those directly, treat it as a red flag.
Next Articles
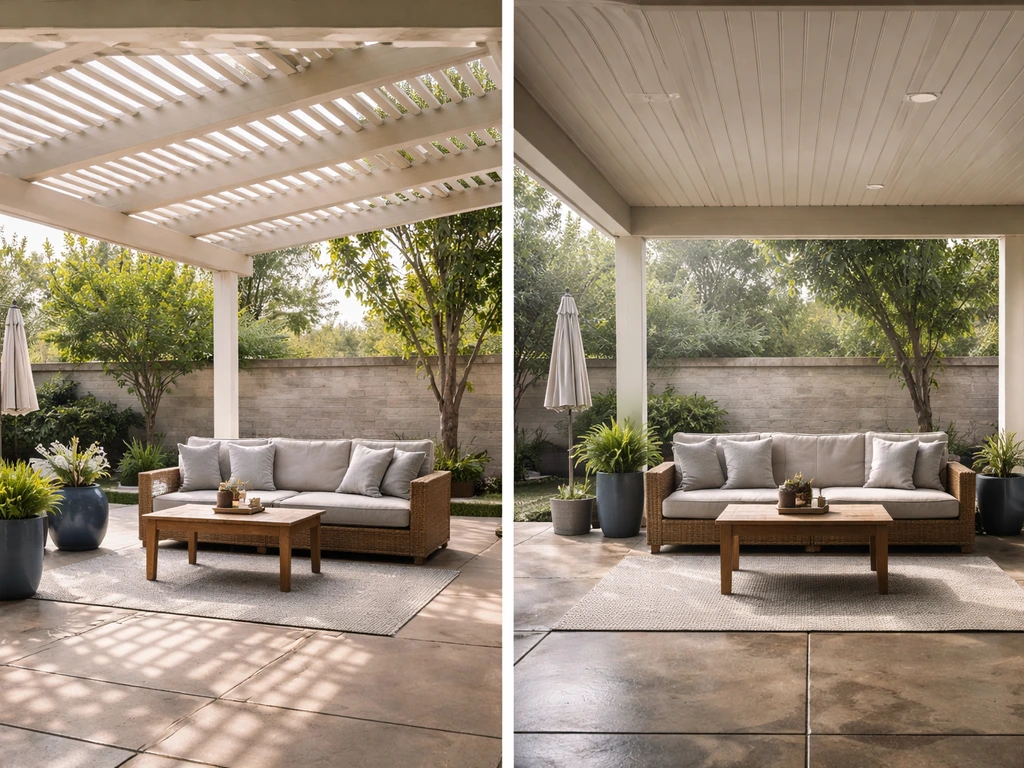
Best Type of Patio Cover: Choose the Right Option
Find the best patio cover for your climate and use with material, style, cost, and maintenance tradeoffs.
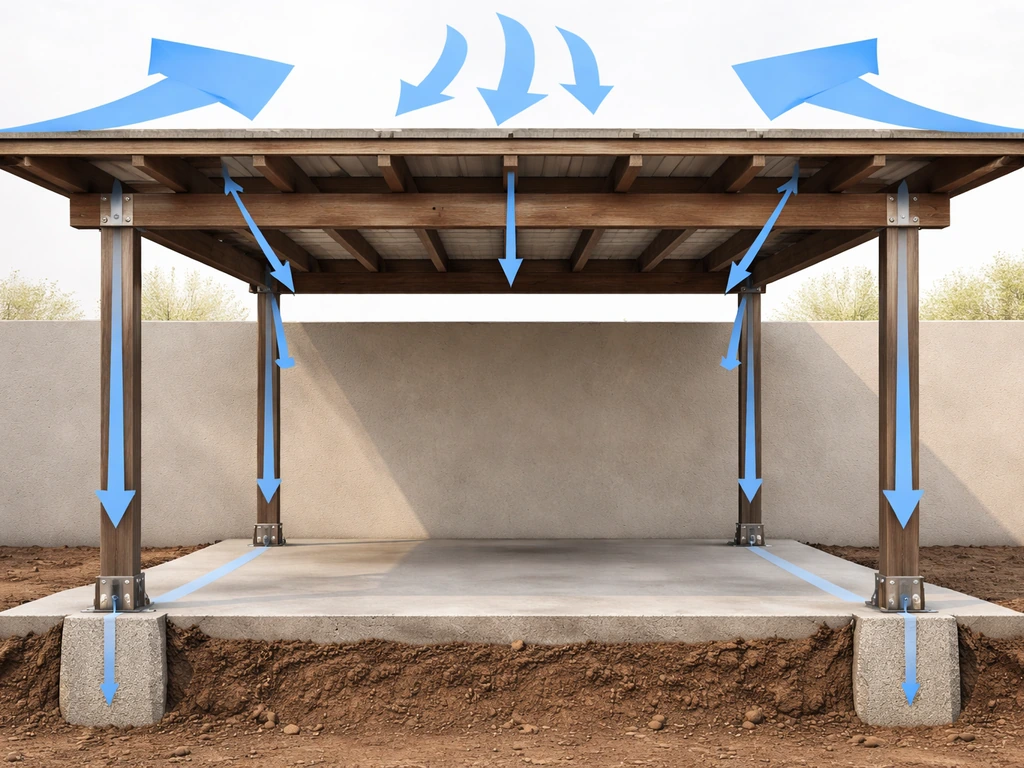
Best Patio Cover for Windy Areas: Materials, Design, and Install
Compare patio cover types, wind-rated materials, and anchoring steps to choose and install the best option for windy are
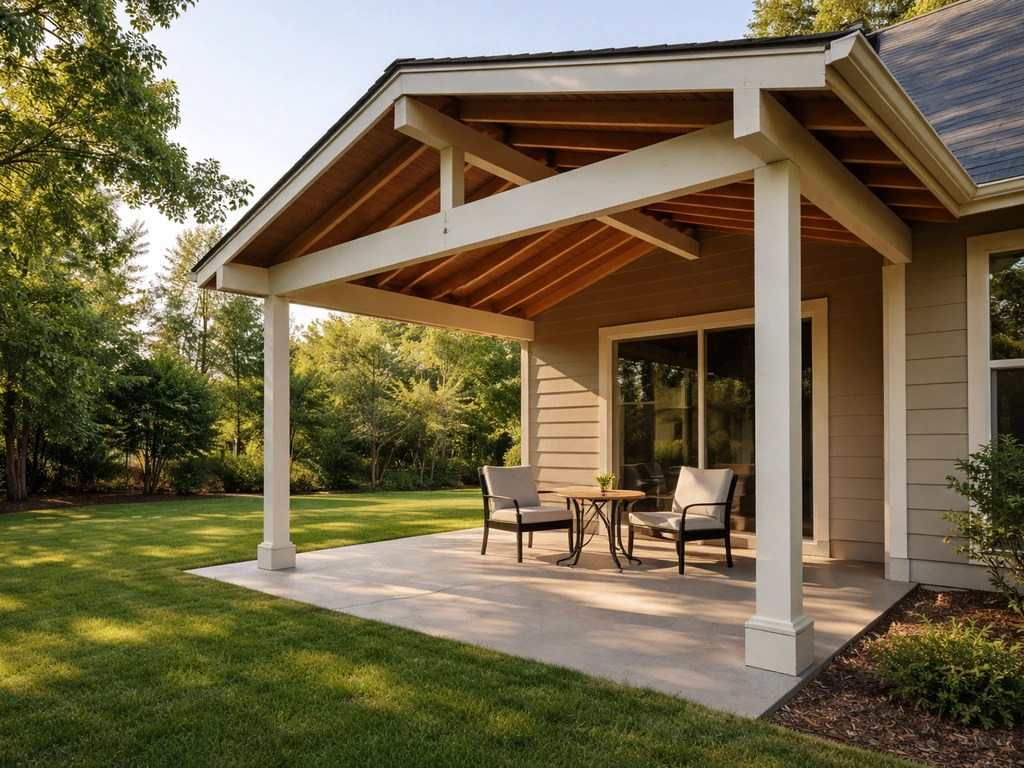
Best Patio Cover Ideas: Designs, Materials, Costs
Top covered patio cover ideas with roof styles, materials, costs, key specs, and DIY vs contractor guidance.