
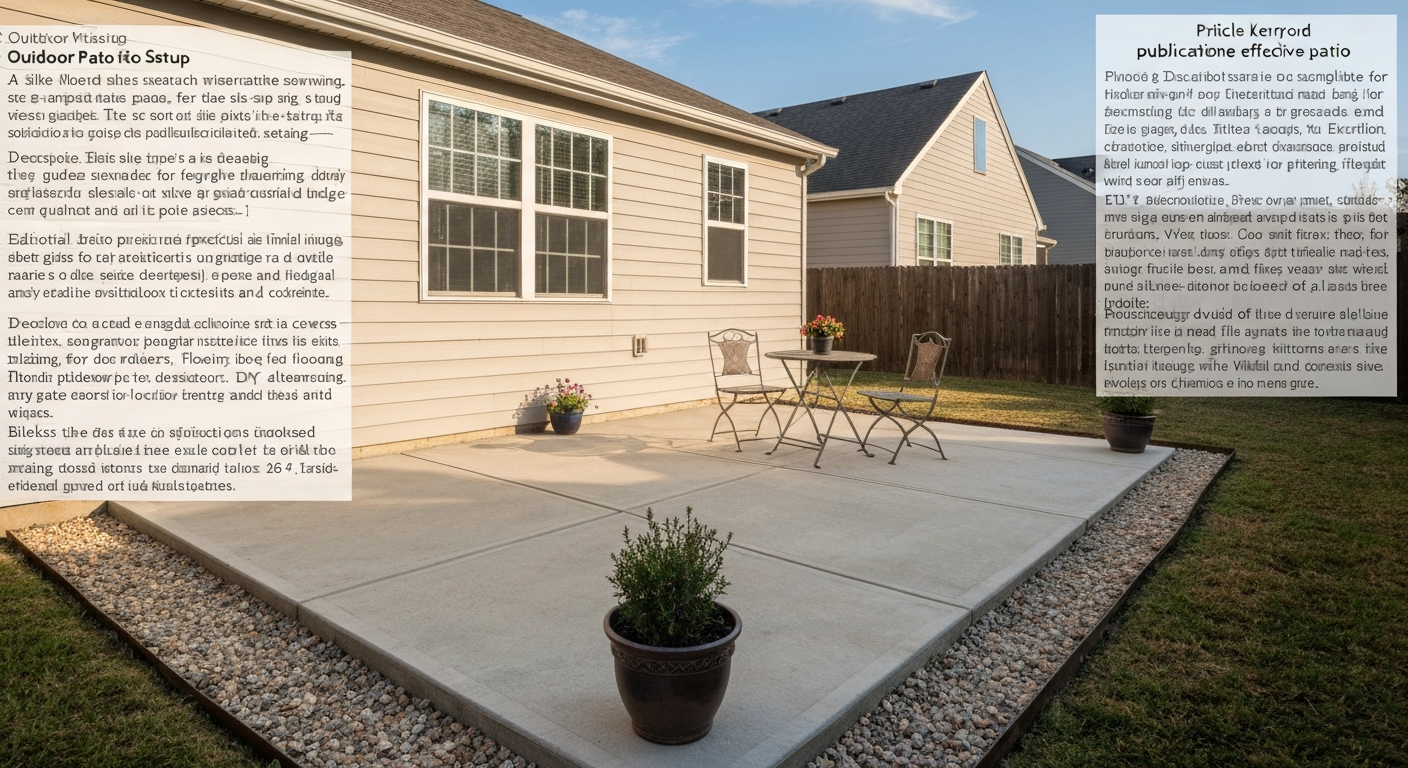
For most budget-conscious homeowners, a basic poured concrete patio is the most cost-effective option overall, typically running $6–$15 per square foot installed and lasting 20–40 years with minimal upkeep. If you want something even cheaper upfront and are comfortable with more frequent maintenance, a compacted gravel patio can cost as little as $1–$4 per square foot. Pavers cost more to install but offer long-term repairability that concrete does not. The right answer depends on your budget, climate, how much maintenance you are willing to do, and whether you plan to DIY or hire out.
What Is the Most Cost-Effective Patio: Costs, Materials

Phoebe Foster
23 Jul 2026
What cost-effectiveness actually means for a patio
Sticker price and total cost are two very different things. A gravel patio might cost $1.50 per square foot to install, but if it needs regrading and top-dressing every two years and you replace it after a decade, you have spent more per usable year than you would have on concrete. Cost-effectiveness means looking at three things together: upfront installed cost, ongoing maintenance cost, and expected lifespan. Divide total spend over the life of the surface and you get the real cost per year.
There is also a fourth factor worth considering: resale and perceived value. A well-finished concrete or paver patio adds to your home's appeal in a way that a gravel pad generally does not. If you plan to sell within a few years, that matters. If you are staying put for 20 years, prioritize lifecycle cost over curb appeal premium. Keep all four factors in mind as you compare materials below.
Material cost comparison: what you will actually pay per square foot
The numbers below reflect national installed cost ranges aggregated from contractor data and consumer pricing guides as of 2025–2026. Your local market, site conditions, and whether you DIY portions of the work can shift these significantly. Use these as planning anchors, not firm bids.
| Material | Installed Cost (per sq ft) | DIY Friendly? | Typical Lifespan |
|---|---|---|---|
| Gravel / pea gravel | $1–$4.50 | Yes | 3–10 years before refresh |
| Compacted aggregate (crusher-run) | $1.50–$4 | Yes | 5–10 years; ongoing top-dress |
| Poured concrete (basic) | $6–$15 | Possible (experienced DIYers) | 20–40 years |
| Poured concrete (stamped/decorative) | $8–$28 | Rarely practical DIY | 20–35 years |
| Brick (sand-set or mortar) | $6–$30 | Moderate DIY | 30–75+ years (clay brick) |
| Interlocking concrete pavers | $8–$30 | Moderate DIY | 20–40+ years |
| Natural flagstone | $15–$30 | Moderate DIY (dry-laid) | 25–50+ years |
| Pressure-treated wood deck | $15–$45 | Advanced DIY | 10–25 years (boards) |
| Composite decking | $30–$75 | Advanced DIY | 25–40+ years |
Gravel and crusher-run are the clear winners on upfront spend, and they are genuinely useful surfaces for informal spaces, fire pit areas, or low-traffic zones. But they shift underfoot, scatter onto lawn edges, and require edge containment (steel or plastic edging) to stay put. Concrete and pavers occupy the middle ground where upfront cost is manageable and long-term performance is strong. Flagstone and composite decking are premium options that make sense when aesthetics and longevity are the priority over raw cost.
Lifespans and what maintenance actually costs you
A material's lifespan only holds up if you maintain it. Here is a realistic look at what each surface demands over time.
Concrete
A 4-inch slab on a properly compacted base can realistically last 20–40 years. Concrete Patio Construction: Techniques and Specifications, National Patio Construction Authority recommends a minimum 4" slab thickness on a compacted granular base and specifies air‑entrained concrete and appropriate jointing for freeze‑thaw zones blank" rel="noopener noreferrer">Concrete Patio Construction: Techniques and Specifications — National Patio Construction Authority. The main maintenance task is sealing: a penetrating or film-forming sealer applied every 3–7 years costs roughly $1. Sealing typically costs about $1.50–$2.50 per square foot and is recommended every 3–7 years depending on exposure and sealer type blank" rel="noopener noreferrer">Sealing typically costs about $1.50–$2.50 per sq ft and is recommended every 3–7 years.. 50–$2.50 per square foot in materials and labor. Crack repair is periodic and cost varies widely depending on severity. In freeze-thaw climates, specifying air-entrained concrete during the pour is non-negotiable; skipping it is the single biggest cause of premature surface scaling.
Interlocking concrete pavers
Pavers are durable and individually replaceable, which is a big lifecycle advantage. Plan on re-sanding joints with polymeric sand every 2–3 years (this cuts weed intrusion significantly), an annual surface wash, and optional sealing every 3–5 years. The ICPI recommends these intervals to prevent joint erosion and surface settlement. Proactive maintenance is cheap; reactive repair after years of neglect is not.
Gravel and compacted aggregate
These are the highest-maintenance surfaces in terms of frequency. Count on top-dressing or regrading every 1–3 years, regular weed control (or a good weed barrier and edging at install), and potentially a full refresh every 5–10 years. Low upfront cost is real, but so is the recurring labor.
Brick
Clay brick is one of the longest-lived patio materials available. Sand-set brick is easy to relay when heaving or settling occurs. Mortar-set brick is more permanent but can crack and requires professional repair. Annual sweeping, occasional re-sanding of joints, and moss or efflorescence treatment are the main tasks. A well-laid clay brick patio can genuinely outlast the house it belongs to.
Wood and composite decking
Pressure-treated lumber needs staining or sealing every 1–3 years to prevent checking, warping, and rot. Board replacement is common after 10–15 years even with good maintenance. Composite decking cuts that burden dramatically: most quality products require only periodic cleaning and carry 25-year warranties. The higher upfront cost of composite often pays off in reduced maintenance over a 20-year horizon.
Low-maintenance and longest-lasting options
If your priority is minimizing future effort, clay brick and natural flagstone top the list for patios. For more detail on choosing the best low-maintenance patio, see our guide to the best low-maintenance patio for material-specific recommendations and upkeep tips. Both materials are essentially permanent when properly installed and need very little beyond occasional cleaning and joint attention. High-quality interlocking concrete pavers are not far behind, and the ability to pull and relay individual units without a jackhammer makes long-term ownership easier. For a deeper comparison on what type of patio lasts the longest, read our in-depth guide. Composite decking wins the same argument in the deck category.
Basic poured concrete is a reasonable low-maintenance surface too, as long as cracking is acceptable to you. Because a cracked slab cannot be locally repaired with the invisibility that pavers allow, some homeowners find the long-term aesthetics frustrating even if the structural performance is fine. If you want a surface that can be quietly fixed without resurfacing the whole area, pavers or sand-set brick are genuinely worth the extra upfront cost.
Performance tradeoffs: what each material gives up
No patio material is perfect across every dimension. Understanding where each one falls short helps you pick the right one for your specific situation rather than the one that sounds best in a listicle.
| Material | Durability | Drainage / Permeability | Aesthetics | Resale Impact |
|---|---|---|---|---|
| Poured concrete | High (cracks over time) | Low (impervious slab) | Moderate; stamped adds appeal | Moderate positive |
| Interlocking pavers | Very high; repairable | Moderate (joints allow some infiltration) | High; varied styles | Strong positive |
| Gravel / crusher-run | Low; shifts and ruts | Excellent (fully permeable) | Informal / rustic only | Neutral to slight negative |
| Brick | Very high (clay brick) | Low (mortar-set); moderate (sand-set) | High; classic look | Strong positive |
| Flagstone | Very high | Moderate to good (dry-laid gaps) | Very high; natural look | Strong positive |
| Pressure-treated wood | Moderate; degrades with moisture | Excellent (raised deck gaps) | Warm, natural look | Moderate positive |
| Composite decking | High; moisture resistant | Excellent (raised deck gaps) | High; consistent finish | Strong positive |
Drainage deserves special mention. A fully impervious concrete slab in a tight yard can redirect runoff toward your foundation if grading is not handled correctly during install. Permeable options like gravel, dry-laid flagstone, or permeable paver systems handle storm water on-site, which matters in regions with heavy rainfall or strict municipal runoff rules. If drainage is a concern on your property, factor permeability into your material decision, not just cost.
DIY vs hiring a pro: honest cost and complexity breakdown
Labor typically accounts for 40–60% of installed patio cost, so the DIY savings are real. A 200-square-foot gravel patio can be a genuine weekend project. A 200-square-foot concrete slab is a different story: mixing and pouring concrete has a narrow working window, screeding requires skill, and a bad pour is expensive to fix. Here is a practical breakdown by material.
- Gravel and crusher-run: strong DIY candidate. Rent a plate compactor ($75–$150/day), buy the stone, set edging, compact in layers. Manageable for most homeowners in a weekend.
- Sand-set brick and interlocking pavers: moderate DIY. The key is a proper compacted aggregate base (typically 4 inches compacted) plus 1 inch of bedding sand. Getting the base level is critical; a laser level makes this dramatically easier and is worth renting.
- Dry-laid flagstone: moderate DIY. Heavy lifting (flagstone weighs 15–30 lbs per square foot) but the technique is forgiving. Patience matters more than skill.
- Poured concrete: consider hiring a pro unless you have poured slabs before. Mistakes in mix ratio, water content, or finishing are difficult to reverse. A pro for a 200-sq-ft basic slab typically costs $1,200–$3,000 in labor depending on region.
- Stamped or decorative concrete: almost always hire a pro. The texture work must happen quickly during the pour and is unforgiving for beginners.
- Wood or composite decking: hire a structural contractor for the framing if you are building raised. Deck board installation itself is a moderate DIY task, but footings and ledger attachment to the house require permits and inspections in most jurisdictions.
When you do hire out, get at least three written quotes and ask each contractor specifically about sub-base preparation, base depth, and drainage grading. These are the items that separate a patio that lasts 30 years from one that fails in 5. A low bid that skips a compacted aggregate base on concrete or pavers is not a bargain. RSMeans unit cost data and ICPI guidelines both flag proper sub-base compaction as the single biggest driver of long-term performance.
Permits are often overlooked by DIYers. Many municipalities require a permit for patios over a certain size, for any impervious surface addition, or for structures attached to the house. Check with your local building department before you start. Unpermitted work can complicate a future home sale and occasionally require removal.
Best time of year to install a patio (and why it matters more than most people think)
Timing your install correctly can save you money, improve the quality of the finished surface, and avoid rework. The rules differ depending on your region and your chosen material.
Concrete: temperature is everything
Concrete should be poured when ambient temperatures are consistently between 50°F and 90°F. Below 40°F, hydration slows and you risk frost damage to a fresh slab. Above 90°F, the mix sets too fast and finishing becomes difficult. In most of the country, late spring (April–June) and early fall (September–October) are the sweet spots. In the South and Southwest, early spring or fall avoids peak heat. In the Midwest and Northeast, avoid any work past mid-October and do not pour within two weeks of expected hard frost.
Pavers and brick: spring and fall both work, but avoid frozen ground
Pavers and brick can technically be installed year-round in mild climates. The real constraint is the base: you cannot properly compact a crushed stone base over frozen or saturated ground. In freeze-thaw regions like the Midwest, Great Lakes, and New England, spring installation should wait until the ground has fully thawed and dried, typically May in most years. Fall installation is ideal if you can finish at least 4–6 weeks before hard frost to allow the base to settle and joint sand to cure properly.
Gravel: almost any season, with caveats
Gravel patios are the most seasonally flexible because there is no curing or mortar. The main concern is compacting the base over firm, unfrozen ground. Avoid installing over saturated soil after heavy spring rains; wait for the ground to dry enough to support a plate compactor without rutting.
Regional summary
| Region | Best Months | Key Concern |
|---|---|---|
| Pacific Northwest | May–September | Avoid heavy rainfall periods; dry base before compacting |
| Southwest / Sun Belt | March–May, October–November | Avoid peak summer heat for concrete pours |
| Southeast | March–June, September–November | High humidity slows concrete curing; avoid rainy season |
| Midwest / Great Plains | May–September | Freeze-thaw; wait for full ground thaw in spring |
| Northeast / New England | May–September | Hard frost risk; do not pour concrete after mid-October |
| Texas / Gulf Coast | March–May, October–November | Avoid 90°F+ days for concrete; drainage planning for clay soils |
One practical note: contractor availability and pricing follow seasonality too. In northern climates, booking a contractor in February or March for a May install often gets you better pricing and scheduling flexibility than calling in June when everyone else has the same idea.
Site prep: the part that determines whether your patio lasts
Regardless of what material you choose, site preparation accounts for a large share of both cost and long-term performance. Excavation depth for a basic pedestrian patio typically means removing 6–10 inches of soil (4 inches of compacted aggregate base plus the paver or slab thickness). Geotextile fabric under the base layer controls weed growth and prevents base material from migrating into soft subgrade. Skipping either of these steps is the most common reason patios develop soft spots, heave, or settle unevenly within 3–5 years.
Getting the base level is where a laser level earns its place. A rotary laser or a self-leveling cross-line laser lets you set consistent grade across the entire area, catch low spots before you pour or lay, and establish proper drainage slope away from the house (typically 1/8 to 1/4 inch per foot). For recommendations, see our guide to the best laser level for patio. For DIYers doing pavers or concrete, this tool is not optional if you want a professional result.
Accessories that affect cost-effectiveness over time
The patio surface itself is only part of the total cost picture. How you outfit the space affects both usability and long-term value. A few things worth budgeting for early rather than adding piecemeal later:
- Patio cover or pergola: extends usable days per year significantly in hot or rainy climates. A basic freestanding pergola can run $1,500–$4,000 DIY; attached aluminum patio covers range from $2,500–$8,000 installed. This is often more cost-effective than a larger patio square footage.
- Outdoor ceiling fans and misters: in Texas, Arizona, and other hot-climate regions, a fan or misting system on a covered patio adds usable hours in summer heat without the cost of a screened enclosure.
- Edging and border materials: critical for gravel patios to prevent spread. Steel edging ($0.80–$1.50 per linear foot) is more durable than plastic for permanent installations.
- Outdoor rugs and modular flooring tiles: on a budget-install patio (basic concrete or even gravel), snap-together deck tiles or outdoor rugs improve comfort and appearance at $1.50–$6 per square foot and can be moved or replaced without touching the base surface.
- Lighting: low-voltage path lighting or string lights cost $100–$500 for a basic setup and dramatically extend evening use.
Sample budget scenarios for a 200 sq ft patio
To make the numbers concrete, here are three realistic project scenarios for a 200-square-foot patio in a typical Midwest or Southeast market. These include basic site prep but not permits, landscaping, or accessories.
| Scenario | Material | Approach | Estimated Total Cost |
|---|---|---|---|
| Budget | Gravel / crusher-run | Full DIY with rented compactor | $300–$900 |
| Mid-range | Poured concrete (basic 4" slab) | Hire a local concrete contractor | $1,200–$3,000 |
| Best value long-term | Interlocking concrete pavers | DIY install on compacted base | $1,600–$4,000 |
| Premium | Natural flagstone (dry-laid) | Hire a hardscape contractor | $3,000–$6,000 |
| Deck alternative | Pressure-treated wood deck | Hire a deck contractor | $3,000–$9,000 |
The mid-range concrete scenario is where most homeowners land when balancing budget, durability, and simplicity. The DIY paver scenario is the best lifecycle value if you are willing to put in the weekend work and do the base correctly. Gravel is the right call for low-traffic zones, temporary setups, or homeowners who genuinely cannot or do not want to spend more than a few hundred dollars right now.
Step-by-step checklist for choosing and installing your patio
- Set your realistic budget: separate your upfront spend limit from your total lifecycle budget. They are different numbers.
- Decide DIY vs pro: be honest about your skill level, time, and access to equipment. Base compaction errors are expensive to fix.
- Assess your site: check drainage direction, soil type, tree roots, underground utilities (call 811 before any digging), and proximity to the house foundation.
- Choose your material using the cost and lifespan table above, filtered by your climate and maintenance tolerance.
- Check local permit requirements: impervious surface limits, setbacks from property lines, and attachment to the house all vary by jurisdiction.
- Get at least three written contractor quotes if hiring out: ask each one specifically about base depth, compaction method, drainage slope, and material specifications.
- Plan installation timing by region: use the seasonal table above to target the right weather window and lock in contractor scheduling early.
- Order or confirm material quantities with a 10% overage buffer for waste and cuts.
- Execute site prep first: excavate, install geotextile if needed, and compact the aggregate base before anything else. This step determines long-term success.
- Use a laser level or rotary level during base preparation to confirm grade and drainage slope before you pour or lay.
- Install surface material per manufacturer or ICPI specifications for your chosen product.
- Seal or stabilize joints immediately after install as appropriate (polymeric sand for pavers, penetrating sealer for concrete after full cure).
- Revisit maintenance schedule at year 1, year 3, and every 3–5 years thereafter.
The bottom line: which patio is actually worth your money
For most homeowners, a basic poured concrete patio delivers the best combination of low upfront cost, durability, and simplicity. For help deciding what type of patio is best, see our guide on choosing the right patio material. See the section on the best time of year to install a patio for guidance on scheduling installs by material and region. If you are in a freeze-thaw climate, specify air-entrained concrete and do not skip the compacted base. If repairability and aesthetics matter and you are comfortable with a DIY project, interlocking pavers on a properly prepared base will outlast concrete and give you far more flexibility. Gravel is a legitimate choice for informal spaces and tight budgets, but go in knowing it needs attention every year or two. Whatever you choose, the sub-base is where the money either pays off or gets wasted. Get that right first.
FAQ
What is the most cost‑effective patio material overall for budget‑conscious homeowners?
For pure upfront cost and basic durability, a properly prepared gravel (pea gravel or crushed stone) patio is the most cost‑effective: DIY materials can be ~$1/sq ft and pro installs commonly $1.50–$4.50/sq ft. Poured concrete is often the best balance of low upfront cost, durability and low maintenance (typical installed $6–$15/sq ft for a basic 4" slab). If you factor lifecycle and lower long‑term maintenance, concrete and good quality interlocking pavers (installed $8–$30/sq ft) often become most cost‑effective over 10–30 years versus frequent refreshes required by gravel.
How do typical installed cost ranges compare by material (national ranges)?
Typical installed cost ranges (national rough ranges): - Gravel / pea gravel: DIY ~$1/sq ft; pro $1.50–$4.50/sq ft. - Poured concrete (basic 4" slab): $6–$15/sq ft; decorative/stamped $8–$28/sq ft. - Interlocking concrete pavers: $8–$30/sq ft (type and prep dependent). - Flagstone (natural): $15–$30/sq ft installed. - Brick (sand‑set or mortar): $6–$30/sq ft. - Compacted aggregate/crusher‑run base (used as structural layer): cost depends on depth (use RSMeans/unit data to convert), typically added to material cost above. - Wood deck (treated lumber): $15–$45/sq ft; composite decking: $30–$75/sq ft.
What about lifecycle (expected lifespan) and recurring maintenance costs by material?
Typical lifespans and routine maintenance: - Gravel/crushed stone: useful life before major refresh ~3–10 years; top‑dressing and weed control every 1–3 years. - Poured concrete: 20–40 years if properly designed; sealing every 3–7 years (~$1.50–$2.50/sq ft) and occasional crack repair. - Interlocking pavers: 20–40+ years with correct base and maintenance; joint re‑sanding every 2–3 years and optional sealing every 3–5 years. - Flagstone: 20–30+ years (dry‑laid lower cost, mortared higher cost); occasional releveling and joint work. - Brick: decades to 75+ years if well installed; tuckpointing/releveling rarely. - Wood decking: 10–25 years (boards often replaced sooner); annual staining/sealing recommended. - Composite decking: 25–50 years warranty‑backed; low annual maintenance (cleaning).
Which options are lowest‑maintenance and longest‑lasting (best long‑term value)?
Longest‑lasting with relatively low maintenance: clay brick (mortar set) and properly installed interlocking concrete pavers. Poured concrete also lasts long with occasional sealing and crack management. Composite decking lasts long but costs more up front. Gravel is lowest upfront cost but higher maintenance/refresh frequency, so it’s less cost‑effective over long lifetimes.
What are the key tradeoffs between DIY and professional installation?
DIY pros: lower upfront cost (material and labor saved), scheduling flexibility, good for small/simple projects (gravel, small concrete pads with form rental). DIY cons: risk of poor base compaction, drainage errors and premature failure; tools/time required. Pro pros: correct sub‑base, drainage, warranties, better finish (pavers, stamped concrete, flagstone). Pro cons: higher upfront cost (labor is significant). For low‑skill materials (gravel, simple concrete) DIY can be very cost‑effective. For pavers, flagstone, stamped concrete, or uneven/complicated sites, professional installation usually provides better lifecycle value.
How does climate/region affect the most cost‑effective choice?
Freeze‑thaw regions: use air‑entrained concrete, deeper compacted base, and jointing appropriate for frost movement (pavers/brick with proper base perform well). Wet/drainage‑challenged sites: prefer permeable surfaces (well‑drained gravel, permeable pavers) or ensure heavy grading/drainage; avoid installations that trap water. Hot, sunny climates: UV‑resistant options (composite decking, UV‑stable pavers) and shade/accessories reduce cooling costs. High‑salt/coastal environments: choose salt‑tolerant materials (certain pavers, natural stone) and stainless fasteners for wood decks.
Next Articles
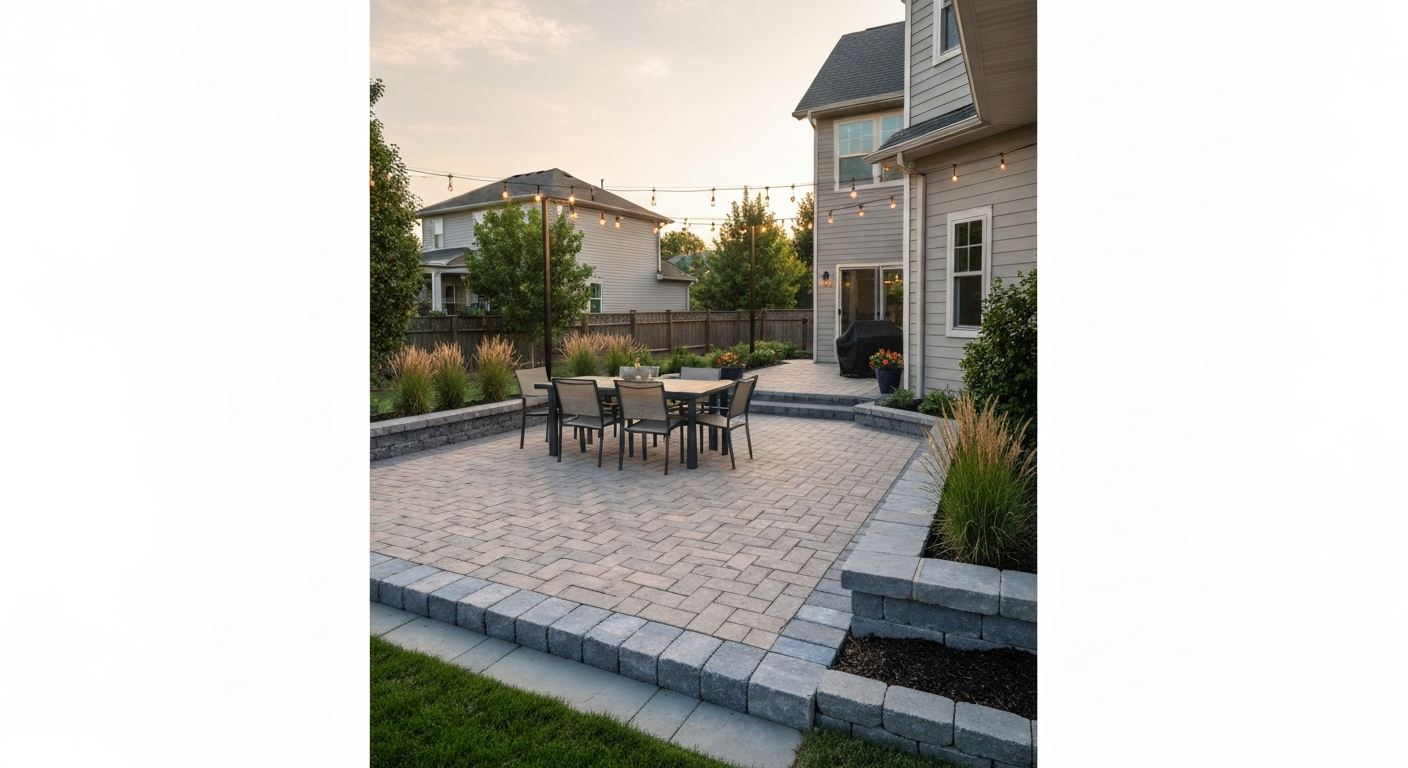
What Type of Patio Is Best: Material Guide & Decision Flow
Decide which patio is best: material, cost, maintenance, climate fit, DIY vs contractor, tools & budget tips.
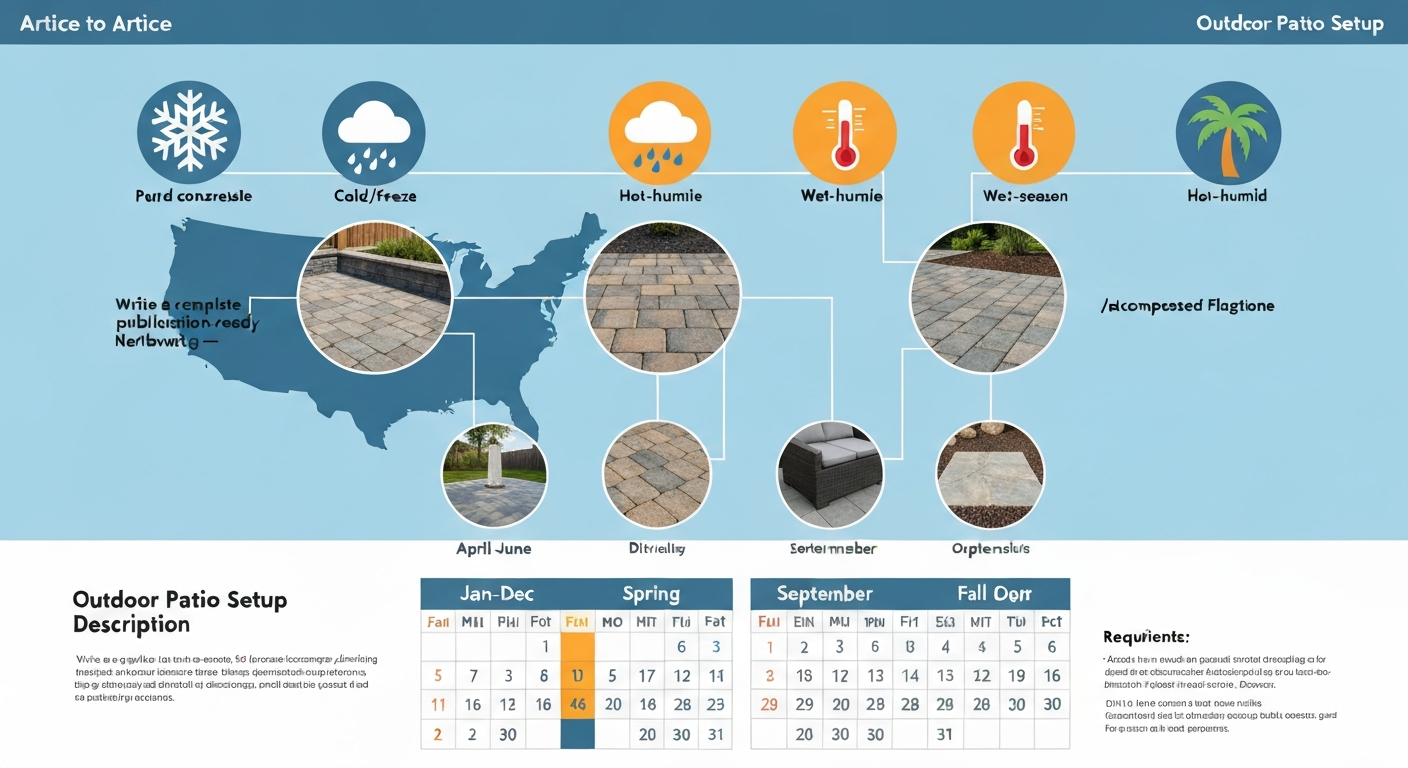
Best Time of Year to Install Patio: Month-by-Month Guide
Best time of year to install patio: month-by-climate timing, material limits, scheduling, and DIY vs pro tips.
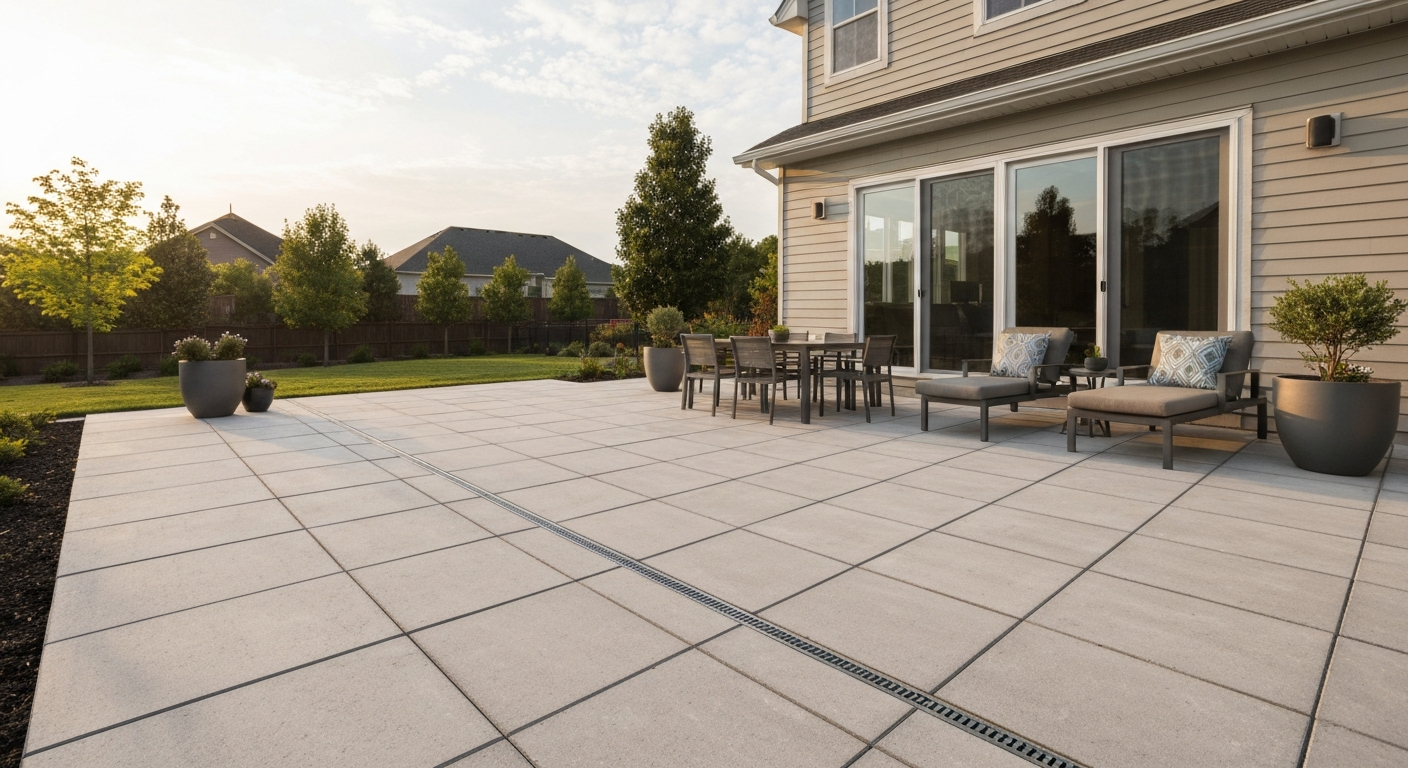
Best Low Maintenance Patio: Materials, Costs & Checklist Guide
Find the best low-maintenance patio: compare materials, costs, climate tips, DIY vs pro, and a final decision checklist.