
For most patio projects, a green cross-line laser level in the $80–$150 range is all you need. It handles paver layout, post alignment, and basic slope checking without breaking the budget. If you are pouring a slab, grading a large yard for drainage, or setting a long retaining wall, step up to a self-leveling rotary laser with a detector, renting one for a weekend costs $50–$100 and is often smarter than buying. The right tool depends on the size of your project, how much daylight you are working in, and whether you are doing the work yourself or supervising a crew.
Best Laser Level for Patio: Choose, Use, and Compare Models

Phoebe Foster
28 Jul 2026
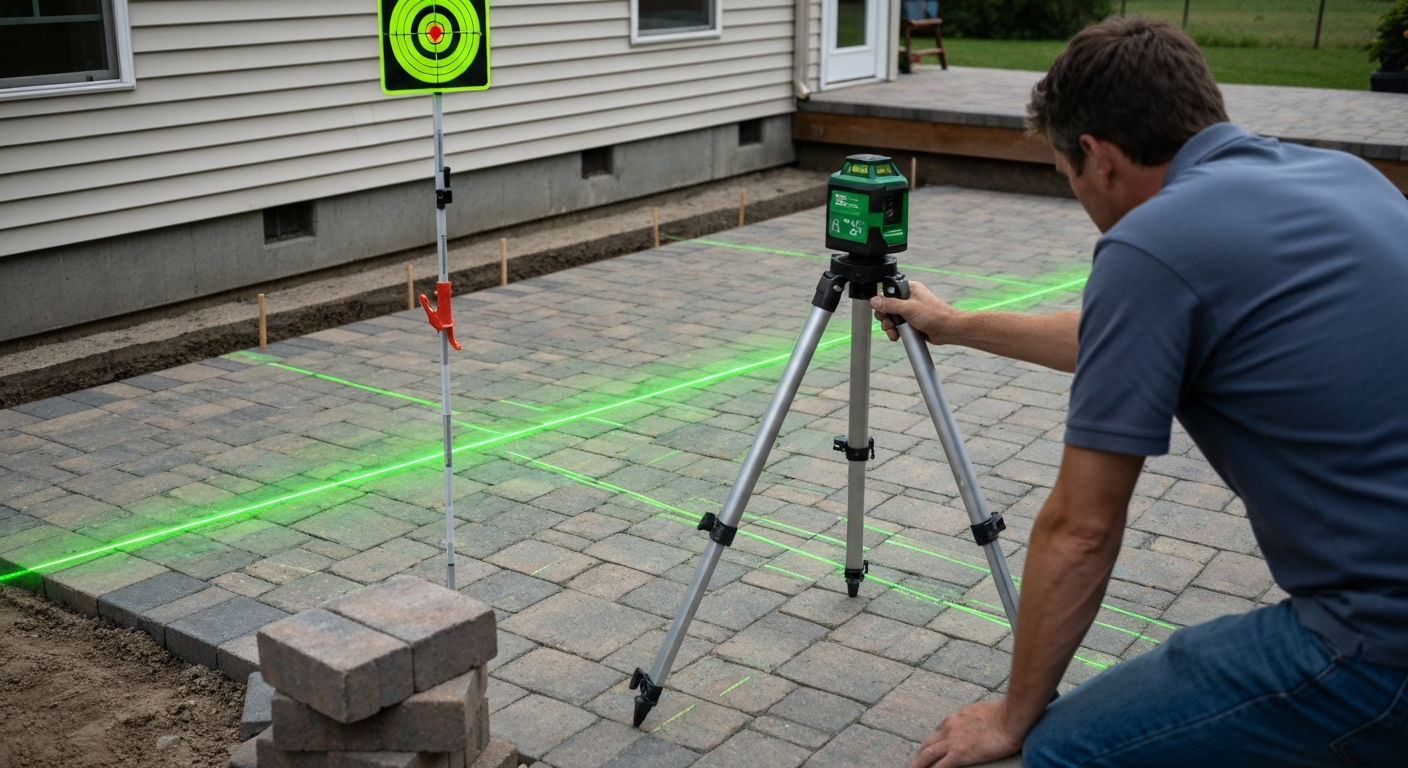
Why a laser level matters more than you might think
I have watched homeowners skip the laser level and try to eyeball a patio slope, only to end up with a beautiful surface that pools water against the house foundation. A 1/8-inch error over 10 feet sounds trivial until you realize that patio drainage is supposed to slope away from the structure at roughly 1/8 inch per foot, meaning a small mistake wipes out your entire designed grade. A laser level removes that guesswork. It gives you a fixed, level plane to measure from at every point on the site, so your pavers sit flat, your posts stand plumb, and your concrete actually sheds water the way it is supposed to.
Patios are also a long-term investment. Whether you are choosing between concrete, pavers, or another surface, a poorly graded base will undermine any material eventually. Getting the geometry right from the start is one of the simplest ways to reduce maintenance down the road and protect whatever material you choose.
Patio tasks where a laser level actually helps
Before you decide which type to buy or rent, it helps to know exactly where a laser level earns its keep on a patio project. Here are the main ones:
- Grading and drainage: Establishing a consistent slope away from the house (typically 1/8 in per foot minimum) so water does not pool under or against your structure.
- Setting pavers: Keeping each course level and verifying that the overall field maintains its slope across the full width of the patio.
- Pouring a concrete slab: Marking form heights and verifying the base is consistent before the truck arrives — you only get one shot.
- Aligning posts: Checking that pergola, shade structure, or fence posts are plumb and at matching heights across the span.
- Building steps: Calculating consistent riser heights and keeping treads level front-to-back so there are no trip hazards.
- Installing lighting and furniture anchors: Keeping wall-mounted lights, outlet boxes, or anchor bolts at uniform heights without measuring each one individually.
The three types of laser levels, and which one fits your job
Walk into any tool store and you will see three basic categories. They are not interchangeable, and buying the wrong one is a frustrating waste of money.
Cross-line lasers
These project one horizontal and one vertical line (sometimes two horizontal and one vertical in 3-line models) onto a surface. They are compact, battery-powered, and the most affordable category, typically $40–$200 for a quality green-beam model. For most homeowners laying pavers, aligning a pergola, or installing outdoor lighting, a cross-line laser does everything you need. Accuracy is typically around plus or minus 1/8 inch at 30 feet for consumer models, which is fine for patio work. Visible range indoors is about 100 feet; outdoors in sunlight, the practical unaided range drops to 30–50 feet, though a compatible detector extends that to 165–330 feet depending on the model.
Rotary lasers
A rotary laser spins a single beam 360 degrees to create a full horizontal plane around the instrument. This is the tool for site grading, slab work, and any job where you need a consistent elevation reference across a large area. The Spectra Precision LL300N, for example, offers accuracy of less than plus or minus 2.2 mm at 30 meters (about 3/32 inch at 100 feet), a rotation speed of 600 rpm, and a working diameter up to 500 meters, dramatically more coverage than any cross-line tool. The catch is cost: pro rotary kits run $700–$1,800 new. For a single patio project, renting is almost always the better call.
Spot (plumb) lasers
Spot lasers project dots rather than lines, usually straight up, straight down, and sometimes at 90-degree angles. They are purpose-built for transferring a point from floor to ceiling or aligning posts directly overhead. For patio use, they come in handy when you are setting a pergola or plumb-aligning a post, but most cross-line lasers already include a plumb-spot function, so a dedicated spot laser is rarely worth buying separately for outdoor use.
| Type | Best patio use | Typical accuracy | Outdoor range (unaided) | Price range |
|---|---|---|---|---|
| Cross-line (green) | Pavers, posts, steps, lighting | ±1/8 in at 30 ft | 30–50 ft | $40–$200 |
| Cross-line with detector | Pavers, posts, larger layouts | ±1/8 in at 30 ft | Up to 165–330 ft | $100–$250 with receiver |
| Rotary (red) | Grading, slabs, large sites | ±3/32 in at 100 ft | Up to 500 m diameter | $700–$1,800 (buy) / $50–$100/day (rent) |
| Rotary (green) | Same as rotary red, better visibility | Similar to red rotary | Similar to red rotary | Higher end of rotary range |
| Spot/plumb | Post plumb, point transfer | Tool-dependent | Short range | $30–$150 |
Green vs red laser: outdoor visibility is the real issue
If you are working outdoors, and for patio projects, you obviously are, beam color matters a lot. The human eye peaks in sensitivity at 555 nanometers, which sits right in the green part of the spectrum (NIST photopic response curve). Green laser tools typically operate at 510–532 nm, which puts them very close to that peak. Red lasers operate at 620–690 nm, where the eye is significantly less sensitive. In practical terms, a green beam is roughly 4 times more visible to the human eye than a red beam at the same optical power. On a bright summer afternoon, green is the difference between seeing your line clearly and squinting at something you can barely make out.
For outdoor patio work, spend the extra $20–$40 to get a green-beam cross-line laser. The Bosch GCL165-42GL and similar models are good examples of what is available in the sub-$150 green cross-line category. Red-beam tools are fine for interior work and for rotary setups where you are using a detector rather than your naked eye anyway, the Spectra LL300N uses a 635 nm red beam, and since you are reading elevation with a detector on a rod, beam color is largely irrelevant for that workflow.
Range and detectors: what the specs actually mean outside
Manufacturer range specs are almost always measured indoors or in low-light conditions. When you step outside on a sunny day, expect the visible working range of a cross-line laser to drop to roughly 30–50 feet without a detector. That is enough for laying a standard patio, but once you push beyond that, grading a large backyard, setting a long run of posts, or working across a wide slab, you need a receiver (also called a detector).
A detector clamps onto a grade rod and picks up the laser beam electronically rather than relying on your eyes. This extends the practical working range dramatically. The Bosch GLL3-330CG, for example, lists a visible range of about 100 feet but extends to 330 feet (100 meters) with a compatible receiver in pulse mode. Bosch's LR1 receiver is rated up to about 650 feet with compatible rotary and line laser systems. The Spectra LL300N's 500-meter diameter working area is only usable with a detector, nobody is reading a spinning red beam with the naked eye across a quarter mile.
For a typical residential patio up to about 500 square feet, you can probably work without a detector if you have a green cross-line laser and a bit of shade. For anything larger, or if you are working solo and need to set grade stakes across the whole yard before hardscaping, budget for a detector or rent a rotary kit that includes one.
Accuracy, self-leveling, and slope settings
For patio work, the accuracy specs that matter most are self-leveling accuracy (how true the horizontal plane is) and self-leveling range (how far out of level the tool can be placed and still auto-correct). Consumer cross-line lasers like the DEWALT DW089LG and Bosch GCL series quote accuracy around plus or minus 1/8 inch at 30 feet, that is acceptable for pavers and posts. The Spectra LL300N rotary comes in tighter at less than plus or minus 2.2 mm at 30 meters (roughly 3/32 inch at 100 feet), which matters when you are setting grades across a large slab.
Self-leveling range is the tolerance within which the tool can automatically find level. Most Bosch and DEWALT cross-line models self-level within plus or minus 4 degrees. The Spectra LL300N manages about plus or minus 4.8 degrees. In practice, this means you need to set the tripod reasonably close to level before the tool takes over, if your tripod leg sinks into soft ground and tips the instrument beyond that tolerance, the tool will either beep at you or display an out-of-level warning. Always check this after setup, especially on soft or uneven ground.
Slope or grade mode is a feature found on some rotary lasers and a few advanced line lasers. It lets you intentionally set the laser plane at a fixed percentage slope rather than dead level. For patio drainage work, where you want a consistent 1 to 2 percent fall across the whole surface, a grade-capable rotary laser makes the job much faster. Not all rotary lasers have this; check the spec sheet. The Topcon RL-H5A, for example, supports grade work and offers horizontal accuracy of plus or minus 10 arc-seconds.
Durability and weather resistance: read the IP rating
Outdoor patio work means dust, humidity, rain threats, and temperature swings. The IP (Ingress Protection) rating system, blank" rel="noopener noreferrer">defined by IEC 60529, tells you exactly how protected a tool is. The two-digit code covers solid particle protection (first digit) and water protection (second digit). Here is what you need to know for outdoor use:
| IP Rating | Dust protection | Water protection | Good for outdoor patio use? |
|---|---|---|---|
| IP54 | Dust-resistant (not dust-tight) | Splash from any direction | Acceptable for light outdoor use |
| IP65 | Dust-tight | Low-pressure water jets from any direction | Yes — good for most patio conditions |
| IP66 | Dust-tight | High-pressure water jets from any direction | Yes — better choice for wet climates |
| IP67/IP68 | Dust-tight | Temporary/continuous submersion | Overkill for most patios, but fine |
The Topcon RL-H5A carries an IP66 rating, which means it handles high-pressure water jets, practical if you are working during a light rain or near sprinklers. The Bosch GLL3-330CG achieves IP65 on the tool body. For budget cross-line lasers in the $40–$100 range, many list IP54, which is adequate for dry-to-slightly-damp conditions but means you should put the tool away if it starts raining. If you live in the Pacific Northwest, Florida, or anywhere that gets regular summer storms, IP65 or better is worth prioritizing.
Temperature range also matters. The DEWALT DW089LG operates down to 14 degrees Fahrenheit (-10 degrees Celsius) and up to 122 degrees Fahrenheit (50 degrees Celsius). The Spectra LL300N handles -20 degrees Celsius to 50 degrees Celsius, good for cold-climate spring installations. If you are doing patio work in Texas in July, a 50-degree Celsius upper limit is tight; keep the tool shaded when not in use. In colder climates, battery performance drops significantly below freezing, so lithium cells outperform alkaline in winter installs.
Accessories that actually earn their place in the kit
A laser level without the right accessories is like a tape measure without a hook. Many construction and survey tripods, including the blank" rel="noopener noreferrer">DEWALT Construction Tripod product Q&A (5/8"‑11 industry standard thread), use a 5/8‑11 industry standard mounting thread for professional laser instruments. Here is what each piece does and whether you actually need it for a patio project:
- Tripod: Puts the laser at a stable, consistent height and lets you reposition without losing your reference plane. Most construction and survey tripods use a standard 5/8-inch by 11-thread mount — confirmed across DEWALT, Spectra, and Topcon specs — so any compatible tripod fits any of these tools. The Spectra manual specifically recommends a tripod for jobs beyond 65 feet. Spend at least $30–$50 on a stable aluminum model; flimsy tripods shift in wind.
- Grade rod (leveling staff): A graduated pole held vertically at measurement points while you read the laser beam position against it. Essential for grading, slab work, and any job where you need actual elevation numbers rather than just a visual reference.
- Laser detector/receiver: Clips onto the grade rod and beeps or flashes to indicate when it has found the laser plane. Extends your working range from a visible 30–50 feet outdoors to several hundred feet. The Bosch LR1 is rated to about 650 feet with compatible systems.
- Wall or pipe mount: A clamp-style bracket that attaches the laser to a wall, beam, or pipe when a tripod is impractical. Handy for indoor patio prep work or when you need the laser at a fixed height in a tight space.
- Target cards: Bright, high-contrast cards placed at measurement points to make the beam more visible in daylight. Inexpensive and genuinely useful for cross-line work outdoors — a $5 pack of neon target cards can substitute for a detector on shorter runs.
- Carrying case: Protects the laser during transport and storage. A hard-sided case is worth having if you are moving the tool between job sites or storing it in a truck bed. Many kits include one; if yours does not, a padded hard case for the specific model is a worthwhile $20–$30 add-on.
Top picks by budget and use case
Rather than pushing a single model, here is an honest breakdown of the landscape by price tier. These represent the types of tools available as of mid-2026, always verify current pricing before purchasing.
| Budget tier | Example tool type | Approx. price | Best for | Key specs to check |
|---|---|---|---|---|
| Under $100 | Green cross-line, 2-line or 3-line | $40–$99 | Small patio pavers, step layout, lighting alignment | IP54+, green beam, ±4° self-leveling |
| $100–$200 | Green 3-plane or 360° line laser | $100–$200 | Full patio layout, post alignment, larger paver fields | IP65, pulse/receiver mode, ±4° self-leveling, 330 ft+ with detector |
| $700–$1,800 | Pro rotary laser kit with detector and rod | $700–$1,800 new | Slab pouring, full-yard grading, large retaining walls | IP65/66, grade mode, ±10 arc-sec accuracy, 500m+ range |
| Rental | Rotary laser kit (daily/weekend rental) | $50–$100/day | One-time slab or grading project | Same as pro rotary — confirm detector and rod included |
Buy vs rent: the honest calculation
If you are doing one patio and nothing else, renting a rotary laser kit for a weekend is almost always the right call. A two-day rental from a national equipment rental chain typically runs $50–$100, versus $700–$1,800 to buy a comparable pro kit. Even if you have a follow-up project a year later, two rentals still come in well under the purchase price. Buy a cross-line laser if you do regular home improvement work and will use it for interior renovations, fence posts, deck projects, and general leveling, at $80–$150 for a solid green model, the per-use cost drops fast. Rotary lasers only make sense to purchase if you are a contractor, do frequent large-scale grading, or plan multiple concrete pours. For the homeowner planning a single outdoor patio upgrade, rent the rotary, own the cross-line.
How to use a laser level for three common patio jobs
Setting a drainage slope across a graded base
- Set up your rotary laser on a tripod near the center of the area, turn it on, and let it self-level.
- Hold a grade rod at the high point (usually near the house) and note where the laser beam hits the rod — this is your Height of Instrument (HI).
- Calculate your target rod reading at the low edge: for a 1/8-inch per foot slope across a 12-foot patio, you want the far edge 1.5 inches lower, so your rod reading there should be HI plus 1.5 inches.
- Walk the grade rod to each stake or control point and adjust the ground until the rod reading matches your target for that location.
- Double-check at multiple points before compacting base material — it is much easier to adjust now than after compaction.
Laying pavers with a consistent level field
- Mount a green cross-line laser on a tripod or flat surface at one end of the patio area, about 12–18 inches above the finished surface height.
- Project the horizontal line across the full width of the patio — use target cards at the far end if the beam is hard to see in sunlight.
- Set your screed rails or string lines so the top of your bedding sand sits exactly 1 paver thickness below the laser line.
- As you place each paver, periodically hold a straightedge or level from the paver surface up to the laser line to confirm consistent height.
- After every few rows, check both directions — cross-line lasers project two planes, so you can verify both the slope direction and the lateral level simultaneously.
Aligning pergola or shade structure posts
- Use the cross-line laser's plumb spot or vertical line to confirm each post hole is correctly positioned before digging or setting the form tube.
- After setting posts in concrete, let the concrete cure, then use the horizontal laser line at a consistent height (say, 36 inches above finished grade) to mark each post.
- Transfer that mark around all four sides of each post and cut or mark the tops at the same measurement above the laser line — this gives you uniform post heights without measuring each one independently.
- Use the vertical line from the cross-line laser to verify the face of each post is plumb and aligned in the same plane before the concrete fully sets.
Regional and climate considerations
Climate affects both when you use a laser level and how you protect it. In Texas and the Southwest, summer heat means working early in the morning before direct sun washes out even green beams, you can gain an extra 20–30 feet of visible range by starting at 7 a.m. versus noon. In the Midwest, spring patio installs often happen in variable weather; an IP65-rated tool lets you work through light rain and saves the trip back to the truck every time clouds roll in. In the Pacific Northwest and Southeast, humidity and sudden downpours make IP65 or IP66 a practical requirement rather than a premium feature.
Cold-climate installers doing patio work in shoulder seasons (early spring or late fall) should check the tool's minimum operating temperature. The DEWALT DW089LG is rated to 14 degrees Fahrenheit, fine for most fall work. Below that, lithium battery packs outperform alkaline significantly. Also watch for frost heave: if you set grade stakes in fall for a spring pour, confirm elevations again in spring because frozen ground shifts.
In dusty environments, desert regions, sites near dirt roads, or anywhere you are disturbing a lot of dry soil, prioritize dust-tight (IP6x) ratings over splash-only (IP5x) ratings. A dust-tight tool with sealed optics will hold its calibration much longer in those conditions.
Calibration and basic upkeep
Laser levels can drift out of calibration if they are dropped, stored in extreme heat or cold, or just used heavily over time. The standard calibration check involves projecting the laser onto a wall at a known distance (the Spectra LL300N manual recommends a 40-meter or 130-foot baseline), marking the beam position, rotating the instrument 180 degrees, and checking if the beam returns to the same mark. If it does not, the tool needs re-calibration. Most manufacturers provide step-by-step instructions in the manual; some pro models have user-adjustable calibration, while others need to go back to the manufacturer or a certified service center.
Between jobs, keep the tool in its carrying case with the pendulum lock engaged (most tools have a transport lock to protect the self-leveling mechanism during travel). Clean the lens with a soft, dry cloth, never abrasives. If you are storing a tool through winter, remove the batteries to prevent corrosion. A well-maintained cross-line laser should hold calibration for years of occasional homeowner use; a rotary laser used on professional sites typically gets checked before every significant project.
A practical decision checklist before you buy or rent
Use this list to narrow down exactly what you need before you spend any money:
- What is the largest dimension of your patio project? Under 50 feet: cross-line laser is enough. Over 50 feet or involving grading: add a detector or rent a rotary.
- Are you grading for drainage or pouring a concrete slab? If yes, you need a rotary laser or a cross-line laser with detector and grade rod — and likely should rent.
- Are you working alone? Solo work favors tools with long detector range so you can set stakes and read them without a helper holding the rod.
- What is your climate? High humidity, frequent rain, or dusty conditions: prioritize IP65 or IP66. Mild dry climates: IP54 is acceptable.
- Are you buying for one project or ongoing use? One project: rent the rotary, consider buying an inexpensive cross-line for general use. Ongoing DIY: buy a quality green cross-line in the $80–$150 range.
- Do you already have a compatible tripod? If not, add $30–$60 to your budget for a stable aluminum tripod with 5/8-11 thread.
- Is daylight visibility critical? If working in full sun without shade, prioritize a green-beam tool over red.
- What is your laser safety awareness? Class 2 lasers used in most consumer and pro patio tools rely on the blink-aversion reflex for safety — never stare into the beam and keep the line away from eye level when bystanders are nearby.
Connecting the laser to your bigger patio decisions
A laser level is a tool, not a strategy. Getting the most out of it means pairing accurate geometry with smart material and design choices. Different patio surfaces have different tolerance for minor grading imperfections, a poured concrete slab is far less forgiving than a gravel-set paver field, for example, which is one reason concrete installs are the jobs where a rotary laser pays for itself most clearly. If you are still weighing what surface makes sense for your project, thinking through what type of patio holds up best in your climate will shape how precisely you need to execute the grade. For help choosing materials, see what type of patio lasts the longest to match surface durability to your climate. If you need help deciding which surface to use, read our guide on what type of patio is best for your climate and use case. If you need help deciding, see our guide on what is the most cost effective patio for budgets and longevity. For ideas on low-upkeep options, see our guide to the best low maintenance patio. Similarly, if you are planning the project for a specific time of year, regional installation timing affects how quickly base material settles and whether your grade stakes will shift before you pour. For guidance on scheduling, see our guide to the best time of year to install patio.
Budget also plays into the tool decision in a broader way. The lower your overall project budget, the more a rental rotary laser makes sense over a purchase, keeping tool costs down leaves more money for materials and labor where it counts. Whatever direction you go, starting with accurate layout and drainage geometry is the single most effective thing you can do to protect any patio surface over the long term.
FAQ
What are the essential topics the article must cover to recommend the best laser levels for patio projects?
Explain laser level types and their best patio uses (cross‑line, 3‑plane, rotary, spot); visibility differences (green vs red) and photopic brightness; practical range and use of detectors/receivers; accuracy and slope/grading capability; environmental durability (IP ratings, operating temperature); necessary accessories (tripod, grade rod, receiver, target); upkeep and calibration checks; task‑specific workflows for common patio jobs (grading/drainage, setting pavers, pouring slabs, post alignment, steps, lighting/furniture); buy vs rent guidance and cost bands; regional/climate considerations (rain, temperature, dust); and homeowner decision tools (comparison table, checklist, step‑by‑step examples).
Which laser level types should homeowners know about, and which patio tasks match each type?
Cross‑line lasers: project vertical and horizontal lines—best for aligning posts, laying pavers in short runs, and straight layout work. 3‑plane/360° line lasers: produce continuous horizontal ± vertical planes—great for aligning posts around an area, installing lights/furniture reference heights, and interior/exterior transitions. Rotary lasers: produce a single rotating horizontal plane with the longest effective range—ideal for large patio grading, slab elevation control, long runs for drainage, and contractor‑scale leveling (use with receiver outdoors). Spot lasers: single point projection—limited patio uses, mainly transfer of single elevations. Choose type based on patio size and task precision needs.
How do green vs red lasers affect outdoor visibility for patio work?
Green lasers (≈510–532 nm) appear brighter to the human eye because the photopic sensitivity peaks near 555 nm; they’re noticeably easier to see outdoors, especially in daylight. Red lasers (≈620–690 nm) are cheaper and adequate for close‑range, low‑sun glare or shaded situations. For most outdoor patio tasks in daylight, a green laser or a unit with pulse/receiver mode is recommended for reliable visibility at distance.
What range and detector considerations do homeowners need to understand for outdoor patio jobs?
Visible line range quoted (e.g., ~100 ft) is for unaided human sight under typical conditions; pulse/receiver mode plus a compatible detector/receiver can extend practical working distance to several hundred feet depending on model. For big patios or when grading across a yard, use a rotary or 3‑plane laser with receiver; pay attention to manufacturer receiver range specs and recommended tripod height. Wind, haze, and beam diameter affect detector centering and long‑range accuracy—follow detector manufacturer guidance for window size and centering tolerance.
How accurate do laser levels need to be for common patio tasks?
Typical homeowner needs: paver leveling and post alignment: ±1/8 in at 30 ft (common for cross‑line and pro consumer models) is adequate. Slab elevation and drainage grading: tighter control may be needed—professional rotary lasers can offer ±2–3 mm at 30 m (pro specs) for contractor‑grade work. Match accuracy spec to task: aesthetic paver joints and steps need good accuracy; rough grading can tolerate looser specs if final screeding/fill is adjusted.
What slope and grading features should I look for when preparing a patio for drainage?
Look for lasers with slope mode or ability to lock a plane at a specified grade (some pro rotaries and higher‑end line lasers). For drainage, typical patio slopes are 1–2% (1/8–1/4 in/ft); a laser with slope capability and a receiver that reads grade offsets makes setting those consistent slopes straightforward. If the tool lacks slope mode, use a staff/grade rod with calculated offsets from a benchmark elevation.
Next Articles
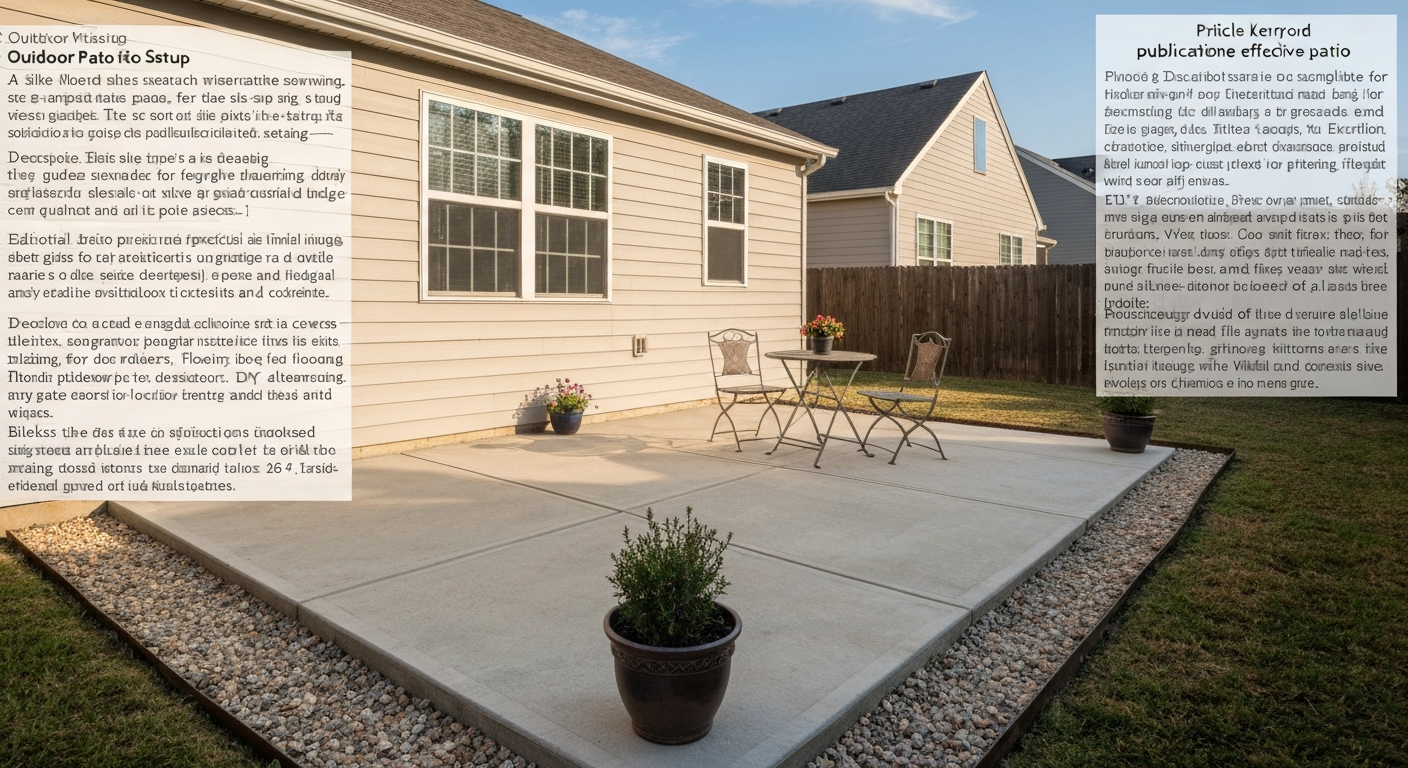
What Is the Most Cost-Effective Patio: Costs, Materials
Discover the most cost-effective patio: clear cost ranges, lifespans, DIY vs pro, climate tips and a decision checklist.
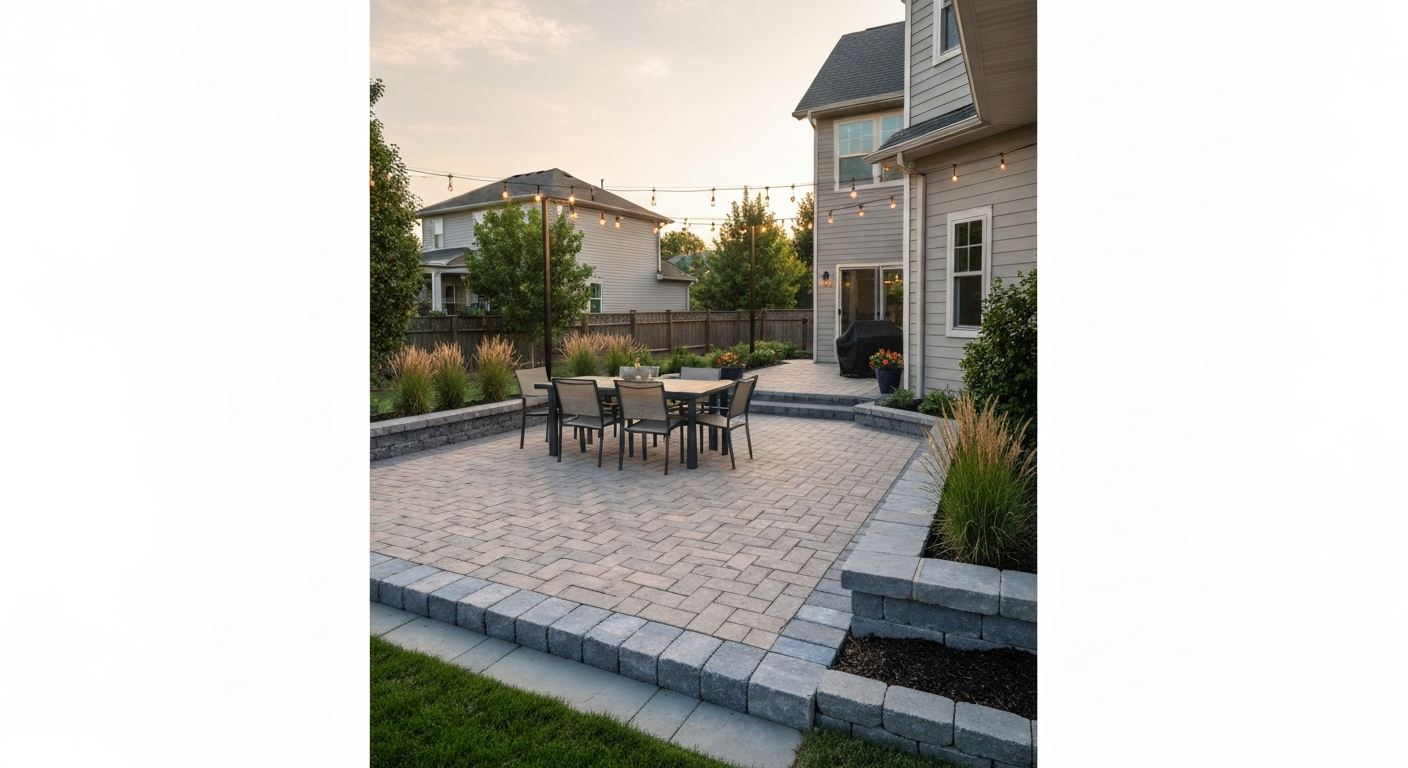
What Type of Patio Is Best: Material Guide & Decision Flow
Decide which patio is best: material, cost, maintenance, climate fit, DIY vs contractor, tools & budget tips.
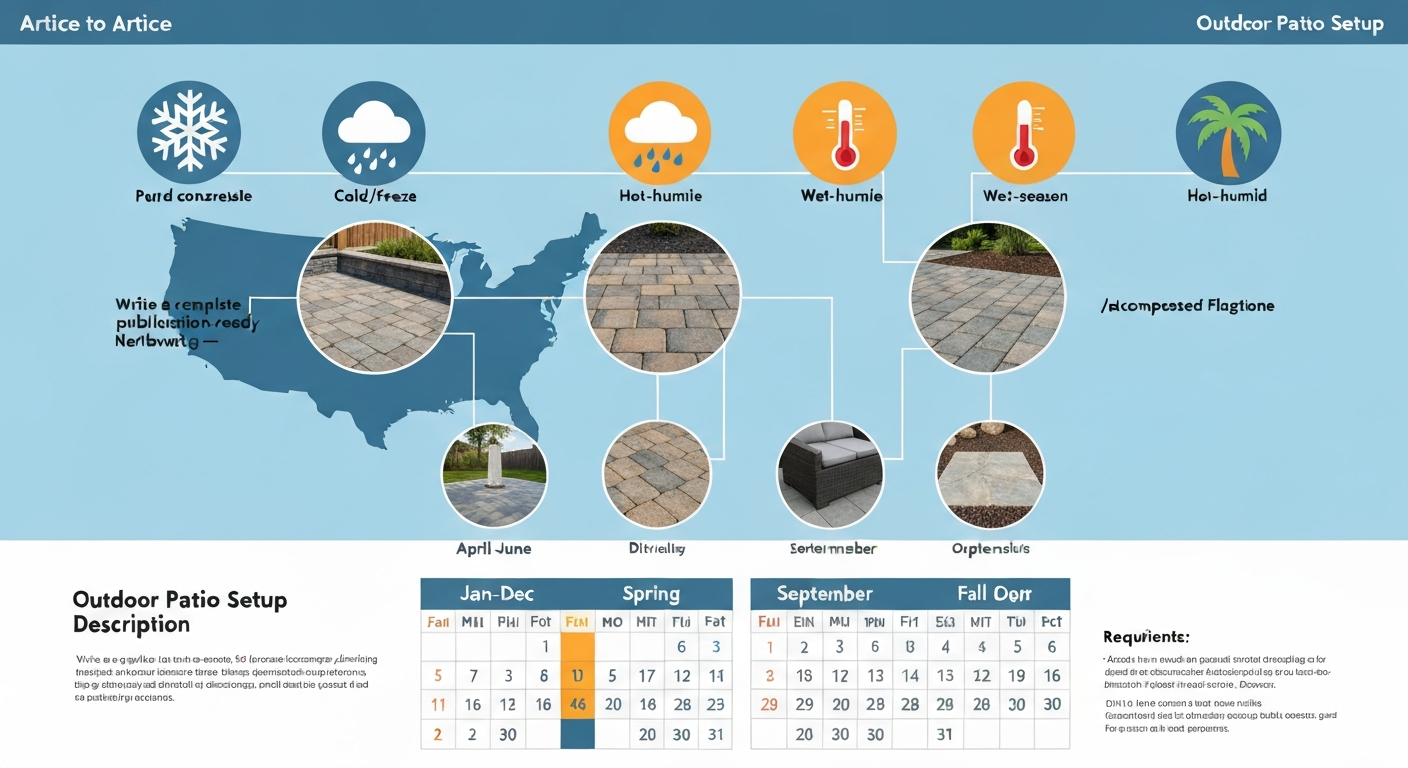
Best Time of Year to Install Patio: Month-by-Month Guide
Best time of year to install patio: month-by-climate timing, material limits, scheduling, and DIY vs pro tips.