
The easiest DIY patio you can build in a weekend is a gravel patio with a landscape fabric base, but if you want something that looks more polished and still stays manageable, a patio block or flagstone paver patio on a compacted gravel base is the sweet spot most homeowners land on. Both options skip concrete entirely, require only basic tools, and are genuinely forgiving if you're not a seasoned contractor. Which one is actually easiest for you depends on your yard's slope, how much prep work you're willing to do, and whether you want something semi-permanent or easily changeable down the road.
What Is the Easiest DIY Patio Choose Gravel or Pavers

Phoebe Foster
9 Jul 2026
What 'easiest' actually means for your yard and budget
Easiest is relative. A 10x10 patio on flat ground in the Midwest is a totally different project than the same size patio on a sloped Texas backyard baked by summer heat. Before you pick a material, get honest about three things: how level your ground is, how much time you have, and how finished you want it to look.
Yard size matters because more square footage means more base material to haul and compact, which is the physically demanding part of any patio build. A 10x10 space (100 sq ft) is a reasonable first-timer project you can realistically finish in a Saturday and Sunday. Go to 16x20 or bigger and you're looking at a full weekend plus possible delivery costs for bulk gravel. Ground slope matters because even a gentle grade means you're either cutting into the high side or building up the low side, and both add time and materials. Budget ties directly into material choice: gravel costs a fraction of pavers, but pavers last decades longer and look dramatically better.
Time is the factor people most underestimate. The actual laying of pavers or spreading of gravel is fast. The site prep, base compaction, and leveling are what eat your weekend. Plan for roughly 60% of your time on prep and 40% on the fun part of placing your surface material. If you skip or rush the prep, you'll be fixing sunken, heaved, or weedy pavers within a year.
The fastest DIY patio options, compared honestly
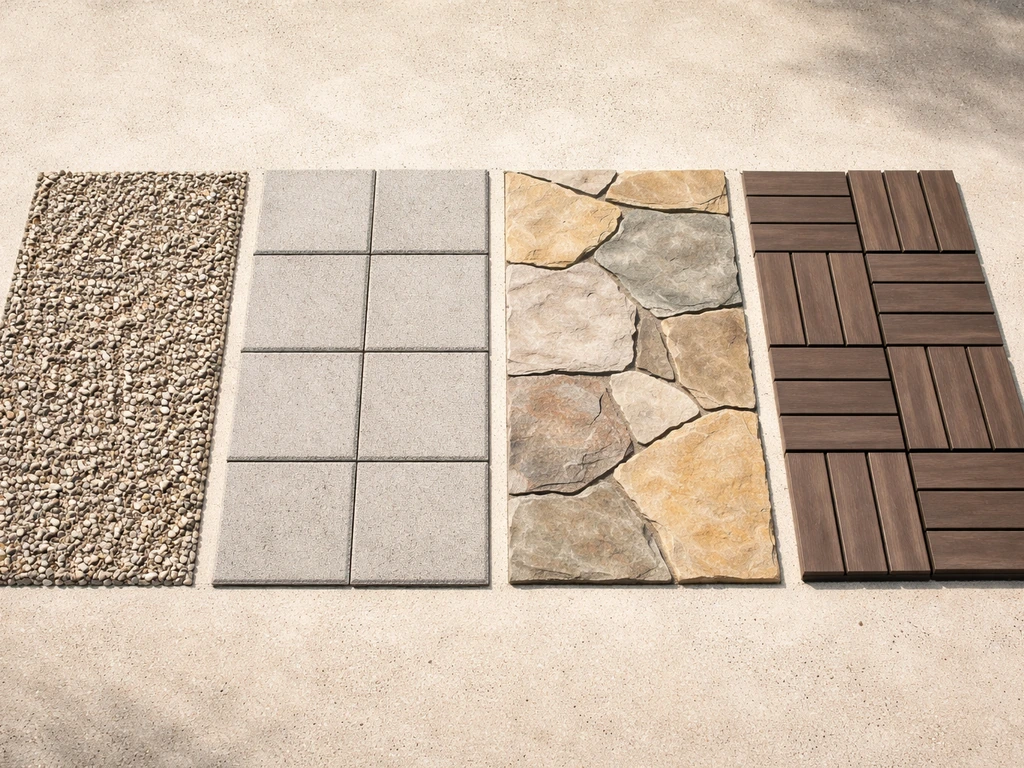
There are four realistic DIY surface options most homeowners consider: gravel, patio blocks or concrete pavers, flagstone, and interlocking deck tiles. Each has a real use case. Here's a plain-language breakdown.
Gravel patios
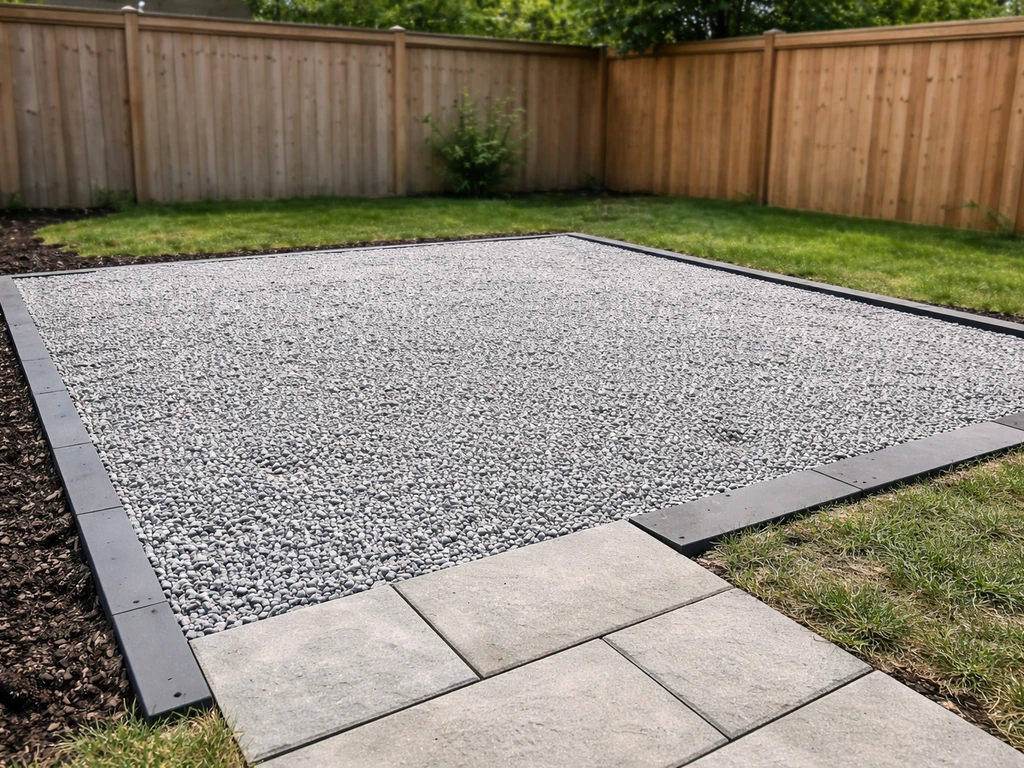
Gravel is the fastest and cheapest option. You excavate a few inches, lay landscape fabric, pour in crushed stone or pea gravel at about 3 to 4 inches deep, and add edging to keep it contained. Done. The downsides are real though: chairs and tables sink in slightly, gravel migrates if you don't have solid edging, and it isn't comfortable to walk on barefoot. It works brilliantly as a low-maintenance seating area or a space to place container plants and outdoor furniture, but it's not the same experience as a solid paved surface.
Patio blocks and concrete pavers
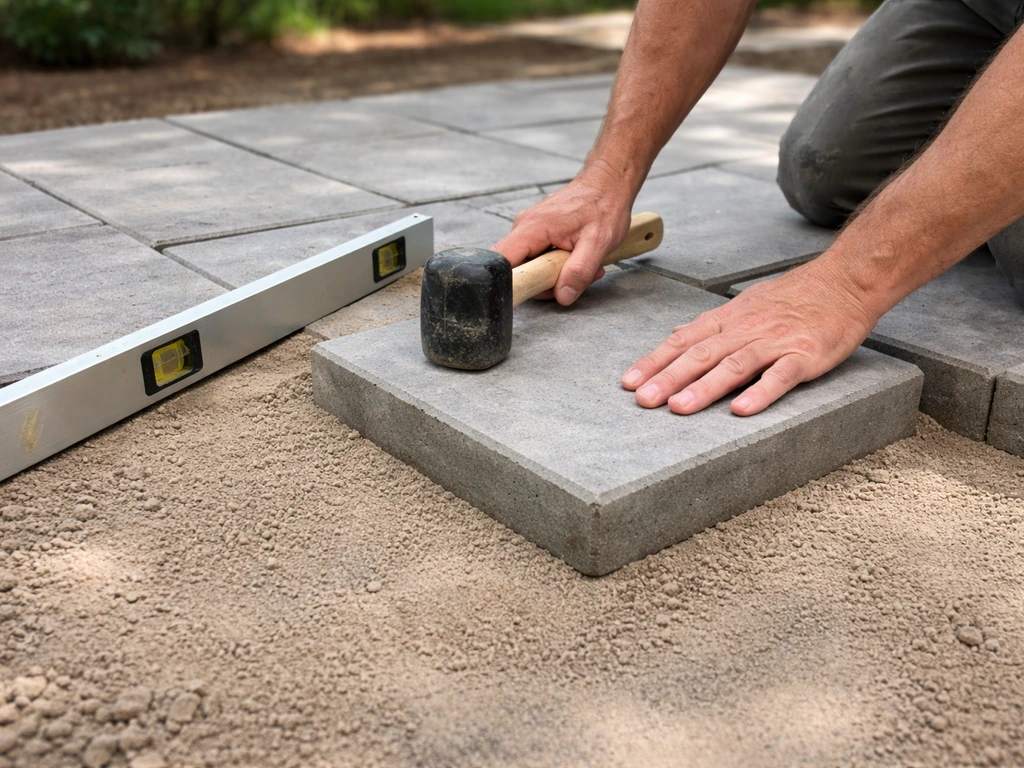
This is the option I'd recommend for most people who want a real patio. Concrete patio blocks (the simple square or rectangular ones from any big-box home improvement store) or thicker concrete pavers give you a solid, attractive surface that handles furniture, foot traffic, and weather well. They sit on a compacted gravel base with a 1-inch sand setting bed on top, which is the industry-standard method recommended by paver manufacturers including Belgard and Techo-Bloc. The base and sand layer is what makes the whole thing stay flat and drain properly. The blocks themselves are just puzzle pieces once that's set up correctly.
Flagstone
Flagstone looks great and feels natural, but irregular shapes make leveling more time-consuming. Every piece has a different thickness, so you're constantly adjusting your sand bed to compensate. It's not the hardest DIY project, but it's definitely harder than uniform patio blocks. Save flagstone for a second project once you're comfortable with the basic process.
Interlocking deck tiles
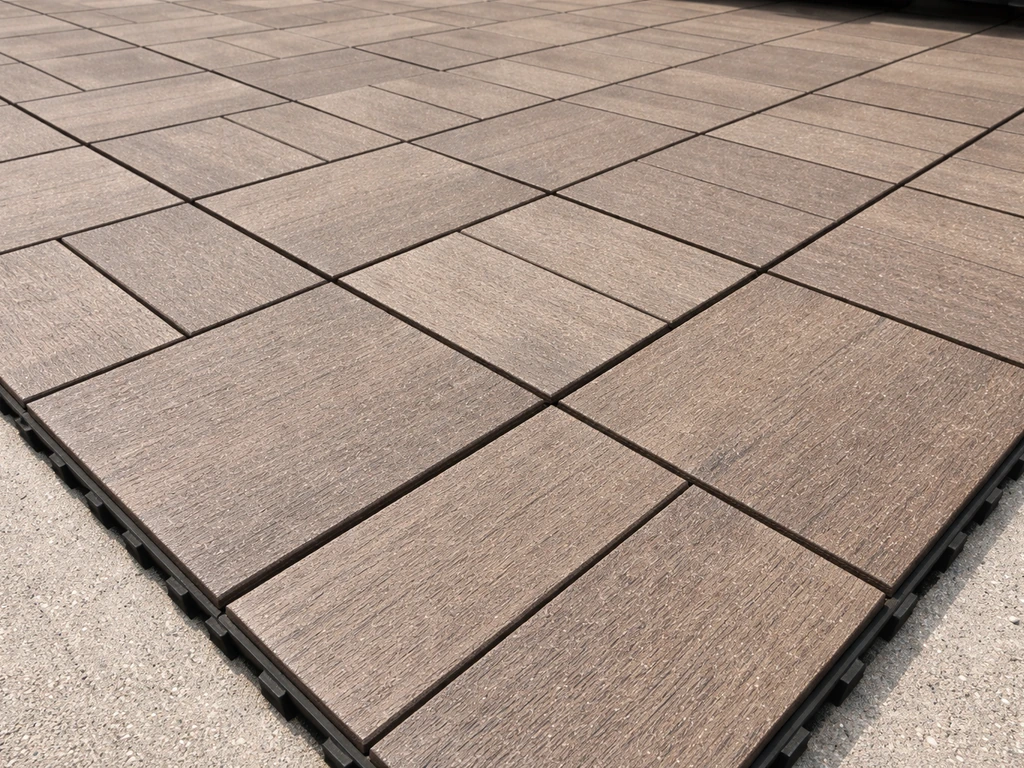
Snap-together composite or porcelain interlocking tiles are genuinely the easiest to install in terms of the surface layer itself. They click together and require almost no cutting. The catch is that they still need a flat, stable base underneath, and they're not great for large areas or ground-level applications without a solid sub-surface. They're better suited to existing concrete slabs or wood decks that need a refresh. On bare ground, they'll shift.
How the options stack up
| Material | Difficulty | Weekend Finish (10x10) | Rough Cost per Sq Ft | Durability | Best For |
|---|---|---|---|---|---|
| Gravel | Very Easy | Yes, easily | $1–$3 | Moderate (needs topping up) | Budget builds, rustic areas |
| Concrete patio blocks | Easy-Moderate | Yes, with prep done Friday | $3–$8 | High (15–25+ years) | Most homeowners, best value |
| Concrete pavers (premium) | Moderate | Tight but doable | $6–$15 | Very High (decades) | Polished look, long-term value |
| Flagstone | Moderate-Hard | Possible for small areas | $5–$15 | Very High | Natural aesthetic, experienced DIYers |
| Interlocking deck tiles | Very Easy | Yes (on existing solid base) | $4–$12 | Moderate | Refreshing existing surfaces |
What you'll need: materials and tools checklist
This list covers a standard patio block or concrete paver patio on bare ground, which is the build I'd recommend for most first-timers.
Materials
- Patio blocks or concrete pavers (measure your area, add 10% for cuts and breakage)
- Crushed gravel or road base aggregate for the sub-base (you'll need 6–8 inches deep per Unilock's standard patio guidelines)
- Coarse sand for the 1-inch setting bed (Belgard and Techo-Bloc both specify at least 1 inch, spread evenly)
- Landscape fabric or geotextile (goes under the gravel base to block weeds and keep layers separate)
- Plastic or aluminum edge restraints with landscape spikes (at least 4 inches wide to cover at least two-thirds of the paver edge per CMHA standards)
- Polymeric sand or regular sand for filling joints between pavers
- Optional: paver sealer for long-term protection
Tools
- Tape measure and marking paint or stakes
- Spade and flat shovel for excavation
- Wheelbarrow for moving materials
- Plate compactor (rent this, don't skip it — hand tamping is not enough for a stable base)
- 2x4 screed board for leveling sand
- Level (4-foot is ideal) and rubber mallet
- String line and stakes for keeping rows straight
- Circular saw with a diamond blade or paver splitter for cuts
- Broom for sweeping sand into joints
- Garden hose for wetting polymeric sand
How to build it: the step-by-step process that actually works
Here's the honest sequence. Spend the most time on steps 1 through 4. That's where the project succeeds or fails.
- Mark your patio area with stakes and string, then spray paint or mark the outline on the ground. Account for a slight slope away from your house (about 1/8 inch per foot) so water drains off rather than pooling or running toward your foundation.
- Excavate the area to a depth of 7–9 inches below your desired finished surface height. That allows for 6–8 inches of compacted gravel base, 1 inch of sand, and the thickness of your paver or block on top.
- Lay landscape fabric over the excavated base, overlapping seams by at least 6 inches. This keeps weeds from pushing up through your base and stops soil from migrating into your gravel over time.
- Add crushed gravel in 2–3 inch lifts, compacting each layer with a plate compactor before adding the next. This is the step that will make your patio stay level for years. Do not skip compaction or try to do it all at once.
- Once your base is compacted and at the right height, set up screed pipes or 2x4 guides at the correct grade and spread a 1-inch layer of coarse sand. Screed it flat and smooth, then do not walk on it.
- Lay your patio blocks or pavers starting from the most visible corner or from a straight edge. Use a string line to keep rows straight. Set each piece firmly by hand, then tap down with a rubber mallet. Keep joints consistent using spacers if needed.
- Cut edge pieces with a circular saw and diamond blade or a rented paver splitter. Snap-fit cuts rarely work well on concrete pavers.
- Install edge restraints along all open sides, driving spikes down through the restraint into the compacted base every 12 inches.
- Sweep polymeric sand into the joints, make two or three passes, then lightly mist with water to activate the binder. Keep traffic off for 24 hours.
Cost, time, and effort: quick comparison by material
| Material | Avg Cost (10x10 patio) | Prep Time | Total Labor (solo) | Physical Effort |
|---|---|---|---|---|
| Gravel | $100–$300 | 2–3 hours | 4–6 hours | Low-Moderate |
| Patio blocks (concrete) | $300–$800 | 4–6 hours | 8–14 hours | Moderate |
| Premium concrete pavers | $600–$1,500+ | 4–6 hours | 10–16 hours | Moderate |
| Flagstone | $500–$1,500+ | 4–7 hours | 12–20 hours | Moderate-High |
| Interlocking tiles (on concrete) | $400–$1,200 | 1–2 hours | 3–6 hours | Low |
If cheapest is your main priority, this overlaps with a separate question worth exploring around what is the cheapest patio option overall. If you want the most straightforward answer to what is the best patio for your situation, it usually comes down to your priorities first: cost, ease, and long-term durability what is the cheapest patio option overall. Easiest and cheapest often point to the same answer (gravel), but if you want durability alongside ease, patio blocks are the better value over time.
Mistakes that ruin a DIY patio (and how to avoid them)
These are the issues I see come up most often, and every single one is avoidable.
Skipping compaction
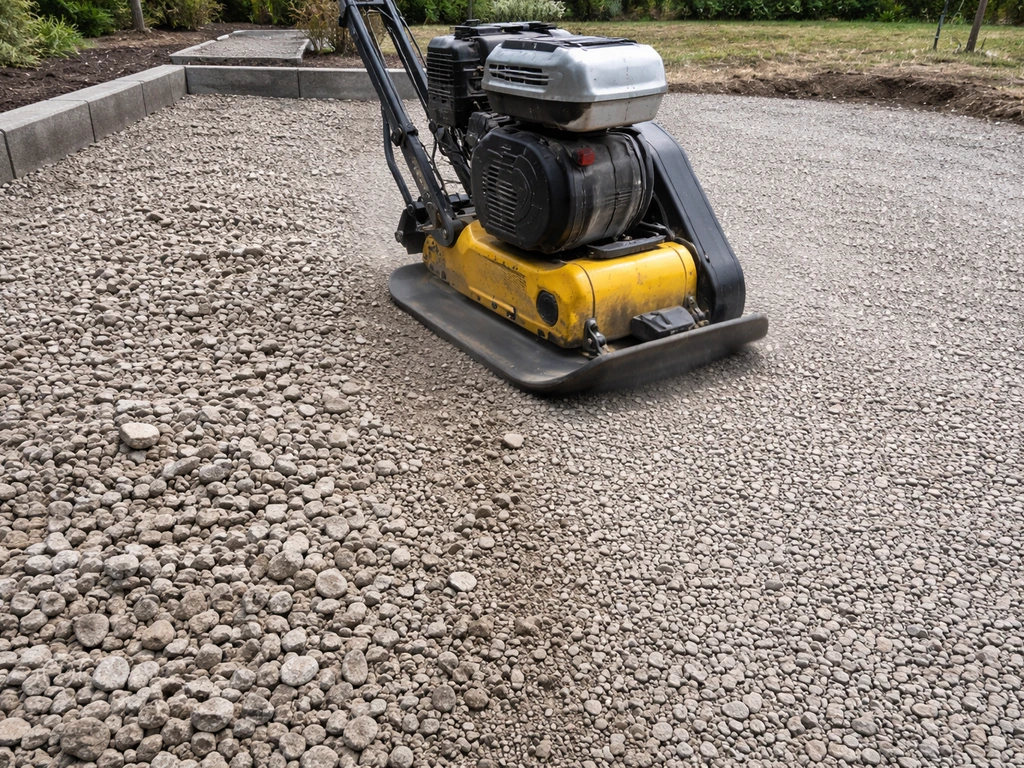
This is the number one reason DIY patios fail within a year or two. If your gravel base isn't properly compacted in lifts, it settles unevenly under the weight of furniture and foot traffic. Rent a plate compactor. It costs around $60–$80 for a day rental and it's worth every penny.
Not enough base depth
A lot of online guides suggest 4 inches of base as sufficient. For a patio, aim for 6–8 inches of compacted gravel, especially if you're in a freeze-thaw climate like the Midwest or Northeast where ground movement is real. Skimping on base depth leads to frost heave and sunken pavers.
Poor drainage slope
A dead-flat patio pools water. Build in a slope of about 1/8 inch per foot away from your house from the very start of excavation. If you are deciding on a patio material and you want your comfort to last, check the recommended fall for your patio so drainage stays working from day one recommended fall for patio. If you set your grade flat and try to correct it later, you're reworking the whole sand bed.
Skipping edge restraints
Without solid edge restraints, your pavers gradually spread apart at the edges. This lets sand escape, joints widen, and pavers wobble. Install physical edge restraints on every open side, not just on the house-facing edges. Edge restraints should be at least 4 inches wide and spike into the compacted base, not just the sand layer.
Weeds in the base
Skipping the geotextile layer under your gravel base invites grass and weeds to grow up through your patio over time. A layer of landscape fabric before you add any base material takes 20 minutes and saves you years of pulling weeds through paver joints.
Walking on the screeded sand before laying pavers
Once your sand bed is screeded flat, any footprints or disturbances create low spots. Work from a kneeling board or lay a piece of plywood to distribute your weight as you place pavers. Never stand directly on the prepared sand.
Finishing touches that make it feel like a real outdoor room
Laying the pavers is really just the beginning of what makes a patio feel finished and liveable. These additions make a huge difference and most can be done the same weekend or shortly after.
Weed control between joints
Polymeric sand is the best joint filler for paver patios. It's sand mixed with a polymer binder that hardens when wet, making it much harder for weeds to take root. Standard sand works but weeds push through within a season. If you already have standard sand and weeds are coming up, you can vacuum or blow out the joints and replace with polymeric sand at any time.
Edging and border definition
Even a clean patio looks more intentional with a defined border. Metal landscape edging around the perimeter, a row of larger pavers as a frame, or a simple planting bed along two sides all give the space visual weight and make it look designed rather than just laid.
Outdoor lighting
Low-voltage path lights along the patio edge, solar stake lights at corners, or string lights overhead on a pergola or fence posts transform a patio into a space you actually use after 7 p.m. Solar string lights require zero wiring and can go up the same afternoon your patio is done. For something more permanent, low-voltage LED landscape lighting kits are a manageable one-evening DIY project.
Seating and shade
A patio without shade is hard to use in summer, especially in southern climates. A simple cantilever umbrella, a sail shade between posts, or even a freestanding pergola kit can go in right after your patio is done. If you're in a hot region, adding a misting system or an outdoor ceiling fan to a nearby covered area extends comfortable hours dramatically. These outdoor living upgrades are worth planning for from the start, even if you add them gradually.
Sealer (optional but smart)
Sealing concrete pavers 30 days after installation helps them resist staining, keeps joint sand in place, and gives them a cleaner look long-term. It's not mandatory, but if you've put a weekend into a nice paver patio, sealing it is a 2-hour task that protects your investment for years. Let your patio cure and weather its first rain cycle before sealing.
Your next steps
If you want the easiest possible weekend patio, go with gravel: mark it out, lay fabric, pour 4 inches of crushed stone, add edging, and you're done in a day. If you want something that looks great, handles outdoor furniture, and lasts decades without much maintenance, go with concrete patio blocks on a properly compacted 6–8 inch gravel base with a 1-inch sand setting bed. The best time of year to lay patio pavers is when temperatures are mild and the ground is dry, so your base can be properly prepared and the materials can set correctly. That's the best balance of ease and quality for most homeowners. Sketch your space, calculate your square footage, call your local rental shop to reserve a plate compactor, and order your gravel and blocks. The actual build is straightforward once your prep is solid.
FAQ
What is the easiest DIY patio if my yard is sloped?
For a sloped yard, the “easiest” option is usually patio blocks on a properly built, stepped or terraced layout. You still grade with a consistent fall away from the house, but stepping reduces how much you have to haul, and it avoids trying to level a thick sand bed to compensate for major grade changes.
Can I do an easy DIY patio directly over grass or dirt?
You can, but you should not do it by only laying pavers over topsoil. Topsoil settles and creates uneven spots, so remove the organic layer (and any roots), then add base gravel you can compact in lifts. The time you spend on excavation and compaction is what keeps an “easy” patio from becoming a wobbly one.
How small can my patio be and still be “easy” for a weekend?
A 6x6 patio (about 36 sq ft) is often a true weekend build, especially with gravel or standard patio blocks. Anything smaller than that can be harder in a different way because you still need edging, a stable base depth, and accurate lines, so the percentage of time spent on measuring and prep doesn’t shrink much.
Is gravel still the easiest if I want it to look neat and not drift around?
Gravel can stay neat if you use solid, continuous edging on every perimeter and choose a consistent, well-graded stone. Loose edging is what causes “migration,” so invest time in setting the edging firmly into the compacted base, not just into the top layer.
Do I need geotextile fabric under a patio if I’m using patio blocks?
Yes, at least under the gravel base layer. It helps reduce weed growth that can work into the joints over time, and it also helps limit the mixing of base gravel with underlying soil (which can reduce stability and increase settling).
What’s the easiest way to get the patio level if I don’t have experience with sand leveling?
Use a straight screed method with a reference line (string line or laser level) and compact the base before adding sand. After sand is spread, place pavers without stepping into the sand, and adjust tiny height differences by tweaking the sand bed, not by “rebuilding” with extra sand under already set units.
How do I choose the easiest patio material for freeze-thaw climates?
In freeze-thaw areas, prioritize a deep, well-compacted base and the correct drainage slope over picking the most decorative stone. Concrete pavers on a 6 to 8 inch compacted base are usually more forgiving than flagstone because uniform units and a consistent base depth make it easier to maintain level surfaces.
What is the fastest way to handle drainage near my house without redoing the whole patio?
Start your slope during excavation and keep it consistent, aiming for about 1/8 inch per foot away from the house. If water collects at the house-facing edge, you often need to remove and re-screed the sand layer, so catching grade issues early is the easiest fix.
What are common mistakes that make an “easy” patio fail quickly?
The big ones are under-compacted base, skipping geotextile, missing edge restraints, and setting pavers on a sand layer that isn’t leveled correctly. Any of those can cause settling, heaving, joint widening, or weed issues, turning a weekend project into repeated repairs.
If I’m using concrete pavers, do I really need polymeric sand and sealing?
Polymeric sand is most important if you want reduced weed growth through joints. Sealing is optional, but it can help with staining resistance and a uniform look, especially in areas that see heavy spills or lots of foot traffic. Consider sealing only after the pavers have had enough time to cure.
What’s the easiest way to add lighting or shade after the patio is built?
For the easiest add-ons, plan conduit or low-voltage wiring access before finishing edges, even if you install only the lights later. For shade, choose an umbrella base or post-mount design that matches your patio layout so you can anchor it without breaking paver lines or disturbing the base.
What’s the best time of year to build the easiest DIY patio?
Pick a stretch of mild temperatures with dry ground so you can excavate, compact, and set materials without them shifting. If the soil is wet or frozen, compaction and grading become unreliable, which is one of the fastest ways to lose flatness even with the simplest patio design.
Next Articles
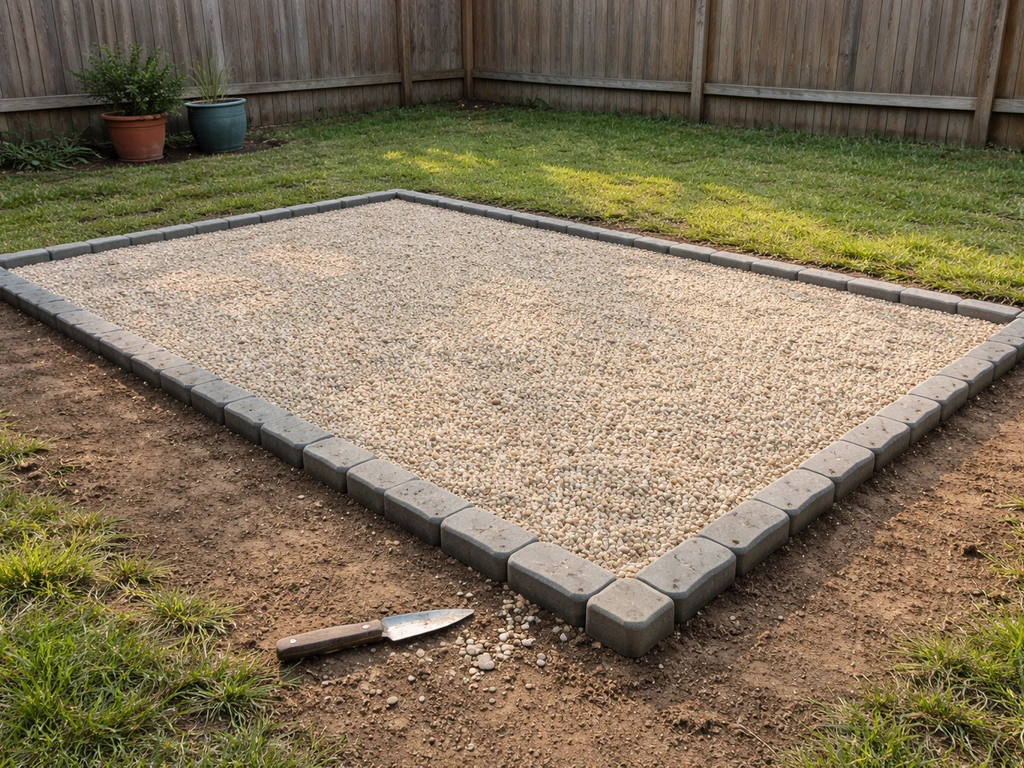
What Is the Cheapest Patio? Options, Costs, and Tips
Find the cheapest patio type and realistic total costs, including prep, base, labor vs DIY, and saving tips.
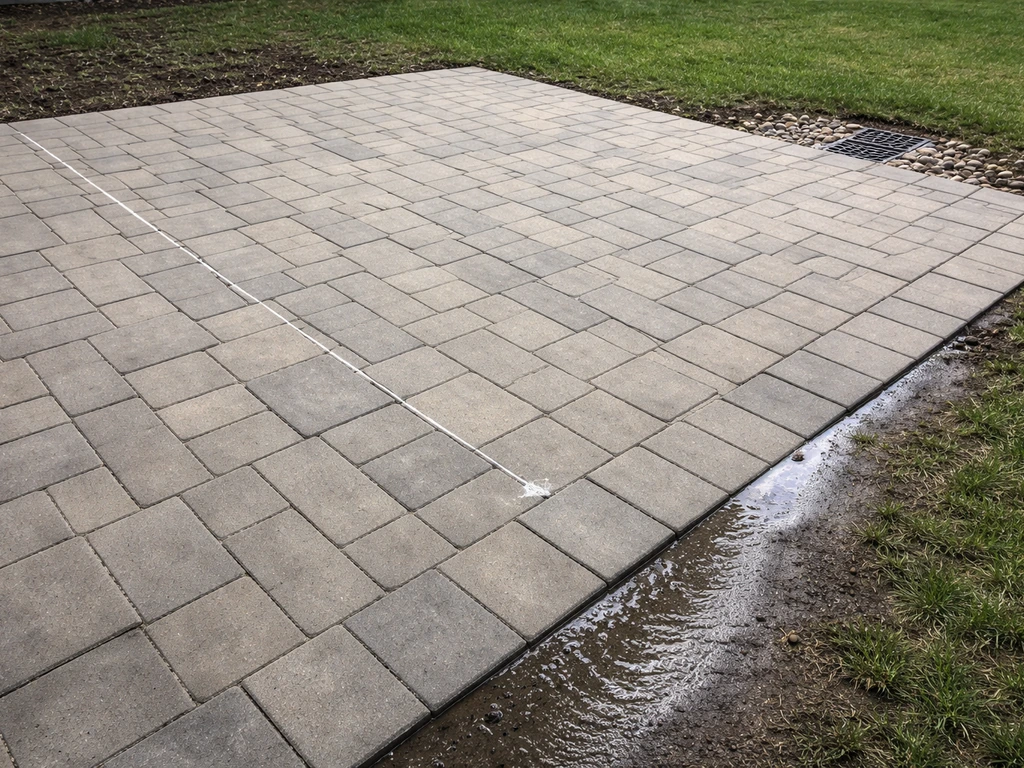
Recommended Fall for Patio Drainage: How to Measure
Learn recommended fall for patio drainage, how to measure slope, avoid pooling, and verify runoff away from your home.
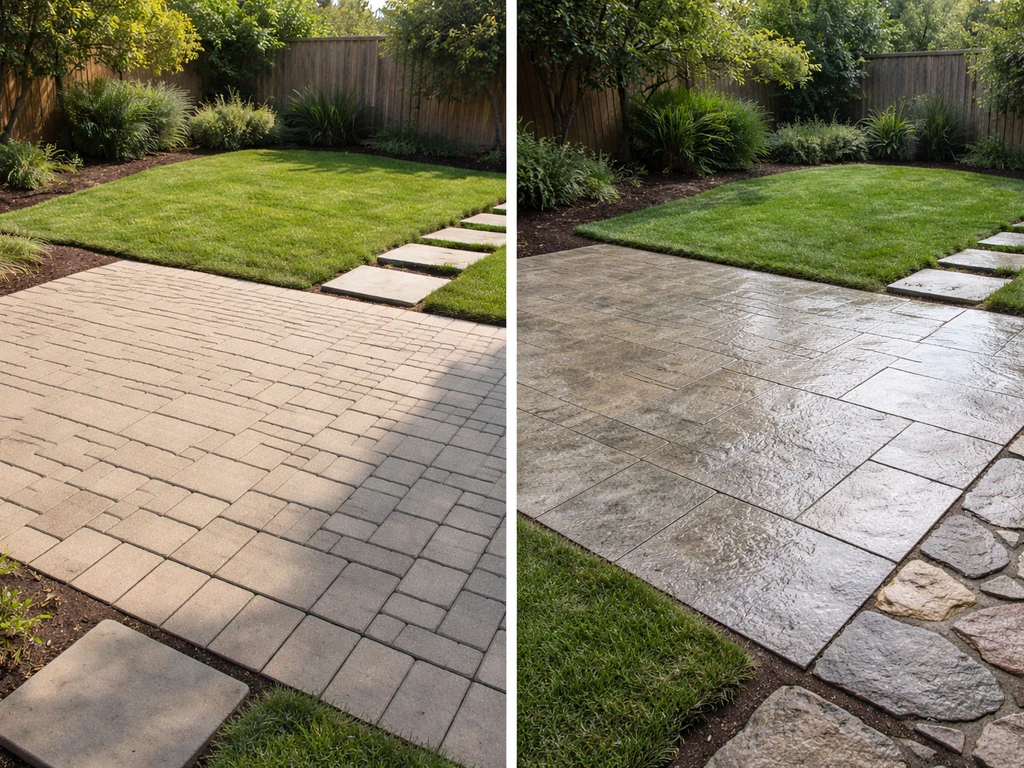
What Is the Best Patio for Your Yard Climate Budget
Pick the best patio by climate, budget, and lifestyle with head-to-head material and layout comparisons, DIY vs hire tip