
You can make your patio more inviting right now without a major renovation. Power-wash the surface, add string lights, swap out faded cushions, and throw down an outdoor rug to anchor the seating area, those four changes alone transform how a space feels in a single afternoon. From there, if you want to go further, the real improvements come from better layout, smarter shade, the right flooring for your climate, and layered lighting and décor that make the space feel like an actual room rather than a slab you walk past.
How to Make Patio More Inviting: Complete Homeowner Guide Tips

Phoebe Foster
20 Jul 2026
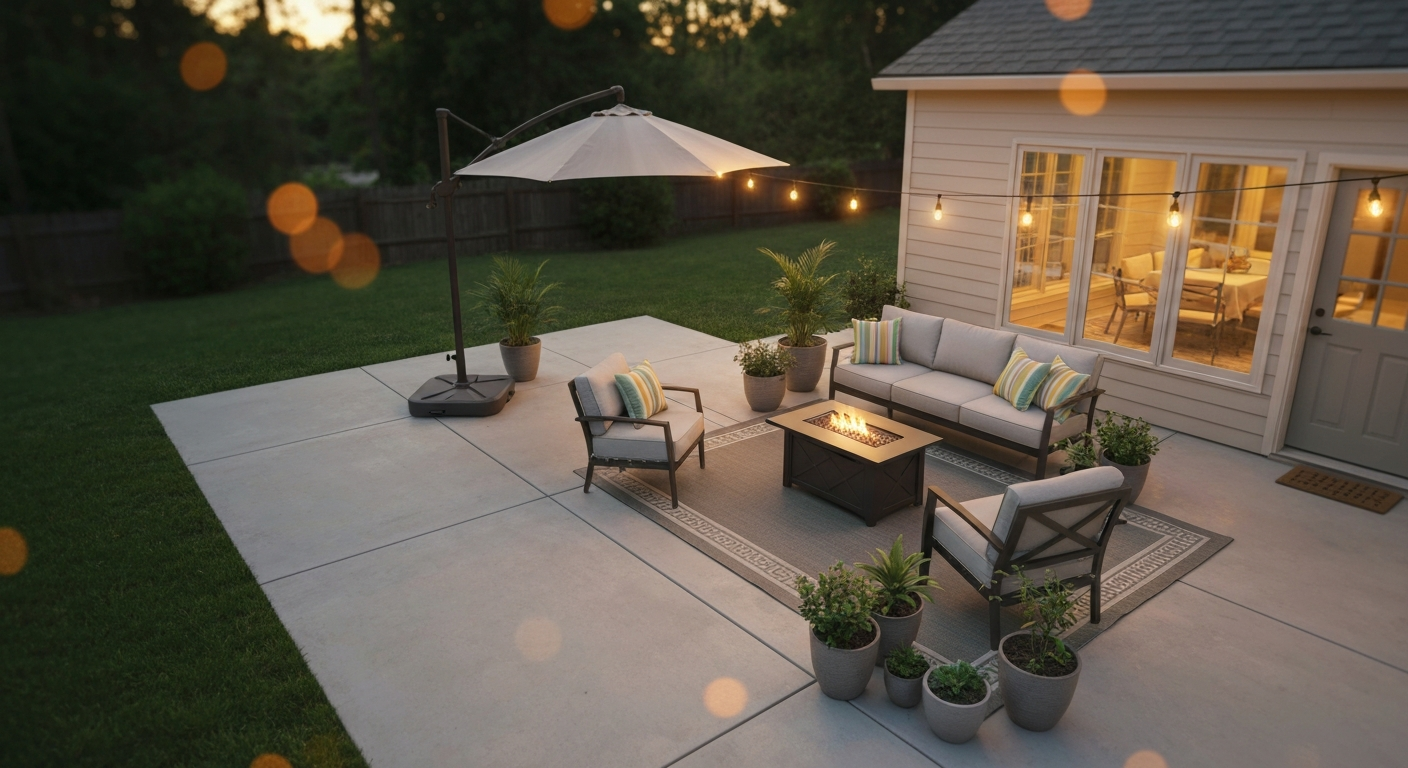
This guide walks you through the full process: from five-minute wins you can do today, to measuring and zoning your space properly, to comparing every major flooring and cover option side by side with realistic costs. For more inspiration, see our roundup of top patio ideas that covers styles, budgets, and layouts. Whether you have a 100-square-foot concrete pad or a sprawling back patio that just needs a refresh, there's something here for you. It's aimed at homeowners who want honest, unbiased comparisons, not a sales pitch, and who want to know exactly what they can DIY versus when it's worth hiring someone.
Quick wins you can do this weekend
Before you spend a dollar on pavers or a pergola, there are fast, inexpensive changes that have an outsized effect on how inviting a patio feels. I've seen patios that looked completely transformed just from a thorough clean and a string of lights, no structural work at all.
- Power-wash everything. A pressure washer rental runs $40–$250 per day depending on the unit, and most patios can be done in two to three hours. Removing years of grime from concrete, pavers, or tile is one of the highest-impact moves you can make for free (or nearly free).
- Add string lights or ambient lighting. Basic solar string lights start under $25. Plug-in or low-voltage LED sets run $50–$200. Evening lighting changes how long you actually stay outside — it's not decorative filler, it's functional.
- Replace or add weatherproof cushions and pillows. Faded or flat cushions make even nice furniture look worn. Outdoor-rated fabric cushions in a bold color cost $30–$80 each and instantly signal 'comfortable space.'
- Put down an outdoor rug. An outdoor rug defines a seating zone visually, softens hard surfaces underfoot, and costs $50–$300 for most patio sizes. This is one of those tricks that works in every photo for a reason.
- Group potted plants near the seating area. Three to five pots of varying height create enclosure and color without any permanent work. Plants make a patio feel like a place rather than a parking lot.
- Add a freestanding umbrella or shade sail. A basic 9-foot market umbrella runs $60–$150. A shade sail covers more ground for $30–$100. If your patio gets direct afternoon sun and you never use it because of heat, this is the fix.
- Declutter and edit the furniture. Too many chairs, too many side tables, planters shoved in corners — patio clutter reads as chaos. Pull everything off, power-wash, then only put back what you actually use.
- Add solar step or pathway lights. These cost $15–$40 for a four-to-six pack and take ten minutes to install. They add safety and ambiance with zero wiring.
- Repaint or reseal the concrete. Concrete patio paint or a penetrating sealer costs $30–$100 and refreshes a gray, stained slab dramatically. Many homeowners skip this entirely and it shows.
- Add a portable fire pit or tabletop heater. A simple steel fire pit costs $80–$200 and extends usable evening hours by hours on cool nights. Even in warmer climates, it becomes a gathering focal point.
None of these require permits, contractors, or long weekends. They're the foundation of every good patio refresh, and many of the more inspiring ideas you'll find on backyard patio examples and best back patio ideas lists trace back to these exact fundamentals done well.
Assess your space before you change anything structural
Skipping the assessment phase is how people end up with a beautiful pergola that blocks the door or a dining table that's impossible to pull chairs out from. Spend 30 minutes walking and measuring before committing to anything you can't easily undo.
Measure accurately and map sun and shade
Measure the full length and width of your patio, noting where doors, steps, and fixed elements are. Also check your clearances: walkways need at least 36 inches of clear width for comfortable single-person movement, and 48 inches or more if two people will pass each other regularly (this is also the ADA minimum for accessible outdoor routes). blank" rel="noopener noreferrer">Patio Furniture Layout Dimensions - Patio Designs gives similar guidance: plan about 36 inches for single‑person walkways and 48 inches or more for two‑person passing or ADA comfort. blank" rel="noopener noreferrer">Chapter 4: Accessible Routes (U.S. Access Board) states the minimum clear width for accessible pedestrian routes is 36 inches (915 mm), with limited reductions to 32 inches allowed for up to 24 inches of length in specific situations. A dining chair needs about 36 inches from the table edge to the nearest wall or obstruction to pull out comfortably. Seating-to-coffee-table distance should be 12–18 inches for comfortable reach.
Then map your sun. Walk outside at 10 a.m., noon, and 3 p.m. on a sunny day and note where the shade falls. In most US climates, western-facing patios get brutal late-afternoon sun, that's where you'll need shade most urgently. South-facing patios get sun most of the day. Northern patios may feel shaded but cold in spring and fall. Knowing this before you buy shade structures saves you from buying the wrong thing or putting it in the wrong place.
Check drainage before anything else
Pour a bucket of water on your existing patio and watch where it goes. It should drain away from the house at a minimum 1% slope (about 1/8 inch per foot). Many existing patios don't meet this, which is why water pools near the foundation after rain. If yours does this, any new surface or drainage improvement you plan needs to address the slope first. A French drain can redirect subsurface and surface water for roughly $10–$35 per linear foot installed, and it's often the unsexy fix that actually makes a patio usable in wet climates.
Zone your patio for how you actually use it
Most patios work better when divided into zones even if the total square footage is modest. A seating/lounge zone, a dining zone, and a cooking or grilling zone are the three most common. If you have space, a transition or pathway zone keeps traffic moving without cutting through sitting areas. Write down which zones you want and roughly how much space each needs before you buy a single piece of furniture, this prevents the common mistake of buying a dining set that leaves no room to walk around it.
Layout and zone planning that actually works
A good layout has a clear focal point, a fire pit, a view, a statement piece of furniture, or a planted garden wall, that draws the eye and anchors the space. Everything else is arranged in relation to that focal point. This is the single biggest layout difference between patios that feel intentional and patios that feel like furniture was just placed wherever it fit.
For furniture placement, group seating in conversation clusters (seats facing each other at 4–8 feet apart feel social; more than 10 feet apart and people stop talking across the gap). Leave clear pathways to doors, gates, and the grill. If you have a long rectangular patio, resist the urge to push everything against the walls, pull seating toward the center to create depth. Scale matters too: a single loveseat on a 20x20 patio looks lost. Fill the space proportionally or use area rugs, planters, and lighting to create visual weight.
If you're considering covering part of the patio with a pergola or awning, do your layout planning first. The covered zone should protect the area you use most, usually the seating or dining area, not just wherever the structure is easiest to attach. And make sure any overhead structure doesn't create a wind tunnel or block airflow in hot climates, which can make a shaded space feel suffocating.
Flooring options: what's actually under your feet
Your patio floor is the biggest single investment you'll make, and it affects everything else: how the space looks, how it drains, how it handles your climate, and how much maintenance you'll be doing for the next 10–20 years. Here's a practical rundown of every major option.
Poured concrete
Concrete is the workhorse: durable, widely available, and the cheapest starting point at $6–$20 per square foot installed (basic broom-finish on the low end, stamped or colored decorative concrete on the high end). It's not glamorous plain, but stained, stamped, or painted concrete looks genuinely good and is often mistaken for more expensive materials. The main weakness is cracking over time, especially in freeze-thaw climates. Proper base prep and control joints minimize this but don't eliminate it.
Concrete pavers
Pavers install at $10–$35 per square foot (installed, with base prep and labor) or roughly $5–$12 per square foot in materials only for a skilled DIY project. They look better than plain concrete and are easier to repair since individual pavers can be lifted and replaced. Permeable pavers, units with gaps that allow water through, are an EPA-recommended option for stormwater management and are particularly useful on patios where drainage is a challenge. ICPI technical specs govern base depth, edge restraints, and installation practices, so if you're hiring, ask your contractor which ICPI guidelines they follow.
Natural stone and flagstone
Flagstone and natural stone deliver a look that's hard to replicate artificially. Materials-only cost can be as low as $4–$6 per square foot at the quarry, but installed flagstone runs $15–$27 per square foot on average because of the skilled labor required for fitting irregular pieces and the substantial base work. It's heavy, it can shift in freeze-thaw climates without excellent base prep, and it needs sealing in porous varieties. But for a patio where the material itself is part of the visual story, nothing else looks quite like it.
Outdoor tile and porcelain
Outdoor porcelain tile runs $10–$60+ per square foot installed, with the wide range reflecting substrate complexity (outdoor tile on grade requires a very stable base, often a concrete slab). If you're in a cold climate, the tile must be frost-resistant with water absorption of 0.5% or less (per ASTM/ISO standards) to survive freeze-thaw cycles. Slip resistance matters outdoors: look for a DCOF (Dynamic Coefficient of Friction) of at least 0.42 for wet surfaces, and higher for exposed areas that get rain and snow. Always check the manufacturer's freeze-thaw and outdoor ratings before buying, not all tile labeled 'outdoor' is rated for hard winters.
Wood decking
Pressure-treated wood decking installed runs roughly $25–$55 per square foot. It's warm underfoot, beautiful when freshly stained, and familiar to most DIYers. The trade-off is maintenance: wood decking needs resealing or restaining every one to three years depending on climate exposure. In humid climates, mold and mildew are ongoing battles. In dry climates, UV degradation causes graying and cracking. Still, for homeowners who want the look and feel of real wood and are willing to put in maintenance time, it's a solid option.
Composite decking
Composite decking installs at $25–$80 per square foot (materials plus labor), with the higher end reflecting premium capped composites and complex subframe systems. It looks like wood, requires far less maintenance, and resists mold and fading better than natural wood. The upfront cost is higher, but over a 15–20 year horizon, the reduced maintenance cost often closes the gap or tips in composite's favor. It gets hotter in direct sun than natural wood, which is worth knowing if you're in Texas or Arizona.
Gravel and decomposed granite
Gravel is the most affordable hard-surface option and one of the best at drainage. It's permeable by nature, installs cheaply (often under $5 per square foot for materials and simple installation), and works well in informal gardens and low-traffic zones. The downsides: furniture legs sink in, gravel migrates, it's not comfortable barefoot, and it needs periodic top-up. Decomposed granite is more stable and compact-able but still informal. Both work well as pathway or transition zone materials between more finished patio areas.
Flooring at a glance: comparing your options
| Material | Installed Cost (per sq ft) | Durability | DIY Friendliness | Climate Suitability | Maintenance Level |
|---|---|---|---|---|---|
| Poured Concrete | $6–$20 | High (cracks over time) | Moderate (needs forms and mix) | All climates; base prep critical in freeze-thaw | Low (seal every 2–3 years) |
| Concrete Pavers | $10–$35 (DIY materials: $5–$12) | High; individual units replaceable | Good for DIY with proper base prep | All climates; permeable options for wet areas | Low to moderate (re-sand joints occasionally) |
| Natural Stone/Flagstone | $15–$27 | Very high if installed well | Difficult (irregular fitting, heavy) | All climates; needs excellent drainage in freeze-thaw | Moderate (seal porous stone; reset shifted pieces) |
| Outdoor Porcelain Tile | $10–$60+ | Very high if frost-rated | Difficult (requires stable concrete base) | Cold climates: must confirm frost-resistance (≤0.5% absorption) | Low (clean periodically; check grout) |
| Pressure-Treated Wood | $25–$55 | Moderate (degrades without maintenance) | Moderate (familiar framing skills needed) | Best in dry climates; struggles with humidity | High (reseal/restain every 1–3 years) |
| Composite Decking | $25–$80 | High; resists rot and fading | Moderate (subframe required) | All climates; gets hot in full sun | Very low (wash annually) |
| Gravel / Decomposed Granite | Under $5 | Low to moderate (migrates) | Very easy | Best in dry climates; drains well everywhere | Low to moderate (top up annually) |
Overhead cover options: shade, rain protection, and style
Adding overhead cover is often the single change that makes a patio dramatically more usable, it extends the hours and seasons you can be outside, and it creates the psychological feeling of a 'room' that open sky doesn't. The right choice depends on how much protection you need, how permanent you want the structure, your budget, and your climate.
Umbrellas and canopies
A freestanding market umbrella (9–11 feet) runs $60–$400 depending on quality and coverage. Cantilever umbrellas that offset the pole cost more ($200–$800) but are more flexible because they cover a table without a center pole in the way. Canopy tents and pop-up structures ($100–$600) cover more ground but are less elegant and more suited to temporary use. Umbrellas and canopies are the lowest-commitment option, no permits, no installation, easy to reposition or replace. They're not great in strong wind and offer limited rain protection unless specifically designed for it.
Shade sails
Shade sails are tensioned fabric panels anchored to posts or walls. A 10–16 foot sail runs $30–$150 for the sail itself; posts and hardware can add $100–$400 if you're installing new anchor points. They look contemporary, can be configured in interesting angles, and are removable for winter storage. They offer good UV block (quality sails block 90–98% of UV rays) but limited rain protection since rain can pool in poorly tensioned installations. Best in sunny, dry climates.
Awnings (retractable and fixed)
A motorized retractable awning attached to the house is one of the most practical all-around cover solutions. Costs run $1,500–$5,000+ installed depending on width (typically 8–20+ feet) and whether it's manual or motorized. Fixed awnings cost less but offer no flexibility. Retractable awnings are great in variable climates, you can retract them before a windstorm or in winter to extend their lifespan. They attach to the house structure, so ensure your wall can handle the load and check whether a permit is required in your municipality.
Pergolas
A pergola is a permanent open-roof structure of posts and beams, often with climbing plants or shade fabric overhead. A basic DIY kit pergola runs $1,500–$4,000 for materials. Professionally installed pergolas with footings and custom work typically run $3,000–$15,000+ depending on size and materials (wood, aluminum, vinyl). Pergolas provide partial shade (dappled light through the beams) and a strong architectural presence, but they don't keep rain off. Many homeowners add a shade sail, polycarbonate roof panels, or a louvered system on top to solve the rain problem.
Louvered and retractable roof systems
Louvered aluminum pergola systems with adjustable roof blades are the premium option for four-season functionality. The louvers open for airflow and stargazing, close completely for rain protection. Costs start around $6,000–$10,000 installed for a basic system and can run $20,000–$40,000+ for large, motorized, fully enclosed setups. These make the most sense for homeowners who want a true outdoor room and plan to use the space year-round. If you're in a climate with significant snowfall, check the load ratings, not all systems are designed for snow accumulation.
Shade and cover options compared
| Cover Type | Rain Protection | Approx. Cost Range | Permanence | Installation Complexity | Best For |
|---|---|---|---|---|---|
| Market Umbrella | Minimal | $60–$400 | Temporary / portable | None (stand alone) | Small seating areas; renters; quick fix |
| Shade Sail | Minimal (can pool water) | $30–$550 incl. hardware | Semi-permanent (removable) | Low to moderate (anchor points needed) | Sunny, dry climates; contemporary look; flexible coverage |
| Fixed Awning | Good (angled) | $500–$2,000 installed | Permanent (wall-mounted) | Moderate (wall anchors, structure check) | Consistent sun exposure; house-attached patios |
| Retractable Awning | Good when extended | $1,500–$5,000+ installed | Permanent but retractable | Moderate to high (motorized versions) | Variable climates; sun + occasional rain; flexible use |
| Open Pergola | None without additions | $1,500–$15,000+ | Permanent | High (footings, structural) | Dappled shade; architectural presence; adding character |
| Pergola + Shade/Poly Roof | Moderate to good | $3,000–$18,000+ | Permanent | High | Patios needing both shade and some rain cover |
| Louvered Roof System | Excellent (fully closed) | $6,000–$40,000+ | Permanent | Very high (professional install) | Year-round outdoor rooms; all climates including rain/snow |
Comfort systems: heat, cooling, and airflow
Shade handles the sun, but heat and humidity need different solutions depending on your climate. In hot, dry climates like the Southwest, evaporative misters attached to a pergola or awning perimeter can drop the perceived temperature by 15–25 degrees Fahrenheit, they're cheap to install (mister kits start at $30–$100) and very effective. In humid climates like the Gulf Coast, misters add moisture you don't want; outdoor ceiling fans or high-velocity floor fans work better, moving air and lowering perceived heat without adding humidity. Large outdoor ceiling fans rated for wet or damp locations start around $150–$400 and require proper mounting to joists or a structural beam.
For cool evenings or shoulder seasons, a freestanding propane patio heater ($100–$400) extends usable hours significantly. Infrared wall-mounted heaters ($150–$600 installed) are more elegant and work well under pergolas and covered patios. Electric infrared heaters don't produce emissions, which matters in enclosed or semi-enclosed spaces. Avoid using propane heaters in fully enclosed areas. In climates like the Midwest or Pacific Northwest where spring and fall evenings drop fast, a combination of fire pit and overhead infrared heater covers most scenarios.
Furniture, lighting, and décor: making it feel like a room
The difference between a patio that gets used and one that doesn't often comes down to whether it feels comfortable and complete. Furniture should be sized to the space, a sectional that seats six on a 12x14 patio leaves no room to walk; a two-seat bistro set on a 20x30 patio looks like an afterthought. When in doubt, measure out furniture footprints with painter's tape on the patio surface before buying anything. This sounds tedious and it is genuinely one of the most useful things you can do.
Lighting deserves as much attention as furniture. A three-layer approach works best: ambient lighting overhead (string lights or a lantern hung from the pergola), task lighting for dining or grilling (a pendant or directional spotlight), and accent lighting at ground level (solar stake lights, step lights, uplights on plants or walls). Even a simple string-light setup from two anchor points dramatically changes how a patio feels after 7 p.m., and it's why lighting consistently shows up as the highest-rated low-cost improvement in home renovation surveys.
For décor style, the spectrum runs from casual and relaxed (mixed seating, colorful textiles, eclectic planters) to the more curated, glamorous aesthetic you might associate with resort-style outdoor spaces (consistent material palette, statement lighting, architectural plants, and layered neutrals with one or two bold accents). Both approaches work; the key is committing to one. A space that's half casual and half formal usually just looks unfinished. If the more refined end of that spectrum appeals to you, exploring ideas around how to decorate a glamorous patio can be a useful next step.
Plants and greenery
Plants do several things simultaneously: they add color and texture, they create enclosure and privacy, they soften hard surfaces, and they make a patio feel alive. The most effective approach is to layer sizes, tall plants or trellised vines in the background, medium shrubs or ornamental grasses mid-level, and low groundcovers or trailing plants at container level. In hot, dry climates, choose drought-tolerant species (agave, lavender, ornamental grasses) that won't need constant watering. In humid climates, tropicals thrive in containers and can be brought inside before frost.
Privacy and screening
Privacy screening can be structural (lattice panels, fence extensions, masonry walls) or planted (tall grasses, arborvitae, bamboo in containers). Outdoor curtains hung from a pergola are a popular and inexpensive option, outdoor-rated curtain panels run $30–$80 per pair and can be drawn when needed. Privacy screens made of cedar slats or powder-coated aluminum panels ($200–$800 for a modular section) are more permanent and can double as wind protection. In exposed locations, wind protection often matters as much as privacy, a 6-foot cedar panel can reduce wind velocity significantly on the protected side.
Drainage and safety: the practical stuff that matters
Drainage is one of the least glamorous topics and one of the most important. A patio that pools water after rain becomes a mosquito breeding ground, damages furniture, and can direct water toward the house foundation. The minimum recommended slope for hardscape is 1% (1/8 inch per foot), with many contractors recommending up to 1/4 inch per foot for textured or uneven surfaces. If your existing patio drains toward the house, you either need to re-grade, add a channel drain at the perimeter, or install a French drain to redirect runoff. Permeable paver systems are an excellent long-term solution for areas with chronically poor drainage.
Safety considerations are worth checking even on existing patios: loose pavers or cracked concrete that can catch a toe, step edges without lighting, surfaces that become slippery when wet (especially tile, check DCOF ratings), and structures like pergolas that weren't built to current wind-load standards. In cold climates, frost heave can lift pavers and create trip hazards over winter. A spring walkthrough to reset lifted pavers and resand joints is worth adding to your annual maintenance calendar.
DIY vs. hiring a contractor: where the line really is
Most of the aesthetic and comfort improvements in this guide are well within DIY territory: laying pavers on a properly prepared base, installing string lights and low-voltage landscape lighting, assembling pergola kits, building raised planter boxes, hanging curtains and shade sails. Where it makes sense to hire out: anything that requires concrete footings and forms, structural attachments to the house (retractable awnings, pergola ledger boards), electrical work beyond low-voltage systems, and any project that requires a permit. Permits for patio structures are common once you cross a certain size threshold (often 200 square feet in many municipalities), and working without one creates complications at resale.
When vetting contractors, get at least three quotes and ask specifically about their approach to base prep and drainage, these are the parts of the job you won't see once it's done, and they're where corners get cut. Ask whether they follow ICPI guidelines for paver installation and request photos of past work in your specific material. A contractor who can't show you examples of finished flagstone or paver patios in your climate probably isn't your best bet. Check licensing and insurance (contractor's liability and worker's comp), and confirm whether they'll pull the permit or whether that falls to you.
Budgeting: what things actually cost and how to prioritize
A patio refresh can run anywhere from under $200 (cushions, an outdoor rug, string lights, and a power wash) to $50,000+ for a full outdoor room with a louvered roof, premium stone, built-in kitchen, and landscape lighting system. Most homeowners doing a meaningful upgrade, new flooring, a pergola, furniture, and lighting, land somewhere between $5,000 and $20,000 for a mid-size patio. Here's a rough prioritization framework based on impact per dollar:
- Clean and refresh existing surfaces first (power-washing, resealing, painting) — highest impact per dollar.
- Add lighting (string lights, low-voltage landscape lighting) — transforms evening usability for $50–$300.
- Upgrade textiles (cushions, rug, outdoor curtains) — fastest visual impact for $150–$600.
- Add shade (umbrella, shade sail, or retractable awning) — extends usable hours, especially in sun-heavy climates.
- Address drainage if it's an issue — unsexy but important before any new surface work.
- Replace or refinish flooring — biggest single cost, highest long-term impact, plan carefully before spending.
- Add permanent shade structure (pergola, louvered roof) — significant investment, dramatic lifestyle impact.
If budget is tight, work through the list top to bottom and stop when the money runs out. The first three items on that list together often cost under $1,000 and produce results that look like a five-figure renovation in photos. The best backyard decks and patios you see in design publications almost always started with those fundamentals before adding the expensive structure. For another relevant comparison, see best backyard decks and patios. For more inspiration, see our guide to the best back patio ideas.
Climate-specific tips worth knowing
- Hot, dry climates (Southwest, Texas, Southern California): Prioritize shade over everything else. Western-facing exposure is the enemy. Evaporative misters are highly effective. Avoid composite decking in full sun — it heats up significantly. Light-colored pavers or concrete reflect heat better than dark surfaces.
- Hot, humid climates (Gulf Coast, Southeast): Drainage and mold resistance are top concerns. Choose materials that won't harbor moisture — composite over wood, porcelain over natural stone. Outdoor fans over misters. Covered structures extend usability in the rainy season but need to allow airflow to prevent mold.
- Cold climates with freeze-thaw cycles (Midwest, Northeast, Mountain West): Base prep is everything. Rigid impermeable surfaces without excellent sub-base drainage are frost-heave candidates. Confirm tile and stone are frost-rated. Permeable pavers handle freeze-thaw well. Retractable awnings should be stored in winter. Composite outperforms wood in freeze-thaw.
- Rainy climates (Pacific Northwest, parts of the Southeast): Covered structures dramatically increase usability — a patio you can sit on in light rain is a patio you'll use nine months of the year instead of three. Louvered roofs or retractable roofs are worth the investment. Drainage is critical; permeable surfaces help.
- Variable/windy climates (Great Plains, coastal areas): Wind is underrated as a comfort issue. Privacy screens and fencing placed strategically as windbreaks can make a breezy patio comfortable. Avoid large market umbrellas without locking mechanisms in windy areas — they become projectiles. Weighted or in-ground post umbrellas and shade sails with proper tensioning handle wind far better.
A pre-project checklist to save you from common mistakes
- Measure your patio and note all clearances, door locations, and traffic paths before buying furniture.
- Map sun and shade at multiple times of day before placing or purchasing any shade structure.
- Check existing drainage slope — water should move away from the house at minimum 1% grade.
- Verify whether your planned project requires a permit in your municipality.
- For tile: confirm frost resistance (≤0.5% water absorption) and DCOF ≥0.42 for wet outdoor use.
- For pavers: confirm your contractor follows ICPI base prep and installation standards.
- Get three quotes and check licenses, insurance, and examples of past work in your climate.
- Decide on zones (seating, dining, cooking) before purchasing any furniture or making structural decisions.
- Plan lighting before finalizing furniture layout — outlet and fixture locations should inform placement.
- In cold climates, plan for how structures and furniture will be stored or winterized.
FAQ
What are quick, low-cost changes to make a patio more inviting right away?
Power‑wash the surface; group potted plants to create enclosure; add an outdoor rug and weatherproof cushions; hang string or solar lights; add a freestanding umbrella or shade sail; declutter and clean furniture; place a portable firepit or tabletop heater for evenings. Many of these take a few hours and cost from under $25 (solar lights) to a few hundred dollars (quality cushions/umbrella).
How should I plan patio layout and zones for dining, lounging and traffic?
Sketch zones before buying: dining, lounge, circulation and storage. Allow ~36 in (0.9 m) from table edge to obstacles for chair pullout; primary walkways 24–36 in for single circulation and 48 in+ for two‑person passing or ADA comfort; seating to coffee table 12–18 in for reach. Make circulation routes direct and keep a clear accessible route of 36 in where possible.
Which patio flooring options should I compare and what are the tradeoffs?
Common options: poured concrete (durable, $6–$20/ft² installed), concrete pavers ($10–$35/ft² installed; DIY materials lower), natural flagstone ($15–$27/ft² installed), outdoor porcelain tile (wide range $10–$60+/ft² installed; must be frost‑rated), composite/wood decking ($25–$80/ft² installed). Tradeoffs: cost, slip and freeze‑thaw performance, maintenance, installation complexity and drainage needs. Permeable pavers reduce runoff but need correct base per ICPI guidance.
Can you give a quick comparison table of common patio surfaces?
Concrete: low‑to‑mid cost, durable, can be decorative; needs slope and control joints. Pavers (interlocking): mid cost, repairable, can be permeable; requires proper base/edge restraint. Flagstone: high aesthetic, irregular surface, higher installed cost. Porcelain tile: sleek look, requires frost‑rated product and suitable substrate; check DCOF for slip resistance. Composite decking: warmer underfoot, higher installed cost, good for elevated patios. (See earlier answers for typical installed cost ranges and performance notes.)
What cover and shade options work best — awning, pergola or retractable roof?
Awning: fast, lower cost, good sun protection; fixed or retractable fabric types. Pergola: architectural, can support climbing plants and shade cloth; partial sun control. Retractable roof/roof systems: most flexible for weather control but highest cost and more complex permitting/structure needs. Choose based on desired permanence, budget and local wind/snow loads.
What comfort systems should I consider for hot, humid, rainy or cold climates?
Hot/dry: shade (sails, pergolas), evaporative misters, ceiling or pedestal fans. Hot/humid: fans and shading; avoid evaporative coolers where humidity is high. Rainy: covered structure or retractable roof, water‑resistant furniture and quick‑drain surfaces. Cold/snow: heated outdoor rugs or patio heaters for short comfort; ensure roof structures are rated for snow loads. In all climates, choose weather‑rated textiles and equipment.
Next Articles
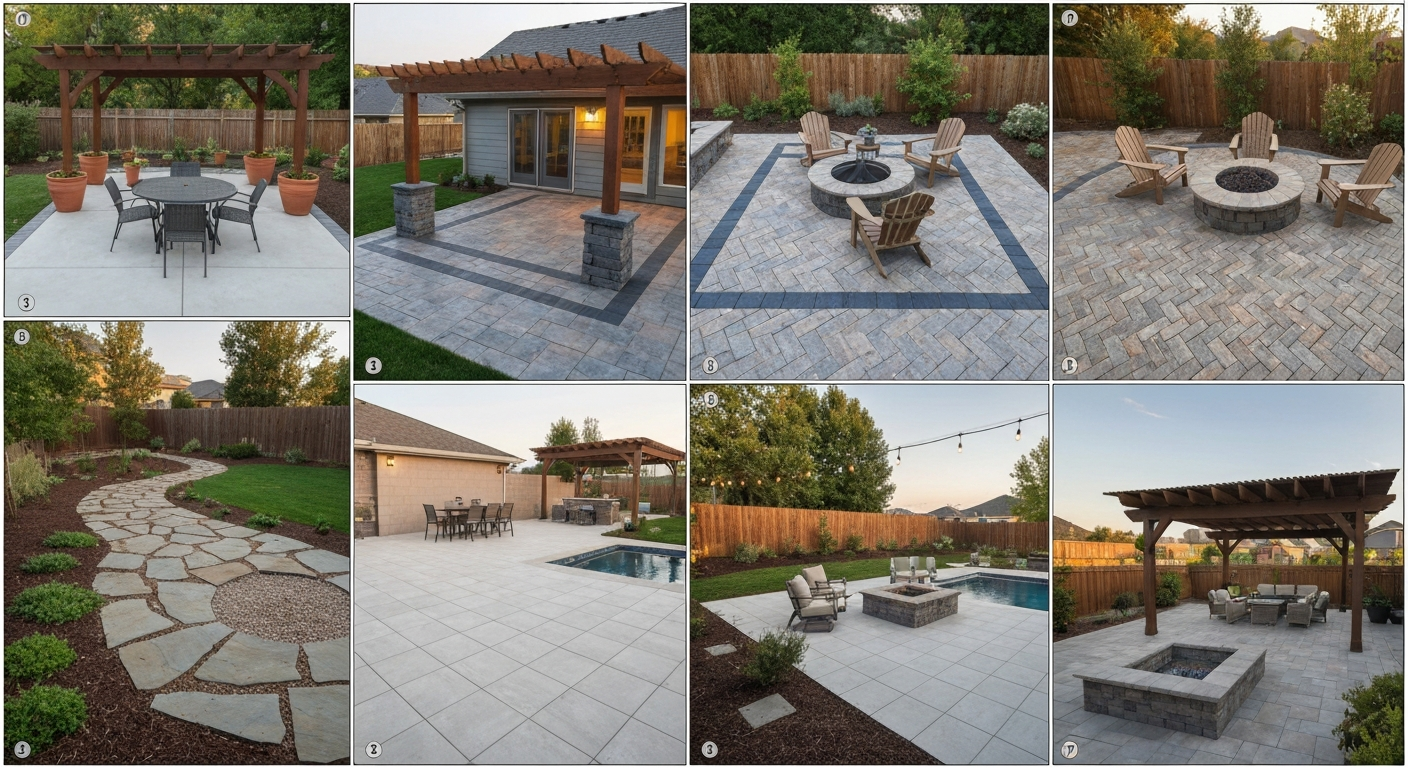
Backyard Patio Examples: Stylish Ideas, Plans & Materials
Backyard patio examples, layouts, materials, DIY budgets, decorating ideas and climate-smart plans for every homeowner.
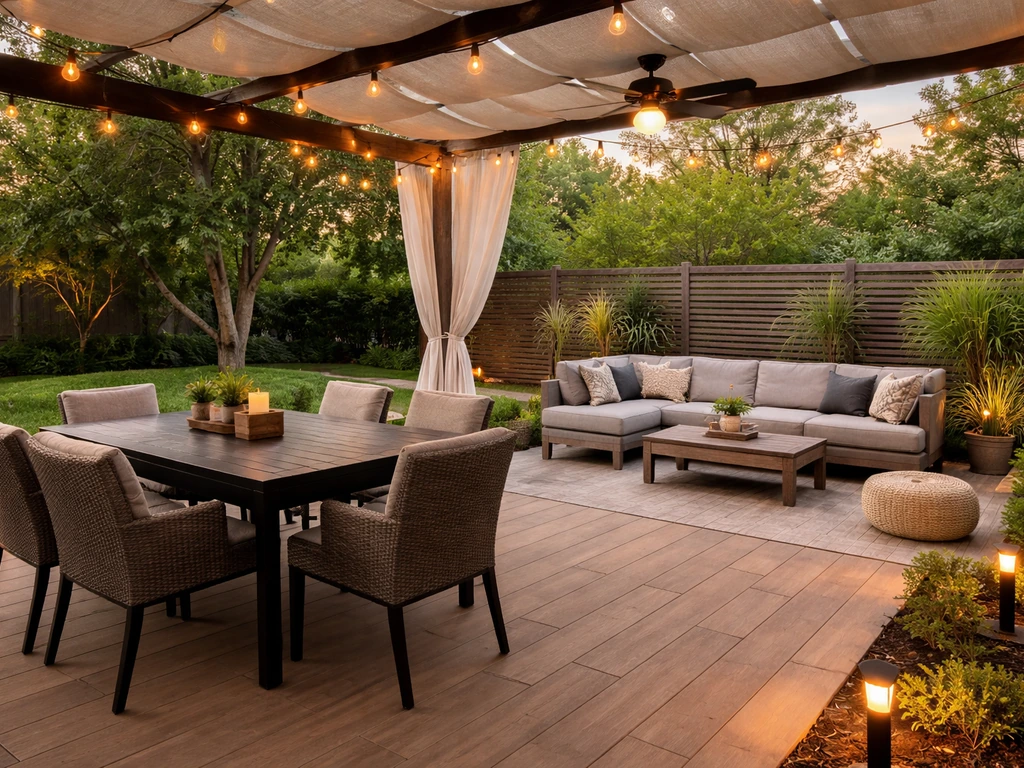
Best Back Patio Ideas: Layout, Upgrades, Costs, and DIY
Best back patio ideas with layouts, upgrades, costs, and DIY tips for flooring, shade, lighting, privacy, and hiring pro
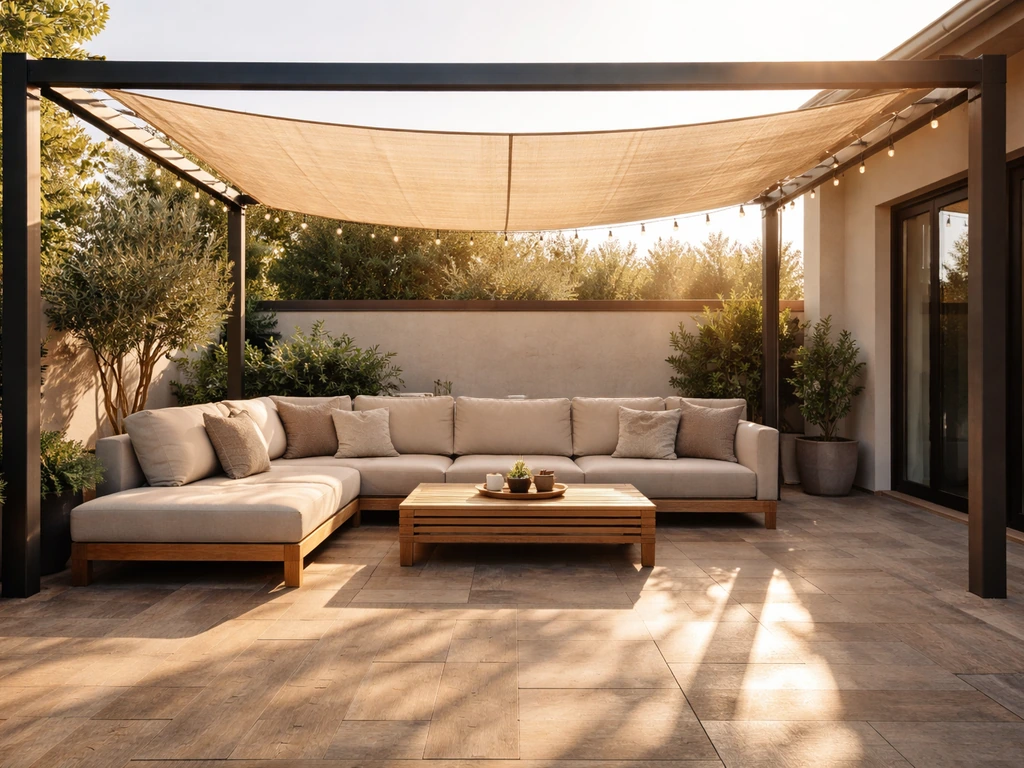
Top Patio Ideas: Covers, Layout, Materials, and Comfort Upgrades
Actionable top patio ideas: shade covers, layout, comfort upgrades, durable materials, and finish touches to plan fast.