
The best backyard decks and patios combine the right materials for your climate, a layout that matches how you actually use the space, and a budget you can stick to. Whether you are starting from scratch with a bare yard or upgrading a cracked concrete slab that has seen better days, the decisions you make on flooring material, size, shade, and purpose will determine how much you enjoy the space for the next decade or two. This guide walks through every major decision: style inspiration, materials with real cost ranges, layout and zoning, regional considerations, DIY-friendly upgrades, and how to know when it is time to hire a pro.
Best Backyard Decks and Patios: Design Ideas & Materials

Phoebe Foster
5 Aug 2026
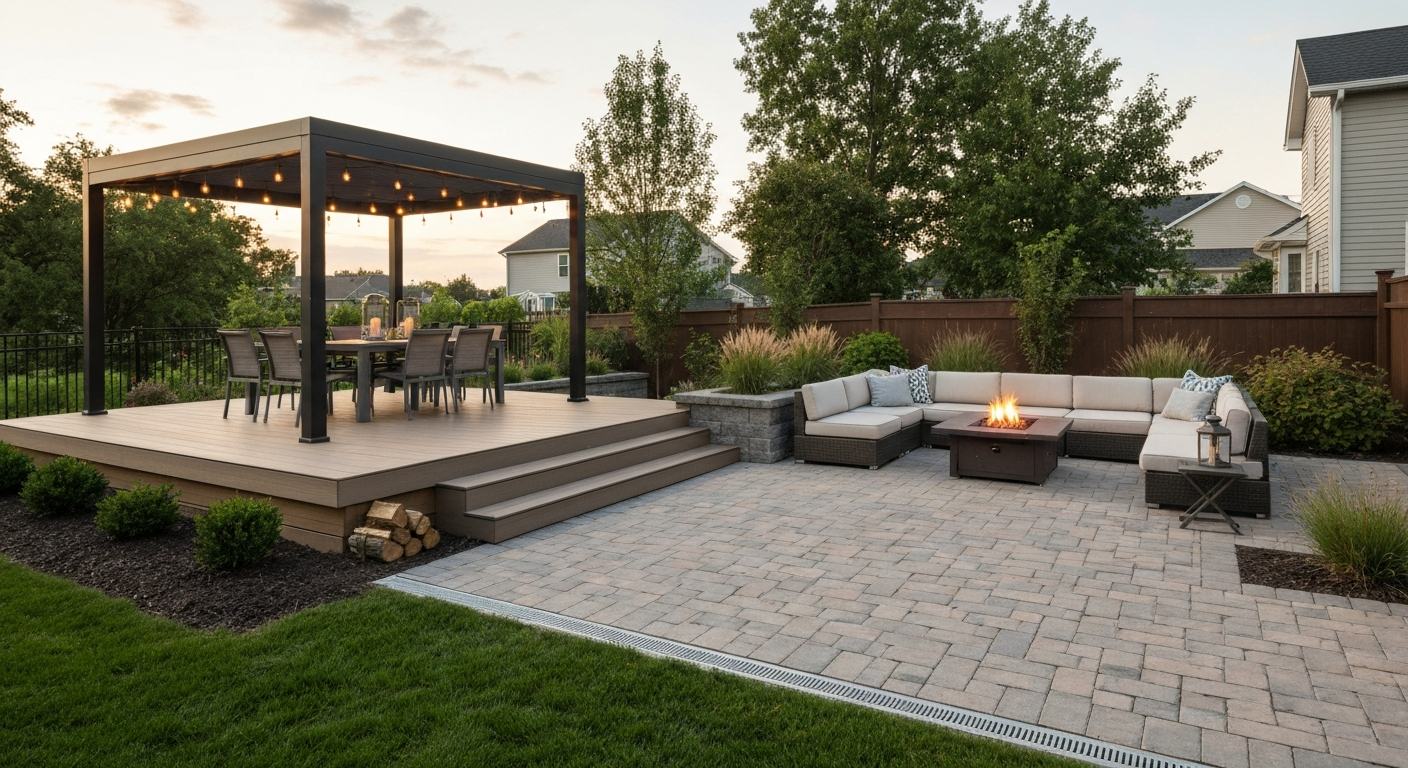
Who this guide is for and what you will get out of it
If you are a homeowner planning a new outdoor space, renovating an existing patio, or simply trying to figure out why some backyards feel like extensions of the home while others just feel like a slab of concrete sitting behind the house, this guide is for you. It covers everything from broad design inspiration down to the specifics: material costs per square foot, maintenance requirements, permit triggers, drainage rules, and the questions you should ask any contractor before signing anything. Budget-conscious readers will find DIY alternatives called out throughout. If you live in a hot, dry climate like Texas or Arizona, your material choices will look different than if you are dealing with Midwest freeze-thaw cycles, and that distinction gets addressed too.
Backyard patio inspiration: styles and real examples
Looking at real examples is the fastest way to get clear on what you actually want. For more inspiration and detailed layouts, see our best back patio ideas. Scrolling through photos is not just daydreaming; it helps you identify patterns, like whether you are drawn to natural materials or clean lines, large open spaces or cozy enclosed ones. The categories below cover the most popular design directions homeowners are building right now, ranging from simple and affordable to full outdoor-room transformations.
A visual gallery of styles worth bookmarking
- Modern minimalist: large-format concrete or porcelain tile, steel-frame pergola, neutral furniture with one accent color, integrated LED strip lighting along steps and walls
- Rustic/natural: pressure-treated or cedar deck boards, stone or flagstone borders, wood-beam pergola with climbing vines, wicker or teak furniture
- Mediterranean/Spanish: terracotta or saltillo tile patio, clay pots with citrus trees, mosaic accents, a stucco or stone privacy wall with an arched opening
- Family-friendly: rubber or composite tile over concrete for a safe play zone, shaded dining area, low-maintenance artificial turf border, built-in storage bench
- Small-space courtyard: vertical garden wall, bistro table and two chairs, string lights overhead, one focal-point container planter to add life without taking floor space
- Luxury entertaining space: built-in outdoor kitchen with grill and refrigerator, fire pit seating area zoned separately, pergola with a retractable canopy, ambient and task lighting on separate circuits
If you want deeper photo examples organized by setting and budget, the backyard patio examples resource on this site breaks down each of these styles visually and links to material sourcing ideas for each. The best back patio ideas guide is also worth a look if you are specifically designing for the rear of the house where privacy and integration with the yard matter most.
Top patio ideas by style
Modern
Modern patios favor clean edges, minimal ornamentation, and a restrained color palette, typically grays, whites, charcoal, and warm wood tones as an accent. Large-format pavers (24x24 inch or larger) or polished concrete are the go-to flooring choices. Furniture lines are low-profile. A steel or aluminum pergola with a louvered roof fits this style well and handles rainfall without looking heavy. Built-in lighting along the patio perimeter keeps the look uncluttered after dark.
Rustic
Rustic patios lean into natural imperfection: rough-cut stone, weathered wood, irregular flagstone laid in sand or mortar, and plants that look a little wild around the edges. Cedar and redwood decks age gracefully in this style. If you prefer a lower-maintenance version, wood-look composite boards mimic the look without the annual staining. Edison-bulb string lights and a fire pit anchor the space in the evening.
Mediterranean
The Mediterranean style is built around warmth: terracotta pavers, wrought-iron furniture, clay pots, and lush plantings like lavender, rosemary, and bougainvillea. It works especially well in hot, dry climates like Southern California, Arizona, or Texas where the plant palette is naturally suited to it. A stucco half-wall or tile-topped low fence gives privacy without blocking the sky.
Minimalist
Minimalist patios remove everything that is not doing a job. One seating area, one material, one focal point (maybe a single sculpture or a fire bowl). Concrete, large-format porcelain, or a single species of paver in a running-bond pattern all work here. The key is precision: tight grout lines, perfectly level edges, and furniture that does not look like it is from five different eras.
Family-friendly
A family-friendly patio prioritizes durability, safety, and flexibility over aesthetics. Rounded paver edges and rubberized patio tiles eliminate trip hazards for small kids. A defined shade structure over the dining area keeps meals comfortable even in summer heat. Zoning matters here: a dining and cooking area that stays tidy, and a secondary zone for play that can get muddy and messy without ruining the whole space.
Small-space solutions
Small patios under 150 square feet can still function beautifully if you resist the urge to fill every inch. A single seating group sized right for the space (think 60-inch round table instead of a 6-person rectangle), vertical plantings on a wall trellis, and overhead string lights all make the space feel intentional rather than cramped. Modular pavers or interlocking deck tiles are ideal here because they can be DIY-installed without footings and rearranged if your needs change.
Top patio ideas by budget
Low-cost: under $3,000
At this budget, DIY is almost always the right call. A 200-square-foot gravel or decomposed granite patio with a simple timber edging runs roughly $500 to $1,200 in materials. Interlocking concrete or composite deck tiles over an existing slab can be done for under $2 per square foot on material alone. Add a set of weather-resistant furniture from a big-box retailer, a string-light kit, and a couple of large pots with annuals, and you have a real outdoor room for well under $3,000. The investment is mostly your time.
Midrange: $3,000 to $12,000
This is the sweet spot where most homeowners land. A professionally installed paver patio typically runs $8 to $25 per square foot installed depending on paver type, region, and complexity of the layout. A 280-square-foot paver patio might cost $2,400 to $7,000 in total based on 2026 pricing data. Add a mid-grade pergola kit (freestanding aluminum kits start around $800 to $1,500) and a quality mid-range furniture set and you are looking at $5,000 to $10,000 for a genuinely nice space. Midrange composite decks for a 200-square-foot raised platform run roughly $5,000 to $10,800 installed.
Premium: $12,000 and up
Premium outdoor spaces are essentially outdoor rooms. A custom composite or hardwood deck with built-in seating, lighting, and privacy screens can run $25 to $54 per square foot installed. A 400-square-foot deck at that range lands between $10,000 and $21,600. Add an outdoor kitchen, a louvered pergola, a fire feature, and professional landscape lighting and you are easily in the $25,000 to $60,000-plus territory. At this level, the decisions about permits, contractor vetting, and materials quality matter enormously because mistakes are expensive to undo.
Define what your patio is actually for
The single biggest design mistake I see homeowners make is skipping this step. They pick a material they like on Pinterest and start getting quotes before they have answered the most important question: what will I actually do out here? The answer changes almost every decision that follows.
- Dining: You need a level, stable surface large enough for a table and chairs plus circulation space (minimum 3 feet around a seated table). Weather resistance matters because food and spills are part of the deal. Shade is often a priority.
- Lounging: Comfort and shade are paramount. Deep-seated sectionals need a firm, level surface. You may want softer underfoot options like composite decking or smooth pavers rather than rough aggregate concrete.
- Cooking/outdoor kitchen: You need a non-combustible surface near the grill, access to a gas line or propane storage, and ideally proximity to an interior kitchen door. The area needs to handle grease and heat.
- Play area: Safety surfacing matters for young kids. Edges should be rounded or padded. The zone needs to be visible from the main seating area and away from grills or fire features.
- Entertaining: Think about guest flow. Multiple zones work better than one giant open space. Consider sightlines so hosts can see the whole area. Power access for speakers and lighting is important.
- Multiuse: Most real patios are multiuse, which means zoning becomes critical. A clearly defined dining zone and a separate lounging or fire-pit zone, even if separated only by a change in paver pattern or a planter, makes both zones feel intentional.
Layout, zoning, and circulation
Once you know the purpose, you can start thinking about how the space flows. Circulation is the path people take through the patio, from the house door to the seating area, to the grill, to the yard. If that path cuts through the middle of the dining table arrangement, you have a problem. Good layouts keep circulation paths clear and distinct from activity zones.
A useful starting rule: leave at least 36 inches of clear walkway wherever people will pass through regularly, and 48 inches is more comfortable behind chairs. A dining zone needs roughly 12x12 feet minimum for a four-person table with chairs pulled out. A lounging area with a sectional typically needs at least 12x16 feet to feel comfortable. If you are doing both, plan for a minimum total of around 400 to 500 square feet to avoid the zones colliding.
Sightlines matter too, especially for parents watching kids or hosts keeping track of guests. Try to orient the primary seating so it faces out into the yard rather than into a fence or wall. A fire pit placed as a visual focal point at the far end draws people into the space and naturally creates a gathering zone. Changes in level (even a single step down from deck to patio) help define zones without needing walls or fences. Lighting zones should mirror activity zones: bright task lighting over a kitchen or dining table, ambient softer light over a lounge or fire area.
Size, scale, and how the patio connects to your home and yard
A patio that is too small for the house looks like an afterthought, and one that is too large can swallow a small yard and leave no green space at all. A rough rule of thumb many designers use is that the patio should be no more than about one-third of the total usable yard area. For a 30x50-foot backyard (1,500 square feet), that suggests a patio up to about 500 square feet, which is enough for a generous dining and lounging area.
Connecting the patio to the house involves thinking about transitions: thresholds, steps, and grade. The interior floor height versus the exterior finished surface determines how many steps you need, if any. A flush or near-flush transition (zero-step or one-step) is the most accessible and creates the most seamless indoor-outdoor feel. The International Residential Code requires guardrails of at least 36 inches on any deck surface more than 30 inches above grade, so if your deck is elevated, that affects both cost and design.
Grade and drainage are less glamorous but critical. All patio surfaces should slope away from the house at a minimum of about 1 percent (roughly 1/8 inch per foot) to prevent water from pooling against the foundation. If your yard has a natural grade change, that can be an asset rather than a problem: a split-level patio with one dining tier and one lower lounging area uses the slope intentionally. Talk to your contractor about how grade will be handled before any base material is laid.
Materials and flooring: what your options actually mean
This is where most of the long-term cost, maintenance, and durability decisions get made. Here is a plain-language overview of the five most common options.
Pressure-treated wood
Pressure-treated pine or fir is still the most affordable framing and decking material for raised platforms. Pressure‑treated softwood decks are still the lowest initial-cost decking option but require regular maintenance (cleaning plus staining/sealing) to manage rot, splintering and UV weathering; trade sources note that higher-upfront-cost materials such as capped composites, PVC, or tropical hardwoods often reduce lifetime maintenance and replacement spending Pressure‑treated softwood decks are still the lowest initial-cost decking option but require regular maintenance (cleaning plus staining/sealing) to manage rot, splintering and UV weathering; trade sources note that higher-upfront-cost materials such as capped composites, PVC, or tropical hardwoods often reduce lifetime maintenance and replacement spending.. Installed costs run roughly $28 to $38 per square foot for a typical residential deck, based on RSMeans benchmark data used by municipal cost estimators. The trade-off is maintenance: you need to clean and reseal or restain every one to three years to manage splintering, checking, and UV weathering. Over a 20-year lifespan, that maintenance cost narrows the gap with composite. It is a fine choice if you are budget-limited now and plan to stay on top of it.
Composite decking
Composite (wood-fiber and plastic blend) and full PVC decking boards have gotten significantly better in the past decade. Capped composite and PVC products from major manufacturers typically carry 25 to 30 year warranties on fade, staining, and structural integrity. Installed costs run $25 to $54 per square foot, with materials alone at roughly $12 to $22 per square foot. Maintenance is minimal: periodic washing, typically once or twice a year, using manufacturer-approved cleaners. A few things to note: manufacturers explicitly warn against certain common deck cleaners and against high-PSI pressure washing, so follow the specific product guidance.
Concrete
Poured concrete is one of the most durable and versatile patio surfaces available. Plain broom-finish concrete is among the lowest-cost options (often $6 to $10 per square foot installed for basic work). Stamped and colored concrete can run $12 to $18 per square foot or more but mimics stone or brick convincingly. The main maintenance requirement is sealing: acrylics need resealing every two to three years, while polyurethane or epoxy-based sealers can last three to five years. In freeze-thaw climates, crack management is real; use control joints during installation to manage where cracks occur rather than letting them happen randomly.
Pavers
Concrete or natural stone pavers set on a compacted gravel-and-sand base are the most popular choice for at-grade patios right now, and for good reason. They are durable, repairable (individual units can be replaced without redoing the whole surface), and available at almost every price point. Installed costs range from roughly $8 to $25 per square foot depending on the paver material, pattern complexity, and region. Permeable interlocking pavers are an excellent choice if stormwater runoff is a concern: the EPA endorses permeable pavement as a best practice for reducing runoff from hardscape areas. Maintenance involves occasional re-sanding of joints and spot leveling if a unit settles.
Tile
Outdoor-rated porcelain tile is gaining popularity because it is extremely durable, low-maintenance, and available in large formats that look genuinely high-end. The key word is outdoor-rated: tiles must have a low water absorption rate and a textured, slip-resistant surface. They need to be set on a stable concrete substrate. Installed costs typically run $15 to $30 per square foot depending on tile size and pattern. In freeze-thaw climates, only tiles with a frost-resistance rating (typically water absorption of 0.5 percent or less) should be used outdoors.
Materials at a glance: comparison table
| Material | Typical Installed Cost (per sq ft) | Lifespan | Maintenance Level | Pros | Cons | Best For |
|---|---|---|---|---|---|---|
| Pressure-treated wood | $28–$38 | 15–25 yrs with upkeep | High (clean + stain/seal every 1–3 yrs) | Lowest upfront cost, easy to repair, widely available | Splinters, needs regular maintenance, can rot if neglected | Budget-first raised decks, DIY-friendly builds |
| Composite / PVC decking | $25–$54 | 25–30 yrs (warranted) | Low (wash 1–2x per year) | Long warranties, minimal maintenance, no splinters | Higher upfront cost, can get hot in direct sun | Elevated decks, low-maintenance priority builds |
| Concrete (poured) | $6–$18 | 30+ yrs | Low-moderate (reseal every 2–5 yrs) | Durable, versatile, low cost for basic finish | Cracks in freeze-thaw, can be hot underfoot, hard to repair mid-slab | At-grade patios, budget slabs, stamped decorative surfaces |
| Pavers (concrete or stone) | $8–$25 | 25–50+ yrs | Low (re-sand joints periodically) | Repairable unit by unit, permeable options available, wide style range | Base prep is critical; can settle unevenly over time | At-grade patios, walkways, DIY-friendly in interlocking form |
| Outdoor porcelain tile | $15–$30 | 20–30 yrs | Low (clean with mild soap and water) | Elegant look, very durable, low absorption | Requires stable concrete base, frost-rated tiles needed in cold climates, can be slippery if wrong spec | Contemporary patios, mild to moderate climates, high-end finishes |
Shade, climate control, and weather protection
No matter how beautiful the patio, if you cannot sit on it comfortably in the middle of August, you are not going to use it. Shade and climate control are not luxuries; they are functional requirements in most U.S. climates.
Pergolas, awnings, and patio covers
Freestanding aluminum pergola kits start around $800 to $1,500 for a 10x12-foot kit you assemble yourself. Motorized louvered pergolas that open and close to manage sun and rain run $5,000 to $15,000 or more installed. A traditional fixed-roof attached patio cover (solid wood or aluminum pan) is in between, typically $3,000 to $8,000 installed depending on size and materials. Retractable awnings attached to the house are a middle-ground option: they retract in high wind and store cleanly, typically $1,500 to $5,000 installed for a motorized version.
Misters, fans, and heaters
In hot, dry climates, a high-pressure misting system can drop perceived temperature by 20 to 30 degrees Fahrenheit. Basic mid-pressure DIY misting kits cost $100 to $400; professional high-pressure systems with a pump run $1,000 to $3,000 installed. Outdoor ceiling fans (under a pergola or covered patio) cost $150 to $600 for the fixture and move a lot of air. In cold climates or for shoulder-season use, a mounted natural gas or propane patio heater costs $400 to $1,200 installed for a wall-mounted unit, or $100 to $400 for a freestanding propane tower. Electric infrared heaters (mounted overhead) are an increasingly popular choice because they heat the person rather than the air and work even in a light breeze.
Furnishings, lighting, and decor
Furniture, lighting, and decor are where the patio stops being a construction project and starts being a place you actually want to spend time. These choices do not need to be expensive to work well, but they do need to be intentional. For practical tips on how to make patio more inviting, see our detailed guide.
How to decorate a glamorous patio (step by step)
- Start with the flooring finish: a cohesive, clean surface reads as intentional. If you have a plain concrete slab, consider outdoor area rugs or interlocking deck tiles to add texture and define zones.
- Add a structure overhead: even a simple pergola or sail shade creates a room-like feel and gives you something to hang lights from.
- Choose a consistent furniture palette: two or three materials at most (for example, aluminum frames, teak accents, and linen-look cushions). Mixing five different materials makes even expensive furniture look random.
- Layer lighting: overhead ambient (string lights or a flush-mount fixture on the pergola), task lighting over dining or cooking areas, and low ground-level accent lighting along steps or planters.
- Add one focal point: a fire bowl, a large statement planter, a wall-mounted water feature, or an oversized mirror on a fence. One strong focal point anchors the whole space.
- Bring in outdoor textiles: outdoor-rated throw pillows, a weather-resistant rug, and a fabric sail shade add softness and color that hardscape alone cannot provide.
- Use plants to soften hard edges: potted plants in varying heights at corners and along walls break up the geometry without requiring permanent landscaping work.
For more ideas on making a patio feel welcoming and lived-in, the how to make patio more inviting guide and how to decorate a glamorous patio resource on this site go deep on layering decor without it looking cluttered.
DIY alternatives and budget-friendly upgrade projects
Not everything needs a contractor. Here are genuine DIY projects that can transform a patio at low cost.
- Interlocking deck tiles over an existing concrete slab: snap-together composite or wood tiles require no adhesive, no tools beyond a saw, and cost $2 to $5 per square foot in materials. A 200-square-foot patio can be done in a weekend.
- Gravel or decomposed granite patio: mark and excavate 4 inches, lay landscape fabric, add a 1-inch sand layer and 3 inches of compacted gravel or DG. Edging holds it in place. Materials for 200 square feet typically run $400 to $1,000.
- String light installation: hang exterior-rated LED string lights across a pergola or between two post anchors. A $40 to $80 light kit changes the nighttime feel of the space entirely.
- Concrete resurfacing: a bag of concrete overlay or micro-topping product costs $30 to $60 and covers 40 to 60 square feet of an old, stained slab with a fresh surface. Follow the manufacturer's prep instructions carefully.
- Paver border around an existing concrete slab: adds visual interest, defines the patio edge, and requires only a shovel, a level, and sand. A running-bond border around a 12x16 slab costs roughly $200 to $500 in materials.
- DIY pergola kit assembly: most freestanding aluminum kits are designed for two-person assembly with basic tools over a weekend. Read the footing anchor requirements before you start; some require concrete footings that trigger a call to 811.
Regional considerations: climate changes everything
Where you live should drive some of your biggest material and design choices. What works in Phoenix is not automatically the right call in Minneapolis or coastal Florida. Here is how to think about regional factors.
Hot, sunny, dry climates (Southwest, Texas, Southeast inland)
UV intensity degrades unstained wood fast, fades cheap outdoor cushions in a single season, and makes dark-colored pavers almost untouchable in barefoot summer. Use light-colored, high-albedo paver surfaces or concrete to reduce heat absorption. Composite decking gets hot in direct sun regardless of color; shade structures are nearly mandatory. Misting systems are worthwhile investments here. Check NOAA Climate Normals for your specific location to understand UV and temperature ranges before choosing materials.
Freeze-thaw climates (Midwest, Great Plains, Northeast, Mountain West)
Water expanding in cracks is the primary enemy. Concrete pavers and slabs need control joints, proper drainage slope, and quality installation to survive repeated freeze-thaw cycles. Tile must be frost-rated. Paver base depth may need to increase to 6 to 8 inches in heavy frost areas to prevent heaving. The USDA Plant Hardiness Zone Map gives you the minimum temperature ranges that affect both plant choices and some material decisions. Any footings for a deck or pergola post must go below the local frost depth (which varies from 12 inches in coastal South Carolina to 48-plus inches in northern Minnesota).
High rainfall and coastal climates (Pacific Northwest, Gulf Coast, Atlantic Coast)
Drainage is the primary concern. Standing water on a patio is both a safety issue and a material degradation accelerator. Design in that minimum 1-percent slope away from the house. Permeable pavers are an excellent choice here, and the EPA identifies permeable interlocking pavement as a best management practice for reducing stormwater runoff from hardscape. Salt air in coastal locations rules out standard steel hardware (use stainless or hot-dipped galvanized) and accelerates the degradation of low-quality composite boards.
Flood-prone areas
If your property is in or near a mapped flood zone, check the FEMA Flood Map Service Center before planning any at-grade or raised hardscape. Flood zone status affects foundation and footing design requirements, permit conditions, and possibly your homeowner's insurance. This is not optional due diligence.
Permits, safety codes, and utility locates
Permits are not bureaucratic nonsense; they exist because inspectors catch installation errors that cause real problems. A deck that is never inspected and fails three years later is a liability nightmare. Here is what you need to know.
- Deck permits: most jurisdictions require a permit for any attached deck or any freestanding deck over a certain square footage (often 200 square feet). Check with your local building department before starting.
- Guardrail height: the International Residential Code requires guardrails at least 36 inches high on decks more than 30 inches above grade for single-family residential use. Some local amendments require 42 inches.
- Electrical: any outdoor receptacles added during a patio project must comply with National Electrical Code GFCI requirements. Hire a licensed electrician for any new circuits or outlets.
- Call 811 before digging: if your project requires footings, post holes, or any excavation, call 811 (or use the online request) at least two to three business days before you dig. This is the national utility locate service and it is free. Note that 811 locates public utilities; you may need a private locating service for underground private lines (irrigation, outdoor lighting, gas lines you installed yourself).
- Stormwater and drainage: many municipalities restrict impervious surface coverage. Adding a large patio may require a stormwater plan or the use of permeable materials.
DIY vs. hiring a contractor: how to decide
The decision to DIY or hire out usually comes down to three things: the structural complexity of the project, whether permits and inspections are required, and whether you have the time and physical capacity to do it right. Here is a quick framework.
| Project Type | DIY-Friendly? | When to Hire a Pro |
|---|---|---|
| Interlocking paver patio (at grade) | Yes, with careful base prep | If drainage is complex or area is large (over 400 sq ft) |
| Poured concrete patio | Not recommended for most DIYers | Almost always; concrete work is fast and unforgiving |
| Ground-level deck with interlocking tiles | Yes | If structural framing is needed |
| Raised wood or composite deck | Experienced DIYers only | If it requires footings, ledger attachment, or permits |
| Pergola kit (freestanding) | Yes | If it requires concrete footings deeper than 12 inches |
| Outdoor kitchen / gas line / electrical | No | Always hire licensed trades for gas and electrical work |
| Stamped or decorative concrete | Not recommended | Specialized skill; hire a concrete contractor with stamped experience |
How to find and vet a contractor
- Get at least three quotes from local contractors who specialize in outdoor hardscape or decking, not general handymen.
- Ask each contractor for proof of licensing (required in most states for work above a certain dollar threshold), liability insurance, and workers' compensation coverage.
- Request references from recent jobs of similar scope and actually call or visit them.
- Ask who will be on-site doing the work: some contractors subcontract everything, which changes your accountability chain.
- Review the quote line by line: material specifications (brand, grade, thickness), base preparation details, and warranty terms should all be written out, not summarized verbally.
- Never pay more than 10 to 30 percent upfront as a deposit. Full payment before completion is a red flag.
- Verify the contractor pulls the required permits. If they suggest skipping permits to save money, that is a serious warning sign.
Your planning checklist and budget worksheet outline
Use this checklist to make sure you have covered the major decisions before you buy materials or sign anything.
- Define primary use: dining, lounging, cooking, play, entertaining, or multiuse
- Measure the available space and mark the footprint with stakes and string before committing
- Check local zoning for setback requirements (how close to the property line you can build)
- Confirm permit requirements with your local building department
- Check FEMA flood map if you are in a low-lying or coastal area
- Call 811 before any digging
- Choose a surface material based on climate, budget, and maintenance tolerance
- Design in drainage: minimum 1-percent slope away from the house
- Plan shade and lighting before finalizing layout (both may affect structural or electrical needs)
- Set a total budget and allocate: roughly 50 to 60 percent for hardscape materials and labor, 15 to 20 percent for shade/cover, 10 to 15 percent for furniture, 5 to 10 percent for lighting and accessories, 5 percent contingency
- Decide DIY versus contractor for each phase
- If hiring out, get three quotes and check references before signing
A practical budget worksheet breaks your total number into categories: site prep and grading, base materials, surface materials and labor, shade structure, electrical and lighting, furniture, plants and decor, and a 10-percent contingency. Running those line items against actual quotes is the most reliable way to spot where a contractor is padding or where your wish list is outrunning your budget. The top patio ideas guide on this site pairs well with this checklist if you are still finalizing your style direction before getting into the numbers.
FAQ
What core factual categories must we research to write an accurate, practical article on the best backyard decks and patios?
Collect verifiable data in these categories: purpose/use cases (dining, cooking, lounging, pool deck); inspirational examples across styles and budgets; complete material properties (wood, composite, PVC, hardwoods, pavers, concrete, tile, permeable systems); durability and expected lifespans; maintenance requirements and schedules; typical installed cost ranges (materials + labor) and regional cost multipliers; structural and safety code requirements (guard heights, ledger attachments, footings); electrical/plumbing/outdoor-kitchen code basics (GFCI, receptacles); drainage, grading and stormwater practices; climate impacts (freeze–thaw, UV, snow loads, wind); permitting and utility‑locate requirements; hiring vs DIY decision criteria; product/accessory tradeoffs (shade, climate controls, finishes); and recommended authoritative resources and image/legal permissions.
Which authoritative data sources should we cite for costs and regional price normalization?
Use RSMeans for baseline unit costs and regional multipliers; cite industry consumer-cost aggregators (Angi, HomeAdvisor) for current market ranges and examples; reference municipal budget documents that use RSMeans for local benchmarking; and where possible include contractor estimates and local supplier quotes. Always indicate date and region for any cost numbers and present ranges rather than single-point claims.
What authoritative references do we need for material performance, warranties and maintenance guidance?
Manufacturer installation & care manuals for specific products (composite/PVC/warranty language); trade publications and testing reviews (Fine Homebuilding, GreenBuildingAdvisor) for independent life‑expectancy commentary; municipal or industry installation guides for pressure‑treated and hardwood decking; and sealer/finish maker guidance for concrete/tile. For permeable pavers and stormwater performance, cite EPA guidance.
Which codes and safety standards must be referenced and why?
Reference the International Residential Code (IRC) for deck guardrail heights and structural practices (most U.S. jurisdictions adopt IRC sections); National Electrical Code (NEC/NFPA 70) for outdoor receptacle and GFCI requirements; and local building department amendments (call local permitting authority). Note that jurisdictions may add stricter rules (e.g., 42" rails), so always advise readers to verify local code.
What climate and site data should we obtain and which sources are authoritative?
Obtain local climate normals (NOAA/NCEI) for temperature, precipitation and freeze–thaw frequency; USDA Plant Hardiness Zone map for extreme minimum temps affecting material choice; FEMA Flood Map Service Center for flood zone status; and local wind/snow load maps where applicable. Use these to recommend materials and drainage strategies appropriate to the site.
What stormwater and drainage guidance is needed and where is it found?
Cite EPA resources on permeable pavements and green infrastructure for runoff reduction practices; local municipal stormwater design criteria for required slopes and runoff handling; and best‑practice slope guidance (minimum ~1% slope away from structures) from construction or civil engineering sources. Include permeable pavement maintenance recommendations from EPA and manufacturers.
Next Articles
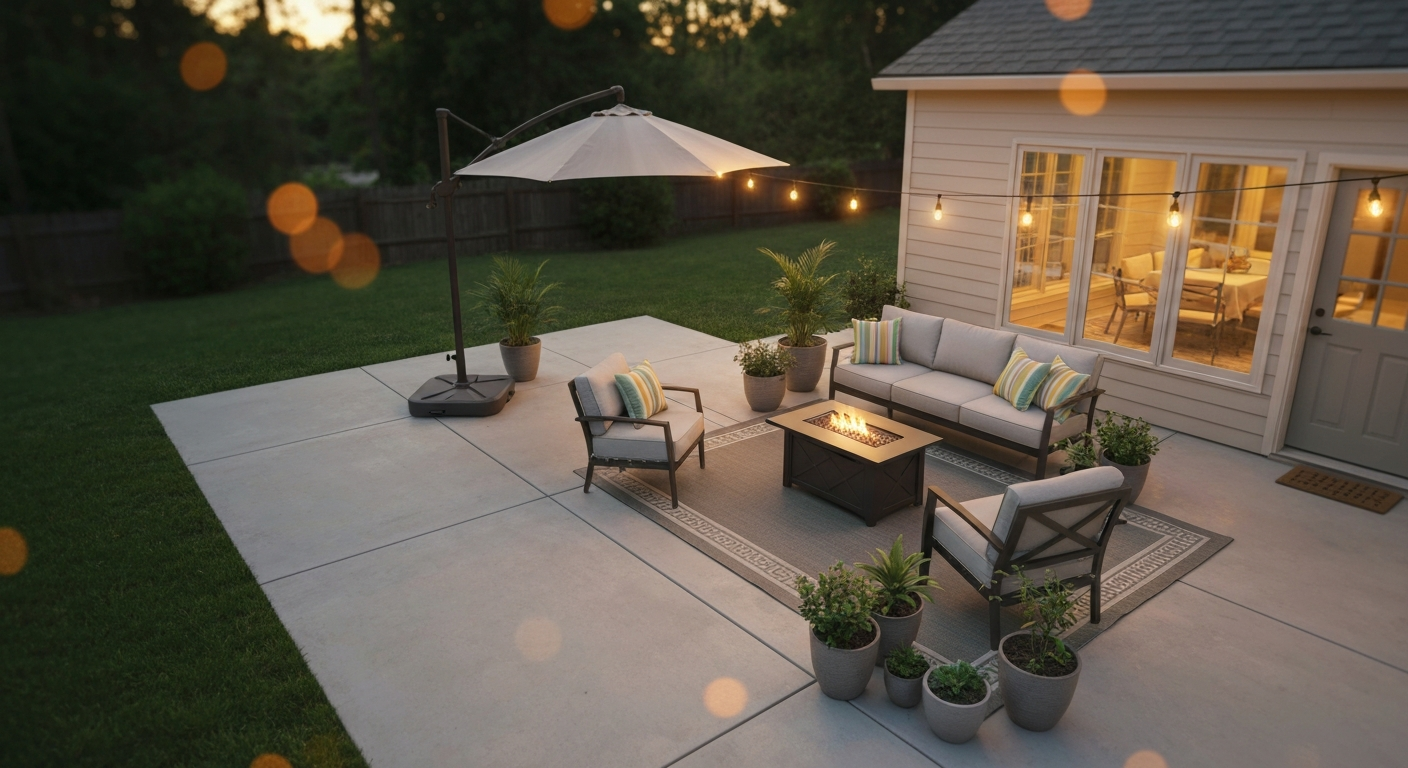
How to Make Patio More Inviting: Complete Homeowner Guide Tips
How to make patio more inviting: practical upgrades, layout, furniture, shade, lighting, budgets & DIY tips.
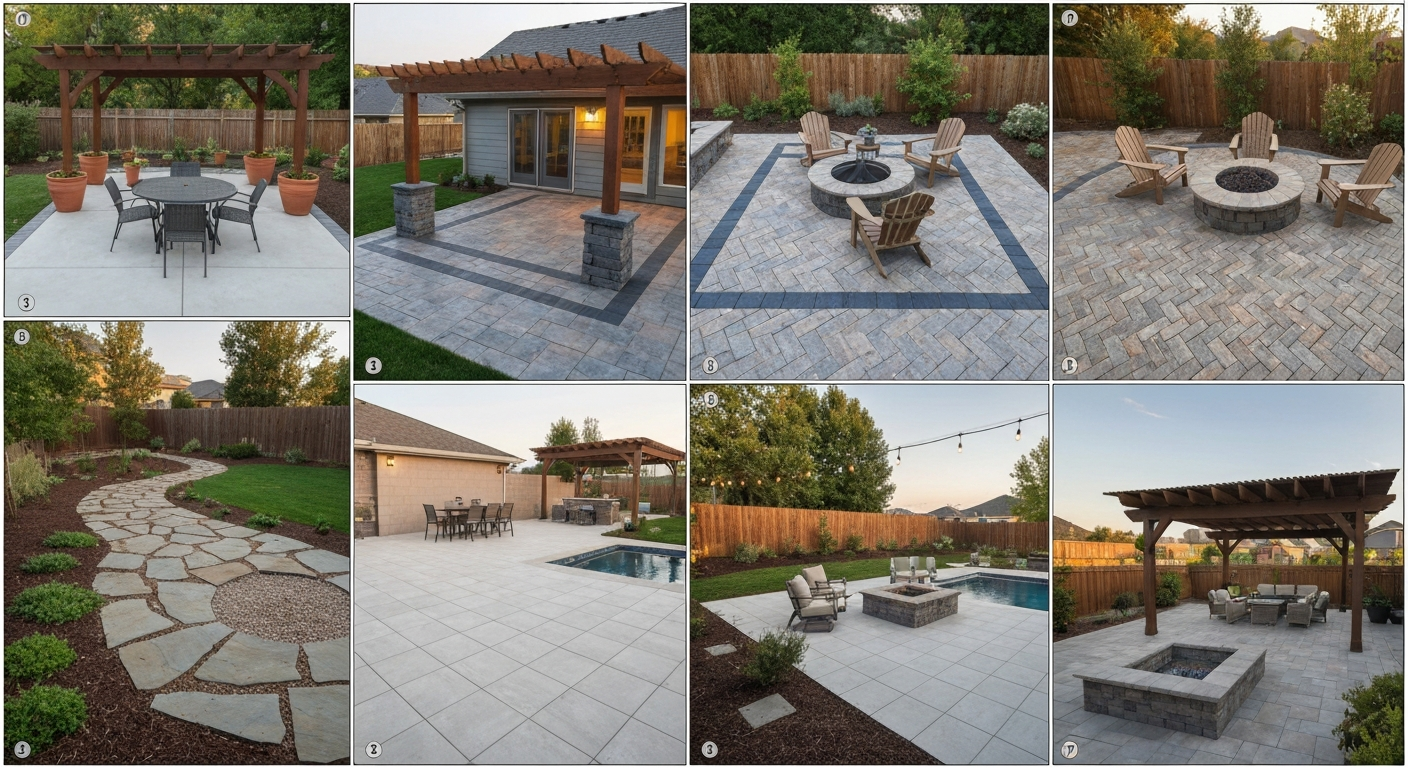
Backyard Patio Examples: Stylish Ideas, Plans & Materials
Backyard patio examples, layouts, materials, DIY budgets, decorating ideas and climate-smart plans for every homeowner.
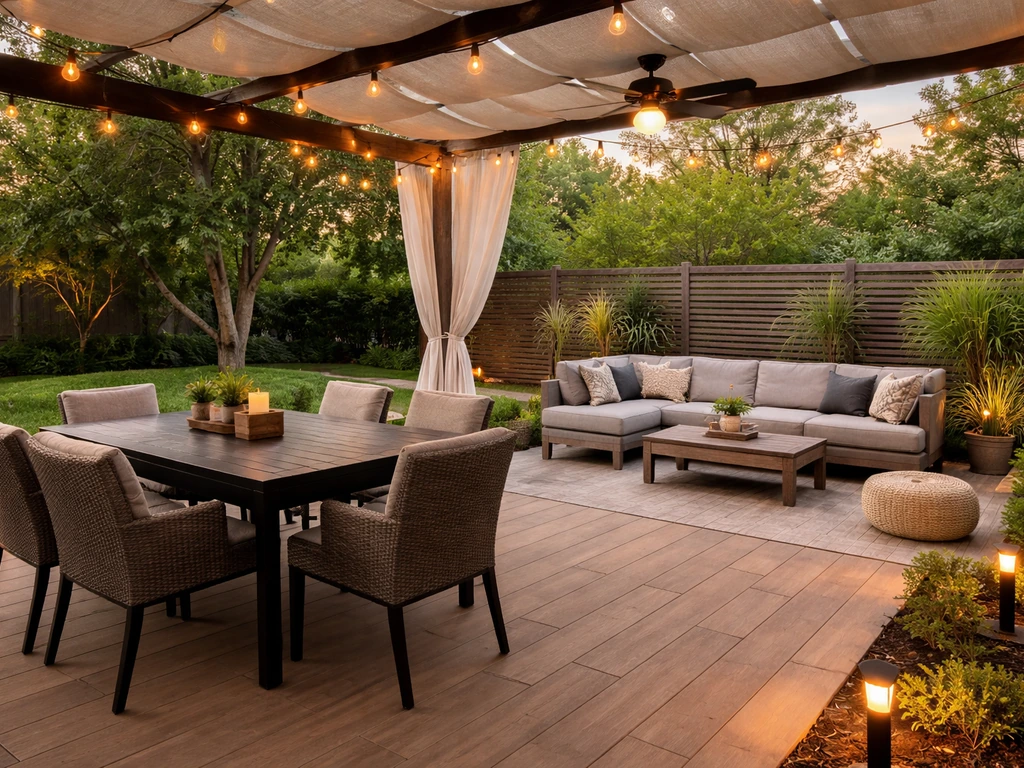
Best Back Patio Ideas: Layout, Upgrades, Costs, and DIY
Best back patio ideas with layouts, upgrades, costs, and DIY tips for flooring, shade, lighting, privacy, and hiring pro