The highest-impact patio upgrades are shade first, comfortable seating second, and better flooring third. If you fix those three things, almost every other improvement builds naturally on top of them. Whether you're starting from a bare concrete slab or refreshing a tired brick patio, the ideas below cover the full picture: layout, cover options, comfort add-ons, flooring materials, and finishing touches that actually make the space feel like a room.
Top Patio Ideas: Covers, Layout, Materials, and Comfort Upgrades

Phoebe Foster
4 May 2026
What 'top patio ideas' actually means for your space
The phrase gets used two ways. Sometimes it means patio cover or overhead shade ideas, and sometimes it just means the best overall ideas for upgrading a patio. This guide covers both, because they're linked. The top improvements you can make to any patio almost always involve what's above you (shade and cover), what's below you (flooring), and how the space is arranged in between. Before you chase any specific idea, it helps to define what your patio actually needs. Is it too hot to use in the afternoon? Too small for the way you entertain? Does it look worn out even when it's clean? Your main pain point tells you where to start.
It also helps to think about your climate. A covered pergola with a ceiling fan is a great solution in the South, but in the Upper Midwest where frost heave can lift post footings right out of the ground, you need to anchor and plan that structure more carefully. A misting system makes perfect sense in Arizona or Texas; it's just unnecessary complexity in Seattle. Keep your region in mind as you read through the options, and you'll naturally filter out the ideas that don't apply.
Must-have layout concepts before you buy anything
Layout decisions made upfront save you from buying furniture that doesn't fit or building a cover that's too small. The most practical approach: set up your table and chairs on the lawn where the patio will go, and walk around it. You'll immediately see whether the footprint works. For a dining-focused patio, plan to seat six to eight people comfortably, which calls for a table around 96 inches long. Then build at least 36 inches of clearance around it, and ideally 42 inches, so people can push back their chairs and walk behind seated guests without bumping into a railing or wall.
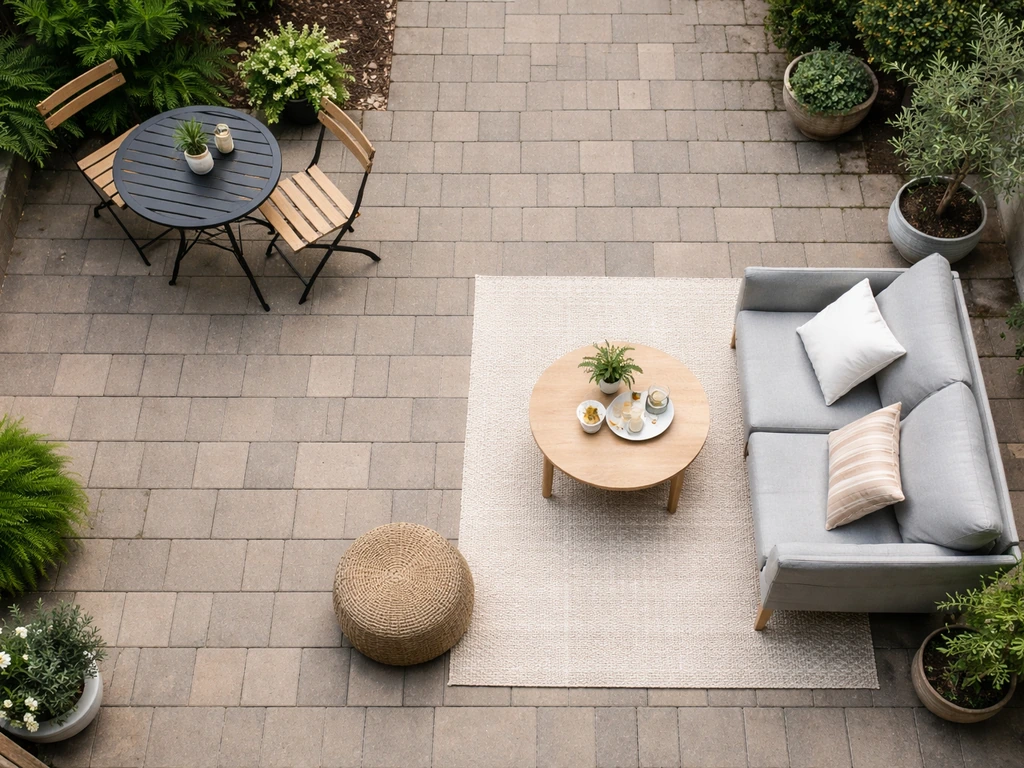
Beyond dining, the biggest layout upgrade most patios need is zoning. One big open space with all the furniture pushed to the edges rarely functions well. Instead, define two or three purpose zones: a dining area, a lounging or conversation area, and a transition path between them. A roughly 3-foot-wide walkway between zones keeps traffic moving without the space feeling chopped up. If you're adding a fire pit to a lounging zone, keep seating about 2 to 2.5 feet from the pit edge so people stay warm without leaning away uncomfortably.
The patio's location relative to the house matters too. Patios attached to or adjacent to the house benefit from the wall as a natural wind buffer and make it easier to attach an awning or shade structure. A detached patio further into the yard gives you more design freedom but requires freestanding shade solutions and longer electrical runs if you want lighting or fans.
Shade and cover options: which one fits your situation
Shade is the single biggest functional upgrade for most patios. Without it, you simply don't use the space during the hottest parts of the day. Here are the main options, roughly from lowest to highest commitment.
Umbrellas and shade sails
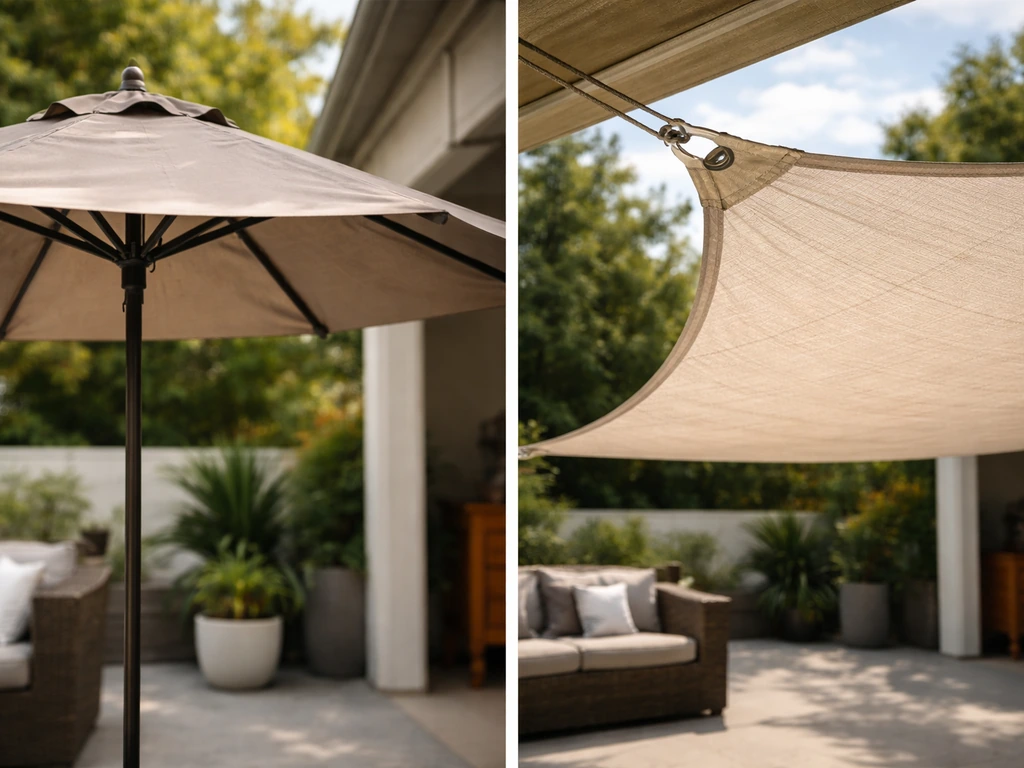
These are the easiest entry point and the lowest cost. A quality market umbrella runs $100 to $400, and a shade sail system can cover a larger area for a similar price if you have anchor points. Neither requires a permit or a contractor. The tradeoff is that umbrellas need to be moved or furled in high winds, and shade sails can sag and collect water if they're not tensioned at a slight angle. Good for renters, good for small patios, and good as a first step before committing to something permanent.
Retractable and fixed awnings
Awnings come in three styles: retractable (motor or hand-crank), fixed, and portable freestanding. Retractable awnings are the most popular because you can extend them on hot days and close them in bad weather. Installed cost typically runs $1,500 to $7,000 depending on size and motorization. Fixed awnings cost less but give you no flexibility. Budget for both the awning itself and installation labor, since attaching it to your home's fascia or siding needs to be done correctly to avoid leaks. Awnings work best for patios that are directly attached to the house and face south or west.
Pergolas
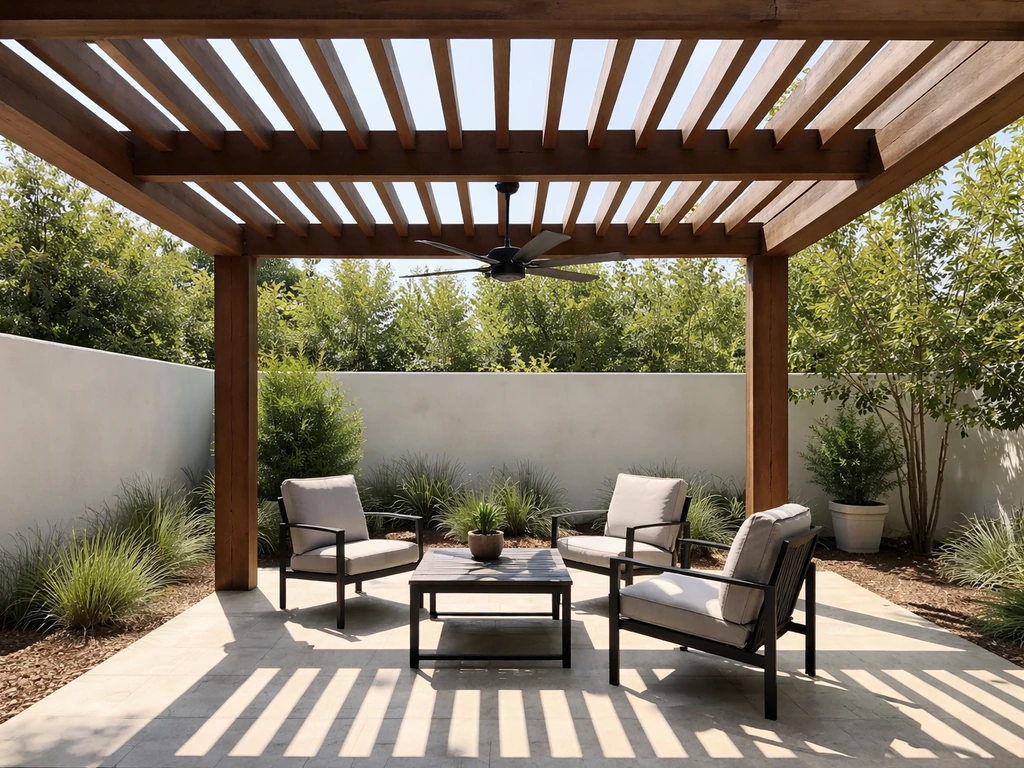
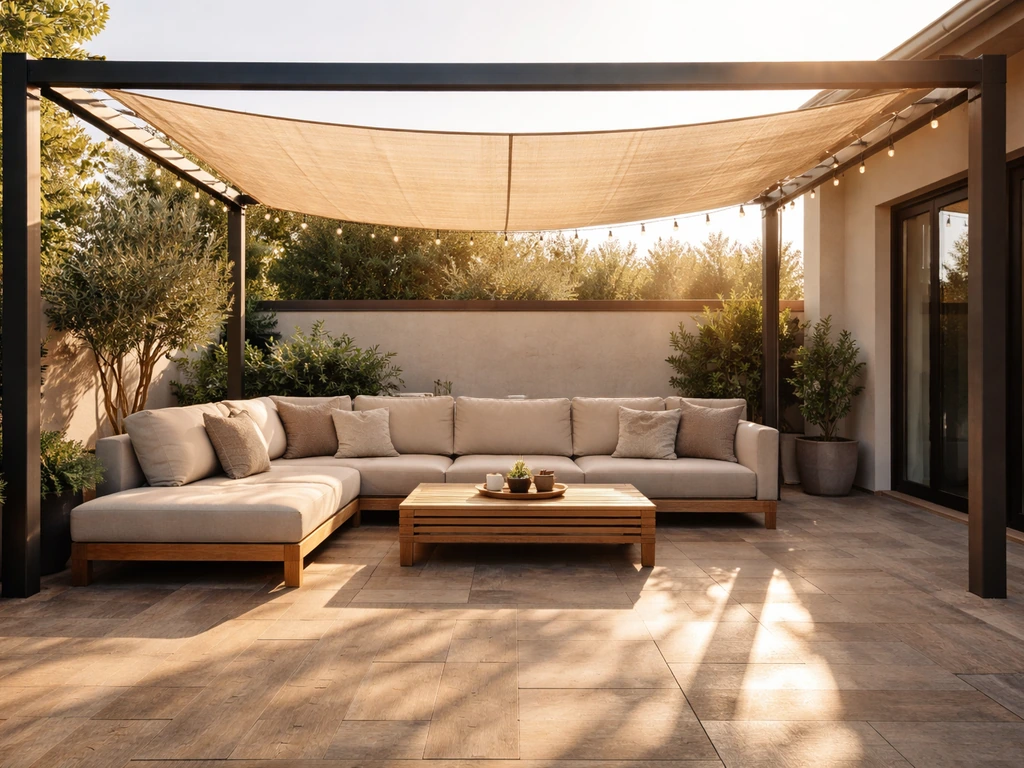
A pergola is the most popular structural shade solution, and for good reason. It defines a space clearly, it looks intentional, and it can anchor everything else, from ceiling fans to string lights to curtains. The important thing to understand is that open-slat pergola roofs don't block sun fully, especially early and late in the day when the angle is low. The practical fix is to layer in roll-up shades, outdoor curtains, or a retractable canopy across the top. Pergola posts need to be set into proper footings that handle wind load, and in cold climates, footings must go below the frost line to prevent heaving. This is one area where hiring a professional pays for itself.
| Cover Type | Typical Installed Cost | Shade Quality | Permanence | Best For |
|---|---|---|---|---|
| Market Umbrella | $100–$400 | Moderate | Portable | Small spaces, renters |
| Shade Sail | $150–$600 | Moderate | Semi-permanent | Wide coverage on a budget |
| Retractable Awning | $1,500–$7,000 | Good | Permanent (retractable) | House-attached patios, west-facing |
| Fixed Awning | $800–$3,000 | Good | Permanent | Budget-conscious, low-wind areas |
| Pergola (open slat) | $3,000–$12,000+ | Partial (add curtains/shades) | Permanent | Defined zones, entertainment spaces |
Comfort upgrades that extend how long you actually use the patio
Once you have shade sorted, the next layer is air movement and temperature control. These upgrades are the difference between a patio you use for two hours a day and one you use all evening.
Ceiling fans
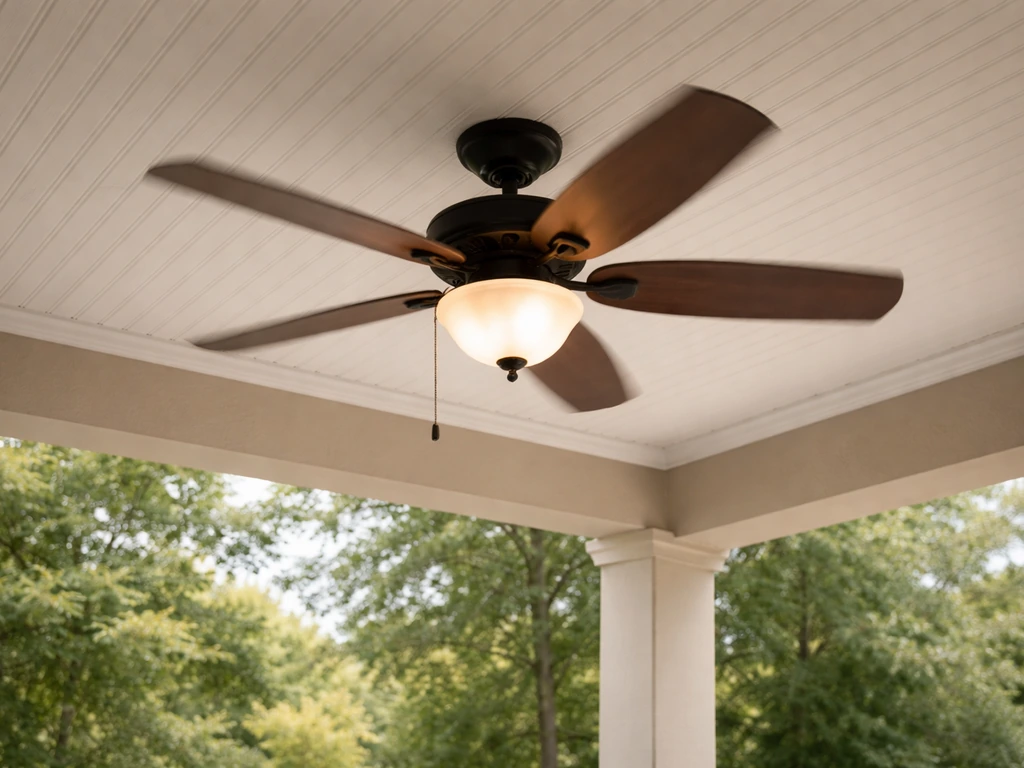
If your patio is covered, a ceiling fan is one of the best investments you can make. Moving air makes 90-degree heat feel like 80. The key is buying a fan that's rated for the right location. A damp-rated fan works for covered patios protected from direct rain.
A wet-rated fan is required anywhere it could get rained on directly. Don't use an indoor fan outside, and make sure the electrical installation uses GFCI-protected outdoor circuits, which is required by the NEC for outdoor receptacles in wet and damp locations. For receptacles installed in wet locations, NEC 406. 9(B)(1) also requires a [weatherproof enclosure whether or not the attachment plug cap is inserted](https://www.
ecmweb. com/national-electrical-code/qa/article/20900752/code-qa-placing-receptacles-in-damp-or-wet-locations), and when using an outlet box hood it must be listed and identified as “extra-duty. ” [GFCI-protected outdoor circuits, which is required by the NEC for outdoor receptacles in wet and damp locations](https://bsd. dli.
mt. gov/_docs/Training/DAY-2-of-Residential-Electrical-2-day-course-WC3-2020-NEC. pdf).
Misting systems
Misters work by forcing water through tiny nozzles, which evaporates almost instantly and drops the surrounding air temperature by 10 to 20 degrees in dry climates. They're most effective in low-humidity regions like the Southwest. In humid climates, you'll mostly just feel damp. Position nozzles at least 10 feet off the ground when possible, aim them toward the seating area, and keep them away from cooking surfaces and water features. A basic DIY misting kit starts around $30 to $80; a professionally installed high-pressure system with a pump runs $500 to $2,000.
Outdoor heaters
Patio heaters extend the season significantly in cooler climates. Propane tower heaters are portable and require no installation; electric wall-mounted or ceiling-mounted heaters need wiring but deliver cleaner, more directional heat. Either way, the safety rule that matters most is clearance: keep any portable outdoor heater at least 5 feet from your home's siding, combustible decorations, and any overhead structure. Don't place a tower heater directly under a pergola roof or fabric awning.
Flooring and material upgrades worth the investment
Patio flooring sets the entire visual tone of the space, and it affects safety, maintenance, and how comfortable the patio feels underfoot. The three most popular options are concrete (including stamped), pavers, and outdoor tile. Each has a distinct set of tradeoffs.
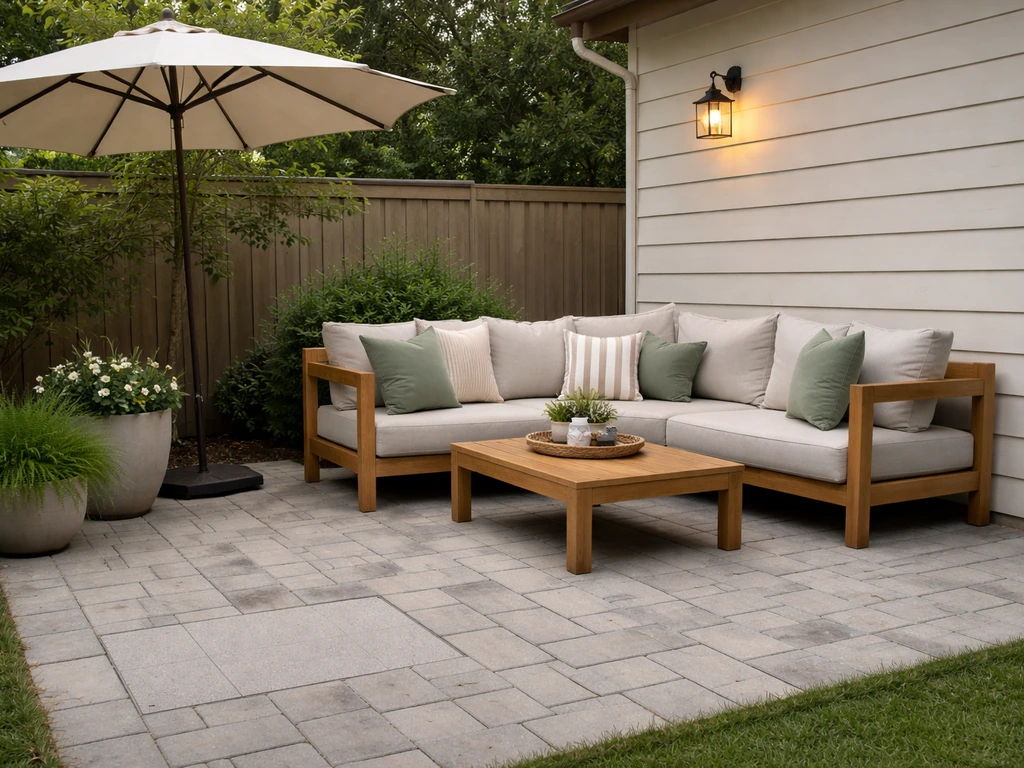
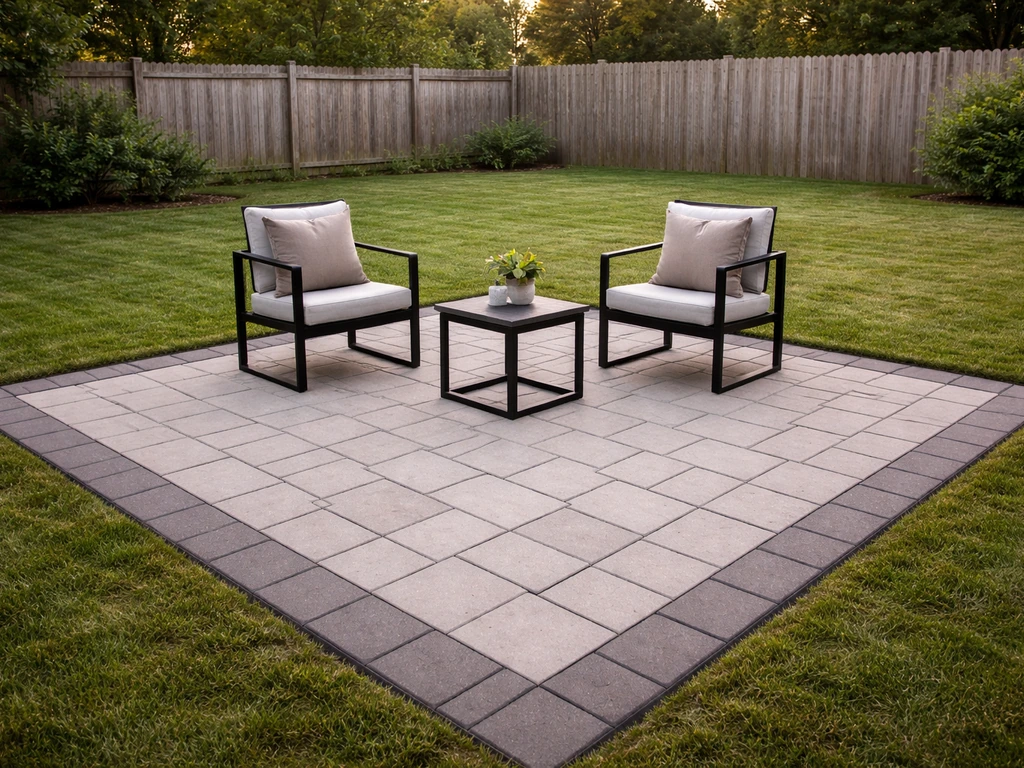
Pavers
Concrete or natural stone pavers are the most versatile option for most homeowners. Installed cost runs roughly $10 to $35 per square foot depending on the paver material and complexity of the pattern. Individual pavers can be pulled up and reset if a section settles or a utility line needs access, which is a practical advantage over poured concrete. Proper installation requires a compacted gravel base and a slope of about 1/4 inch per foot away from the house foundation to direct water away, preventing pooling and long-term instability.
Stamped concrete
Stamped concrete gives you a decorative look at a generally lower material cost than natural stone pavers. The catch is maintenance: it needs to be resealed every few years to keep the color and surface intact, and if it cracks, the repair is more visible than replacing a single paver. It's a good choice if you want a unified, upscale look with fewer joints, and you're comfortable with periodic upkeep.
Outdoor porcelain tile
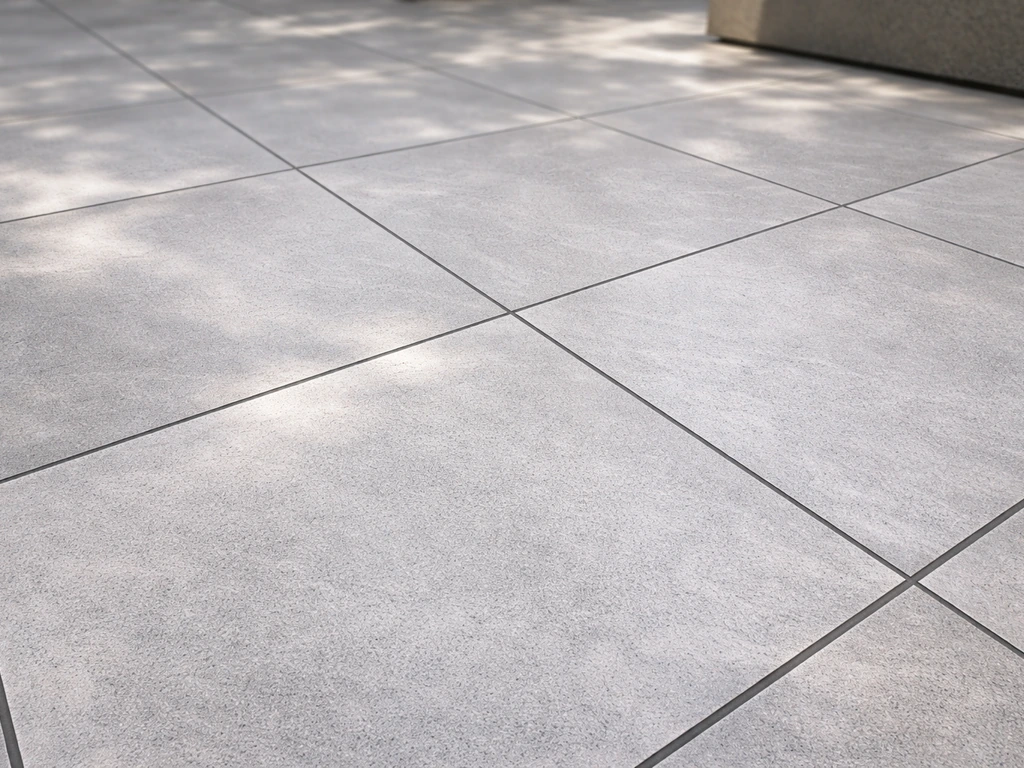
Outdoor tile has gotten much better in recent years, and porcelain specifically is a strong choice for patios in moderate climates. Look for tiles rated for outdoor use with a water absorption rate below 0.5% by weight, which is what gives them freeze-thaw resistance. For slip safety, the DCOF (Dynamic Coefficient of Friction) value matters: the ANSI A326.3 standard sets a minimum wet DCOF of 0.42 for wet applications, while some guidelines push for 0.60 or higher for outdoor use. Always check the slip rating before buying, especially if you live somewhere that gets rain or ice.
| Material | Typical Installed Cost | Maintenance | Freeze-Thaw Resistant | DIY Friendly |
|---|---|---|---|---|
| Concrete Pavers | $10–$20/sq ft | Low (occasional sealing) | Yes | Yes, with prep |
| Natural Stone Pavers | $20–$35/sq ft | Moderate | Varies by stone | Moderate |
| Stamped Concrete | $12–$25/sq ft | Moderate (resealing required) | Somewhat | No, hire a pro |
| Outdoor Porcelain Tile | $15–$30/sq ft | Low | Yes (if <0.5% absorption) | Moderate |
Regardless of which material you choose, measure your patio dimensions accurately to the nearest inch before ordering. Paver and tile quantities are calculated from length times width, and nominal vs. actual sizes can throw off your count if you don't account for them. Add 10% overage for cuts and breakage.
Finishing touches that make the patio feel complete
Once the structure, shade, and flooring are handled, the finishing layer is what transforms a functional patio into a space that feels like a real outdoor room. If you want the fastest way to make patio more inviting, focus on shade, comfort, and a few finishing touches that turn it into an outdoor room how to make patio more inviting. These items are mostly low-cost and DIY-friendly, which makes them perfect starting points if your budget is limited.
Outdoor rugs and textiles
An outdoor rug is one of the highest-impact, lowest-cost changes you can make. It anchors the seating arrangement visually, defines zones on a large patio, and makes the space feel warmer underfoot. Pair the rug with outdoor cushions, throw pillows, and curtains on a covered patio. Thick outdoor curtains on a pergola or enclosed porch reduce wind drafts and add a sense of enclosure that makes the space feel more comfortable in shoulder-season weather.
Lighting
A single overhead light is usually the wrong approach. Layered lighting works much better: general overhead illumination (string lights or a flush-mounted ceiling fixture), task lighting near a grill or outdoor kitchen, and accent lighting to highlight planters, steps, or landscape features. String lights strung across a pergola are consistently the easiest and most popular upgrade for evening entertaining, and they cost almost nothing compared to hardwired options. For permanent installations, use fixtures rated for outdoor use and connect them to GFCI-protected circuits.
Plants and planters
Planters soften hard edges, add color, and make a patio feel lived-in. Pairing planters with an outdoor rug creates a cohesive, intentional look even on a modest budget. Use large planters at corners to define the patio boundary, and smaller ones on tables or along railings for layered greenery. Tall ornamental grasses or potted shrubs can also double as a privacy screen on patios that feel too exposed.
Accessories and the final edit
Side tables, a small bar cart, a cooler stand, and coordinated accessories all add function without requiring construction. The key is editing: choose a consistent color palette and material finish (all black metal, all natural wood tones, or a mix you've intentionally matched) rather than accumulating items over time without a thread. A cohesive set of three to five pieces almost always looks better than a dozen mismatched items.
How to decide where to start
If you're not sure where to begin, work through this priority order based on what your patio is missing. If you want more direction, these best back patio ideas pull everything into a simple upgrade path from first fixes to the finishing touches. Start with layout and size: if the patio is too small or poorly arranged, no amount of decor will fix it. Then tackle shade if sun or heat is the reason you're not using the space. After that, address flooring if the current surface is cracked, slippery, or just visually worn. Comfort upgrades like fans and heaters come next, and finishing touches like lighting, rugs, and plants are the final layer.
- Measure your patio's length and width to the nearest inch before planning any cover or flooring project.
- Mock up furniture placement on the lawn to confirm your layout works before building anything.
- Choose your shade solution based on your patio's relationship to the house (attached vs. freestanding) and your climate.
- Confirm any structural shade solution (pergola, attached awning) gets permitted and engineered for local wind and frost conditions.
- Select flooring with the correct slip rating (minimum wet DCOF of 0.42) and freeze-thaw rating for your climate.
- Add comfort upgrades (fans, misters, heaters) using the right electrical and clearance standards.
- Finish with coordinated lighting, an outdoor rug, plants, and textiles to bring the space together.
DIY is very realistic for finishing touches, paver installation, and shade sail setups. For anything involving electrical work, structural footings, or attaching a cover to your home's framing, get at least one contractor quote. The installation mistakes that cause long-term problems (frost heave on pergola posts, water pooling from bad drainage, shock hazards from improperly placed outdoor outlets) almost always come down to skipped steps in the prep phase, not the materials themselves. Spend the time on those details and the rest of the project comes together cleanly.
FAQ
How do I choose shade when the sun hits my patio at different times of day?
Yes, but the fix is to match the cover type to your use time. If the patio is mainly for afternoon sun, prioritize broad shade (shade sail or retractable awning). If evenings are the issue, string lights with a pergola plus roll-up shades or curtains can reduce low-angle sun without blocking airflow.
What are the best top patio ideas for a small patio that still feels open?
For small patios, avoid oversized zones. Stick to one primary seating area and a narrow circulation path, then use a rug to define the “room” rather than adding multiple furniture groupings. A market umbrella or compact shade sail also prevents the cover footprint from squeezing walking space.
Which patio cover ideas hold up best in high winds or severe weather?
In most cases, pick either a low, partial cover or a solution that tolerates wind. Retractable awnings and umbrellas are easy to close during storms, shade sails need proper tensioning, and pergolas should be designed for wind load. If you live in very windy areas, plan removable or retractable options first.
Should I install a ceiling fan before upgrading shade, or after?
Outdoor ceiling fans are typically worthwhile when the patio is already shaded or partially covered, because moving air is most effective when you reduce direct sun. For fully open patios, you will get less comfort benefit, so shade and heat management should come before fans.
Are misters worth it if I live in a humid region?
Do not assume more misting equals more comfort. In humid climates, misters mainly add dampness, and you may need to rely on airflow (fans) plus shade instead. If you do install misters, aim them toward seating, keep distance from cooking equipment, and confirm the water line and drainage plan to avoid wet flooring.
What should I know about electrical planning for patio lighting and fans?
If your outdoor circuit is not already protected, you may need an electrician to add GFCI protection and weatherproof outlets. For lighting, fans, heaters, and any receptacle near water, plan the electrical route early so you do not have to retrofit across pavers or tile later.
How should I lay out furniture around a fire pit on a patio?
A fire pit changes the “comfort geometry” of the whole zone. Keep seating far enough from the pit edge for safe heat exposure, then set the rug and conversation layout so chairs angle slightly toward the warmth without forcing guests to lean over the boundary.
What flooring option is safest for rain and freezing temperatures?
Choose flooring based on slip risk and freeze-thaw. If you get rain or ice, outdoor tile needs a verified wet slip rating, and pavers or concrete benefit from proper slope and joint leveling. For freeze climates, ensure materials and base are designed to handle expansion and water movement.
What causes patio flooring to fail early, and how can I prevent it?
Start with the foundation and water management. For pavers, focus on a compacted base and correct slope so water drains away. For concrete and stamped surfaces, plan sealing timelines and address hairline cracking early. Most long-term issues are drainage or prep related, not the finish surface itself.
What should I buy first, rugs and decor, or the big functional upgrades like shade and flooring?
If you are budgeting, prioritize a “usable” upgrade first, shade or airflow, before buying accessories. For finishing touches, buy rugs and a coordinated lighting layer last, because they will help you refine the zones after you confirm seating size and circulation.
Can I mount outdoor heaters or structures on a pergola or awning fabric?
Yes, but do it in a way that prevents trapped water and unstable footing. Avoid mounting structures or heaters to surfaces that cannot handle load, and keep heater clearances consistent with the manufacturer. When in doubt, use standoffs or mounts rated for outdoor use rather than improvising with indoor hardware.
Next Articles

Do It Yourself Outdoor Patio Ideas: Build, Upgrade, Maintain
DIY outdoor patio ideas for planning, building, upgrading, and maintaining floors, shade, privacy, lighting, and decor.
Quick Fix Patio Ideas for Instant Comfort and Style
Quick fix patio ideas for fast comfort and style: cleanups, repairs, shade, flooring tweaks, and safe upgrades on any bu
Cheap Do It Yourself Patio Ideas: Budget Build Guide
Budget DIY patio ideas with step-by-step flooring, prep tips, cost ranges, upgrades, and safety mistakes to avoid.