For most patio roofs, <a data-article-id="15E41854-EC57-41C5-9486-5880542A346C">pressure-treated lumber</a> (rated UC3B or better for above-ground exterior exposure) is the best all-around choice for structural framing, and cedar or redwood is the best pick when the wood will be visible and you want a naturally beautiful finish. If you live somewhere with heavy rain, coastal salt air, or serious insect pressure, stepping up to a UC4A-rated treated wood or a naturally durable hardwood like ipe gives you extra insurance. The "best" wood really comes down to three things: where you live, how much of the wood will be exposed to the elements, and whether looks matter as much as longevity.
Best Wood for Patio Roof: Top Species, Grades, and Care

Phoebe Foster
29 Apr 2026
What your patio roof actually has to survive
A patio roof takes a beating that most interior framing never sees. It cycles through wet and dry, bakes in summer UV, and often sits right at the transition zone between protected and fully exposed. The main threats are rot from moisture, mold and mildew from trapped humidity, insect damage (especially termites and carpenter bees in warmer climates), and UV degradation that breaks down wood fibers and finishes over time.
Climate plays a huge role. In a hot, dry place like Arizona, UV and checking (surface cracking) are your biggest enemies. In the Gulf Coast or Pacific Northwest, it's persistent moisture and mold. The Midwest throws everything at you: freeze-thaw cycles on top of rain and humidity swings. Texas heat combined with occasional flooding rain is its own challenge. Your wood choice and finish schedule need to match the actual conditions your roof will face, not just a generic "exterior" rating.
The American Wood Protection Association (AWPA) has a practical framework called the Use Category System that cuts through the confusion. Instead of just picking a species, you specify the right treatment level for the exposure. For a patio roof where wood is above ground and exposed to weather, UC3B is the minimum standard treatment category. If any part of the structure is near ground contact or in a very high-decay-hazard area, UC4A is the right call. These categories tell you the preservative retention level, not just the species, which is what actually determines how long treated wood holds up.
The best wood species for patio roof framing and structure
Here are the options that actually perform well outdoors, along with honest notes on where each one shines and where it falls short.
Pressure-treated pine (Southern Yellow Pine)

This is the workhorse of exterior framing across the country, and for good reason. It's widely available, structurally strong, takes fasteners well, and when properly rated (look for UC3B for above-ground exposed framing), it resists rot and insects for decades. Modern pressure-treated lumber uses micronized copper azole (MCA) or copper azole (CA) preservatives, which are far less corrosive than the old arsenic-based treatments, though you still need to use hot-dipped galvanized or stainless steel fasteners. The downside is aesthetic: it's green-tinted and rough, it can warp and check as it dries, and it doesn't take stain as cleanly as cedar. It's the right call for hidden structural members, posts, and beams where looks don't matter.
Western red cedar
Cedar is the go-to when the wood will be visible. Its natural oils make it genuinely rot-resistant without chemical treatment, it's dimensionally stable (meaning it moves less with moisture changes than pine), it takes stain and paint beautifully, and it smells great. For patio rafters, pergola beams, and any exposed ceiling or fascia work, cedar gives you a finished look that pressure-treated pine simply can't match. The trade-off is cost (typically 40-60% more than treated pine) and the fact that it still needs a finish or sealer to perform well long-term outdoors. Untreated cedar will weather to a silvery gray, which some people love, but it becomes more vulnerable over time.
Redwood
Redwood is essentially cedar's West Coast cousin, with excellent natural decay resistance, beautiful color, and good dimensional stability. It's the preferred choice in California and the Pacific Northwest for visible patio structures. The key detail with redwood is grading: heartwood (the darker inner wood) contains the natural tannins and oils that resist rot, while sapwood (the lighter outer rings) does not. Always specify "all-heart" or "construction heart" redwood for any exterior application. Redwood is harder to find and more expensive in the central and eastern US, which limits its practicality outside its home region.
Douglas fir
Douglas fir is one of the strongest softwoods available and a solid choice for large structural spans like ridge beams and heavy rafters. It's not naturally rot-resistant, so it needs either a protective finish, proper design that keeps it dry, or a treated version. Treated Douglas fir is available in many western markets. Its strength-to-weight ratio makes it popular for engineered applications and visible heavy timber patio roofs where structural performance matters as much as aesthetics.
Tropical hardwoods (ipe, teak, cumaru)

These are in a different category. Ipe and teak are among the hardest, densest, most rot-resistant woods on the planet. Ipe in particular has a Class A fire rating and essentially laughs at moisture and insects. The problems: they're expensive (ipe can run $5-$10 per linear foot or more), they're very heavy (important for structural loading), they require pre-drilling for every fastener, and they're difficult to work with standard tools. They make more sense for premium visible elements like exposed beam ceilings or decorative rafters than for hidden framing. Sourcing matters, too: look for FSC-certified tropical hardwoods to avoid contributing to deforestation.
Pressure-treated vs cedar/redwood vs hardwoods: which one wins?
| Wood Type | Best Use | Rot/Insect Resistance | Typical Cost (per LF) | Maintenance Level | Aesthetics |
|---|---|---|---|---|---|
| Pressure-Treated Pine (UC3B) | Hidden structural framing, posts, beams | Excellent (chemically enhanced) | $1.50–$3.50 | Low for structure, medium if painted | Rough, greenish, not ideal for visible use |
| Western Red Cedar | Visible rafters, fascia, ceilings, pergola beams | Good (natural oils) | $3.00–$6.00 | Medium (stain/seal every 2–3 years) | Beautiful, warm, takes stain well |
| Redwood (all-heart) | Visible structures in western US | Excellent (natural tannins) | $4.00–$8.00 | Medium (same as cedar) | Premium appearance, rich red tones |
| Douglas Fir (treated) | Heavy structural beams, ridge members | Moderate (needs treatment or finish) | $2.50–$5.00 | Medium–High if left unfinished | Clean grain, good for exposed heavy timber look |
| Ipe / Tropical Hardwood | Premium visible elements, decorative beams | Outstanding | $5.00–$10.00+ | Low–Medium (oil annually) | Dense, rich, very premium appearance |
For most homeowners, the practical answer is a hybrid approach: use UC3B pressure-treated pine for all the structural framing you won't see (rafters hidden under roofing, ledger boards, posts near ground), and use cedar or redwood for anything visible, like exposed rafters, fascia boards, and decorative elements. This gets you the durability where it counts and the beauty where it shows, without paying hardwood prices for hidden members. If budget is tight, go all pressure-treated and paint or stain it to look better. If budget is tight, go all pressure-treated and paint or stain it to look better, which is a common path to the best wood for patio deck. If budget is tight, go with UC3B pressure-treated pine for a reliable, budget-friendly path to finding the best wood for patio cover. If budget isn't a constraint and you want a showpiece patio, ipe or all-heart redwood on every exposed surface is hard to beat.
Design details that make wood last much longer
Here's something most guides skip: a lot of "wood failures" aren't wood failures at all. They're design and installation failures. A $5-per-board-foot cedar beam will rot in 10 years if water pools on it. The same beam, properly installed, can last 40 years. The design choices below make the single biggest difference in how long your patio roof wood actually lasts.
Wood grade and thickness
Don't cheap out on grade. For visible structural work, use Select Structural or No. 1 grade lumber. Lower grades have more knots, wane, and defects that create weak spots and entry points for moisture. For any exposed rafters or beams, 2x8 or larger lumber gives you better material (more heartwood relative to surface area) and better structural performance across typical spans. Thin, low-grade boards will cup, twist, and check much faster when exposed to outdoor conditions.
Rafter spacing and drainage
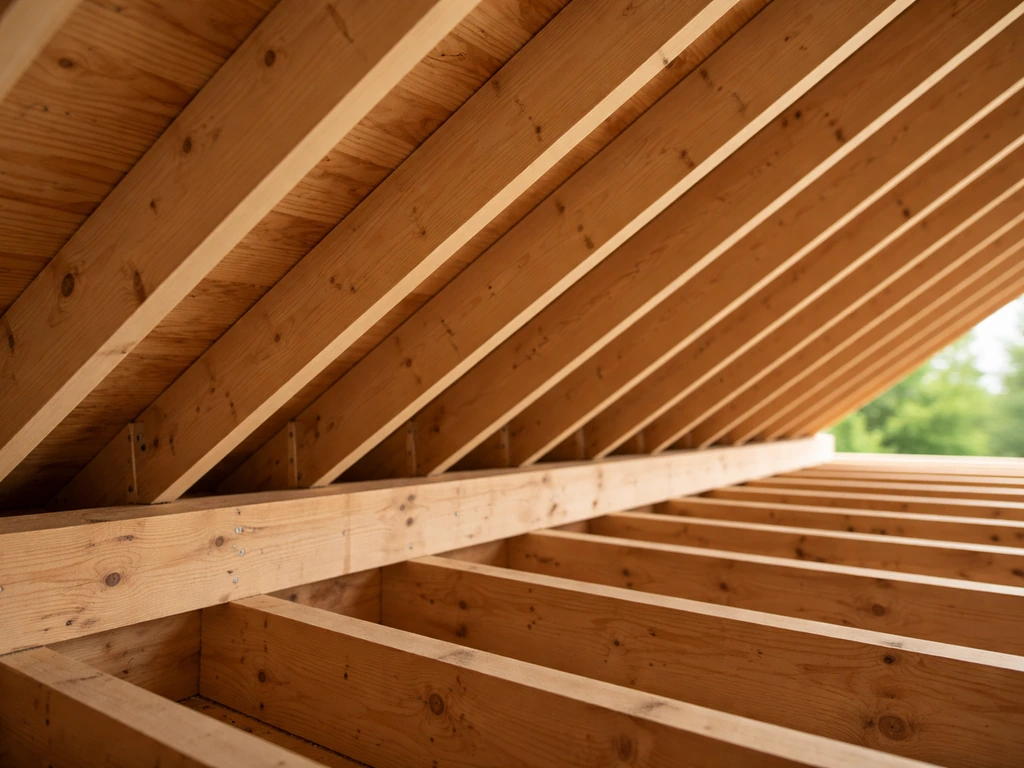
Rafter spacing affects both structural performance and how well water moves off the roof. Standard 16-inch or 24-inch on-center spacing works for most loads, but the key is making sure the roof has adequate pitch (at least 1/4 inch per foot, preferably more) so water doesn't pond. Standing water is the number-one enemy of roofing wood. Even naturally rot-resistant cedar will fail if it stays wet for extended periods.
Roof overhangs
Generous overhangs, at least 12 inches on exposed sides and ideally 18-24 inches, keep rain from driving directly onto wall connections and fascia boards. This is one of the cheapest ways to extend the life of your entire patio roof structure. The historic covered porches in rainy southern states that have lasted 100 years all have generous overhangs. It's not an accident.
Ventilation and airflow
Wood that can dry out quickly after getting wet is wood that doesn't rot. Design your patio roof so air can circulate around structural members. Avoid details that trap moisture between boards or against walls. If you're installing a solid-panel patio roof, make sure there's an air gap between the roofing material and any wood members underneath.
Finishing and protecting your patio roof wood
The right finish extends wood life dramatically and makes maintenance easier for years down the road. The wrong finish (or no finish) leads to early checking, greying, and moisture infiltration. Here's what actually works outdoors.
Penetrating oil finishes
For cedar, redwood, and tropical hardwoods, penetrating oil stains and finishes (like teak oil, linseed-based decking oils, or products like Penofin or Cabot Australian Timber Oil) are generally the best choice. They soak into the wood rather than forming a surface film, which means they don't peel, blister, or trap moisture. The trade-off is that you need to reapply every 1-3 years depending on sun and rain exposure. Horizontal surfaces need more frequent attention than vertical ones.
Semi-transparent and solid stains
Semi-transparent stains show the wood grain while adding UV protection and water resistance. They're a great middle ground for visible cedar or redwood rafters. Solid stains completely cover the grain but provide the highest UV and moisture protection. They're a good choice for pressure-treated pine you want to improve the look of, or for wood that's already been previously finished with a solid coat. Always clean and lightly sand before recoating.
Sealers
Clear sealers alone (without UV inhibitors) are not enough for outdoor exposure. They repel water but do nothing for UV degradation, which breaks down the lignin in wood and leads to surface graying and checking. If you want a clear finish that shows natural wood color, choose a clear sealer that specifically includes UV blockers. Even then, plan on reapplying annually in high-UV climates.
Paint
Exterior paint provides excellent protection when done right, and it's actually a reasonable choice for pressure-treated structural members you want to look clean. The downside is that once you paint, you're committed to maintaining that paint surface, and peeling paint on a roof is a maintenance headache. Use a quality exterior primer and two coats of a 100% acrylic exterior paint. Back-prime all cut ends before installation.
When to apply and reapply
New pressure-treated lumber needs to dry out (usually 2-6 weeks after installation) before accepting a finish. Cedar and redwood can be finished immediately. For reapplication, the rule of thumb is: if water no longer beads on the surface, it's time to recoat. In most climates, plan for every 2-3 years for oil finishes on horizontal or semi-exposed surfaces, and every 3-5 years for painted or solid-stained vertical members.
Installation details that protect your investment
Even the best wood fails prematurely with poor installation. These are the details that separate a patio roof that lasts 30 years from one that needs major repairs in 10.
Fasteners
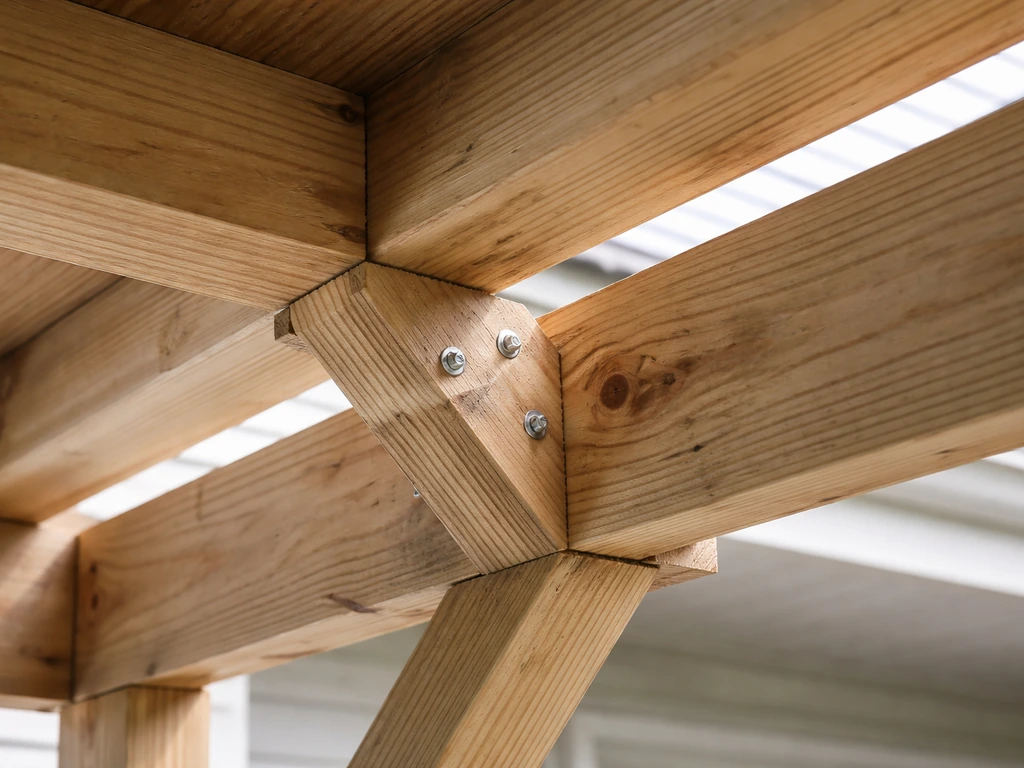
Modern pressure-treated lumber (using copper-based preservatives like MCA or CA) is corrosive to standard galvanized hardware and especially to aluminum and regular steel. Use hot-dipped galvanized (HDG) or stainless steel fasteners, hangers, and hardware throughout. Simpson Strong-Tie and similar structural connector brands make UC3B/UC4A-rated hardware specifically for treated lumber. Using the wrong fasteners will result in rust staining and structural failure of the connection long before the wood itself fails. This is non-negotiable.
Flashing
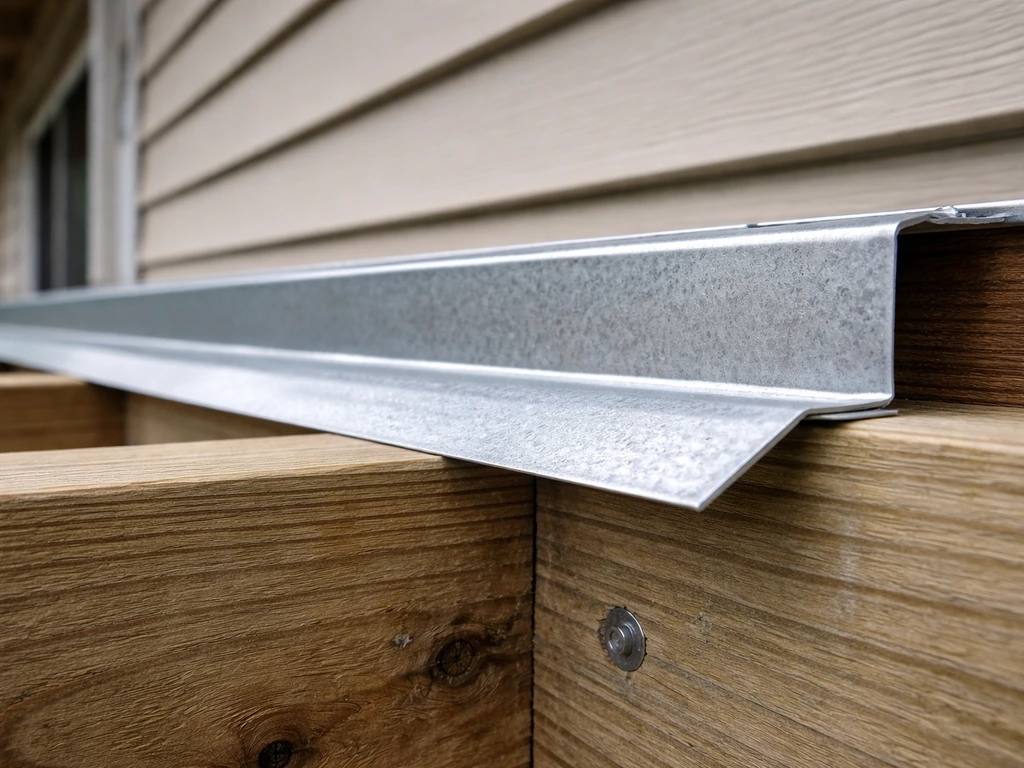
Any place your patio roof connects to an existing structure is a water intrusion point. Ledger boards must be flashed properly: a metal Z-flashing above the ledger directs water away from the house wall, and any penetrations (lag bolts, screws) should be sealed. In wet climates, consider a self-adhering membrane flashing tape over the ledger before installing it. This is one of the most common failure points in attached patio roof systems.
Ventilation and water management
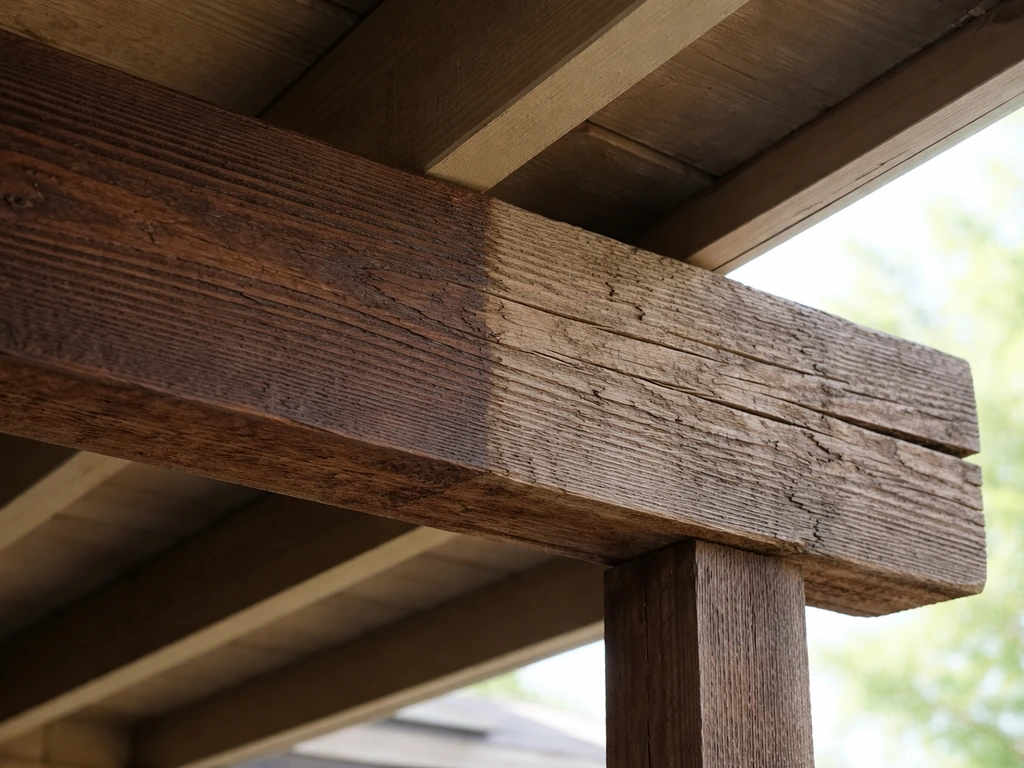
Design the roof so water has a clear path off the structure. This means consistent slope, no low points where water can pond, and keeping the ends of rafters cut at an angle so the end grain (which absorbs water fastest) isn't sitting flat. End grain is wood's weakest point against moisture: seal it well with an end-grain sealer or liberal coat of your primary finish before installation. Also, avoid burying beam ends in posts or wall pockets without a drainage gap; a small space (even 1/4 inch) at the bottom of a post base or beam pocket lets water drain and air circulate.
Code considerations
Most attached patio roofs require a building permit, and local building codes regulate the wood species, treatment, grades, and fasteners you can use. Codes adopted from the IRC and IBC specify exterior framing requirements including when fire-retardant treated wood is required (this can apply depending on your structure type and local jurisdiction). Check with your local building department before you buy materials. California, for example, has specific code requirements for exterior wood framing that go beyond basic IRC guidance. Getting inspected also protects you at resale.
Real-world costs, maintenance, and how long each option actually lasts
| Wood Option | Avg. Material Cost (framing only) | Typical Lifespan (well installed) | Maintenance Schedule | Biggest Risk Factor |
|---|---|---|---|---|
| PT Pine UC3B | Low ($1.50–$3.50/LF) | 30–50 years | Inspect annually, finish every 3–5 yrs if painted | Warping/checking if dried too fast; wrong fasteners |
| Western Red Cedar | Medium ($3–$6/LF) | 20–40 years | Oil/stain every 2–3 years | UV graying and checking if unfinished |
| All-Heart Redwood | Medium–High ($4–$8/LF) | 25–50 years | Oil/stain every 2–3 years | Sapwood if grading is ignored; availability outside West |
| Douglas Fir (treated) | Medium ($2.50–$5/LF) | 20–40 years | Finish every 2–3 years | Not naturally rot-resistant; finish is critical |
| Ipe / Tropical Hardwood | High ($5–$10+/LF) | 40–75+ years | Annual oiling recommended | Cost, weight, and difficulty of working the material |
Labor costs vary widely by region and project complexity, but for a typical attached patio roof (12x16 feet or so), figure $3,000-$8,000 for a contractor-built wood structure depending on materials and your market. A DIY build with pressure-treated pine drops that to $800-$2,500 in materials. Cedar bumps material costs up by 40-60% but is still very manageable for a motivated DIYer.
DIY or hire a contractor? Here's how to decide
A patio roof is one of those projects where the DIY vs. Yes, live edge wood patios can be real, but they only hold up outdoors when the wood is properly stabilized, sealed, and protected from moisture and UV are live edge wood patios real. contractor decision really comes down to your comfort with framing carpentry and permits, not just budget. The structural part (setting posts, cutting and hanging rafters, attaching a ledger to the house) requires accurate layout, proper fastening, and working at height. If you've framed a deck or shed before, a simple patio roof is within reach. If this is your first framing project, the ledger attachment to the house is the one spot where a mistake can cause serious water damage, and that alone might justify hiring a pro.
For a hybrid approach: hire a contractor for the permit process, ledger installation, and structural framing, then handle the finish work (fascia, staining, trim) yourself. This saves money while keeping the critical structural details in experienced hands.
How to buy the right wood locally
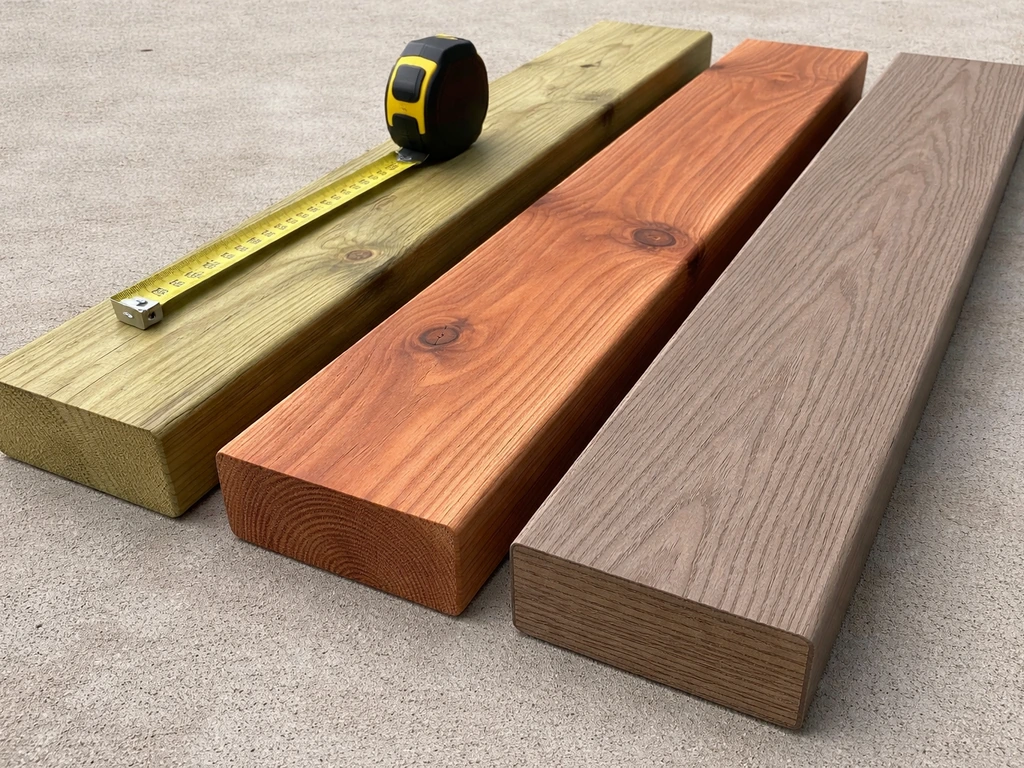
When you go to the lumber yard or home center, don't just ask for "pressure-treated." Ask specifically for UC3B-rated treated lumber for above-ground exterior framing, or UC4A if any members will be near ground contact. Check the tag stapled to the end of each board, which lists the retention level, species, and use category. For cedar or redwood, ask for kiln-dried material and, in the case of redwood, specify all-heart or construction heart grade. Avoid boards with heavy wane (missing edge wood), large loose knots, or visible blue-stain mold, even in treated material.
Regional availability matters. Pressure-treated Southern Yellow Pine is easy to find everywhere. Western red cedar is common nationwide but cheapest in the Pacific Northwest. Redwood is most available and affordable in California. If you're in the South or Southeast with serious termite pressure, ask your lumber supplier specifically about borate-treated wood (SBX/DOT treatment), which provides excellent insect resistance and pairs well with other preservative treatments.
Your next steps
- Identify your climate zone and primary threats: moisture, UV, insects, or freeze-thaw cycles.
- Decide which members will be visible and which will be hidden under roofing. Plan to use cedar or redwood for visible elements and UC3B PT pine for hidden framing.
- Check local building department requirements before buying anything. Confirm whether a permit is needed and what wood grades/treatments your code requires.
- Buy UC3B-rated PT lumber for structural framing and select structural or No. 1 grade cedar or redwood for visible work. Check end tags at the lumber yard.
- Use hot-dipped galvanized or stainless steel fasteners and hardware throughout. Do not use standard zinc or aluminum with modern treated lumber.
- Plan your finish schedule: seal or oil cedar and redwood before or immediately after installation, and wait for PT lumber to dry before finishing.
- Set a reminder to inspect the roof and reapply finish every 2-3 years. Check flashing and ledger connections annually.
The wood choice matters, but so does everything around it. Whether you go with humble pressure-treated pine or premium ipe, the patio roof that lasts is the one with proper drainage, the right fasteners, sealed end grain, and a finish that gets refreshed before the wood dries out and checks. Get those fundamentals right and almost any of these wood options will serve you well for decades.
FAQ
Can I use any pressure-treated wood for a patio roof, or does it have to be UC3B/UC4A?
Yes, but only if the product is clearly rated for above-ground exterior use with the correct use category, and only if you match it with compatible hardware. Avoid “interior” or deck-only lumber unless the tag shows UC3B or higher, and use hot-dipped galvanized or stainless fasteners to prevent corrosion staining and loosening at connections.
If I choose cedar or redwood, do I still need to stain or seal it?
Don’t rely on “natural rot resistance” alone. Cedar and redwood still need protection on high-sun or high-splash exposures, and they should be finished to limit UV breakdown and slow mildew, especially on shaded horizontal members like rafters near ceilings.
What should I do if the roof wood is rained on right before staining?
When wood is already wet, don’t finish it. Wait until moisture has dropped and the surface is dry, then clean, lightly sand, and reapply. Finishing over damp wood can trap moisture under the coating and accelerate mildew, even if the finish is designed for outdoors.
Can I switch from oil stain to solid stain or paint later?
For best results, use the same finish system you are maintaining. If you start with penetrating oil, switch to another penetrating oil product with a similar chemistry, but don’t topcoat oil with a film-forming solid stain unless you fully remove loose residue first.
How do I decide re-coat intervals for cedar versus pressure-treated pine?
It depends on the direction of exposure. Horizontal or semi-horizontal pieces (like exposed rafter undersides) typically need the first coat sooner and more frequent re-coats than vertical fascia and trim. A practical approach is to check bead test yearly, then recoat when water no longer beads.
My patio roof wood is showing early failure signs, what common causes should I rule out first?
If you see swelling, checking, or dark streaks after installation, the fix is often not “better wood.” Verify fastener type, confirm the roof has no low spots that pond water, and check for trapped moisture at ledger interfaces and end grain. Correcting drainage and flashing usually extends service life more than changing species.
Is it okay if some beam ends are partially enclosed by posts or wall pockets?
Yes, but you have to plan for movement and water shedding. Leave a small drainage gap at posts and avoid sealing end grain into a pocket. Also, make sure the design allows drying after rain, because fully enclosed cavities can create long-term humidity even with “rot resistant” woods.
Do I need to treat cut ends separately after installing pressure-treated lumber?
Standard pressure-treated lumber can be rough-surfaced, and cutting creates fresh, unprotected end grain. Always back-prime cut ends for painting and consider end-grain sealer for stains, then recoat on schedule. This prevents the common failure pattern of end-grain splitting and faster water absorption.
What’s the most common leak point in attached patio roofs and how does it affect wood?
If your roof is attached to the house, ledger flashing matters as much as the wood. Make sure the flashing sheds water away from the wall, seal penetrations, and consider an added membrane layer in wet climates. Many leaks start at the connection, not the wood surface itself.
How do I interpret the lumber yard tag when selecting treated wood?
Use category tags are your friend. For above-ground exterior structural framing, UC3B is typically the minimum, but if any members are near ground, splash zones, or high decay hazard areas, upgrade to UC4A. Also confirm the product listing matches your intended use, since the same species can be treated differently.
Is treated pine or cedar better for a roof that is always shaded and damp?
Not always. If the design is drying well and you seal and maintain exposed surfaces, cedar or redwood may outperform treated pine aesthetically while still lasting for years. But if the roof is heavily shaded, gets constant mist, or has frequent wetting, treated lumber with proper hardware often wins on long-term predictability.
Does kiln-dried cedar eliminate the need for regular exterior finishing?
For long-term results, kiln-dried cedar still needs a UV-protective exterior finish. Kiln drying mainly helps with straightness and reduces early warping, but it does not stop lignin breakdown outdoors, so plan for maintenance even on kiln-dried boards.
Is blue-stain discoloration a dealbreaker for exterior wood?
If you see blue stain on cedar or redwood, it’s a mold-related discoloration that may indicate wet storage, and it’s not automatically a structural defect but can worsen under finish. For best practice, avoid heavily affected boards, and if you already bought them, remove surface growth with cleaning and let fully dry before applying any finish.
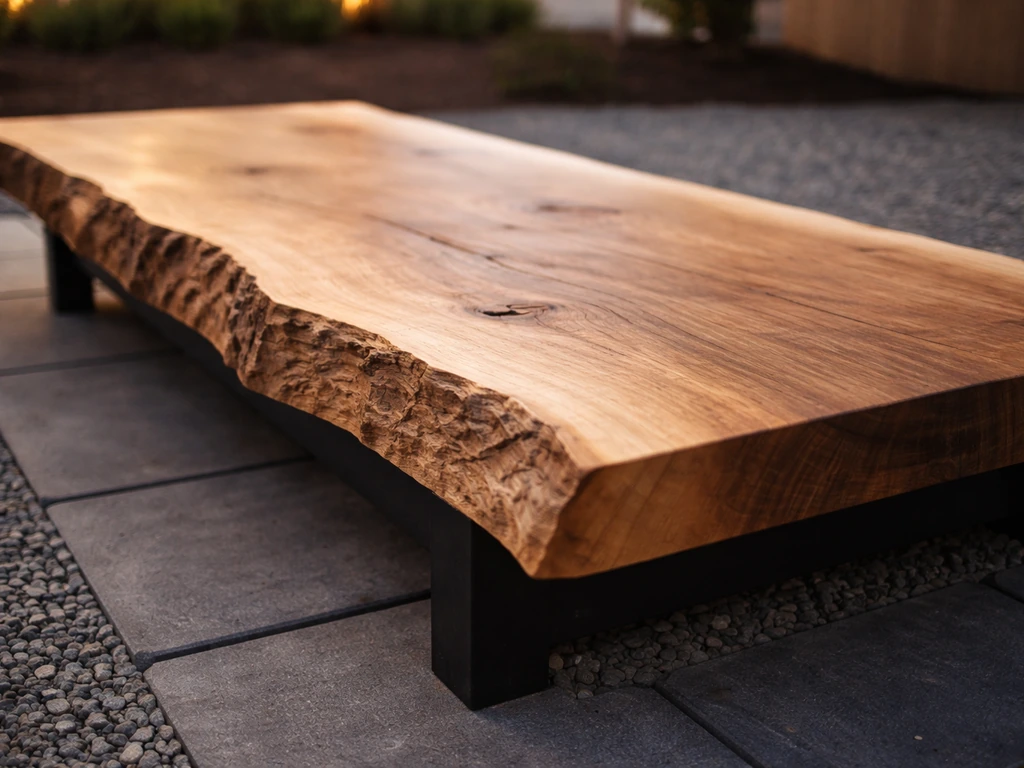
Can I use live-edge wood for structural rafters or ceiling members on a patio roof?
If it’s truly “live edge” and the finish and stabilization are done for outdoor exposure, it can work, but only with disciplined waterproofing and aggressive end-grain protection. For a patio roof structural role, it’s higher risk than standard framing lumber, so most projects use live edge wood only for non-structural visible elements.
Next Articles
Best Wood for Patio Deck: Compare Options, Costs, Lifespan
Compare patio deck wood options for durability, cost, and lifespan. Includes maintenance plan, pros cons, and best choic
Are Live Edge Wood Patios Real? Pros, Risks, Lifespan
Reality check on live edge wood patios: durability, safety, lifespan, maintenance, and what to ask before building.
Best Lumber for Patio Cover: What to Use and Sizing Tips
Choose the best lumber for patio covers: species, sizing for joists and ledgers, plus weatherproofing and longevity tips