For most homeowners, pressure-treated pine is the best starting point for a patio cover because it's widely available, structurally strong, and affordable. But if you want natural beauty without ongoing chemical concerns, Western red cedar or redwood are the top upgrades. The right choice depends on your climate, your budget, and which parts of the cover you're framing versus finishing. Here's exactly how to sort that out.
Best Wood for Patio Cover: Choices, Grades, and Tips

Phoebe Foster
29 Apr 2026
How to choose wood for an outdoor patio cover (the real weather factors)
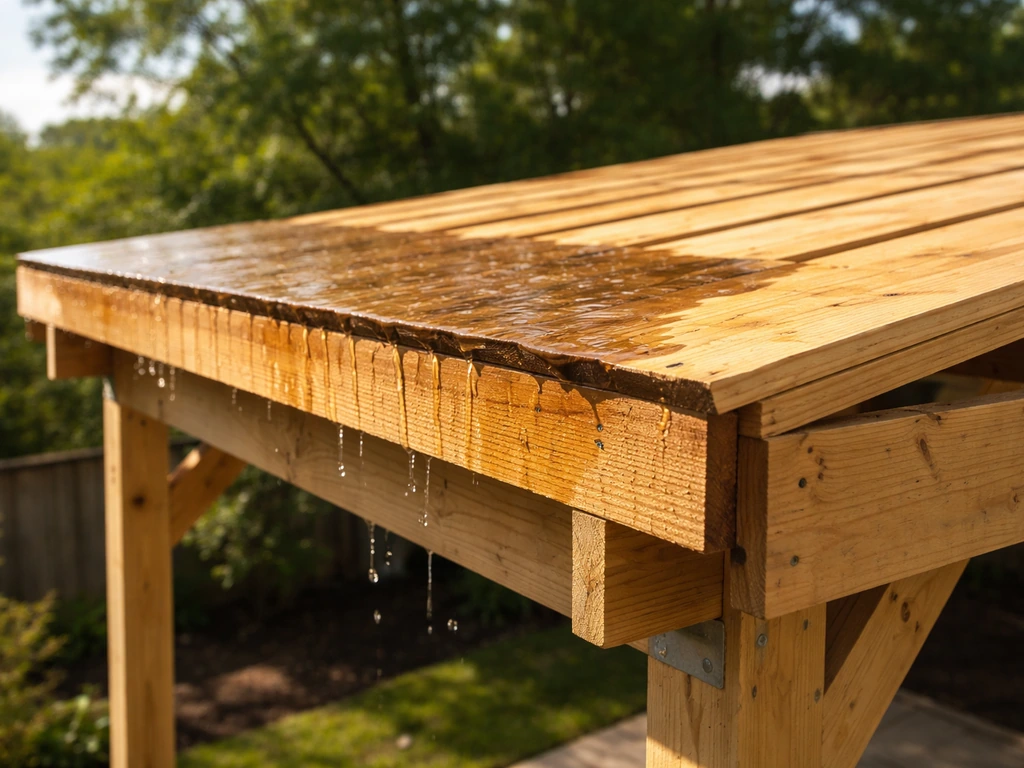
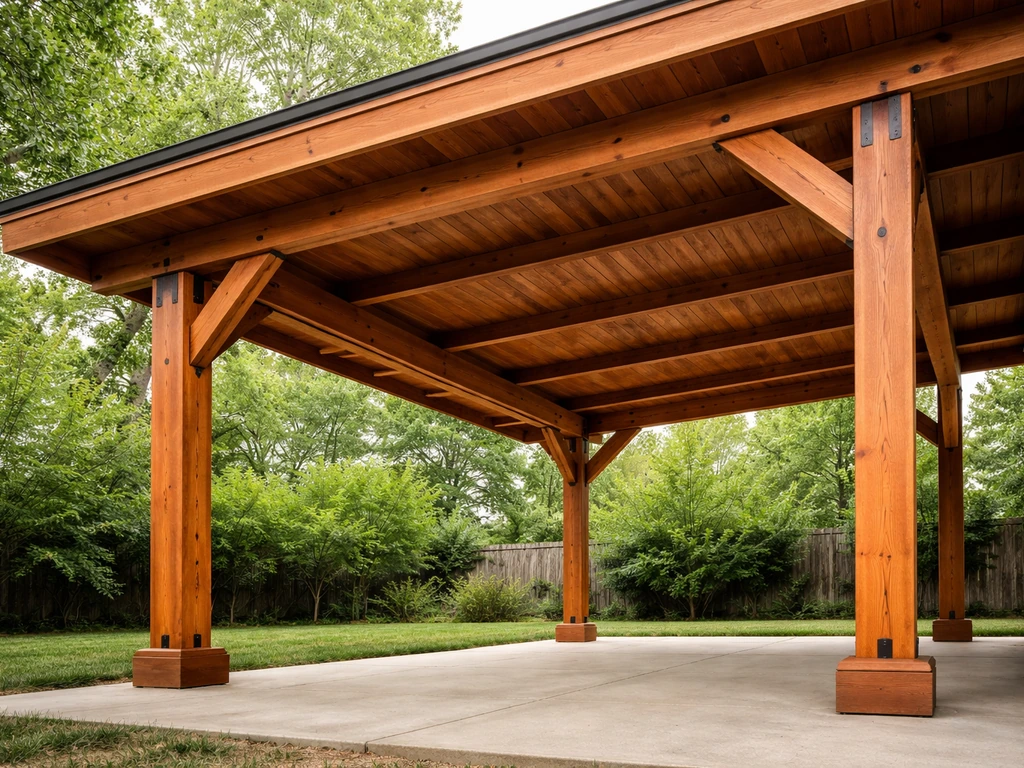
A patio cover takes more punishment than almost any other outdoor structure. It catches direct UV all day, soaks up rain, cycles through wet and dry conditions seasonally, and in colder climates it goes through freeze-thaw cycles that can split even decent wood in a few years. According to USDA Forest Products Laboratory research, outdoor wood degrades through a combination of UV exposure, moisture-related swelling and shrinking, wind-driven debris, and biological decay from fungi and insects. Every one of those factors should influence your wood choice.
The most important variables to match against your climate are moisture exposure and UV intensity. If you're in the Pacific Northwest or the Southeast, persistent humidity and rain are your main enemies: fungal decay and mold are constant risks if wood stays damp. In the Southwest or Texas, UV degradation and cracking from extreme dry heat are what break wood down fastest. In the Midwest, freeze-thaw cycling is the silent killer, because water that soaks into end grain and then freezes will crack a board from the inside out. Whatever your region, those conditions drive every recommendation below.
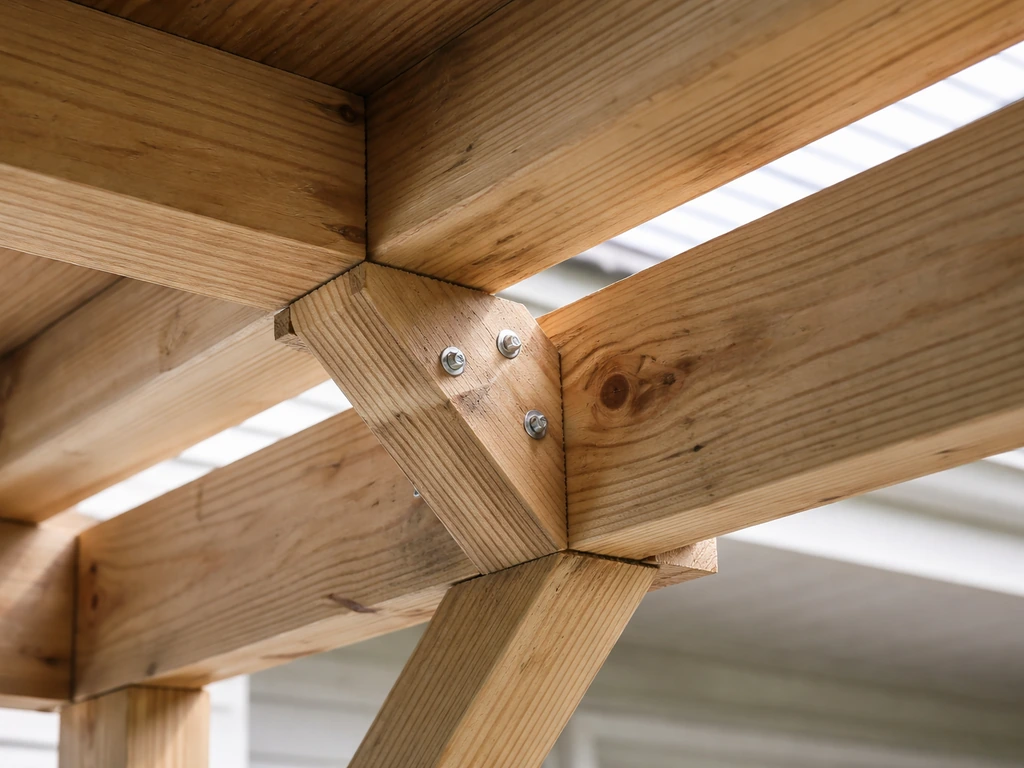
A few structural realities also matter. A patio cover is not a deck floor. Structural members like rafters, beams, and posts carry load and need dimensional stability and preservative treatment. Trim boards, fascia, and decorative elements have more flexibility in species choice. The parts of your cover that stay permanently wet or are close to grade need a higher treatment level than parts that dry quickly and get good airflow. Getting that match right is what separates a cover that lasts 20 years from one that starts rotting in six.
Top wood choices ranked for patio cover performance
Here's a practical ranking based on how each species actually performs in real patio cover applications, not just lab ratings.
1. Pressure-treated Southern yellow pine (the workhorse)
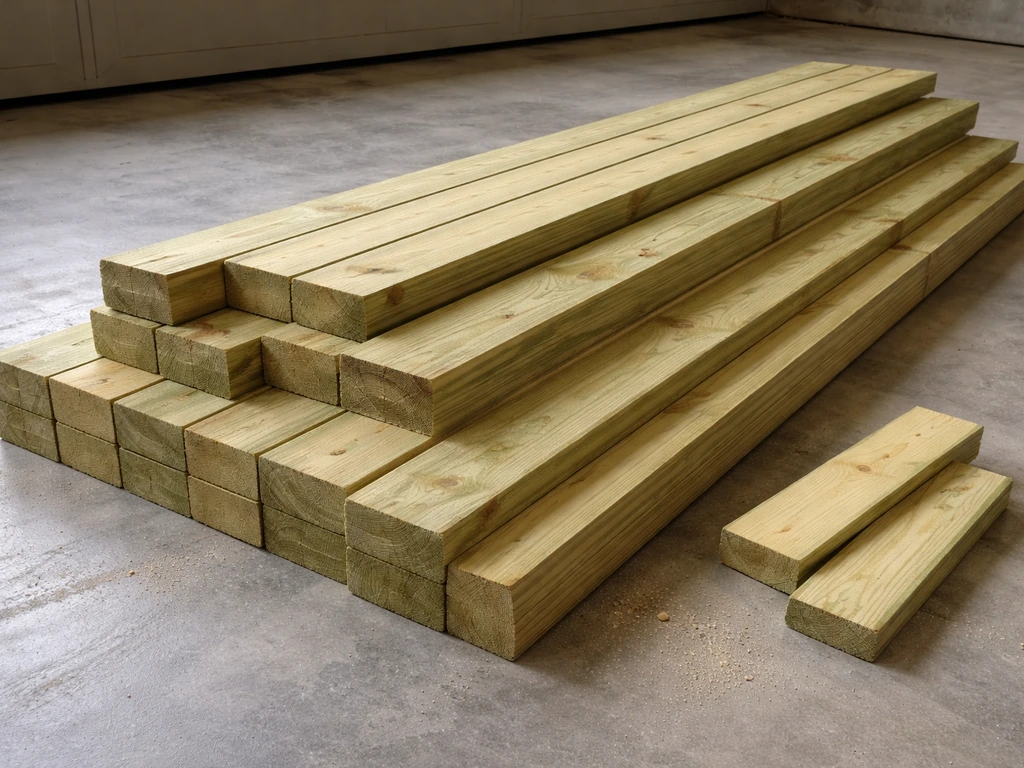
Pressure-treated pine is the right call for structural framing in almost every region. Preservatives are forced into the wood cells under pressure, not just applied to the surface, which means they actually protect the interior of the member. It resists insects and fungal decay because the chemical treatment prevents microorganisms from colonizing the wood. It's strong, comes in every structural dimension you'll need, and costs roughly half what cedar does. The downsides are real though: it's heavier, it can warp more during drying, and freshly treated lumber needs time to dry before you can apply stain or sealer. For appearance-grade surfaces, it's not the prettiest option.
2. Western red cedar (the upgrade for looks and workability)
Cedar is the most popular upgrade for homeowners who want a patio cover that looks finished without a lot of extra work. It has natural oils that resist decay and insects without chemical treatment, it's lightweight, and it stays dimensionally stable better than pine in repeated wet-dry cycles. The grain takes stain beautifully. The honest downside is cost, typically 50 to 100 percent more than treated pine per board foot depending on your region, and structural grades can be harder to source at big-box stores. It's worth the price for visible rafters and ceiling boards; it's harder to justify for hidden framing.
3. Redwood (premium performance, limited availability)
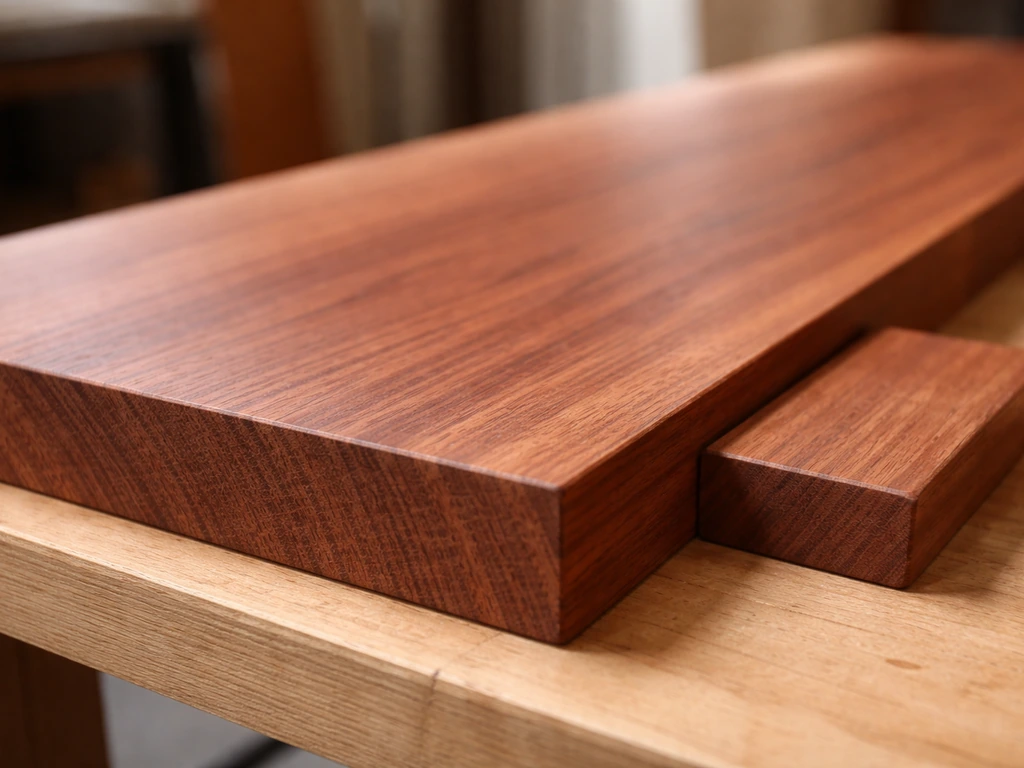
Redwood's heartwood is among the most naturally decay-resistant wood available in North America. It handles UV and moisture cycling very well, stays stable, and ages gracefully. The problem is availability: unless you're in California or the Pacific Northwest, clear-grade redwood is expensive to source and may need to be special ordered. If you're in the West and can get it at a reasonable price, it's hard to beat for a premium patio cover. Elsewhere, cedar usually makes more practical sense.
4. Douglas fir (structural strength where you need span)
Douglas fir is the right choice when you need longer spans or heavier loads, like a wide patio cover over a large outdoor living area. It's stiffer and stronger than cedar or pine at equivalent dimensions, which can let you use smaller member sizes for the same span. It's not as naturally rot-resistant as cedar or redwood, so it works best when it's kept painted or stained and protected from direct wetting. Use it for structural beams and rafters where strength matters most; finish it well and it performs for decades.
5. Tropical hardwoods (ipe, teak, cumaru)
Tropical hardwoods are genuinely excellent outdoor performers. Ipe, teak, and cumaru have extremely high natural oil content and density that make them almost impervious to rot and insects. They're also very expensive (often three to five times the cost of cedar), harder to work with standard tools, and sourcing certified sustainable options requires some research. They make more sense for visible decking and furniture than for structural patio cover framing, where the cost premium isn't justified. If budget isn't the concern and you want a low-maintenance, long-lasting cover, ipe rafters and ceiling boards are genuinely impressive.
| Wood Species | Rot/Insect Resistance | UV Stability | Structural Strength | Typical Cost (vs PT pine) | Best Use On Cover |
|---|---|---|---|---|---|
| Pressure-treated pine | Excellent (treated) | Moderate | High | Baseline | Structural framing, posts, beams |
| Western red cedar | Good (natural) | Good | Moderate | 1.5–2x | Rafters, fascia, ceiling boards, trim |
| Redwood | Excellent (natural) | Very good | Moderate | 2–3x | All components; best in Western US |
| Douglas fir | Moderate (needs finish) | Moderate | Very high | 1–1.5x | Long-span beams and rafters |
| Tropical hardwoods | Excellent (natural) | Excellent | Very high | 3–5x | Visible ceiling boards, trim, premium builds |
Structural vs trim: what wood to use where
This is a distinction that saves money and improves the finished look of your cover at the same time. Not every board on your patio cover needs to be the same species or grade.
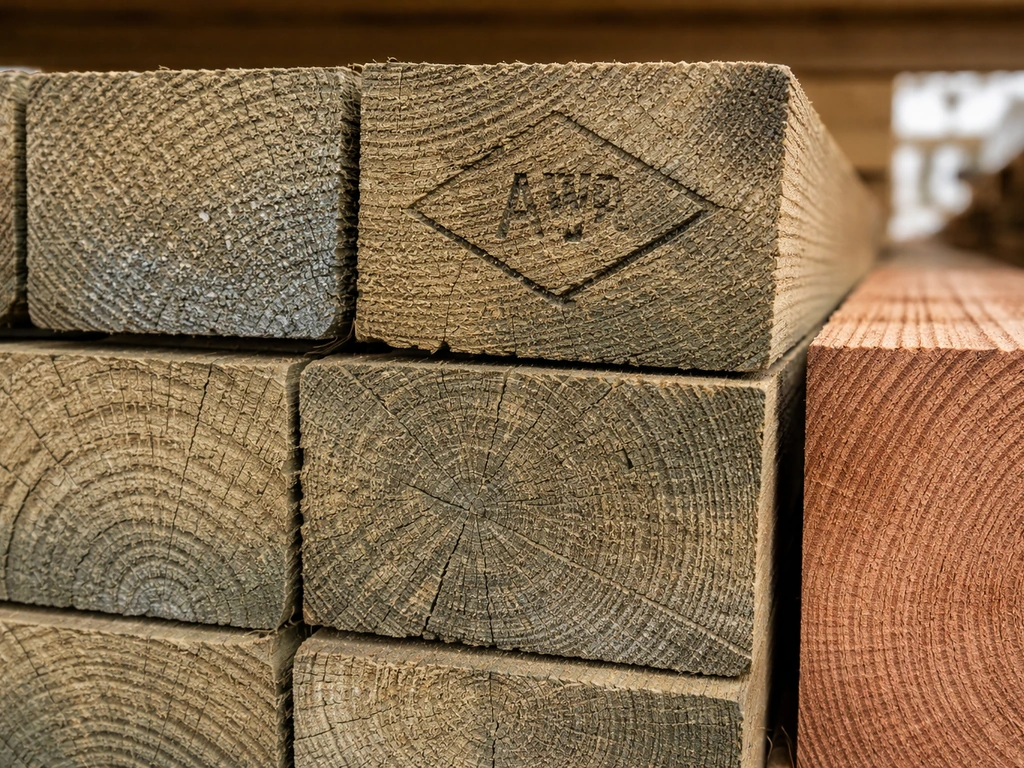
For structural members, including posts, ledger boards, main beams, and rafters that carry roof load, you want pressure-treated lumber at minimum. Posts set in or near the ground or in concrete need AWPA Use Category UC4B or UC4C treatment. Above-ground framing that may get wet and dry repeatedly, like ledger boards and rafters, should be blank" rel="noopener noreferrer">UC3B rated at minimum. These are treatment level designations stamped on the lumber tag. UC3B covers exterior above-ground use with uncoated or poor water runoff conditions, which is exactly what a patio cover rafter experiences. UC4C is the heavy-duty category for ground contact in extreme conditions. Getting the right treatment level matters because undershooting it means the preservative won't hold up to the actual exposure.
For visible and decorative elements, including fascia boards, ceiling boards, exposed beam wraps, and any trim, you can step up to cedar, redwood, or a higher-appearance grade. This is where the aesthetics live, and spending more here gives you the finished look without over-engineering the hidden framing. A common approach that works well: PT pine for all the structural framing, cedar or redwood for the visible surfaces. You get the durability where it counts and the beauty where it shows.
For patio cover ceiling boards or tongue-and-groove soffit material (covered in more detail in the related guide on the best wood for outdoor patio ceilings), cedar and redwood are again the top picks because they stay stable, take finish well, and won't show the same cracking and twisting that lower-grade pine can develop over time on a visible ceiling surface.
Buying guide: grade, treatment level, and what labels to look for
Walking into a lumber yard without knowing what to look for is how people end up with the wrong product. Here's what to check before you buy.
For pressure-treated lumber
- Look for the AWPA use category stamp: UC3B for above-ground exterior framing, UC4A or UC4B for any member that contacts the ground or will be embedded in concrete.
- Check for KDAT (Kiln Dried After Treatment) on the tag. KDAT lumber has been dried after the preservative treatment process, which means less warping, better dimensional stability, and a shorter wait before you can apply finish. It costs a little more but is worth it for visible framing.
- Check the moisture content stamp if it's listed. You want wood that's closer to equilibrium moisture content for your region before you install and finish it.
- The retention level (listed in pcf or kg/m3 on the tag) tells you how much preservative was driven into the wood. Higher retention = more durability in wet conditions. For UC3B, look for 0.06 pcf retention for alkaline copper quaternary (ACQ) or copper azole (CA) treatments.
- Avoid boards with large checks or splits at the ends. Some surface checking is normal as PT lumber dries, but deep end splits are a problem.
For cedar and redwood
- For structural use, look for #2 grade or better. #2 allows for knots but should be free of major defects that compromise strength.
- For appearance surfaces (ceiling boards, fascia), look for Clear or #1 grade. Clear means no knots; #1 allows tight, sound knots.
- Check that the lumber is labeled for the correct species. 'Cedar' can refer to several species with different durability profiles. Western red cedar (Thuja plicata) is the most rot-resistant commonly available option.
- For redwood, heartwood is the durable part. Sapwood is not naturally rot-resistant. Look for 'all heart' or 'construction heart' grades if decay resistance is the priority.
- Buy from a yard that stores lumber under cover. Cedar and redwood that has been sitting outside unstacked in a yard absorbs moisture unevenly and is more likely to warp after installation.
Fasteners: don't cut corners here
Modern preservative-treated lumber uses copper-based treatments that are corrosive to standard galvanized hardware. Simpson Strong-Tie and other hardware manufacturers specify stainless steel (316 grade) or hot-dip galvanized fasteners at minimum for use with ACQ and CA-treated wood. Using standard bright or electroplated fasteners with treated wood is a mistake you'll regret in three to five years when they rust out. For structural connectors like joist hangers and post bases, use hardware rated specifically for treated lumber at the retention level you're using. The product spec sheets from hardware manufacturers list compatibility directly.
Installation details that prevent rot and warping
Good wood choice means nothing if the installation traps moisture. These are the details that separate covers that hold up from ones that start showing problems within a few years.
- Treat every cut end and drilled hole in pressure-treated lumber with an AWPA M4-compliant field treatment product. Building codes require this. When you cut a treated board, you expose untreated wood at the cut face. Brushing on a copper naphthenate or copper azole field treatment takes 60 seconds and prevents the most common failure point in PT framing.
- Orient end grain away from standing water. Wherever possible, make horizontal cuts slightly angled (a 5-degree bevel is enough) so water runs off rather than soaking into the end grain.
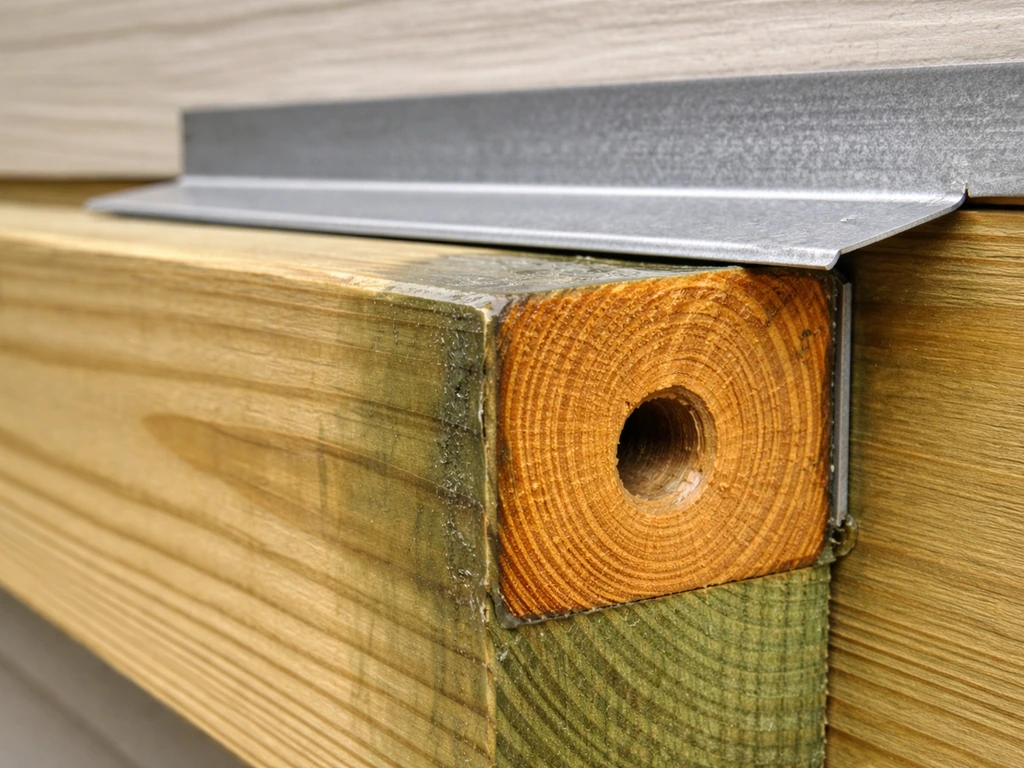
- Use flashing at the ledger board. Where your patio cover attaches to the house, improper flashing is the number one cause of wall rot. Use metal flashing that directs water away from the wall, and apply a self-adhering membrane behind the ledger before you bolt it.
- Keep wood off the ground. Any structural post should sit on a post base connector that holds it above the concrete footing. Wood that sits directly on concrete stays damp on the bottom, accelerating decay even in treated lumber.
- Allow airflow. Closed-off rafter bays that trap humid air promote mold and fungal growth. Leave adequate spacing in ceiling boards and plan for air movement through the cover.
- Stagger board joints and pre-drill near ends. Pre-drilling prevents splitting and keeps boards from cracking when fastened. Staggered joints prevent moisture from being channeled along a single line.
- Don't sandwich treated lumber between impermeable surfaces without a drainage gap. Wind-driven rain can wick water into tight mechanically fastened assemblies and trap it there. Leave small gaps or use spacers to allow drying.
Finishing and maintenance plan to make wood last
This is where most homeowners either skip steps or wait too long and lose the window for proper treatment. Here's a realistic timeline and approach.
Before finishing: let it dry
Freshly treated lumber that is not KDAT needs to dry before you apply stain or sealer. The timing depends on your climate: in hot, sunny weather it might be four to eight weeks; in a cooler, cloudy climate it can take several months. The water-drop test is reliable: sprinkle water on the surface. If it beads, the wood is still too wet to finish. If it soaks in, the wood is ready. Applying stain to wet treated wood is one of the most common DIY mistakes, because the finish won't bond and will peel within a season.
First finish: sealer or semi-transparent stain
For pressure-treated pine, a penetrating semi-transparent exterior stain gives the best first coat. It soaks into the wood rather than sitting on top, which means it won't peel the way a film-forming paint can. For cedar and redwood, a UV-inhibiting penetrating oil or semi-transparent stain preserves the natural color and protects against the UV-driven graying that starts within one season of UV exposure. If you want to keep cedar or redwood looking like new wood rather than weathered grey, commit to regular recoating; there's no one-and-done option.
Ongoing maintenance schedule
- Every spring: inspect for cracking, warping, loose fasteners, soft spots (probe with a screwdriver), and any area where water may be pooling or flashing may have shifted.
- Every 1 to 3 years depending on your climate and finish type: clean the surface with a wood cleaner or diluted oxygen bleach (especially in humid climates where mildew grows), and reapply a penetrating stain or sealer. Hot, sunny climates need more frequent recoating because UV degrades finishes faster.
- Every 5 to 7 years: consider a more thorough refresh including light sanding of any rough, checked surfaces, cleaning, and a full recoat.
- Immediately as needed: replace any board showing soft rot, deep cracking from the surface to the core, or that has pulled away from fasteners. Small problems addressed early prevent structural ones later.
The most common failure points to watch for are end grain on rafter tails (they're exposed to sun and rain simultaneously), the underside of the ledger board where it meets the house, any area where debris collects and stays wet, and post bases where moisture can wick up from the footing.
Budget and DIY vs contractor considerations
A basic pressure-treated pine patio cover for a 12x16-foot space typically runs $1,500 to $3,500 in materials, depending on your region and current lumber prices. Stepping up to cedar for the visible surfaces adds roughly $500 to $1,200 to that materials cost. A full redwood or tropical hardwood build can push materials alone past $5,000 for a mid-size cover.
DIY is very achievable for a freestanding or attached patio cover if you're comfortable with basic framing. The structural concept is straightforward: posts, a beam, and rafters. The details that trip up DIYers are the ledger attachment (flashing and proper fastening to the house structure), getting permits and inspections right, and the finishing steps described above. If you're in a region with a seismic zone or high wind requirements, your local code may require engineered drawings even for a simple patio cover.
If you're hiring a contractor, here are the questions that separate a good one from a frustrating experience:
- What AWPA use category will you spec for the structural framing? (You want UC3B minimum for above-ground framing, UC4 for anything near ground.)
- Will you use KDAT treated lumber or allow for a drying period before finish application?
- What fasteners and connectors do you use with treated lumber? (Stainless or hot-dip galvanized are the right answers.)
- How will you flash the ledger board? Can you walk me through your moisture management details?
- Will you treat all field cuts per AWPA M4?
- What finish system do you recommend and what's the recoating interval in my climate?
A contractor who can answer those questions confidently and specifically is doing the job right. Vague answers or 'we just use whatever lumber the supplier sends' are warning signs. For material estimates, measure your cover's square footage, calculate your lineal footage of rafters at your planned spacing (typically 16 or 24 inches on center), add your beam and post quantities, and bring those numbers to your lumber yard. Most yards will help you put together a cut list and quote from a basic framing plan, even if it's a sketch.
If you're comparing this decision to choosing wood for a patio deck or a patio roof with more enclosed construction, keep in mind that those applications have some overlapping species choices but different structural demands and finish priorities. A patio cover that's more fully enclosed above, for example, has different moisture management needs than an open pergola-style cover where all surfaces are directly exposed. Matching your wood choice and treatment level to how much your specific cover is actually exposed to wetting is the core decision, and everything above is built around that logic. Not all wood patio concepts are what they seem, so it's worth understanding whether live edge wood patios are truly a good fit for outdoor durability.
FAQ
Should I use UC3B or UC4C for my patio cover, and how do I decide which parts get which rating?
If your patio cover is freestanding with wood well above grade and good airflow, UC3B is usually enough for above-ground framing, but if any posts touch soil, sit in concrete that stays damp, or you have areas with persistent splash-back, choose UC4B or UC4C for those specific members.
Can I skip recoating if I use cedar or redwood on a patio cover?
Yes, but you need to treat it as a “finish decision” not just a species decision. If you choose cedar or redwood for visible boards, use a penetrating exterior stain or oil system compatible with softwoods, and plan for periodic recoats because UV graying is still driven by sun even in naturally durable species.
What’s the safest way to know treated pine is ready for stain or sealer?
On pressure-treated pine, avoid staining until the lumber is dry and stable. Besides the water-drop test, look for the tag’s treatment condition and wait for KDAT when possible, because rushing leads to poor penetration, blotchiness, and premature peeling.
What hardware mistake most often causes early failure on patio covers?
Use fasteners that are explicitly compatible with ACQ or CA-treated wood (often stainless 316 or hot-dip galvanized), and also match the fastener type to the connection (connectors, post bases, and hangers). Standard deck screws or bright nails are a common corrosion failure that shows up in 3 to 5 years.
Is wood choice for ceiling boards the same as for rafters?
For covered areas, the ceiling underside stays wetter longer than rafters, even when the roof is protected from direct rain. Prioritize stability and finish tolerance for ceiling/tongue-and-groove boards, and add ventilation space and drip edges so water can’t linger on end grain.
What are the biggest wood-related failure points in cold climates?
If you’re in a freeze-thaw region, seal or protect the cut ends and prioritize detailing that sheds water away from rafter tails and ledger contact points. End grain is the first place cracking and wicking show up, even when the main boards are durable.
Where can I spend less on wood without hurting the patio cover’s lifespan?
It depends on how “visible” you mean. You can often save money using pressure-treated pine for hidden framing and upgrading only fascia, beam wraps, soffit/ceiling boards, and any trim that stays in the sun. Don’t upgrade hidden framing unless you also fix drying, airflow, and water management.
Why do ledger boards fail even when I picked the right species?
Many people underestimate that the ledger area is exposed to repeated wetting and trapped condensation. Use correct flashing and fastener patterns tied to the house framing, and keep wood from contacting masonry or siding materials that stay wet.
What costs beyond lumber should I expect when budgeting the best wood for a patio cover?
For a typical DIY framing, materials are only part of the real cost. Budget for compatible hardware, flashing, gutters or drip edges if needed, and an appropriate finish schedule, because those line items often rise when you move from pine to cedar or redwood.
If I buy the most rot-resistant wood, what could still go wrong?
Treat it like a system: wood grade, treatment rating, correct fasteners, and installation details. The most “durable” species can still rot early if water is trapped against end grain, splashes repeatedly onto unprotected joints, or ventilation is blocked.
Next Articles
Best Wood for Patio Roof: Top Species, Grades, and Care
Choose the best wood for a patio roof with top species, grades, fasteners, finishing, and climate-based care tips.

Best Wood for Patio Deck: Compare Options, Costs, Lifespan
Compare patio deck wood options for durability, cost, and lifespan. Includes maintenance plan, pros cons, and best choic
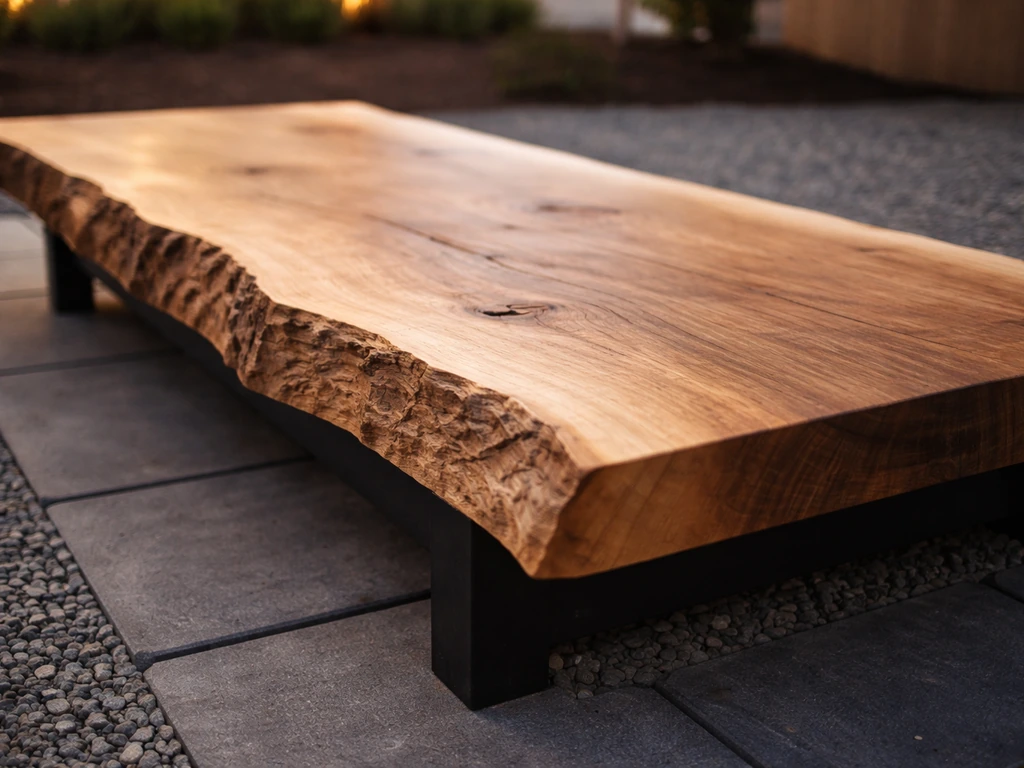
Are Live Edge Wood Patios Real? Pros, Risks, Lifespan
Reality check on live edge wood patios: durability, safety, lifespan, maintenance, and what to ask before building.