The best free AI patio design tools right now are a combination of AI image generators (like Adobe Firefly or Microsoft Designer) for visual inspiration, paired with a free layout planner like RoomSketcher Free or SketchUp Free to nail down actual dimensions and furniture placement. The best patio design starts with a combination of AI image generators for inspiration and a free layout planner to nail down dimensions and placement. No single free tool does everything perfectly, but using two or three together gives you a surprisingly solid, buildable starting point without spending a dime.
Best AI Patio Design Free Tools to Plan Your Patio

Phoebe Foster
9 Jun 2026
What AI patio design can (and can't) do for free
AI design tools have genuinely gotten useful over the past couple of years, but it's worth being honest about the gap between what they show you and what you can actually build. Free AI tools fall into roughly two categories: visualization tools that generate pretty images from text prompts or photos, and layout/planning tools that let you map out a space with real dimensions.
The visualization side is where free AI shines. Tools like Adobe Firefly, Microsoft Designer, and even ChatGPT (with image generation) can take a photo of your backyard and reimagine it with a patio, pergola, fire pit, and string lights in seconds. The results look great for inspiration and can help you communicate your vision to a contractor or even a spouse who struggles to picture things from a sketch.
What free AI doesn't do well: it has no idea about your actual slope, where your utility lines run, how your climate behaves in January, or whether your local code requires a permit for a structure over 200 square feet. The AI-generated image might show a stunning flagstone patio that would require three feet of fill dirt to level your yard. It also can't specify real material quantities, drainage slopes, or load-bearing requirements. That's on you to figure out, and this guide walks through exactly how.
One more thing to sort out upfront: "free" means different things depending on the tool. Some are genuinely free forever with limited features (RoomSketcher Free, SketchUp Free web version). Others are free trials that expire in 7 to 14 days. Some have a free tier that watermarks exports or caps the number of projects. Before you invest hours in a platform, check what specifically is gated behind a paywall so you don't hit a wall when you try to download your finished plan.
How to measure and prep your yard for accurate AI results
Garbage in, garbage out. If you hand an AI tool wrong measurements or skip this step entirely, the layout it generates will be useless when you go to buy materials or pour concrete. Good prep takes about 30 minutes and saves hours of rework.
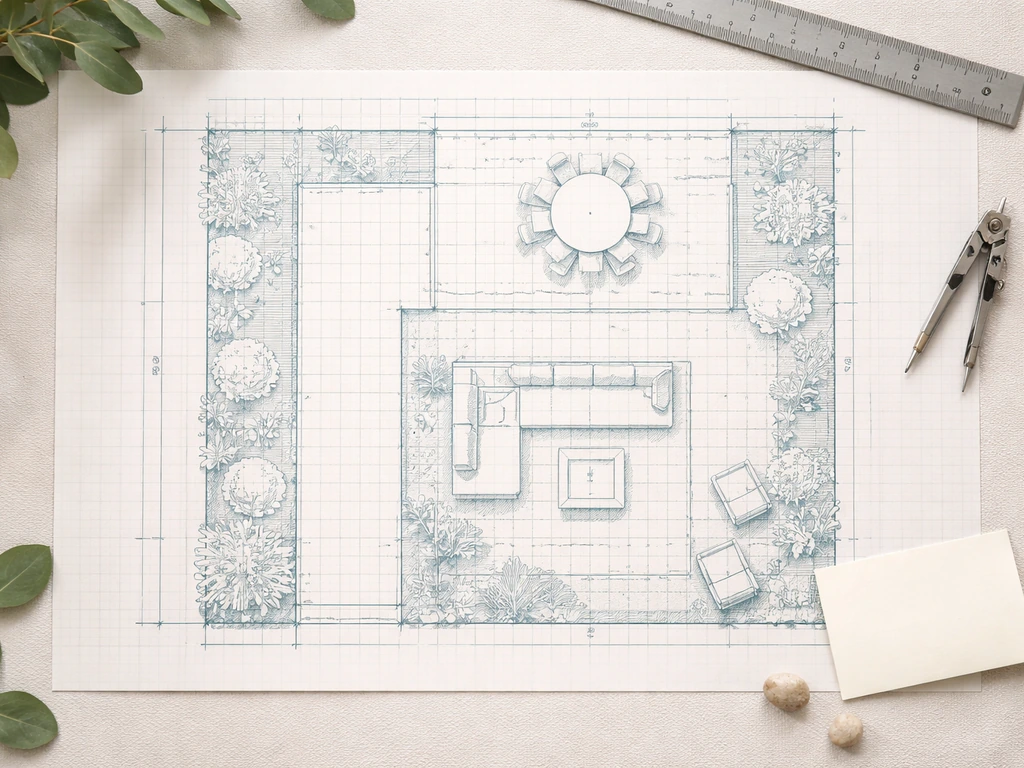
Start with a tape measure and sketch the footprint of your yard on paper. Measure the total width and depth of the area where the patio will go. Note the distance from the house to any property lines, fences, trees, or structures. Mark where your back door, sliding glass door, or any other access points are, because those will anchor your layout. Also note where the sun hits hardest in the afternoon (typically the west or southwest side) and where natural shade falls, since that affects where you'll want seating versus a grill station.
Check for slope. A simple way to do this is to drive a stake at the low end of the yard and one at the high end, run a string level between them, and measure the drop. Even a 6-inch drop across 10 feet matters a lot for drainage planning. Write it down. Also mark any utility access points, cleanouts, or outdoor spigots. AI tools will happily place a fire pit directly over a gas line if you don't tell them what's there.
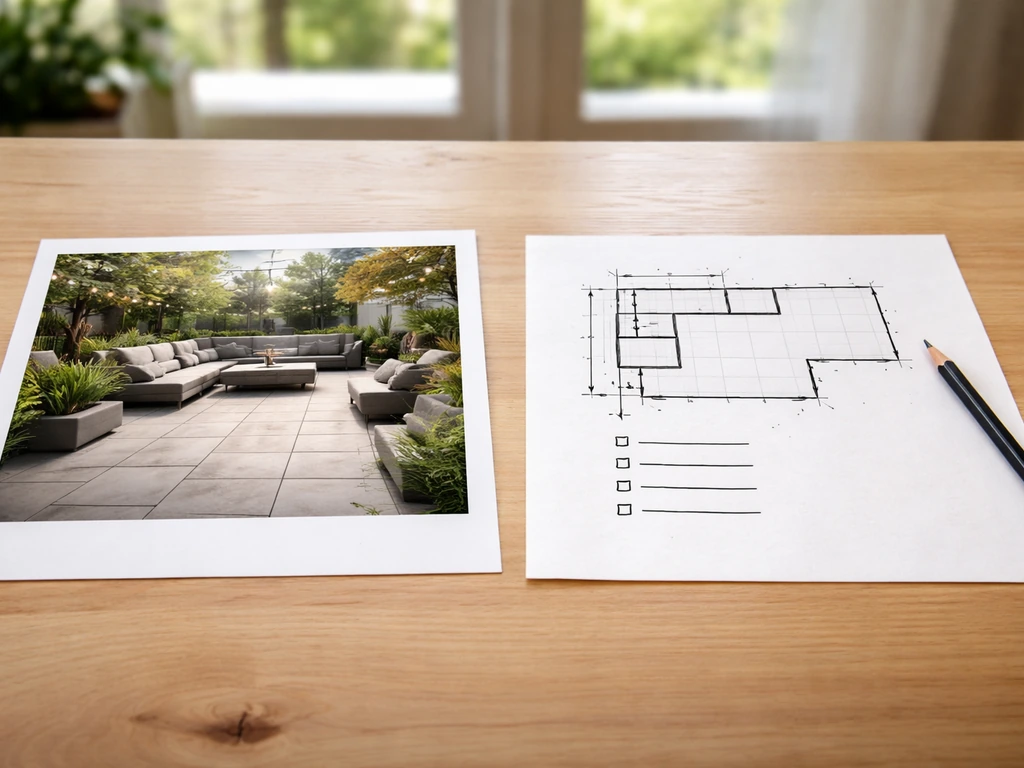
For photos, take them from four angles: straight on from the house, from each corner of the yard pointing back toward the house, and one overhead-ish shot from a second-floor window if you have one. Good photos make a huge difference in how well AI visualization tools interpret your space and generate realistic results.
- Total patio footprint (width x depth in feet)
- Distance from house to property lines and fences
- Location of doors, windows, and outdoor access points
- Slope/grade change across the patio area (in inches per foot)
- Utility locations: gas lines, electrical, water shutoffs, cleanouts
- Sun and shade patterns (morning vs. afternoon)
- Existing trees or landscaping that constrains the space
- Photos from all four corners plus one overhead view
Best free AI patio design tools to try (and how to choose)

There's no perfect all-in-one free tool, but here are the ones actually worth your time in 2026. If you want ideas you can act on right away, explore top patio designs and then adapt them to your yard, climate, and budget. The right choice depends on whether your priority is visual inspiration, precise layout planning, or both.
| Tool | Best For | What's Free | Key Limitation |
|---|---|---|---|
| RoomSketcher Free | Floor plan layout with real dimensions | Unlimited 2D floor plans, low-res 3D views, room labels with measurements | High-res 3D snapshots and HD floor plans require paid credits |
| SketchUp Free (web) | 3D modeling of outdoor spaces | Full 3D modeling, export to SKP/PNG/STL | No 2D vector export (PDF/DWG) on free tier; some file import limits |
| Adobe Firefly (free tier) | AI image generation from text or photo | Generous free credits monthly, photorealistic renders | Produces inspiration images only, not measurable plans |
| Microsoft Designer / Copilot | Quick visual concepts from photos or prompts | Free with Microsoft account | No layout or dimension tools; purely visual |
| Planner 5D (free tier) | Combined 2D/3D room and outdoor planning | Basic design mode, limited furniture catalog | Export and HD render gated behind paywall |
| ChatGPT (free) | Prompting for layout ideas, materials lists, permit questions | Free tier available; image gen with GPT-4o | Can't import your actual measurements or photos on free tier |
For most homeowners, the best workflow is: use Adobe Firefly or Microsoft Designer to generate visual inspiration first, then take your measurements into RoomSketcher Free to build an accurate layout. If you want to get fancier with 3D modeling, SketchUp Free lets you build out the full space including pergola structures, raised platforms, and built-in seating walls. ChatGPT is genuinely useful as a thinking partner throughout the process, especially for generating materials lists or asking climate-specific questions.
If you want a single tool that handles both design and layout and you're willing to trade some precision for simplicity, Planner 5D's free tier is decent for smaller patios. Just know you'll likely hit a wall when you try to export anything high-quality. For pure layout planning without the 3D frills, RoomSketcher is the most reliable free option and doesn't require a credit card to get started. If you want a shortcut for inspiration, also compare these free AI tools with what the best patio home communities offer in terms of outdoor-living upgrades and design direction.
Step-by-step: prompts and inputs that produce better patio layouts
The quality of what you get out of any AI tool is almost entirely determined by the quality of what you put in. Vague prompts produce generic results. Specific, detailed prompts produce designs that actually fit your situation.
Using AI image tools (Firefly, Copilot, ChatGPT image)
Upload your best yard photo and write a prompt that includes: the square footage you're working with, the primary function of the patio (dining, lounging, grilling, entertaining), specific features you want (fire pit, pergola, outdoor kitchen, privacy screen), the material style (natural stone, concrete pavers, wood decking), and any climate or regional context. For example: "Transform this backyard into a 400 square foot patio with a shaded dining area for 6, a gas fire pit in the corner, concrete pavers in a herringbone pattern, and a horizontal cedar privacy fence on the left side. The climate is hot and humid (Houston, TX)." That kind of specificity makes a huge difference versus just asking for "a nice backyard patio."
Using layout tools (RoomSketcher, SketchUp)
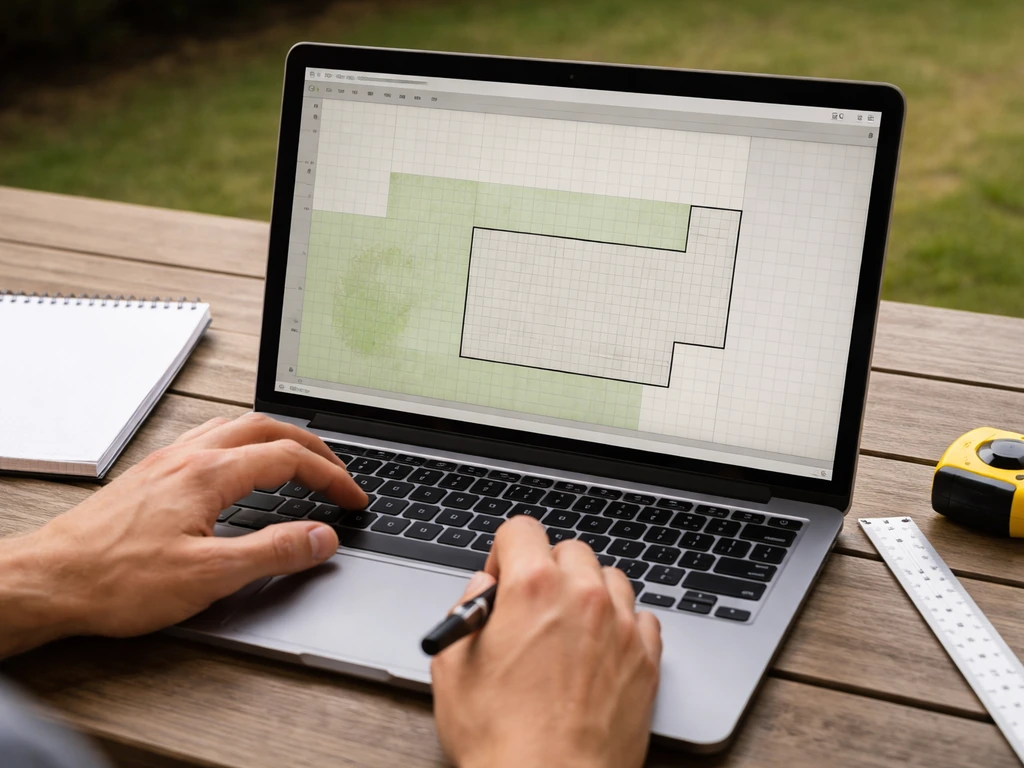
In RoomSketcher Free, start a new floor plan project and set your scale. Draw the outline of the patio using your measured dimensions. Add the house wall as a reference. Then place zones rather than individual furniture pieces first: a dining zone, a lounge zone, a grill station zone. RoomSketcher will display room names and measurement lines, so you can verify dimensions at every step. Once the zone layout feels right, add furniture and accessories to scale. The low-res 3D view on the free tier is enough to sanity-check proportions and make sure a 72-inch table doesn't overwhelm a 12-foot space.
In SketchUp Free, build your patio in layers: ground plane first, then any level changes or raised platforms, then structures like pergolas. SketchUp's free web version blank" rel="noopener noreferrer">supports export to SKP, PNG, and STL, which is enough to save your work and share it with a contractor. SketchUp also supports exporting 2D vector outputs like PDF and EPS, along with formats such as DWG and DXF, through its export options blank" rel="noopener noreferrer">export to SKP, PNG, and STL. The 3D Warehouse inside SketchUp also has free furniture and component models you can drop in to test scale and clearances.
- Enter your exact measured footprint before adding any features
- Lay out functional zones first (dining, lounge, grill, fire pit) before picking furniture
- Include pathways: allow at least 36 inches between seating areas and 48 inches for main traffic paths
- Mark shade sources (overhead structure, fence, tree canopy) to position seating correctly
- Place the grill station downwind of prevailing breezes and away from overhangs
- Keep fire pit placement at least 10 feet from any structure (many codes require this)
- Note drainage direction on the layout: patio surface should slope away from the house at 1/8 to 1/4 inch per foot
- Add a privacy screen or fence line where needed and verify it stays within your property line setback
Turning AI concepts into a real patio plan
Once you have a layout you like, the real work begins: translating that design into materials and construction decisions that will actually hold up in your climate for 20 years. This is where AI tools have the biggest blind spots, and where your own homework matters most.
Choosing the right patio material
Material choice is probably the single biggest decision that AI tools consistently gloss over. Here's how the main options compare for real-world use:
| Material | Cost Range (installed) | Freeze-Thaw Performance | Maintenance | Best Climate Fit |
|---|---|---|---|---|
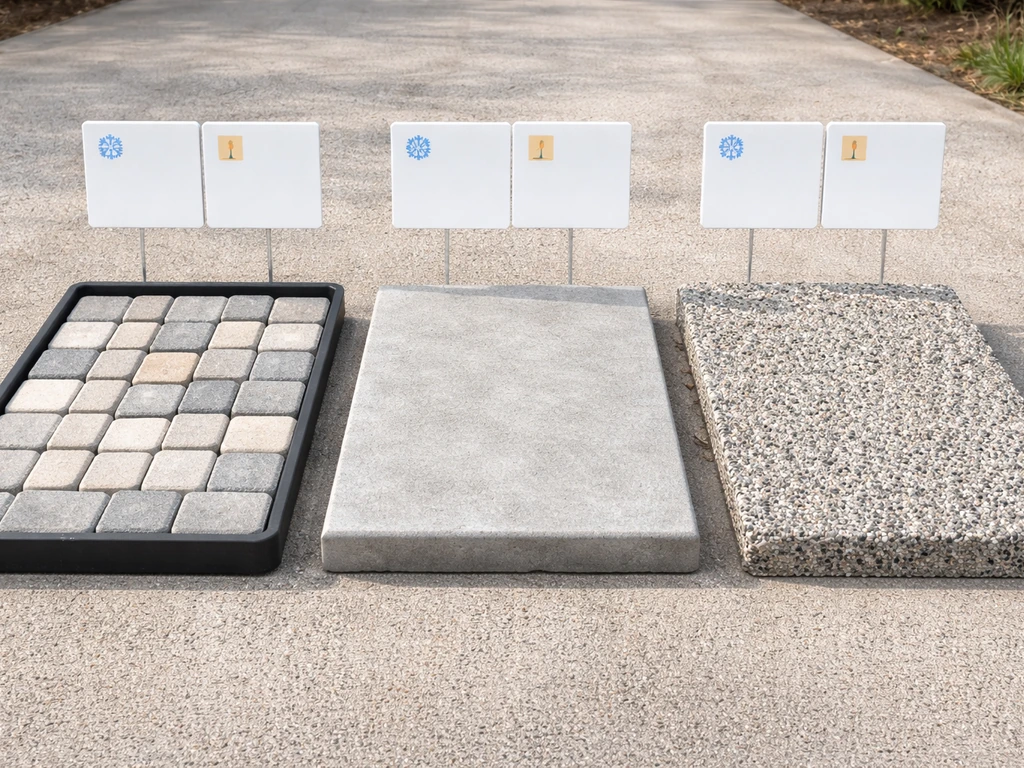
| Concrete pavers | $15–$30/sq ft | Good if properly sealed and set on compacted base | Low to moderate (re-sand joints every few years) | Most climates; avoid in extreme wet-freeze cycles without proper base |
| Poured concrete | $8–$18/sq ft | Fair (prone to cracking without control joints) | Low (seal every 2–3 years) | Dry/mild climates; needs expansion joints in freeze zones |
| Natural flagstone | $20–$40/sq ft | Excellent if mortared; fair if dry-laid | Low to moderate | All climates; great for Midwest and Northeast |
| Porcelain/ceramic tile | $20–$45/sq ft | Poor in hard freeze zones (can crack/pop) | Low | Warm climates only (Texas, Florida, Southwest) |
| Decomposed granite / gravel | $3–$8/sq ft | Excellent (no rigid surface to crack) | Moderate (regrading, weeding) | Dry climates; drainage-heavy designs |
| Composite decking | $25–$50/sq ft | Good with proper framing | Low | All climates; raised deck scenarios |
If you're in the Midwest or anywhere that sees hard freezes, avoid thin porcelain tile set on a rigid mortar bed. It will pop in the first deep freeze. Concrete pavers on a properly compacted gravel base with polymeric sand joints are the most forgiving option across multiple climate types. In hot, dry climates like Arizona or West Texas, almost anything works from a freeze standpoint, but heat retention matters: light-colored materials like limestone or light concrete pavers stay cooler underfoot in full sun than dark slate or charcoal pavers.
Drainage and grading
Your patio surface needs to slope away from your house at a minimum of 1/8 inch per foot, ideally 1/4 inch per foot. This sounds small, but over a 20-foot patio it means a 2.5 to 5-inch drop at the far edge. If your yard already slopes toward the house, you'll need a drain or a channel along the patio edge before you pour or lay anything. AI tools never flag this, and it's one of the most common (and expensive) mistakes to fix after the fact. If you measured a slope in your prep step, bring that number to your contractor or factor it into your excavation plan if you're DIYing.
Climate-specific considerations
Beyond materials, think about what your climate requires from the patio structure itself. In the South and Southwest, shade is the priority: a pergola, sail shade, or attached cover is almost a necessity, not a luxury. In the Pacific Northwest, water management dominates: covered patios with proper gutter drainage keep the space usable most of the year. In the upper Midwest and Northeast, think about what you can store, cover, or protect from freeze-thaw damage over winter. Furniture anchors, fire pit covers, and furniture materials (powder-coated aluminum vs. teak vs. cheaper resin) all factor into long-term cost.
Budgeting and next actions
Once your AI-assisted layout is dialed in and your material choices are made, you need a realistic budget and a clear checklist to move forward. Here's a rough cost framework for a basic 300 to 400 square foot DIY-friendly patio.
| Cost Item | DIY Estimate | Contractor Estimate |
|---|---|---|
| Excavation and grading (4 inches) | $0 (rented skid steer ~$300/day) + labor | $800–$2,000 |
| Gravel base (4 inches compacted) | $150–$300 in materials | $300–$600 installed |
| Concrete pavers (300 sq ft) | $1,200–$2,500 in materials | $4,500–$9,000 installed |
| Polymeric sand and edge restraints | $150–$250 | Typically included above |
| Drainage channel or French drain (if needed) | $200–$400 in materials | $800–$2,000 installed |
| Permit fees (if required) | $50–$300 depending on municipality | Same |
| Total rough estimate | $2,000–$3,500 DIY | $7,000–$15,000 with contractor |
Permits are more often required than homeowners expect. Most municipalities require a permit for any patio with a permanent structure (pergola, covered roof, outdoor kitchen) or any impervious surface over a certain square footage (commonly 200 sq ft). Call your local building department or check their website before you start. Skipping a permit can create problems when you sell the house or file an insurance claim.
For contractor bids, get at least three written quotes and make sure each one specifies the same scope: base depth, material brand/grade, drainage solution, and cleanup. AI-generated designs are actually really useful here because you can hand the layout printout or screenshot to each contractor and ensure they're all bidding on the same thing.
Your pre-construction checklist
- Finalized layout with dimensions printed or exported from your design tool
- Material selections confirmed (type, color, grade, quantity calculated)
- Slope and drainage plan documented (direction of runoff, drain location if needed)
- Utility locate completed (call 811 in the US before any digging)
- Permit applied for (if required by your municipality)
- HOA approval obtained (if applicable)
- Contractor bids collected (minimum 3) or DIY material shopping list complete
- Timeline set around your climate (avoid pouring concrete or laying pavers in near-freeze temperatures)
Common AI patio design mistakes to avoid
Even after using the best free tools available, there are some consistent mistakes that show up when homeowners rely too heavily on AI output without a reality check. If you want the best patio layout outcome, use the AI output as a starting concept and then validate it in a dedicated layout-planning tool so you end up with something buildable. Here are the ones most likely to cost you money.
- Wrong dimensions: AI visual tools don't know your measurements. A generated image might show a seating area that looks perfectly scaled but would actually require 600 square feet. Always validate any AI concept against your RoomSketcher or SketchUp layout before pricing materials.
- Ignoring drainage slope: AI images never show a 1/4-inch-per-foot slope, they show a flat, beautiful surface. If you build flat, water pools against your foundation. Measure and plan the slope before you set a single paver.
- Unrealistic grading: A terrace or raised patio that looks effortless in an AI render might require significant grading, a retaining wall, or fill dirt. Check your actual elevation change before falling in love with a tiered design.
- Placing features over utilities: Gas lines, electrical conduit, and irrigation lines are invisible in AI designs. Call 811 (or your country's equivalent) and mark everything before you excavate.
- Indoor materials in outdoor settings: AI image generators sometimes pull from interior design libraries. Hardwood flooring, non-rated tile, and standard-grade lumber will fail outdoors. Always verify that materials specified in AI suggestions are rated for exterior use.
- Underestimating access constraints: A beautiful curved patio in an AI image might be impossible to build if your side gate is 36 inches wide and you need to wheel in a skid steer or large stone delivery. Check equipment and delivery access before finalizing the design.
- Skipping the best patio layout principles: Good layout is about traffic flow and functional zones, not just aesthetics. An AI image might look gorgeous but put the dining table in the worst sun position or the grill right next to the door.
The fix for almost all of these is simple: treat AI output as a starting concept, not a final plan. Run every AI-generated design through your own measurements, a real layout tool, and a quick drainage check before you spend any money. The AI gets you to a great starting point fast. The validation step is what makes it buildable.
FAQ
Can I build a patio directly from a free AI-generated picture?
Most “free AI patio design” results are for inspiration, so the safest workflow is to export your visual concept, then recreate the footprint in a layout tool using your real measurements. If you try to build directly from the AI image, you risk wrong scale and missing slope and clearance details.
Do free AI tools automatically ensure my patio follows local code and permit rules?
If you are planning a covered structure, outdoor kitchen, or anything that changes impervious area, free layout tools often do not check local code. Confirm permit triggers with your building department (especially square-footage thresholds and setbacks) before you finalize materials.
What should I check about the “free” tier before I spend hours designing?
Plan for the “export” limitation of free tiers. Some free web versions can show 3D views, but only let you export low-resolution images or limit number of projects, so verify whether you can download PDFs or measurement screenshots you can take to contractors.
How do I prompt AI so the design fits my actual space dimensions?
Use AI prompts that include constraints you already measured, like patio width, depth, distance from the house, and any access path widths (for door clearance or walkway edges). Then in your layout tool, place zones first and only add furniture after you confirm the scale fits at real widths.
What clearance mistakes happen most often with AI patio layouts?
Measure clearance paths in real life terms, not just “looks good.” For example, keep enough room to open doors and move around the dining chair backs, and check a fire pit’s distance from siding, fences, and low overhangs, then reflect those clearances in your layout.
What if my yard slopes toward the house, not away from it?
If your yard slopes toward the house, you may need a drain channel or edge drainage solution, and you may need to regrade before paving. AI can suggest layouts, but it will not calculate drainage solutions, so verify slope direction and drainage plan in your prep step.
How do I translate the drainage slope requirement into my layout and materials plan?
Assume the patio surface needs a consistent fall away from the house, and do not rely on an AI “flat” look. Use your string-line slope measurement to set the grade in the layout tool, then plan base layers accordingly (thickness and compacted base) to maintain the fall.
Do free tools help me calculate material quantities accurately?
Free tools usually let you model approximate furniture, but materials lists require real sizing, joint widths, and waste factors. Add at least a practical waste allowance (often 10 to 15 percent depending on cutting complexity) when calculating pavers or stone.
How can I prevent AI from placing a fire pit or kitchen over utilities?
When an AI image looks great but your actual yard has trees, fences, or utility access points, you have to constrain the design. Mark utility lines, cleanouts, spigots, and any no-build zones first, then re-run AI prompts mentioning those constraints so it stops placing features on top of them.
What if my AI design conflicts with trees, fences, or an awkward yard shape?
Yes, you can validate compatibility by overlaying your intended patio zones on top of the existing yard and noting obstructions in your layout tool. If the layout keeps pushing the feature into hard-to-reach areas or near roots, adjust the zone boundaries rather than hoping the contractor can “make it work.”
Does AI account for structural load-bearing and attachment details for pergolas and covered patios?
If your AI concept uses an outdoor kitchen or pergola, the load and attachment method matter. Confirm with a builder whether you need post sizing, footing depth, ledger attachment details, or frost-protected foundations (varies by region).
What if my patio is too large for the free tier features?
Some free tools cap project size, furniture library detail, or 3D quality. If you are working with a large patio, test your workflow on a small segment first, then upgrade only if you cannot export the measurement views you need.
How should I share my AI-assisted design with contractors to get comparable bids?
To use AI as a contractor communication aid, export or screenshot a scaled layout view (top-down with dimensions) plus 2 to 3 annotated feature callouts (fire pit location, grill station, and slope direction). This reduces bid differences caused by unclear scope.
How do I ensure the seating and cooking zones match sun and shade in my yard?
A good check is to measure the table and seating circulation against your actual plan, then confirm the “west sun” or shade expectation by comparing your layout orientation with your afternoon sun direction. AI may suggest seating aesthetics, but it will not optimize for seasonal shade.
Next Articles
Best Free Patio Design App and Free Software Guide
Top free patio design app and software picks, what free means, key limits, and steps to plan and build.
Best Patio Design Ideas: Layout, Materials, Shade, Lighting
Best patio design guide with layouts, material picks, shade, privacy and lighting plus a DIY vs hire checklist.

Do It Yourself Outdoor Patio Ideas: Build, Upgrade, Maintain
DIY outdoor patio ideas for planning, building, upgrading, and maintaining floors, shade, privacy, lighting, and decor.