
The best patio solution for your space depends on three things: what's bothering you most right now (heat, rain, privacy, ugly concrete, poor drainage), what your climate throws at you year-round, and how much you want to spend. Most homeowners don't need a complete overhaul. They need the right combination of flooring, shade, weather protection, cooling, and a few smart layout upgrades. This guide walks through each category with specific recommendations, honest DIY guidance, and a few ready-made bundles at different price points so you can make a real decision today.
Best Patio Solutions: Compare Surfaces, Shade, Weatherproofing

Phoebe Foster
11 Jul 2026
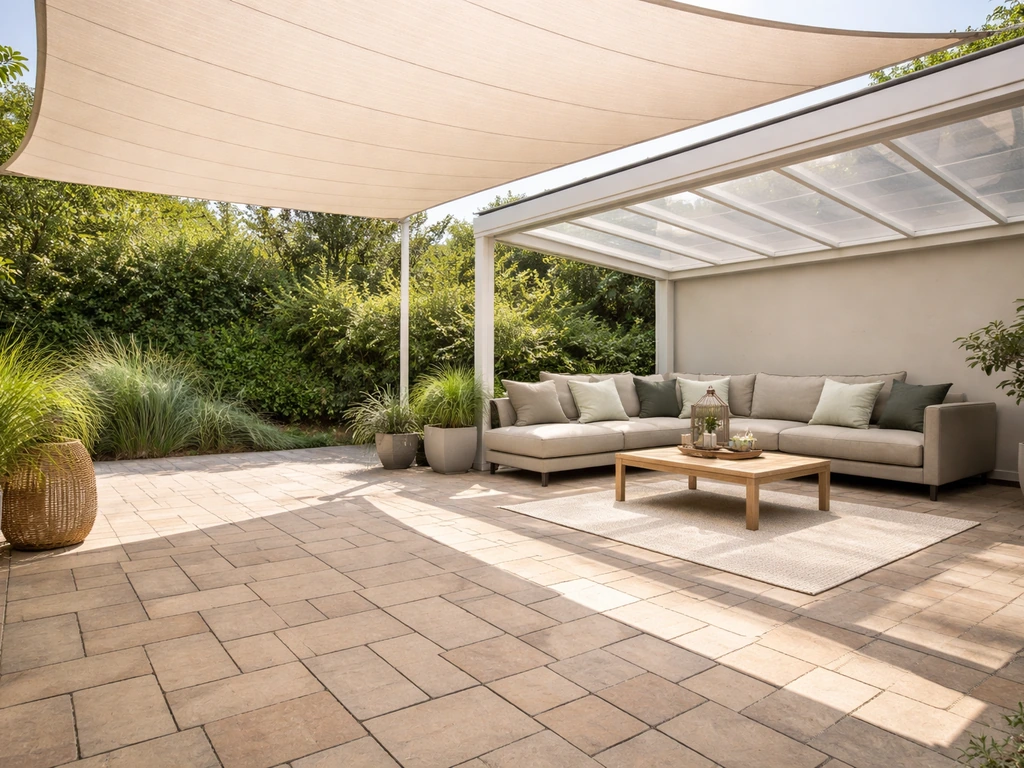
Start here: figure out what you're actually trying to solve
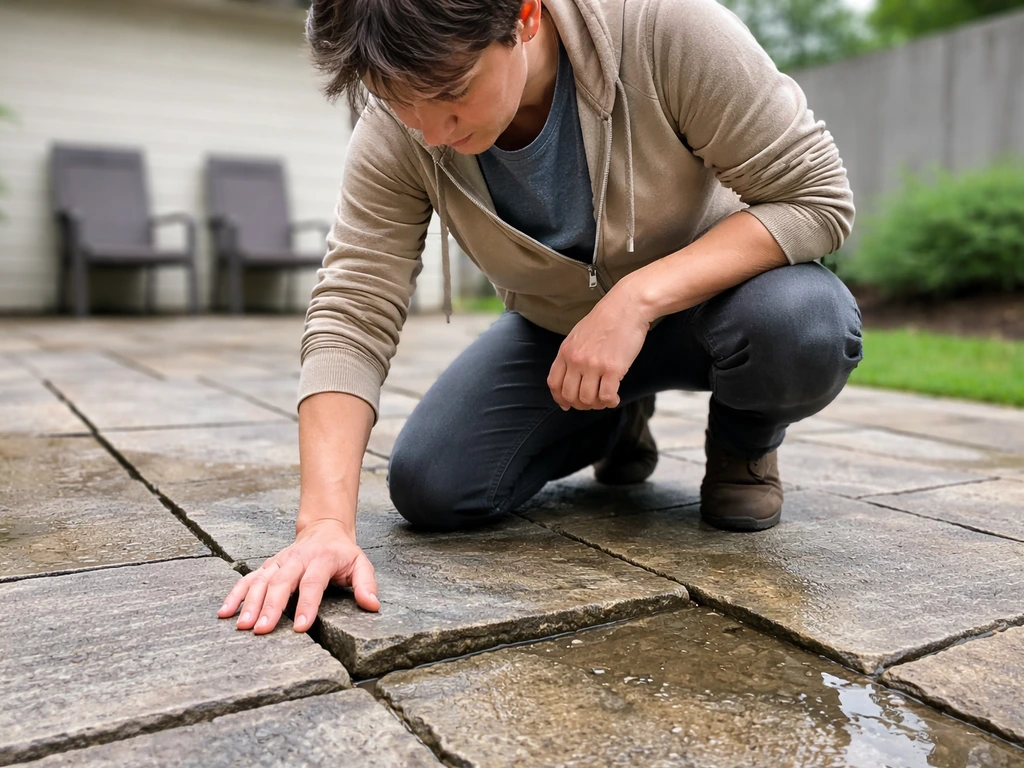
Before you spend a dollar, write down your top two or three patio frustrations. Is the surface cracked or uneven? Does water pool after every rain? Is it too hot to sit outside by 10am? Do you have zero privacy from neighbors? Is the whole thing just unfinished and sad-looking? The answer shapes everything else. Throwing money at a pergola doesn't fix drainage. Adding a misting system doesn't help if there's nowhere comfortable to sit. Get your priorities in order first.
Climate is the next filter. In the desert Southwest and Texas, your biggest enemies are intense sun and heat, shade and cooling come before almost everything else. In the Midwest and Northeast, freeze-thaw cycles crack concrete, heave pavers, and shatter exterior tile that isn't rated for it. In the Southeast and coastal regions, humidity, corrosion from salt air, and heavy summer rain drive different decisions. Whatever you build needs to work with your climate, not fight it.
On budget: a realistic entry-level DIY patio refresh runs $500 to $2,000 if you're mostly working with what you have and adding surface treatments, furniture, lighting, and an umbrella. A mid-range project with new pavers, a pergola, and some cooling runs $5,000 to $15,000 depending on size and whether you hire out parts of the work. A full-featured outdoor space with a patio cover, built-in cooling, drainage correction, and quality materials easily reaches $20,000 to $40,000 when professionally installed. None of those ranges are exact, but they'll keep your expectations grounded.
Best patio flooring options
The surface you stand on sets the tone for everything else. Get it wrong and you're dealing with cracks, puddles, slipping hazards, and expensive repairs down the road. Here's how the main options stack up.
Concrete
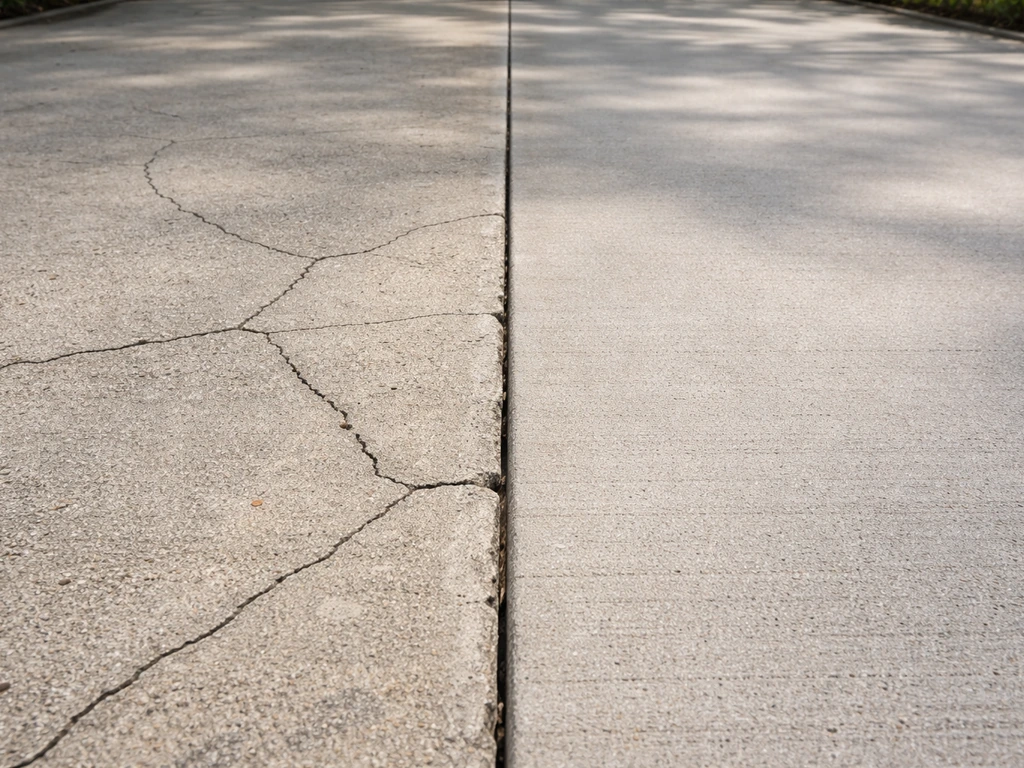
Poured concrete is the most common patio surface because it's relatively cheap and fast. The problem is that it shows every crack, and in freeze-thaw climates those cracks show up fast when drainage is poor. Water seeps into the slab, freezes, expands, and you get cracking and spalling. Repair costs for concrete patio problems typically range from $730 to $2,485 for moderate issues, but if the drainage underneath is genuinely failing, you're looking at $4,000 to $14,000 to fix it properly. Stamped or stained concrete adds visual appeal but doesn't solve the structural vulnerabilities. If you already have a concrete slab in decent shape, resurface it. If it's a mess, consider replacing it with pavers or wood decking instead.
Pavers
Concrete or natural stone pavers are my top recommendation for most homeowners because they're durable, repairable, and look great. Individual pavers can be pulled up and reset if one settles or cracks, which isn't true of a monolithic slab. The catch is that the base work matters enormously. You need a properly compacted gravel base (typically 4 inches deep) plus about 1 inch of paver sand on top.
Skip the base prep and you'll have settling, separation, and pooling water within a few years. For freeze-thaw climates, choose pavers with low water absorption (under 0. 5%) and materials tested to ASTM C1026 freeze-thaw resistance standards. DIY paver installation is genuinely doable over a weekend for smaller areas, but large or complex projects with drainage problems underneath are better left to pros.
Exterior tile
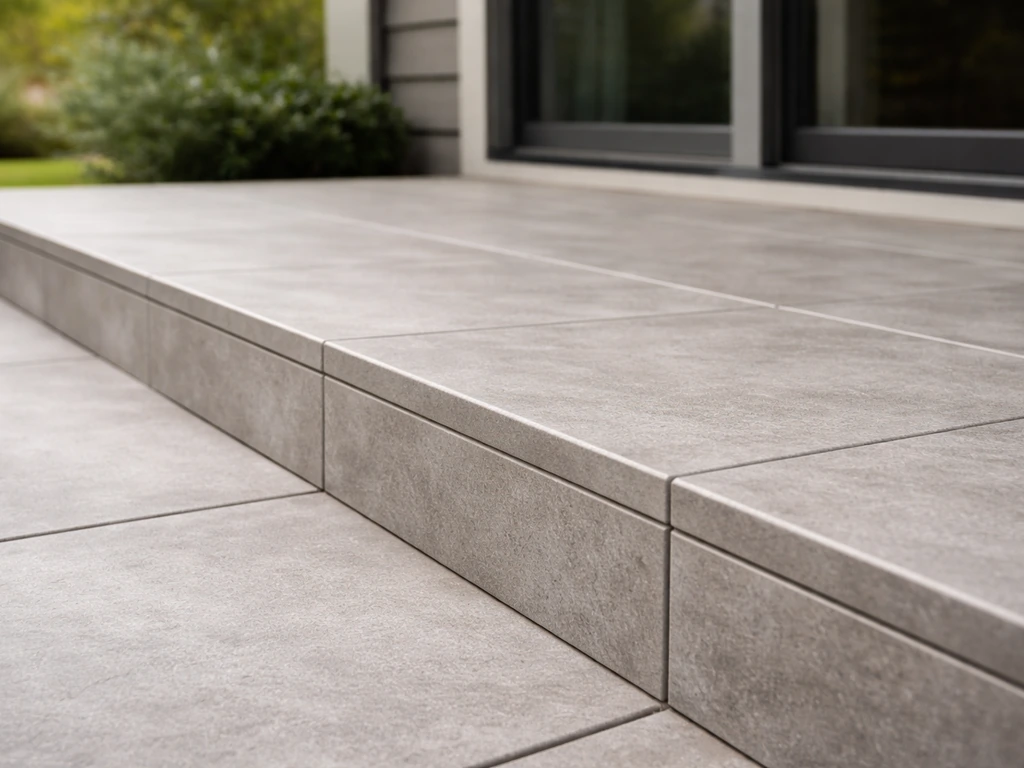
Tile can look stunning on a covered patio, but you have to pick the right tile for the climate. In any location that sees freezing temperatures, you must use frost-rated tile tested to ASTM C1026 standards. Standard ceramic tile will absorb water, crack, and spall (the glaze chips and crumbles) once that water freezes inside the material. Look for the frost-resistant or impervious rating on the tile spec sheet before buying. Also pay attention to slip resistance: outdoor tile should meet ANSI A326.3 dynamic coefficient of friction (DCOF) minimums, which became stricter in 2021. Tile is best for covered, stable surfaces and is generally not a great choice for open patios in variable climates.
Wood and composite decking
Wood or composite decking works well when you're dealing with sloped ground, an elevated patio, or a layout where a solid slab would create drainage problems. Composite decking has largely replaced pressure-treated wood for most homeowners because it doesn't rot, splinter, or need annual sealing. In coastal environments, fastener choice matters a lot: salt air accelerates corrosion, and the 2018 International Residential Code actually requires stainless steel fasteners for coastal decks under certain provisions. Galvanized fasteners aren't enough near the ocean. Composite decking with stainless or coated structural screws is the right call within a mile or two of the coast.
Artificial turf
Artificial turf has become genuinely viable for patios, especially in dry climates where real grass won't survive or in small side-yard spaces where you want a softer surface. Modern synthetic turf drains well, holds up to foot traffic, and doesn't require mowing or watering. The downside: it absorbs and radiates heat in direct sun, making it uncomfortable in high-heat climates during summer afternoons unless it's shaded. It also needs occasional rinsing and brushing to stay looking clean. For a soft-surface zone within a larger patio (next to a seating area or kids' space), it's a smart addition.
| Material | Best for | Freeze-thaw safe? | DIY-friendly? | Maintenance |
|---|---|---|---|---|
| Concrete | Budget builds, flat sites | Risky without drainage | Yes (basic) | Low, but cracks show |
| Pavers | Most climates, flexible repairs | Yes (with right pavers) | Yes (small areas) | Low to moderate |
| Exterior tile | Covered patios, warm climates | Only if frost-rated | Moderate | Low |
| Wood/composite decking | Slopes, elevated patios, coastal | Yes (composite) | Moderate | Low (composite) |
| Artificial turf | Dry climates, soft zones | Yes | Yes | Low (rinsing/brushing) |
Shade, sun control, and comfort
Shade is the single biggest comfort upgrade for most patios. Dropping the surface temperature by even 10 to 15 degrees changes how much you actually use the space. The right shade solution depends on how permanent you want it, whether you own or rent, and how much coverage you need.
Umbrellas
A quality market umbrella (9 to 11 feet) is the fastest, cheapest shade solution and is completely renter-friendly. Cantilever umbrellas (offset arm, no center pole) are more flexible for furniture placement. The tradeoffs: umbrellas don't protect from wind-driven rain, they need to be closed during storms, and the cheaper ones fade and break within a season or two. Budget $150 to $400 for something that will actually last a few years. In high-wind areas, make sure the base is heavy enough, a standard 50 lb base isn't enough for an 11-foot umbrella in open yards.
Pergolas
A pergola is the most popular mid-range shade structure because it adds architectural interest, creates a defined outdoor room, and can support lighting, fans, and climbing plants. The honest limitation is that open-rafter pergolas don't block much direct midday sun. To get real shade from a pergola, you need to either use [dense vine coverage](https://www. thisoldhouse.
com/patios/pergola-installation) (which takes years to establish) or add fabric shade panels, a shade cloth roof, or a louvered panel system. Louvered pergolas with adjustable slats are excellent but expensive, typically running $5,000 to $20,000 installed depending on size. A basic DIY wood pergola kit can be built for $1,500 to $4,000 in materials. Many jurisdictions require permits for pergolas with roofing or posts anchored to the ground, so check local codes before you build.
Shade sails
Shade sails are triangular or rectangular fabric panels anchored between posts, walls, or trees. They're affordable ($100 to $400 for quality options), effective, and look modern. The downsides: they flutter and wear faster in windy areas, most aren't waterproof (they're UV-blocking fabric, not rain protection), and they require solid anchor points. If your fence posts or house walls are in the right positions, a shade sail can be the quickest shade win you'll ever install. Overlap two or three to eliminate gaps.
Weather protection add-ons
Shade handles sun, but rain and wind are a separate problem. If you want to use your patio when it's drizzling, windy, or in shoulder seasons, you need a real weather barrier. This is where the investment jumps up, but for many homeowners it's what makes the patio usable year-round.
Patio covers
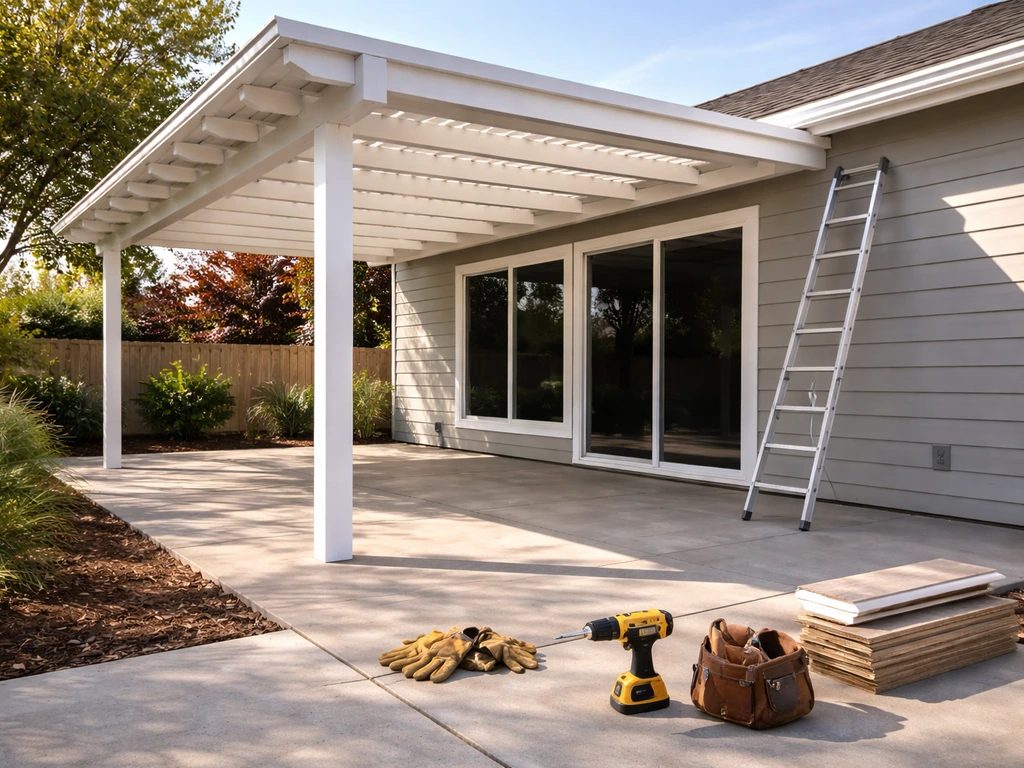
A solid or lattice patio cover attached to the house is the most practical weather upgrade for most homeowners. Solid-roof covers (aluminum, polycarbonate panels, or roofed wood structures) block rain and provide shade simultaneously. Aluminum patio cover kits start around $1,500 to $3,000 for materials and can be DIY-installed over a weekend if you're handy. Professionally installed solid covers with proper tie-ins to the house roofline run $4,000 to $12,000 depending on size and material. Important: many cities require building permits for patio covers with supporting posts that connect to the ground or attach to the home's structure. Don't skip permits, insurance claims and future home sales can be complicated by unpermitted structures.
Retractable covers and awnings
Motorized retractable awnings are great for homeowners who want flexibility: shade and rain cover when you need it, open sky when you don't. They're wall-mounted, so no posts, no permits in most cases. Quality motorized units from reputable brands run $2,000 to $6,000 installed. Manual retractable awnings are available for less. The downside is wind vulnerability: most retractable awnings should be retracted in winds above 20 to 25 mph, and the cheaper ones get destroyed quickly in exposed yards.
Wind screens and partial enclosures
For patios that are exposed on one or two sides, fabric wind screens, tempered glass panels, or polycarbonate wind barriers can dramatically improve comfort without fully enclosing the space. These range from $50 for basic fabric screens on a pergola to $3,000 to $8,000 for glass panel systems. Full three-season enclosures with zippered screen walls or polycarbonate panels can extend your usable season by two or three months in mild climates. They're not a substitute for heating in cold climates, but paired with a patio heater they can push the season significantly.
Outdoor cooling and ventilation
In hot climates, shade gets you halfway there. Cooling gets you the rest of the way. The two most practical options are outdoor-rated ceiling fans and misting systems, and they work best when you think about airflow layout rather than just buying a product and hoping for the best.
Outdoor ceiling fans
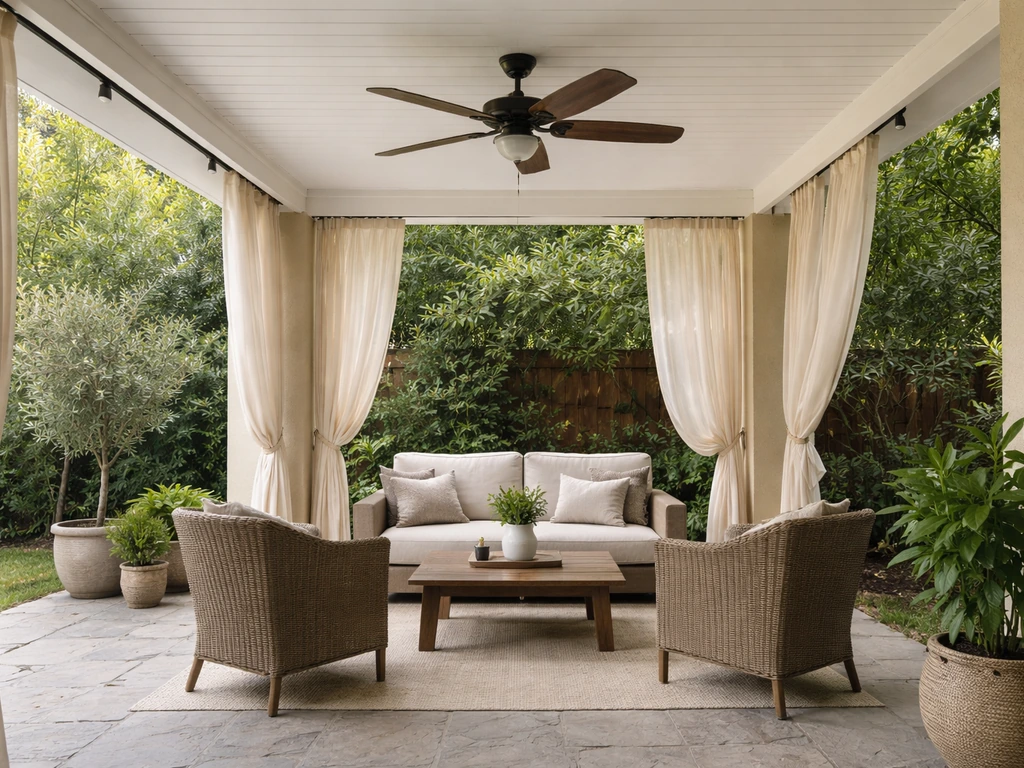
For a covered patio or pergola with a ceiling of some kind, an outdoor ceiling fan is the highest-value cooling investment you can make. The key is buying the right rated fan. Outdoor fans are rated either "damp" (covered patio, no direct rain exposure) or "wet" (fully exposed, can handle direct rain and moisture). Using a damp-rated fan in a wet location will fail early and is a safety issue.
Installation requires a GFCI-protected outdoor circuit, and the fan needs to be mounted at least 7 feet above the floor for safety clearance. When selecting a fan, focus on CFM (cubic feet per minute) airflow output at each speed setting rather than just blade size, a well-designed 52-inch fan can move significantly more air than a poorly designed 60-inch one.
For a standard 200 to 300 square foot patio, a fan with 4,000 to 6,000 CFM on high is a reasonable target.
Misting systems
Misting systems work by forcing water through fine nozzles to create a cooling mist that evaporates before hitting you (in dry climates, this works extremely well). In humid climates like the Southeast, the evaporation is less effective and you end up just feeling damp. High-pressure misting systems (1,000+ PSI) are more effective and less wet than low-pressure systems. The tradeoffs are cost (high-pressure systems run $1,500 to $3,500 installed vs. $50 to $200 for a basic low-pressure hose-bib system) and maintenance: clogged nozzles, mineral buildup, and winterization are real ongoing tasks. The CDC also notes that improperly maintained residential misting systems can coat furniture and surfaces with residue, so calibration and regular nozzle cleaning matter.
Airflow planning
Don't overlook layout when planning cooling. A fan works much better when there's some cross-ventilation in the space, solid walls on all four sides trap heat even with a fan running. If you're designing a partially enclosed patio, leave at least one open side or include adjustable louvers to allow air movement. Position the fan over the primary seating area, not the periphery. And if you're running both a misting system and a fan, place the mister upwind of the fan so the fan distributes the cooled air rather than blowing it away from you.
Accessories and layout upgrades that actually make a difference
Lighting
Good outdoor lighting is one of the highest-ROI upgrades on a patio because it extends usability into evenings and costs very little compared to structural work. String lights (Edison or LED) on a pergola or overhead wire create ambiance and are a weekend DIY project. Low-voltage LED path lights around the perimeter add safety and visual depth. For the main seating area, consider a wall sconce or overhead pendant rated for outdoor use.
All outdoor electrical outlets and fixtures in wet or exposed locations require GFCI protection per code. Solar-powered lights have gotten genuinely good in the past few years and require zero wiring, making them the easiest upgrade for any skill level.
If you want to keep costs down, solar-powered lighting is a smart option to pair with your patio plan solar-powered lights.
Privacy
Privacy screens, lattice panels, tall planters, or bamboo/reed fencing can create a sense of enclosure without a full fence build. Freestanding screens are renter-friendly and movable. Tall ornamental grasses or arborvitae planted along a property line grow into a living privacy barrier within two to three seasons. If you're in a neighborhood with close sight lines, a combination of a 6-foot privacy screen on the exposed side and some planted height on another side is usually enough to feel genuinely private.
Drainage and grading
This is the unsexy but critical one. Standing water on or around your patio destroys surfaces from the base up. Water infiltrates the base layers, weakens compacted aggregate, and causes settlement, cracking, and paver separation over time. In freeze-thaw climates, that water expands when it freezes, cracking concrete and heaving pavers.
The fix depends on severity: for mild pooling, regrading the surrounding soil to slope away from the patio at a 1 to 2 percent grade (roughly 1 inch of drop per 8 feet) often solves it. For chronic pooling near the house, a French drain or channel drain across the patio edge is more effective. For serious structural drainage failures, the repair bill can run $4,000 to $14,000, which is why getting drainage right during initial installation is so important.
A reliable patio starts with solid drainage, properly prepped base layers, and weatherproof materials that hold up to your climate.
Easy-care decor and maintenance
Choose furniture and materials you can actually maintain. All-weather wicker, powder-coated aluminum, teak, and recycled plastic lumber are the materials that hold up best with minimal effort. In coastal areas, standard steel hardware and furniture frames corrode quickly, look for powder-coated, stainless, or marine-grade aluminum. Keep a patio cover or furniture covers handy for extended absences or storm season. A simple end-of-season checklist (clear drains, cover furniture, retract awnings, bring in cushions, reseal wood surfaces) takes less than two hours and adds years to everything you own.
DIY vs hiring a contractor: what to do yourself and what to pay for
The honest split is this: labor-intensive base work and anything involving your home's structure or electrical system is generally worth paying for, while surface-level and decorative upgrades are genuinely DIY-friendly. A contractor can handle the heavy lifting like base prep, drainage correction, and permitting, which is often what determines who builds outdoor patios successfully hiring a contractor. Getting that distinction wrong in either direction costs you money.
What most homeowners can DIY
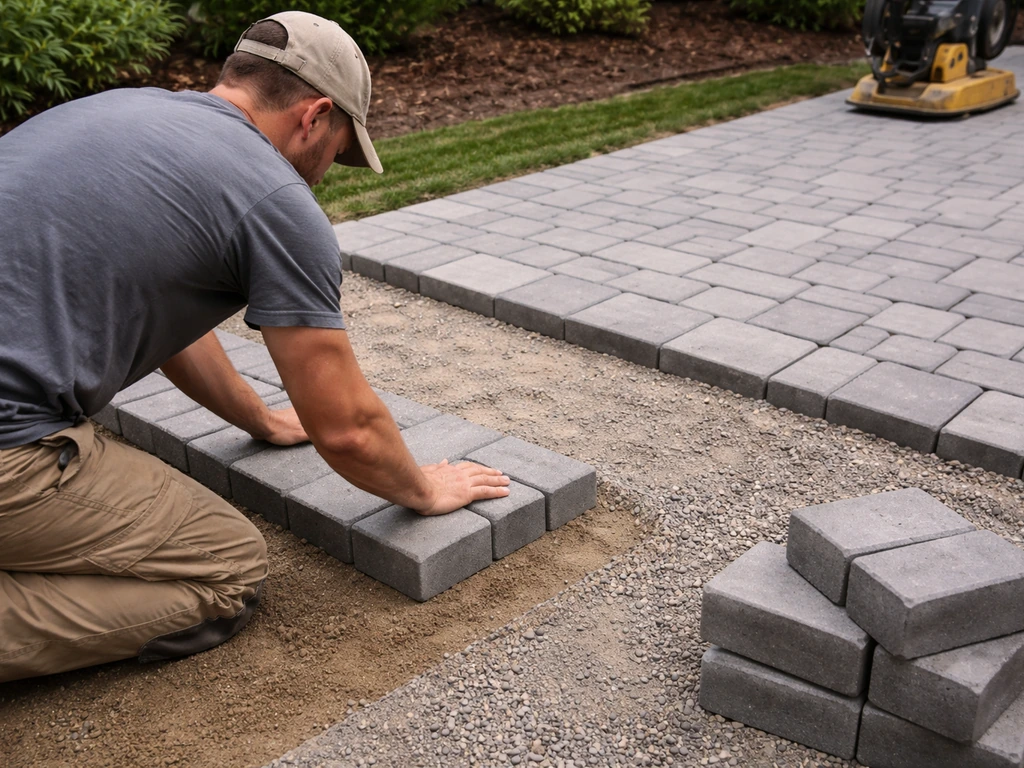
- Installing a paver patio under 200 square feet with a flat, accessible site (expect one full weekend, proper base prep is essential)
- Hanging string lights, installing solar path lights, and mounting outdoor wall sconces (with existing outlet)
- Setting up a market or cantilever umbrella, shade sail, or freestanding pergola kit
- Installing basic low-pressure misting systems on an existing hose bib
- Adding privacy screens, planters, or freestanding lattice panels
- Basic regrading around the patio perimeter to improve surface drainage
- Assembling and installing a retractable manual awning on a masonry or wood wall
What's worth hiring out
- Large paver or concrete installs where drainage and compaction are critical to longevity
- Patio covers or pergolas that attach to the home's roofline or load-bearing walls
- Any work that requires a building permit and inspections (most solid roof structures, deck builds)
- French drains, channel drains, or subsurface drainage corrections
- New outdoor electrical circuits, GFCI outlet installation, and ceiling fan wiring
- High-pressure misting system installation
- Tree root removal or paver bed fortification for settling/drainage failures
How to vet a contractor
Get at least three estimates for any project over $2,000. Ask each contractor specifically how they plan to handle drainage and base prep, that answer tells you more about their quality than anything else. If you decide to hire for the job, working with the best patio builders can help you match materials and layout to your climate and budget. Check that they're licensed and insured in your state.
Ask for photos or addresses of recent similar work you can view. For patio cover and deck work, confirm they'll pull the required permits, a contractor who suggests skipping permits to save money is a red flag. If you're comparing estimates and one is dramatically lower, ask what's different in the scope; it's usually base prep, drainage, or materials quality.
When you're ready to find qualified help, it's worth researching who builds outdoor patios and patio covers in your area specifically, local contractors familiar with your soil type, climate, and municipal permit requirements will save you significant headaches compared to generalist contractors who treat every region the same way. A good rule of thumb is to choose a contractor or patio builder with experience installing patio covers in your specific climate and drainage conditions who builds patio covers.
Solution bundles by budget and scenario
Here are three realistic starting points based on the most common homeowner situations. These aren't rigid packages, but they give you a practical framework for where to focus your money. If you want real-world guidance before buying materials, ProBuilt patio reviews can help you spot what works and what to avoid.
| Budget tier | Scenario | Recommended solution bundle | Approximate cost |
|---|---|---|---|
| Budget ($500–$2,000) | Existing slab, needs shade and comfort | Cantilever umbrella + string lights + outdoor rug + solar path lights + privacy screen on exposed side | $600–$1,800 DIY |
| Mid-range ($5,000–$15,000) | Replace cracked concrete, add real shade and cooling | Paver patio (DIY or hired) + freestanding pergola with shade cloth + damp-rated ceiling fan + basic misting system + low-voltage lighting | $7,000–$14,000 mix of DIY/pro |
| Full build ($20,000–$40,000) | Outdoor room that works year-round | Solid aluminum patio cover with permits + high-pressure mist system + wet-rated ceiling fan + glass wind panels + channel drain + full lighting plan + quality furniture | $22,000–$38,000 professionally installed |
Your next steps checklist
- Write down your top three patio problems in order of frustration — this is your priority list
- Check your climate zone: freeze-thaw area, hot-arid, humid subtropical, or coastal (this changes your material choices)
- Walk your patio after the next rain and look for standing water — if it's there, drainage must be addressed before anything else
- Set a realistic budget range and decide what you're willing to DIY vs hire out
- Check your local permit requirements for any covered structure or deck work before buying materials
- Get three contractor estimates for any structural work, and ask specifically about drainage and base prep
- Start with the highest-impact, lowest-cost upgrade that solves your biggest problem — often shade or lighting — before committing to a full renovation
FAQ
What’s the best patio solution if my main problem is drainage, but my current surface is still mostly intact?
Start with drainage correction before changing aesthetics. If pooling is mild, regrade to a 1 to 2 percent slope away from the patio, then verify downspouts and gutter extensions discharge far enough from the slab or paver base. If pooling is chronic near the house, plan for a French drain or edge channel drain, and only then decide whether to resurface concrete or relay pavers.
How do I know whether my existing concrete slab should be resurfaced or replaced?
Resurface when the slab is stable, not actively heaving, and cracking is more cosmetic than structural. If you see repeating cracks after rain, ongoing spalling, or visible elevation changes, replacement or a system built over proper base prep is safer. Also check that there is a drainage slope away from the house, since a good overlay will fail if water is still pooling.
Are pavers actually DIY-friendly for larger patios, or is that asking for trouble?
Small, straightforward patios can be DIY, but larger areas often hinge on base prep and drainage detailing. If you have existing drainage failures or frequent settling, a professional for the base and underlayment usually pays off, since individual pavers can be reset, but recurring base problems become an endless repair cycle.
What tile should I choose for a partially covered patio that gets freezing weather?
Use frost-rated outdoor tile tested to ASTM C1026, and confirm the spec includes freeze-thaw performance. Also verify slip resistance for outdoor use (ANSI A326.3 DCOF), since cracked tile is often preventable, but falls are not. Avoid standard ceramic tile outdoors in climates with freezing temperatures, even under a cover.
Can shade sails replace a patio cover if it sometimes rains?
Not reliably. Shade sails are primarily UV-blocking fabric, they flutter in wind, and most are not designed as waterproof structures. If you need rain protection, consider a solid or polycarbonate roof section, an awning, or add fabric shade panels that overlap well, then test how water sheds off your exact anchor points.
Which shade option is best for windy yards?
For high-wind areas, umbrellas are often the least stable, even with a heavy base, because they still act like a sail. Retractable awnings also require careful wind management, many should be retracted above 20 to 25 mph. A more wind-tolerant approach is a fixed patio cover with appropriate anchoring and drainage, or a louvered pergola system that limits flap and wind load.
If I buy an outdoor ceiling fan, do I need a special type and special wiring?
Yes. Choose a damp-rated fan for covered patios and a wet-rated fan if the unit faces direct moisture exposure. Use a GFCI-protected outdoor circuit, and mount at least 7 feet above the floor for safety clearance. Then size by CFM output at your target speed, not just blade diameter.
Is high-pressure misting worth it in humid climates?
It usually feels less effective in humidity because evaporation is slower, so you may end up feeling damp instead of cooled. If you still want misting, a high-pressure system can reduce wetness compared to low-pressure setups, but consider pairing it with strong airflow (fan placement and open sides) and plan for maintenance like nozzle cleaning, mineral buildup, and winterization.
What’s the most common mistake when combining a fan and a misting system?
Poor airflow layout. If the mist is placed downwind of the fan, the fan can blow the cooled air away from your seating zone. Aim for cross-ventilation where possible, keep at least one side open in partially enclosed designs, and place the mister upwind of the fan so the fan distributes cooled air across the primary seating area.
What privacy upgrade works best without requiring a full fence permit?
Freestanding privacy screens and tall planters are often the easiest starting point. If you want semi-permanent privacy, combine a privacy screen on the most visible side with living height from fast-growing shrubs or ornamental grasses. Still, confirm local rules for fence height and placement, since setbacks can vary even for lattice or tall planter structures.
How should I prepare my patio for the end of the season?
Do a quick maintenance pass: clear debris from drains, cover outdoor furniture or use fitted covers for cushions and fabrics, retract umbrellas or awnings during storms, and clean and protect outdoor wood or any sealable surfaces before weather swings. This reduces mildew, corrosion, and water retention that accelerates cracking and surface deterioration.
When hiring a contractor, what should I ask about base prep and drainage so I don’t get an incomplete quote?
Ask them to explain their drainage strategy step-by-step, including the slope plan, underlayment or base layers, and how water will move away from the patio and foundation. Then ask about compaction depth and materials for the base, not just the surface finish. If someone cannot clearly describe base prep and drainage, the low price is often skipping critical work.
Next Articles
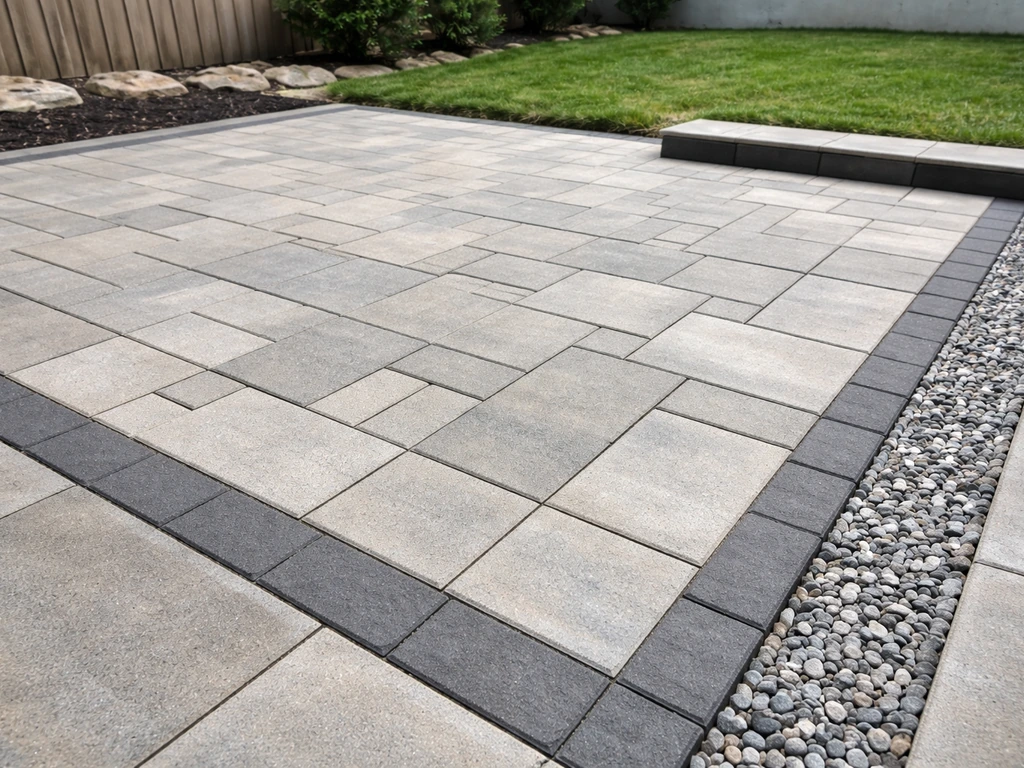
Who Builds Outdoor Patios: Pros, Roles, and How to Hire
Know who builds outdoor patios, roles from excavation to masonry, plus how to hire, ask questions, and compare bids fast
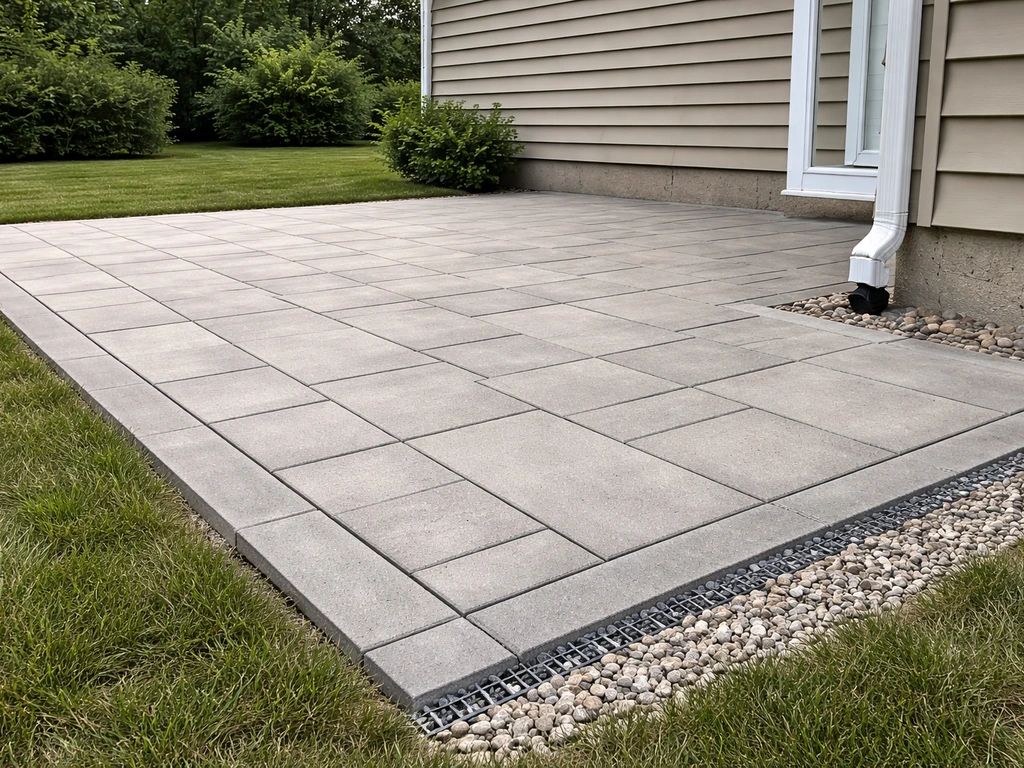
Reliable Patio: Build a Safe, Durable, Low-Maintenance Setup
Reliable patio guidance: choose materials, verify drainage and base, avoid settling and slips, and plan low-maintenance
Who Builds Patio Covers? Find the Right Builder and Get a Bid
Learn who builds patio covers, how to vet builders, compare bids, and ask the right questions for permits and warranties