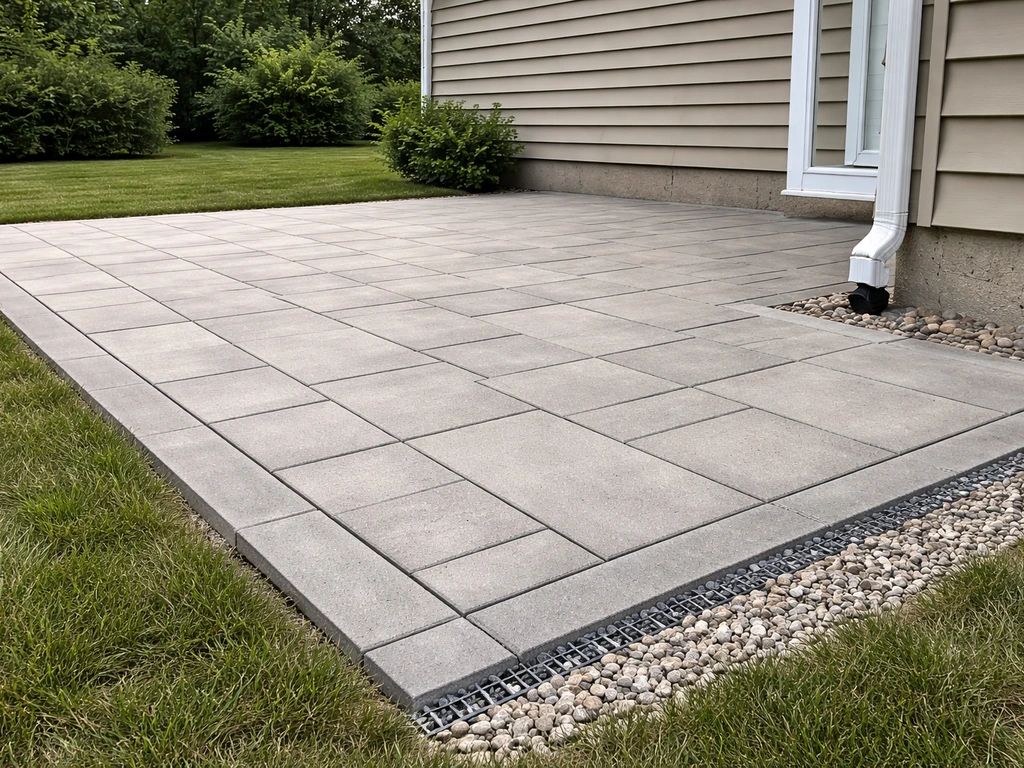
A reliable patio is one that doesn't crack apart in the first winter, doesn't turn into a skating rink when it rains, doesn't pond water against your house, and doesn't demand a weekend of repairs every spring. Getting there isn't about spending the most money, it's about making the right calls on base prep, surface material, drainage, and a few non-negotiable details that most bargain installs skip. This guide walks you through every step, from reading your yard before you pour a single bag of concrete to comparing contractor bids like someone who actually knows what to look for.
Reliable Patio: Build a Safe, Durable, Low-Maintenance Setup

Phoebe Foster
29 Jun 2026
What 'Reliable' Actually Means for a Patio
Reliability for a patio comes down to four things working together: structural stability, weather performance, safety underfoot, and honest low-maintenance upkeep. If any one of those breaks down, the whole thing feels like a failure even if the others are fine.
Structural stability means the surface stays flat and level over years, not just the first season. Settling, heaving, and cracking are almost always base problems, not surface problems. Weather performance means the patio handles your specific climate, whether that's freeze-thaw cycles in Minnesota, monsoon rains in Arizona, or relentless UV in Texas, without deteriorating prematurely. Safety underfoot means the surface has genuine slip resistance when wet.
ASTM D2047 is commonly cited for friction testing, but it's worth knowing that standard was designed for polish-coated flooring on dry surfaces and isn't intended for wet-surface use, so any contractor citing that number as proof of wet-weather safety is using it out of context. Wet-rated slip resistance matters separately and should be confirmed for whatever surface you choose.
Finally, low-maintenance reliability means you're not resealing every year, re-sanding joints every spring, or filling cracks on repeat, that points to a system installed with the right specs from day one.
Read Your Site Before You Buy Anything
The biggest mistakes I see happen before a single material is ordered. Skipping a real site assessment turns into expensive fixes later. Here's what you need to evaluate.
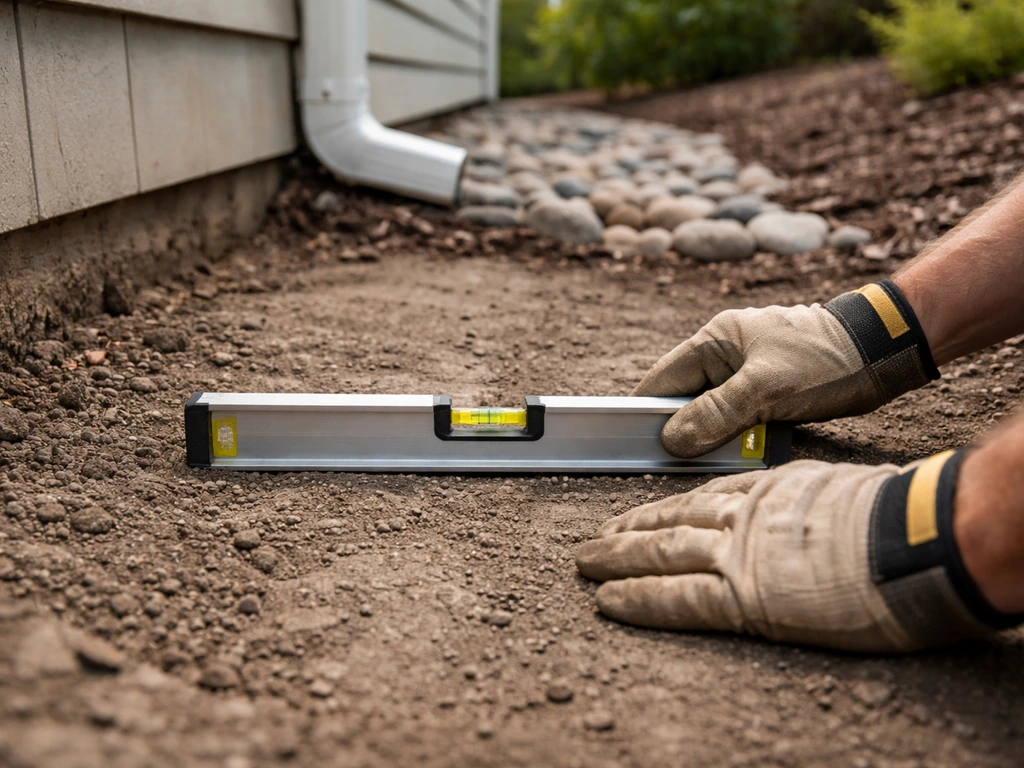
Drainage and slope
Water is the number-one enemy of patio longevity. Your finished patio surface needs a minimum slope of 1/8 inch per foot away from the house, and 1/4 inch per foot is even better in wet climates. Walk your yard after a heavy rain and note exactly where water pools and where it flows. If water currently moves toward your house foundation, your patio design has to redirect it, not just pave over the problem.
Soil type and freeze-thaw exposure
Clay-heavy soil expands and contracts with moisture, which translates directly into heaving and settling. Sandy or loamy soil drains better but can shift under load if not properly compacted. If you're in a freeze-thaw zone (roughly anything north of the I-40 corridor), your base depth needs to account for frost depth in your county, often 12 to 36 inches depending on location. Skimping on base depth in a freeze-thaw climate is the single most common reason patios fail within three to five years.
Sun, wind, and how you actually use the space
Track sun exposure across your patio area at different times of day, morning east exposure, afternoon west sun, and any wind corridors between structures. This matters for both material choice (darker stone and concrete absorb more heat) and for planning comfort upgrades like shade or fans. Also be honest about usage. An everyday family breakfast spot needs different surface texture and furniture clearance than a once-a-week entertaining space. High foot traffic areas need surfaces that stay slip-resistant and look decent with wear, not just on day one.
Choosing the Right Patio Surface
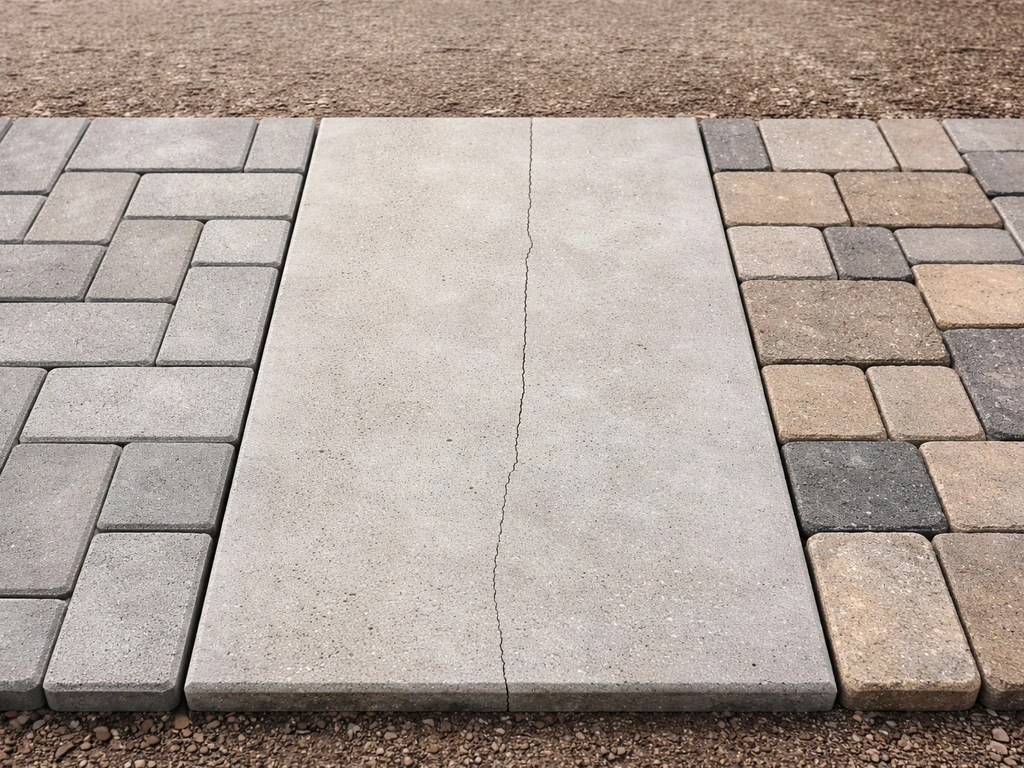
There's no single best surface, there's the right surface for your site conditions, climate, budget, and how much ongoing maintenance you're willing to do. When you match the surface to your site and maintenance preferences, you can land on the best patio solutions for reliable long-term performance. Here's how the main options compare honestly.
| Surface | Durability | Freeze-Thaw Performance | Slip Resistance (Wet) | Maintenance Level | Typical Installed Cost |
|---|---|---|---|---|---|
| Poured Concrete | High if properly installed | Good with control joints; can crack without them | Fair to poor unless textured/brushed | Low to moderate (seal every 2–3 yrs) | $6–$15/sq ft |
| Concrete Pavers | Very high | Excellent (joints flex, individual units replaceable) | Good with textured surface | Low (re-sand joints every few years) | $10–$20/sq ft |
| Brick Pavers | High | Moderate (dense brick holds up; soft brick spalls) | Good when unglazed | Low to moderate | $12–$22/sq ft |
| Natural Flagstone | Very high | Good if bedded well | Varies by stone type; rough-cut is better | Moderate (repoint joints, seal optional) | $15–$30/sq ft |
| Gravel/Decomposed Granite | Moderate | Good (no rigid surface to heave) | Poor (loose surface) | Higher (raking, topping off annually) | $2–$6/sq ft |
| Porcelain/Composite Tile | Very high | Excellent if low-absorption tile used | Good if rated for outdoor wet use | Very low | $15–$35/sq ft |
For freeze-thaw climates, concrete pavers and porcelain tile made from low-absorption material are the most forgiving. Ceramic tile water absorption is tested under ASTM C373, higher absorption means more frost damage risk, so always confirm your tile is rated for outdoor freeze-thaw use before you buy. For hot, dry climates like the Southwest, exposed aggregate concrete or rough flagstone handles UV without fading and stays cooler underfoot than dark porcelain. For budget-conscious homeowners who want something durable without a big install, decomposed granite with proper edging and a compacted base is actually a solid choice for a casual-use area, just don't expect it to stay pristine.
The recommendation if you're not sure
If I had to pick one surface for most homeowners who want low drama and long life, I'd push concrete pavers. Individual units can be lifted and replaced if one settles or cracks, joints can be re-sanded without major work, and the system flexes slightly rather than cracking as a monolithic slab would. The upfront cost is higher than plain poured concrete, but the total cost over 15 to 20 years usually evens out or comes out ahead.
Get the Base Right, Everything Else Depends on This
This is where most budget installs cut corners, and it's where most failures start. A beautiful surface on a bad base is a ticking clock.
Subbase depth and compaction
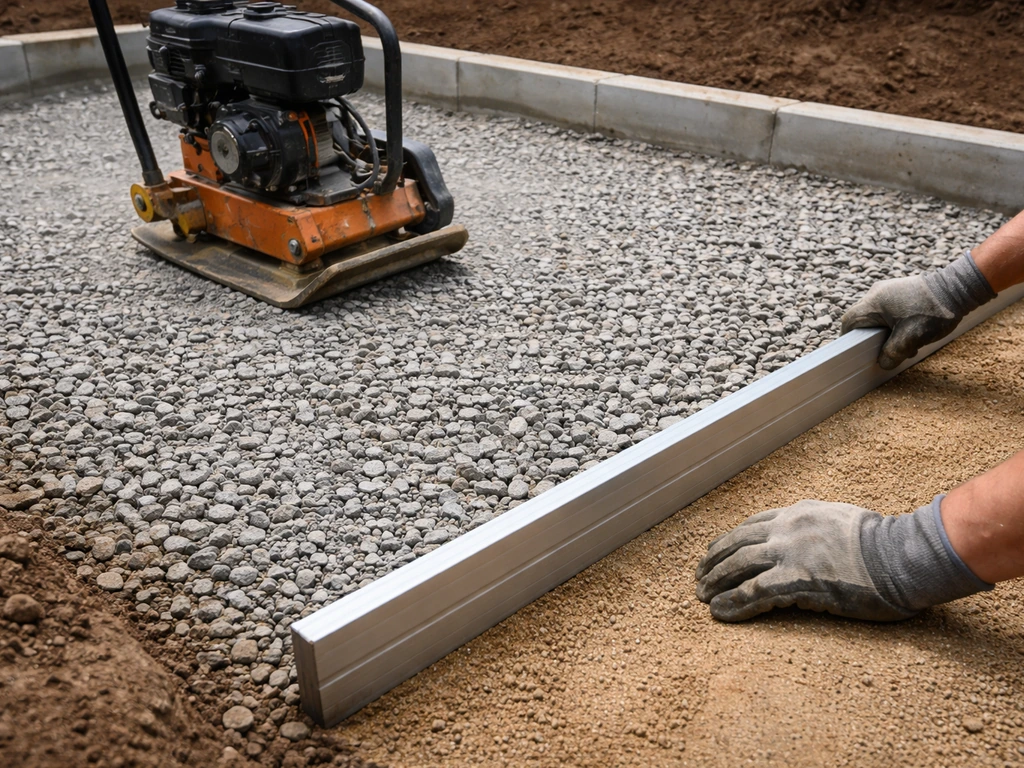
For most residential patios in non-freeze climates, a 4-inch compacted gravel subbase is the minimum. In freeze-thaw zones, that number should track your local frost depth, check with your local building department or extension service. The gravel base (typically 3/4-inch crushed stone) needs to be compacted in layers of 3 to 4 inches at a time with a plate compactor, not just dumped and spread. Uncompacted base is the direct cause of settling.
For concrete paver systems, ICPI standards call for about 1 inch of bedding sand on top of the compacted base, which compresses to roughly that thickness after the pavers are set and compacted. The bedding layer is for leveling only, it's not a second base. Putting too much sand under pavers is a common DIY mistake that causes rocking and settling later.
Weed barrier placement
Landscape fabric goes between the subgrade (native soil) and the gravel base, not between the gravel and the bedding sand, and definitely not under the pavers. Putting it in the wrong place traps moisture and interferes with drainage. For gravel areas, fabric under the stone is fine, but use commercial-grade woven geotextile, not the flimsy black rolls sold at big-box stores.
Edge restraints and joint integrity
For paver systems, edge restraints aren't optional, they're what keeps the entire surface from spreading outward over time. CMHA technical guidance is clear that edge restraints directly affect joint performance and long-term stability. Use spiked plastic or aluminum edging rated for the paver weight and install it into the compacted base, not the bedding sand. Skipping this is one of the most common DIY failures I've seen.
Control joints for poured concrete
Poured concrete slabs need control joints to manage where cracking happens, you'd rather have a clean, sealed joint than a random crack through the middle of your slab. ACI 302.1R and ACI 360R both emphasize that a design professional should specify joint layout and details for slabs-on-ground. Structure Magazine notes that both ACI 360R and ACI 302.1R emphasize the design professional should specify joint layout and joint details for slabs-on-ground specify joint layout and details for slabs-on-ground. As a rule of thumb, joint spacing in feet shouldn't exceed 2.5 times the slab thickness in inches, so a 4-inch slab needs joints every 10 feet or less. Contractors who pour slabs without a planned joint layout are gambling with your money.
Water and Safety: Two Things That Can't Be Afterthoughts
Drainage that actually works
Surface slope handles normal rain if it's built correctly. But if your patio is in a low spot, surrounded by higher grade on multiple sides, or large enough that slope alone can't move water fast enough, you need a drainage system. French drains along the patio edge or channel drains across the surface can redirect water to a catch basin or daylight point away from the house. CMHA application guides specifically highlight the need to direct water from bedding sand and base through drain holes or to catch basins, not just rely on surface runoff. For covered patios especially, plan downspout routing before you pour anything.
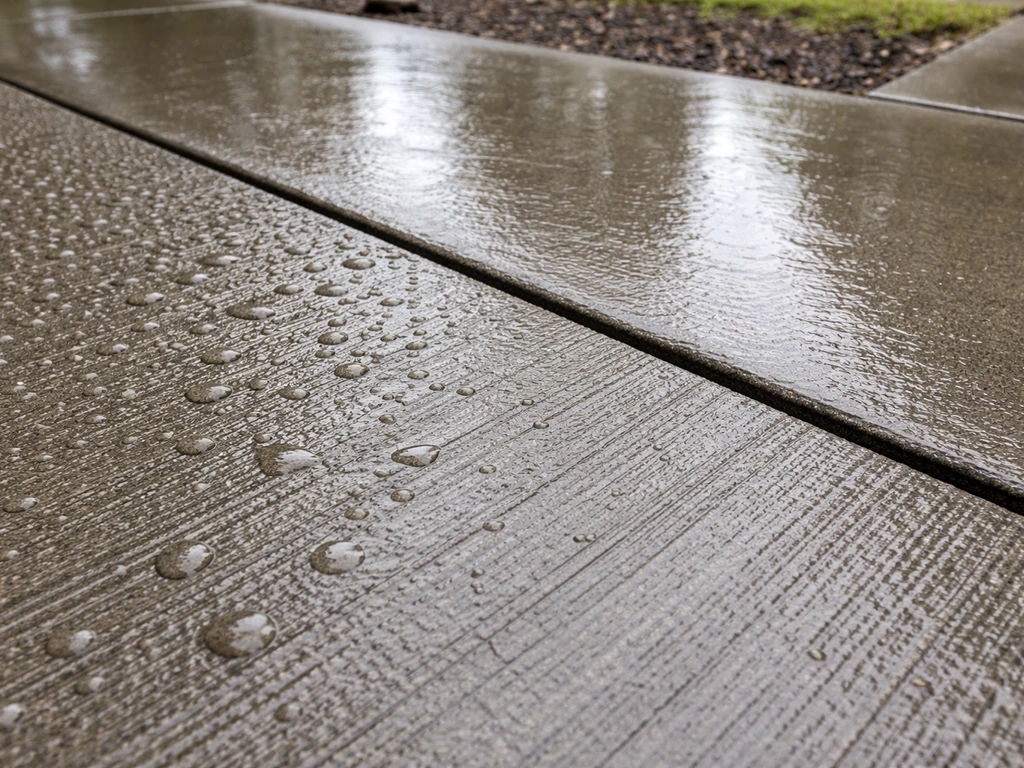
Slip resistance when it matters most
Smooth poured concrete is genuinely slippery when wet, a broom finish (dragging a stiff broom across the wet concrete) adds texture at no extra cost and is standard practice for any outdoor slab. For pavers and tile, look for products with a surface profile or texture rather than polished finishes. If you're in a region where moss or algae builds up (Pacific Northwest, humid Southeast), a rough surface texture plus an annual cleaning with a diluted bleach solution will maintain friction better than any smooth surface will.
Sealing, coatings, and joint maintenance
Sealing concrete every 2 to 3 years protects against staining, moisture penetration, and freeze-thaw damage. For paver joints, polymeric sand is the standard choice, it hardens when wet and resists ants and weeds far better than regular jointing sand. When installing it, follow the technical specs carefully: joints must be empty to the correct minimum depth before you sweep in the sand, and installation requires specific moisture and temperature conditions to activate correctly. Techniseal's own data sheet is clear about these requirements, and skipping them is exactly why many polymeric sand installs wash out or never harden properly.
Comfort Upgrades That Actually Improve Year-Round Reliability
A structurally solid patio that's unusable because it's a solar oven in July or a rain-soaked mess in spring isn't really reliable in the way that matters to you. If you are planning a patio project, it helps to ask solar and patio pros about how heat and sun exposure can affect materials, comfort, and long-term performance. The right comfort upgrades extend your usable season and protect the surface at the same time.
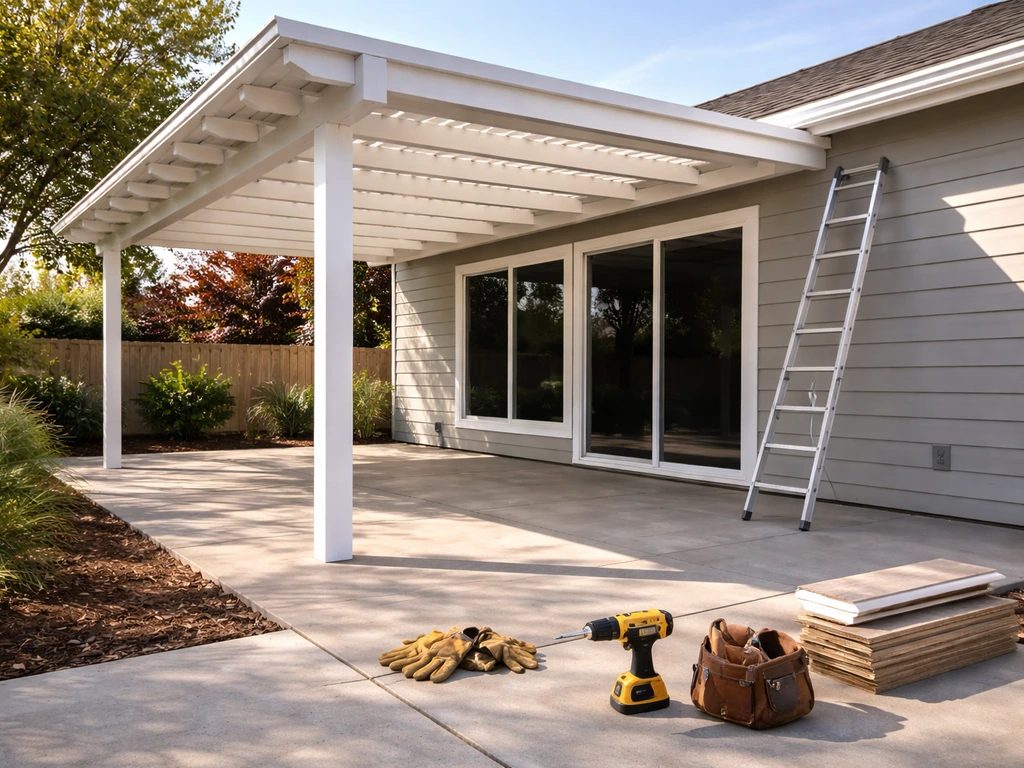
Shade and cover options
A solid patio cover, whether a pergola with a roof, an attached aluminum or wood-frame cover, or a retractable awning, does more than block sun. It keeps the surface drier, reduces thermal expansion stress on the material, and protects furniture and finishes. Solid covers cost more but deliver more; pergolas with open lattice are beautiful but don't block rain. If budget is the constraint, a shade sail is an honest option for a defined seating area, just anchor it properly into footings or structural posts, not deck screws into a fence board.
Cooling: misters and fans
In dry climates like the Southwest, a misting system can drop perceived temperature by 10 to 20 degrees and makes a covered patio genuinely comfortable through summer afternoons. In humid climates, misters usually make things worse by raising the moisture level, a ceiling fan is a better call there. Outdoor-rated ceiling fans installed under a covered patio are one of the highest comfort-per-dollar upgrades you can make in most climates. Make sure anything you install is rated for outdoor use (UL Wet or UL Damp rated depending on exposure).
Heating
If you want to extend the season into fall and early winter, a freestanding propane patio heater is the lowest-cost entry point. Mounted infrared heaters, electric or gas, are more efficient for covered patios and feel more like actual warmth than the convective heat from a tower heater. For very cold climates, a permanent gas line to a mounted heater is worth the upfront cost if you entertain outdoors regularly.
What's not worth it
Cheap freestanding umbrella stands on large 9-foot or 11-foot umbrellas are a wind hazard and a liability. If you're using an umbrella as a primary shade solution, either use a table with a center hole that holds it from underneath, or invest in a weighted base rated for the umbrella's wind load. A 50-pound decorative base on a large umbrella is not adequate.
Why Patios Fail (and How to Spot the Warning Signs)
Most patio failures aren't mysteries. They trace back to predictable causes, and knowing them helps you both hire better and troubleshoot faster.
- Settling and uneven pavers: Almost always a base compaction issue, sometimes combined with drainage failure saturating the bedding sand. Fix: lift affected pavers, compact the base again, re-bed and reset. Don't just add sand on top.
- Concrete cracking: Random cracking in poured concrete slabs points to inadequate control joints, improper curing, or a base that wasn't compacted. Wide cracks (over 1/4 inch) or cracks with vertical displacement need professional evaluation before simple sealing.
- Drainage pooling: Water pooling on the surface means either the slope was wrong from day one or the surface has settled unevenly. Pooling against the house is a foundation risk, not just an annoyance.
- Polymeric sand washing out: This is almost always an installation error—joints not cleaned to proper depth, product applied in rain, or not enough water activated during install. Redo it following the manufacturer's spec, not a YouTube shortcut.
- Mold and mildew on surfaces: Happens most on shaded, damp stone or concrete. Annual cleaning with appropriate cleaner (oxygen bleach for stone, pressure wash plus dilute bleach for concrete) handles it. Persistent mold means drainage or slope needs correction.
- Joint failure around concrete slab edges: Where concrete meets a house foundation or another structure, caulk-filled expansion joints need to be replaced every few years. Cracked or missing joint material lets water in and accelerates freeze-thaw damage.
- Spalling or flaking concrete in cold climates: Usually caused by deicing salt, thin concrete (under 4 inches), or high water absorption. Seal concrete before winter and avoid chloride-based deicers.
Hiring a Contractor: What to Ask and How to Compare Bids
Finding someone who builds patios isn't hard. Finding someone who builds them to last is a different exercise. The gap between a solid contractor and a cheap crew often shows up in exactly the details this article covers, base depth, compaction, joint layout, and drainage. If you're also exploring who builds patio covers or who installs outdoor structures alongside the patio itself, those conversations should include these same reliability questions. If you're also evaluating who builds patio covers, make sure they can explain their waterproofing, support, and drainage approach the same way you would for the patio itself.
Questions to ask every contractor before you hire
- What's your subbase depth and compaction method for this soil type and climate zone?
- How do you handle drainage—what's the planned slope, and is any catch basin or French drain in scope?
- For concrete: what's the joint spacing plan, and who designs the control joint layout?
- For pavers: what bedding sand depth, what edge restraint system, and what polymeric sand product are you using?
- What's your warranty on labor and materials, and what specifically does it cover versus exclude?
- Can I see two or three local projects from the last two years, and can I contact those homeowners?
- Are you licensed and insured in this state, and will you pull any required permits?
How to compare bids on reliability, not just price
A low bid almost always means something was cut. Ask every bidder to line-item their subbase depth, materials spec, and drainage plan. A bid that specifies 6 inches of compacted gravel base with a plate compactor and polymeric sand jointing is worth more than a vague bid at the same price that just says 'install pavers. If you’re wondering who makes patios, prioritize contractors who can clearly explain the site assessment, drainage plan, and base specifications, not just the surface design. ' If a contractor can't tell you their base depth or compaction method, that's your answer. Also compare warranty terms carefully, a one-year labor warranty is standard; anything less should raise a flag.
DIY vs. pro: an honest decision path
DIY is genuinely viable for gravel patios, small paver projects on flat ground with good drainage, and simple concrete slab pours in mild climates. The rental cost for a plate compactor and the time to do base prep correctly are the main investments.
Where DIY gets risky: large poured concrete slabs (timing, finishing, and joint placement require experience), freeze-thaw climates with deep frost depth requirements, sites with drainage problems that need engineered solutions, and any project connected to a house structure where waterproofing matters. For those situations, hiring someone with verifiable local experience, and checking their references specifically about long-term performance, not just how the project looked at completion, is worth every dollar.
If you’re comparing options, reading probuilt patio reviews can help you spot patterns in workmanship and long-term reliability.
If you're comparing patio contractors specifically for reliability track records, look for crews who specialize in hardscaping rather than general landscapers who do the occasional patio. The best patio builders understand base engineering, drainage, and material specs at a level that general landscapers often don't. Ask directly what percentage of their work is hardscape installation versus other landscaping. If it's less than half, keep looking.
Your checklist before you sign anything
- Site drainage plan confirmed and slope specified in writing
- Subbase depth and material specified (crushed stone type, depth, compaction method)
- Surface material specified by product name, thickness, and finish type
- For pavers: bedding sand depth, edge restraint brand/type, and jointing sand product named
- For concrete: control joint spacing and layout plan included
- Sealing or treatment plan included or explicitly excluded from scope
- Permit responsibility assigned to contractor
- Warranty terms spelled out for both labor and materials
- References provided and verified with direct contact
- License and insurance confirmed with certificate on file
A reliable patio doesn't require the biggest budget or the fanciest materials. It requires doing the unglamorous parts right, the base, the drainage, the joint details, and the surface spec for your climate. Good builders focus on the same essentials, so you can hire the best patio builders for your site, climate, and long-term reliability needs. Get those decisions right before you spend a dollar, and almost everything else is manageable.
FAQ
How do I tell if my patio needs a drainage system instead of just the right surface slope?
If you see water still pooling 2 to 3 hours after a heavy rain, or water consistently flows toward the house from multiple directions, slope alone is usually not enough. Measure the drop in grade from the house to the patio edge, and check whether downspouts discharge directly onto the patio area or onto the base and bedding sand.
What’s the best way to evaluate soil type and compaction before choosing a patio material?
Ask the installer how they will verify subgrade conditions (for example, checking for clay pockets, moisture conditions during excavation, and whether they will compact to target densities). In clay-heavy areas, emphasize base depth and compaction testing, because a surface can look flat while the base remains unstable under load.
Can I use geotextile under pavers to prevent weeds and still keep drainage reliable?
Yes, but only between native soil and the gravel base, not between the bedding sand and pavers. If fabric is placed above the base, it can trap moisture and change how water moves through the system, which increases the risk of settlement or a muddy bedding layer.
How deep should my base be if I’m not sure what my frost depth is?
Use your local building department or extension service frost-depth guidance, then select a base depth that accounts for frost in your exact area. If you cannot verify frost depth, ask the contractor to explain their design basis and frost considerations in writing, because assuming a generic number is a common reason for early failure.
What should I ask contractors to confirm about paver joint sand and polymeric sand performance?
Ask what joint sand depth they target, how they confirm joints are empty to the spec before sand application, and what temperature and moisture conditions they plan to use. Also ask how they prevent premature washing (for example, no watering until cured) because polymeric sand that goes in too wet or gets rained on early often fails to lock.
How do I prevent rocking pavers after installation?
Rocking is usually a base or bedding issue. Confirm that the base was compacted in lifts using a plate compactor, that bedding sand is limited to leveling thickness, and that edge restraints are installed and seated into the compacted base, not left for the pavers to “hold.”
Is ASTM D2047 really enough to guarantee slip resistance for wet patio use?
Not by itself. Wet traction depends on the surface product and its wet-rated testing criteria, not just an at-length friction number intended for different test conditions. Ask for the specific slip-resistance documentation that applies to wet outdoor surfaces and the exact finish you plan to install.
What curb or crack pattern should I expect from poured concrete, and when is it a problem?
Control joints should create a predictable crack network aligned with the joint layout, and the concrete should be properly sealed where specified. Random mid-panel cracking, spalling, or joint deterioration within the first few winters is a red flag that joint spacing, curing, or base preparation were not handled correctly.
How often should I seal concrete, and what mistake causes sealers to fail early?
Sealing frequency depends on climate and exposure, but the common target is every 2 to 3 years for protective performance. Sealers fail early when the concrete is sealed too soon after placement, when it is not clean and dry enough, or when water is not properly directed away by slope and drainage.
Can I safely connect a patio drainage system to an existing downspout or gutter line?
It depends on where that water will discharge. If you divert roof runoff or channel drains into a pipe that empties near the foundation, you can undermine the patio performance. Ask where the system outlet goes (daylight point, catch basin, or distant discharge) and require confirmation it directs water away from the house.
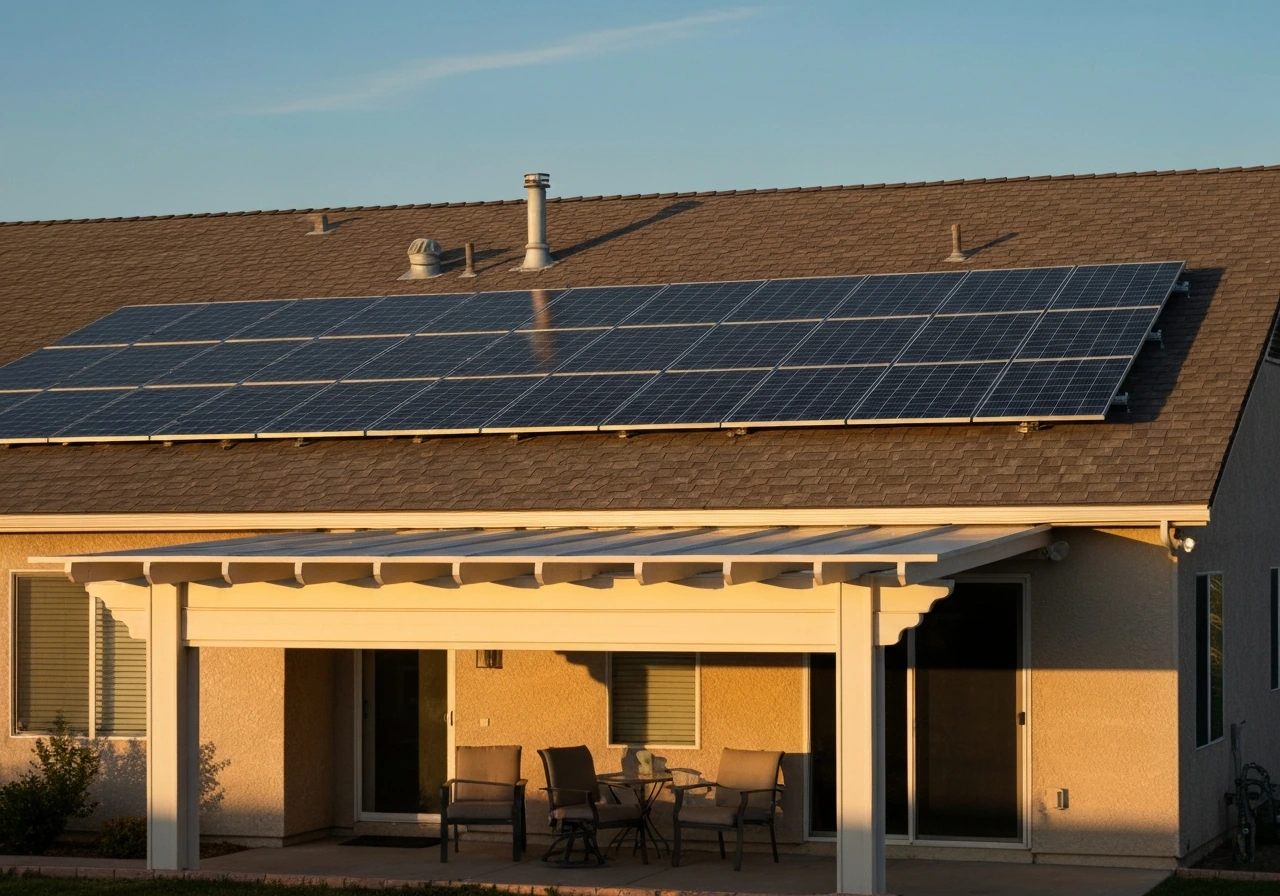
What’s the difference between patio covers that protect the surface and ones that protect only furniture?
A cover that truly improves patio reliability keeps the surface drier by blocking rainfall and reducing thermal stress from sun exposure cycles. An open-lattice pergola may protect against direct sun but can still leave the slab or pavers exposed to driving rain, which matters for freeze-thaw areas and slipping risks.
When is a DIY gravel patio reasonable, and what’s the minimum I should not cut?
DIY is most reasonable for small, casual-use gravel areas with good drainage and simple grades. Do not skip correct edging, proper subgrade prep, and layered compaction of the base, because without those elements gravel shifts, spreads, and creates uneven surfaces that look like “settlement” over time.
How should I compare bids to avoid paying for cuts that won’t show up until later?
Require each bid to list base depth, base material type, compaction method (including whether compaction is done in lifts with a plate compactor), bedding sand thickness, edge restraint details, and drainage plan specifics. If a contractor cannot state those items precisely, it usually signals the gaps that lead to early cracking, heaving, or joint failure.
Next Articles
Who Builds Patio Covers? Find the Right Builder and Get a Bid
Learn who builds patio covers, how to vet builders, compare bids, and ask the right questions for permits and warranties
Solar and Patio Pros Review: Services, Pricing, and Vetting Guide
Solar and Patio Pros review covering solar + patio services, pricing, vetting checklist, and quote steps for homeowners.

Do It Yourself Outdoor Patio Ideas: Build, Upgrade, Maintain
DIY outdoor patio ideas for planning, building, upgrading, and maintaining floors, shade, privacy, lighting, and decor.