
The best backyard patio is the one that fits how you actually live outside, not the one that looks best in a magazine spread. If you want more direction, browse good patio ideas that match your yard size, climate, and how you plan to use the space. That means matching your layout to your yard's size and shape, picking materials that hold up to your local weather without demanding constant upkeep, and adding the shade, seating, and features that match how many people you're hosting and how often. This guide walks through every decision in that chain: design styles and layouts, flooring materials, covers and cooling add-ons, entertaining zones, and whether to do it yourself or hire it out.
Best Backyard Patio Ideas and Designs for Any Budget

Phoebe Foster
27 May 2026
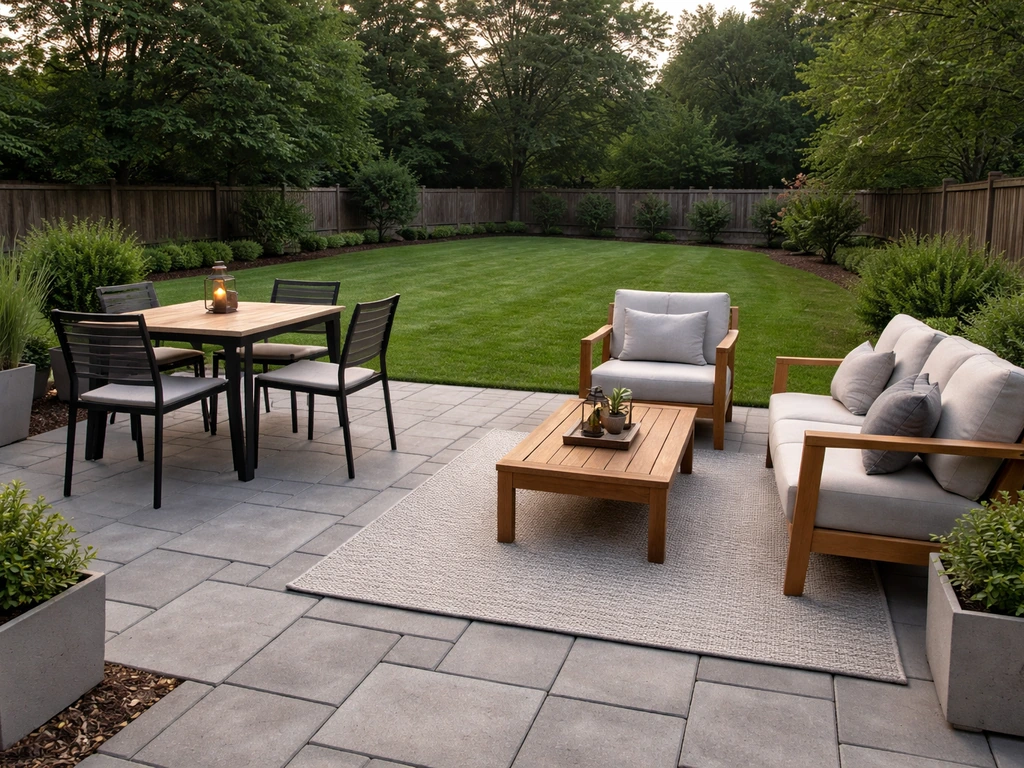
What 'Best' Actually Means for Your Yard and Lifestyle
Before you fall in love with a specific design, answer a few honest questions about your situation. The answers will narrow your options faster than any inspiration board.
- How much usable space do you have? A patio that works in a 30x40 ft yard looks very different from one in a 60x80 ft yard.
- How do you actually use your backyard? Quiet morning coffee, weekly family dinners, or full-on summer parties all call for different layouts.
- How much sun does your yard get in the afternoon? A west-facing patio in Texas or Arizona needs serious shade planning. A north-facing yard in the Pacific Northwest may need open sky instead.
- Do you have privacy from neighbors, or is your yard exposed? Exposed yards often benefit from pergolas, screens, or strategic planting around the patio edge.
- What's your realistic budget? Even a modest 280 sq. ft. paver patio averages around $3,400 installed, with a wide range of $2,400 to $7,000 depending on materials and labor.
- How much ongoing maintenance are you willing to do? Stamped concrete looks great but needs sealing, especially in freeze-thaw climates. Composite decking holds color reasonably well but isn't indestructible either.
- Are you planning to DIY, hire a contractor, or do a hybrid approach?
Once you answer those honestly, you have a filter. Every design idea below can be evaluated against your specific answers rather than treated as universally 'best.'
Backyard Patio Design Styles and Layouts That Actually Work
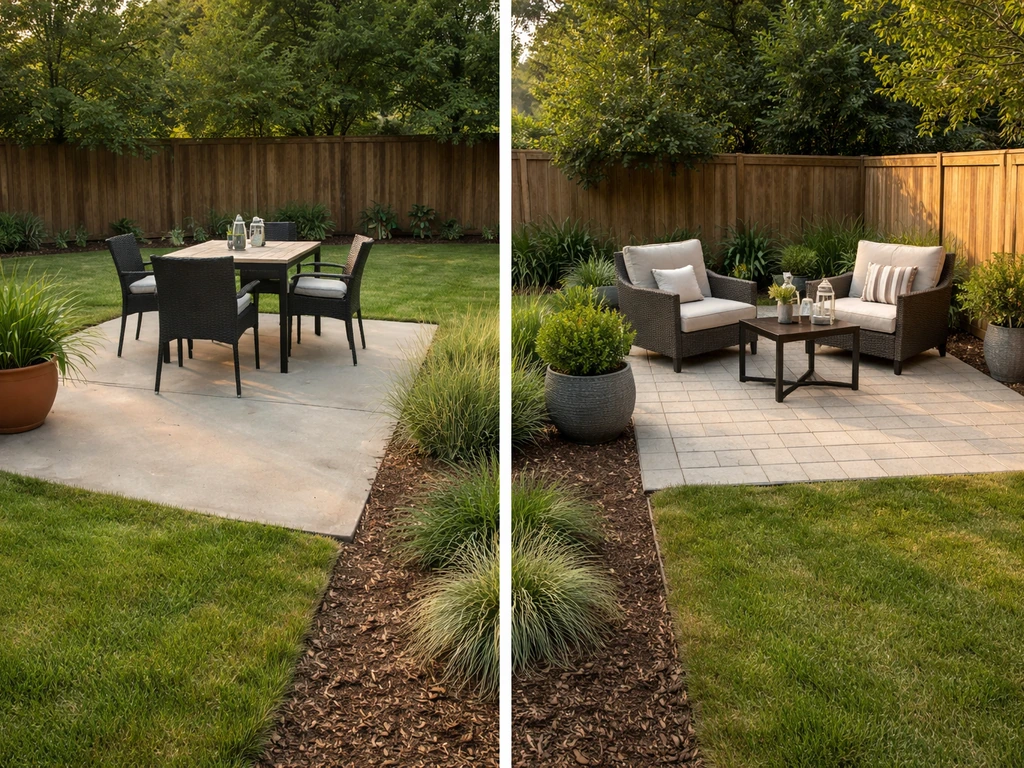
There's no shortage of patio inspiration online, but most of it doesn't explain when a given style makes sense and when it doesn't. Here's a breakdown of the most practical design approaches, matched to the situations where each one shines.
The Simple Rectangular Slab
This is the workhorse layout: a flat, rectangular patio attached to the back of the house. It works for almost any yard, it's the most affordable to build, and it's the easiest to furnish because standard outdoor furniture sets are designed for rectangular spaces. If you're on a tight budget or working with a smaller yard, start here. A 12x16 ft slab comfortably fits a dining table for six and a small seating group. Go to 16x20 ft if you want room to breathe.
The L-Shape or Wrap-Around Layout
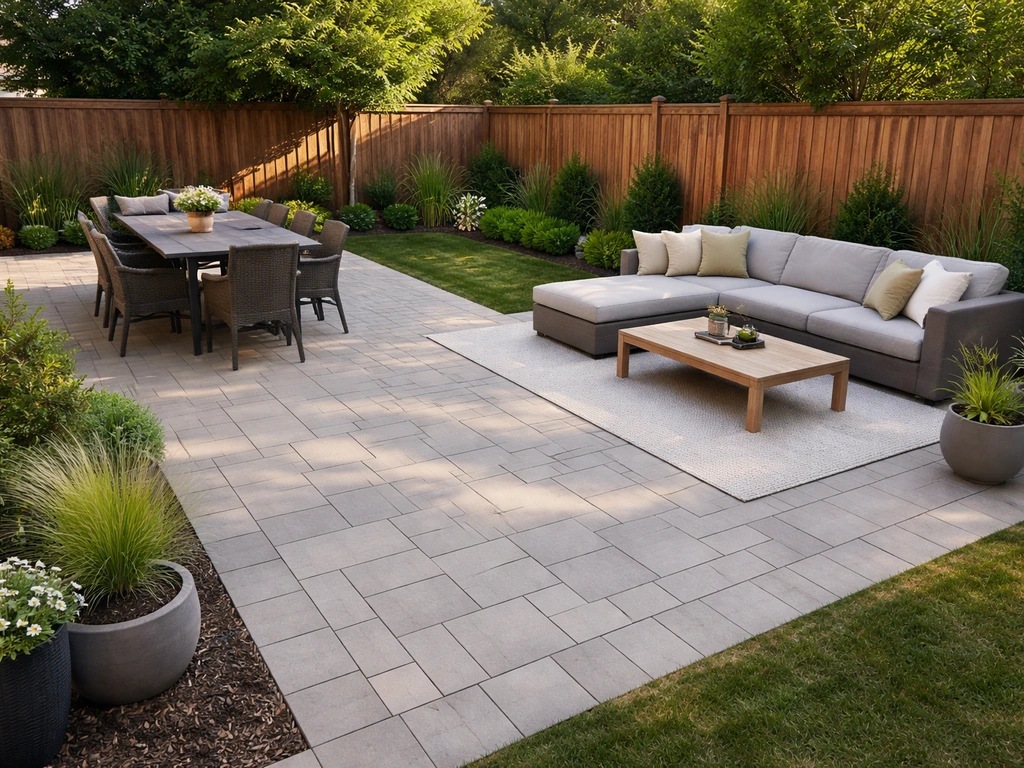
An L-shaped patio naturally creates two distinct zones without a wall between them: one for dining, one for lounging. This is a great option if you have a corner of the house to work with or if your yard is wider than it is deep. It also solves traffic flow problems. When guests are moving between the house, the grill, and seating, the L-shape lets them circulate without bottlenecking through one area. Backyard Discovery also advises planning clearances and sightlines so outdoor cooking zones do not bottleneck guests between the house, pool, lounge, and serving areas traffic flow between the house, the grill, and the seating area.
The Detached or Island Patio
A detached patio sits away from the house, often at the back of the yard or around a focal point like a pool, large tree, or fire pit. It creates a destination feeling that attached patios don't. The trade-off is that you'll want a defined path connecting it to the house (flagstone stepping stones, a paver walkway, or compacted gravel), and running electrical or water to it is more complex. This layout suits larger yards well and gives you more flexibility in orientation, so you can position it to catch afternoon shade or a better view.
The Multi-Level or Tiered Patio
If your yard slopes away from the house, a tiered patio can turn that grade change into a feature. The upper level, closest to the house, typically handles dining. A lower level steps down to a fire pit area or lounge space. This layout looks impressive, but it does cost more because retaining walls, structural fill, and additional grading are involved. Angi data shows raised or structural patios consistently cost more than simple ground-level installs, sometimes reaching $60 or more per sq. ft. in high-cost markets.
The Courtyard or Enclosed Garden Patio
For yards that are small, urban, or very exposed to neighbors, a courtyard-style patio uses walls, fencing, tall planters, or trellises to create an enclosed feel. It prioritizes privacy and intimacy over entertainment scale. This is also a smart approach if you want a low-maintenance space: a smaller, well-defined area is easier to furnish and keep tidy than a sprawling open layout.
Flooring and Material Selection: Durability, Comfort, and Climate
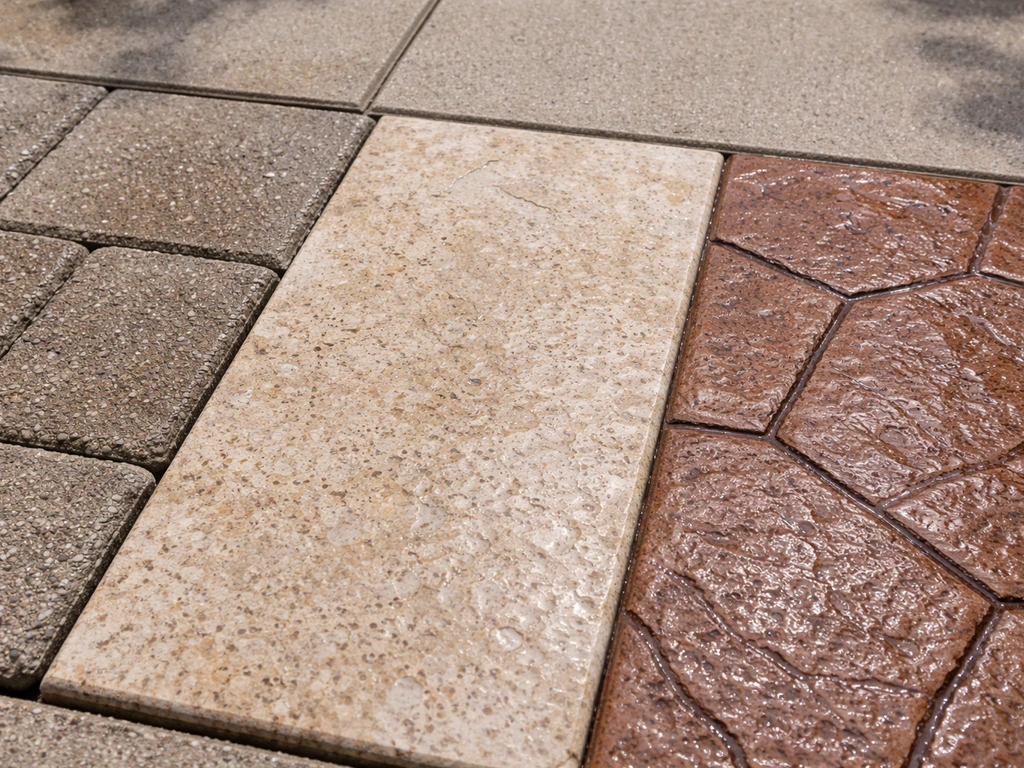
Your patio floor is the single most important material decision you'll make. It affects cost, maintenance, slip safety, and how the whole space feels underfoot. Here's how the main options compare.
| Material | Cost Range (installed) | Best Climate Fit | Maintenance Level | Key Consideration |
|---|---|---|---|---|
| Concrete slab | $8–$20/sq. ft. | Most climates | Low to moderate | Seal in freeze-thaw zones; plain concrete can crack |
| Stamped concrete | $15–$35+/sq. ft. | Mild to moderate climates | Moderate | Freeze-thaw damage causes scaling without proper sealer; re-seal every 2–3 years |
| Concrete pavers | $8–$26/sq. ft. | All climates (with proper base) | Low | Edge restraints and compacted base are critical; individual pavers can be replaced |
| Natural stone (flagstone, slate) | $15–$30+/sq. ft. | Most climates | Moderate | Irregular surfaces; check slip resistance (DCOF) for wet conditions |
| Porcelain tile | $10–$25/sq. ft. | Mild or cold climates (frost-rated only) | Low | Must be frost-rated (≤0.5% water absorption per ASTM C373); DCOF ≥0.42 for wet areas |
| Composite decking over frame | $20–$40/sq. ft. | All climates | Low | Elevated, so works on slopes; fades over time despite UV warranties; not a ground-contact surface |
| Gravel or decomposed granite | $2–$8/sq. ft. | Dry/warm climates | Low | Affordable DIY option; not ideal for high-heeled shoes or wheeled furniture |
A few things to keep in mind across all materials. First, drainage slope is non-negotiable. Home Depot’s DIY paver patio PDF reiterates that you should plan the slope and grade away from the house to support proper drainage [drainage slope is non-negotiable](https://www. homedepot.
com/catalog/pdfImages/94/94f9d972-22b3-4581-940f-42ba723b3f68. pdf). A patio should drop about 1 inch for every 8 feet of run away from the house (roughly 1/8 to 1/4 inch per foot) so water doesn't pool against your foundation. Second, for any tile or smooth surface, check the Dynamic Coefficient of Friction (DCOF) rating.
Outdoor wet areas should meet at least 0. 42 DCOF. Third, if you're in a freeze-thaw climate (most of the Midwest, Northeast, and mountain states), only use materials rated for that stress: frost-rated porcelain, sealed concrete, or interlocking pavers on a properly compacted ICPI-spec base. Unsealed stamped concrete or porous tile will scale and crack within a few winters.
On the DIY side, concrete pavers are the most forgiving choice. You can do the work in stages, individual pavers are replaceable if something shifts, and the base preparation (compacted gravel plus bedding sand) is learnable from a thorough walkthrough. Just don't skip the edge restraints or the compaction step. The number one reason DIY paver patios fail is insufficient base compaction, not the pavers themselves.
Shade, Covers, and Cooling: Making Your Patio Comfortable to Actually Use
An uncovered, sun-blasted patio in a hot climate gets abandoned by noon every summer day. Shade and cooling aren't extras, they're what make the space usable for more than a few weeks of mild weather. A good backyard patio setup also depends on planning shade and cooling so you can use the space through the hottest part of the year.
Shade Structures: Pergolas, Shade Sails, and Solid Covers
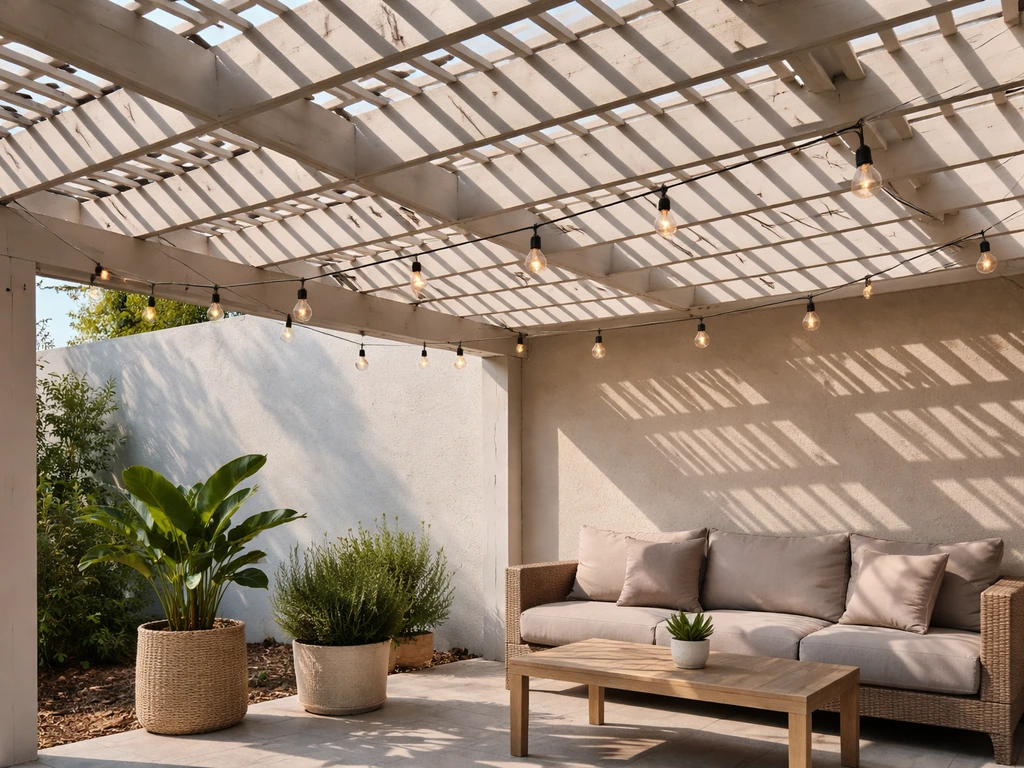
A pergola with an open lattice top provides partial shade and structure for hanging plants, lights, or a fabric shade sail above. It's one of the most popular DIY-friendly options because it doesn't require permits in most jurisdictions (check locally) and the materials are widely available. For full rain protection, a solid polycarbonate or aluminum patio cover does more work. Research shows that shading reduces mean radiant temperature, which is actually a bigger driver of outdoor thermal comfort than air temperature alone, so even a partial shade structure makes a meaningful difference. A retractable shade sail or motorized pergola louvre system gives you the flexibility to open up on cool days and close off on brutal ones.
Ceiling Fans for Covered Patios
If your patio has any kind of overhead cover, a ceiling fan is one of the highest-value upgrades you can add. When shopping, pay attention to the UL rating. A 'damp-rated' fan is fine for covered patios where rain doesn't hit it directly. A 'wet-rated' fan is what you need for open or partially open pergolas where rain exposure is possible. Don't buy an indoor fan and hope for the best, the motor housing isn't sealed for outdoor use and it will fail.
Misting Systems
Misters work by evaporative cooling, the water droplets absorb heat as they evaporate and lower the perceived temperature around the mist zone. In low-humidity climates (desert Southwest, parts of the Mountain West), this effect can be dramatic. In high-humidity regions (Gulf Coast, Florida), the air is already too saturated for the droplets to evaporate efficiently, so misters are much less effective. For best results, mount mist lines at 8 to 10 feet above the patio surface. Pairing misters with shade gives you better results than either one alone: shade lowers radiant temperature, and misting lowers air temperature.
Heating for Cooler Climates
If you live somewhere with cool spring and fall evenings (the Pacific Northwest, the upper Midwest, mountain regions), a propane or natural gas patio heater extends your outdoor season significantly. Infrared electric heaters mounted under a pergola or cover are more efficient than freestanding propane towers because they heat people directly rather than warming the air. They're also cleaner and require no fuel tank management.
Planning Your Patio for Entertaining: Zones, Flow, and Features
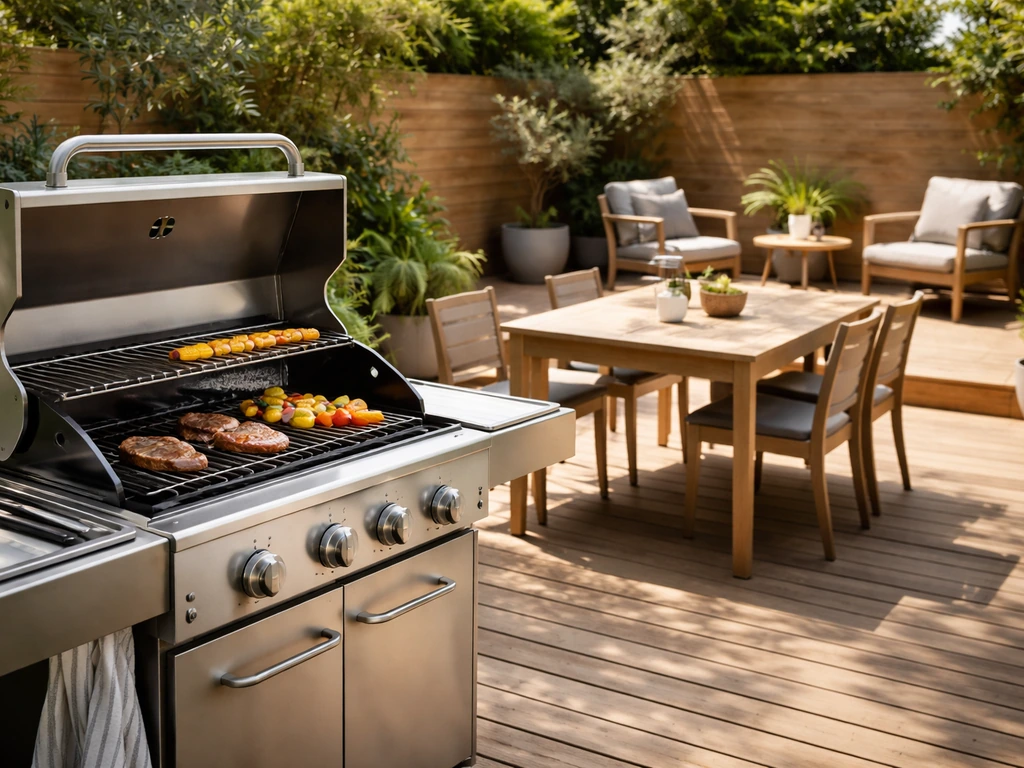
The best entertaining patios work because they're zoned intentionally, not because they're large. Even a medium-sized patio can handle a crowd if the layout keeps people from clustering in one spot and blocking traffic between the house, the grill, and the seating area.
The Core Zones to Plan For
- Dining zone: A table and chairs for seated meals. Allow at least 36 inches clearance on all sides so chairs can push back without hitting a wall or planter.
- Cooking and prep zone: If you're adding a built-in grill or outdoor kitchen, plan for at least 42 inches of clearance around cooking surfaces for comfortable movement. A 12x12 ft footprint is a reasonable starting baseline for a basic outdoor kitchen setup.
- Lounge zone: Sofas, sectionals, or Adirondack chairs around a coffee table or fire feature. This zone should feel separate from the dining area, even if only defined by a rug or a slight elevation change.
- Fire feature zone: A fire pit or fireplace becomes a natural gathering point. Don't let it dominate the entire patio. A good rule of thumb is that the fire pit and its immediate clearance zone (typically 3 to 5 feet of open space around it) should take up roughly a quarter of the patio at most, leaving the rest functional.
- Circulation paths: Leave clear walkways between zones. A 36-inch path is passable; 42 to 48 inches is comfortable when people are carrying drinks or plates.
Sightlines matter too. The person at the grill should be able to see guests in the lounge zone, not staring at a wall or fence. If you have kids, the cook should have visibility to the yard beyond the patio. These aren't decorating decisions, they're functional layout decisions that affect how the space gets used every weekend.
Lighting, Power, and Plumbing
Plan for electrical and plumbing conduit before you set any pavers or pour any slab. Running a 3/4-inch conduit under the patio base layer while the ground is open costs almost nothing extra. Running it after means cutting into your finished surface. Even if you're not sure exactly where you'll want outlets, landscape lighting runs, or a future outdoor refrigerator, rough in the conduit now. You'll thank yourself later.
Accessibility Considerations
If anyone in your household uses a wheelchair, walker, or has mobility challenges, plan your surface material and transitions early. ADA standards require ground surfaces to be stable, firm, and slip resistant, which is good design guidance for everyone regardless of ability. Avoid deep gravel, large gaps between pavers, or uneven flagstone patterns as your primary surface if accessibility matters. A smooth concrete or tightly set paver surface with flush transitions from the door threshold is the most inclusive choice.
DIY vs Hiring a Contractor: Budget, Timeline, and What to Ask
This is where a lot of homeowners get stuck, and it's usually because they're comparing DIY cost savings against contractor quotes without accounting for the full picture. Here's how to think about it clearly.
When DIY Makes Sense
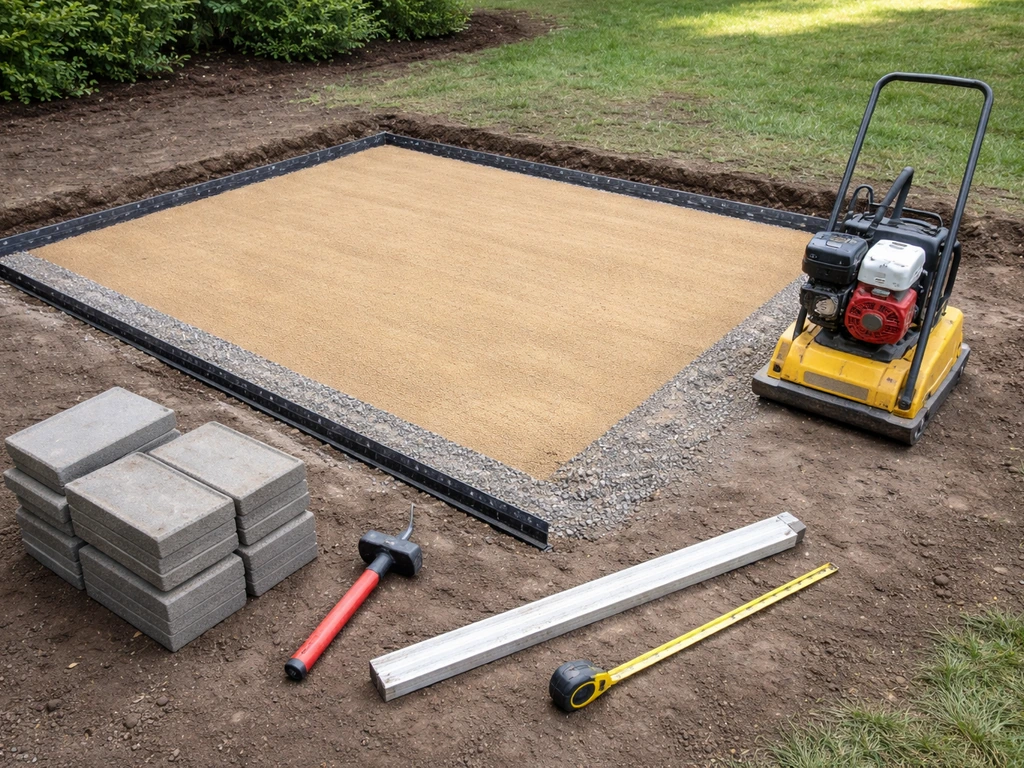
A concrete paver patio on flat, accessible ground is genuinely DIY-friendly if you have a free weekend (or two), access to a plate compactor rental, and the patience to do the base prep correctly. The materials for a 200 to 280 sq. ft. paver patio run roughly $1,000 to $2,000 depending on paver type and local pricing, compared to $2,400 to $7,000 installed.
That's real money saved. Gravel or decomposed granite patios are even simpler DIY projects and cost far less per square foot. What you cannot skip: proper drainage slope (1 inch per 8 feet away from the house), adequate base depth with compacted gravel, edge restraints, and bedding sand layer. Get those right and a DIY paver patio will last decades.
When You Should Hire It Out
Hire a contractor for: stamped concrete (requires experience to get the timing right on finishing), tiered or raised patios with retaining walls, any project involving regrading significant slope, outdoor kitchens with gas lines or plumbing, and any patio where a permit is required. Permits mean inspections, and inspections mean liability if the work doesn't pass. A licensed contractor handles that chain. Also hire if your soil has drainage issues or your base material needs significant excavation. The most expensive DIY mistake is a patio that shifts, cracks, or floods because the base wasn't right.
What to Ask Contractors Before You Hire
- What's included in site prep? Ask specifically about excavation depth, base material type and thickness, and compaction equipment they'll use.
- Will you install edge restraints, and what type? This is a quality-signal question. Contractors who skip edge restraints produce patios that spread and shift.
- What drainage slope will you achieve? A professional should be able to tell you the slope target (around 1/8 to 1/4 inch per foot away from the house).
- Do you pull permits if required in my municipality?
- What does your warranty cover and for how long?
- Can I see photos or visit a recent similar project you completed?
- Will you install conduit for electrical or lighting if I need it before the surface goes down?
Rough Cost Anchors to Plan Around
| Project Type | Approx. Cost Range | Notes |
|---|---|---|
| Basic concrete slab, 200–300 sq. ft. | $1,600–$4,500 | Varies widely by region and site prep needed |
| Stamped concrete, 200–300 sq. ft. | $3,000–$10,000+ | Site prep and removal adds to total; re-sealing required |
| Paver patio (DIY materials only), 280 sq. ft. | $1,000–$2,000 | Significant labor savings if done correctly |
| Paver patio (professionally installed), 280 sq. ft. | $2,400–$7,000 | National average around $3,400 for this size |
| Pergola or shade structure | $2,000–$8,000+ | DIY kits available from $500–$2,000 |
| Outdoor kitchen (basic built-in grill station) | $3,000–$10,000+ | Plumbing and gas lines add significant cost |
| Premium hillside/raised patio in high-cost markets | $60+/sq. ft. | Structural work, fill, retaining walls included |
Choose Your Best Patio Path
Pull your answers to the lifestyle questions from the first section and match them against what you've read. If you have a small, exposed urban yard and want low-maintenance privacy, a courtyard layout with tight-set pavers, a pergola with shade cloth, and a handful of tall planters is your best patio. If you have a large, flat yard in a hot climate and you entertain regularly, an L-shaped or rectangular patio with a solid cover, ceiling fan, and zoned outdoor kitchen layout will outperform any other configuration. If you're in the Midwest or Northeast with freeze-thaw winters, your material choice matters as much as your layout: sealed concrete pavers on a proper base, or frost-rated porcelain tile, will hold up where stamped concrete without sealer won't.
For next steps: measure your usable yard space and sketch a rough layout to scale. Decide which zones you actually need (dining, lounging, cooking, fire). Pick one or two material options that fit your climate and maintenance tolerance, then get two or three contractor quotes if you're not going DIY, using the questions above. If you're doing it yourself, start with base preparation and drainage as your first priority, not the surface material. And before you buy furniture or decor, get the structure right. The best backyard patio is the one you're actually comfortable sitting on in July, not just the one that photographs well in spring.
Once you've nailed down the structure, you'll find there's a lot more to explore around decorating the space, refining your setup for specific uses, and adding finishing touches that make it feel like an extension of your home rather than just a slab out back. Those decisions flow much more easily once the foundation is solid.
FAQ
How do I choose the patio size if I am not sure how many people I host?
Start with your busiest realistic scenario, then size around circulation. For example, plan roughly 36 to 42 inches of clear walkway between furniture and any path back to the house or grill, and keep at least one zone wide enough for a chair to slide back without blocking traffic.
What if my yard does not have good drainage, and I am worried about pooling or basement seepage?
Before picking a surface, verify grading and check whether downspouts discharge near the patio area. If the patio can end up lower than surrounding ground, you may need French drains or rerouted downspouts, because even correct patio slope can fail when the surrounding water has nowhere to go.
Is stamped concrete really a bad idea for freeze-thaw climates?
It can work, but only if it is installed and cured for freeze conditions and finished to reduce water infiltration. If you are in a freeze-thaw region, prioritize frost-rated materials and avoid relying on sealer alone, especially in spots that stay wet or get snow-melt regularly.
Can I use outdoor rug padding or furniture covers on top of pavers without problems?
Yes, but choose breathable padding and avoid non-draining layers that trap moisture. If you use rugs, ensure the surface can vent water, and periodically lift and air-dry to reduce mildew in shaded courtyard layouts.
What is the safest flooring finish if I want minimal maintenance and high traction?
Consider sealed concrete, interlocking pavers with tight joints, or frost-rated porcelain installed over the correct base. For wet traction, also avoid glossy finishes and verify slip rating for outdoor use, not indoor products.
How high should I mount a pergola or shade structure to avoid blocking doors and views?
Treat it like an airflow and clearance problem. Keep enough vertical clearance so hanging items do not interfere with door operation or overhead fans, and consider seasonal sun angles (summer sun is higher) so you do not end up with shade where you need it less.
Do I need electrical outlets on day one, or can I add them later?
It is often easier to rough in conduit during construction, even if you think you will wait. Outdoor kitchens, refrigerators, string lights, and patio speakers typically need power where you place them, and retrofits can mean cutting pavers or replacing slab sections.
How do I choose between a ceiling fan and an evaporative mister?
Use a ceiling fan as your default in most climates, because it improves comfort regardless of humidity. Choose misters mainly when you have low humidity and strong sun exposure, and pair them with shade, since mist alone in high humidity will feel underwhelming.
What outdoor furniture spacing should I plan for so the patio does not feel cramped?
Plan functional clearances around main paths. A good rule is to keep at least 3 feet from the grill and cooking area to seating so guests can move comfortably, and avoid placing large ottomans directly in a traffic corridor.
If I am installing myself, what is the most common edge-related mistake?
Skipping proper edge restraints or using restraints that are too flexible. If the perimeter can move, pavers can spread even when the center base is compacted, so invest in rigid edging and make sure it is anchored into the base build-up.
What kind of permit triggers mean I should not DIY?
Any work that alters utilities (gas lines, water lines), changes drainage, adds a structural roof cover, or requires electrical permits often triggers inspection requirements. If you are unsure, ask your local building department before ordering materials, because missing a permit can stall inspections and affect resale.
How can I make a courtyard patio feel less boxed in?
Use vertical privacy strategically and preserve sightline openings where you want calm views. Combine tall planters or trellises with one lighter visual element (a pergola, slatted screen, or partial-height wall) and keep furnishings closer to the center so the patio reads as a distinct room, not a narrow corridor.
What is the best way to transition from the house door to the patio for accessibility and safety?
Aim for flush or near-flush transitions with no deep gaps at thresholds. If you use pavers, lock the perimeter edges firmly and avoid uneven “stepping” patterns, because small trips become bigger problems when the surface is wet.
Next Articles
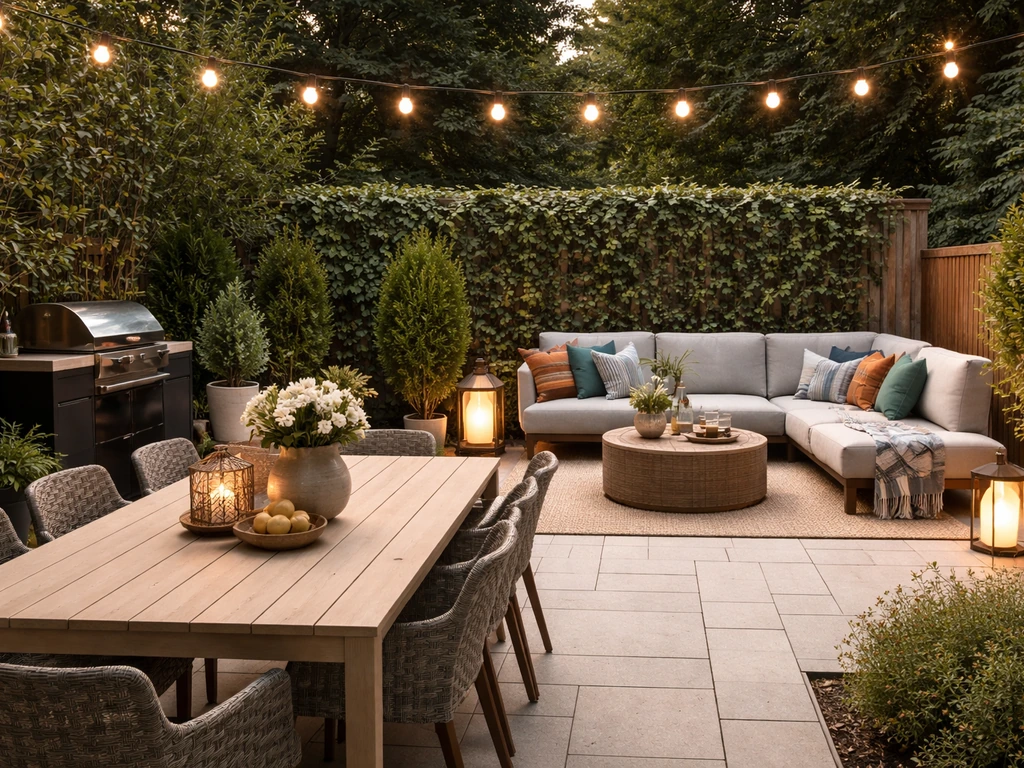
How to Decorate Backyard Patio: Step-by-Step Guide
Step-by-step how to decorate a backyard patio: zones, furniture layout, weatherproof decor, lighting, privacy, and budge
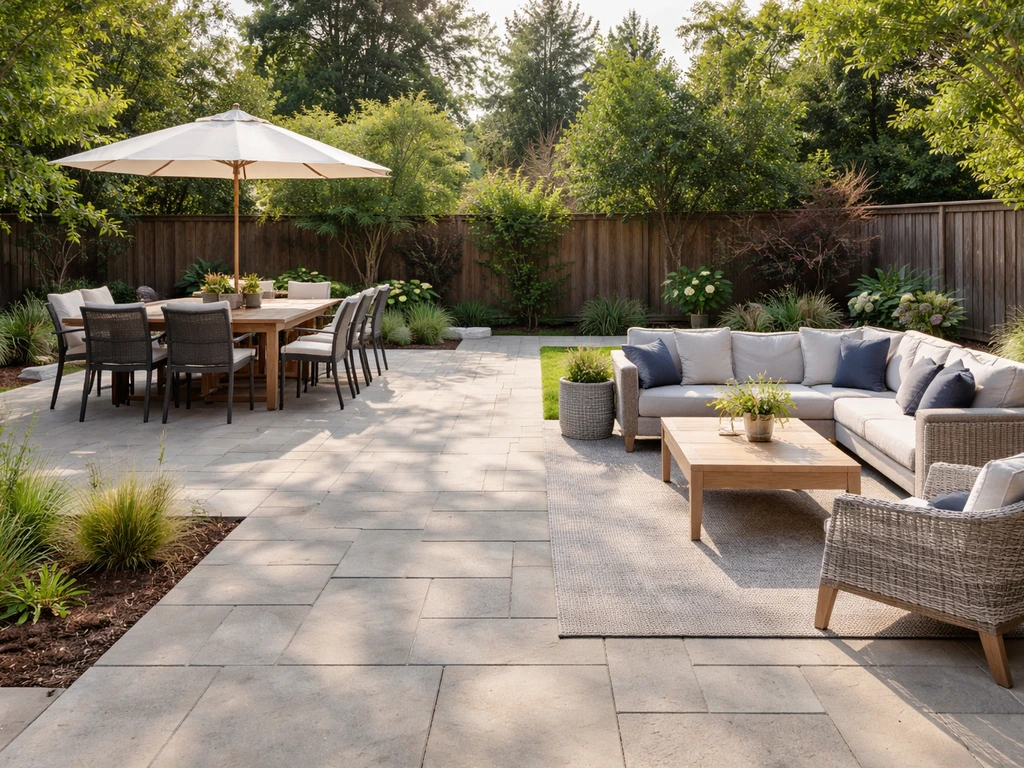
Backyard Patio Setup Ideas: Layout, Sizing, and Materials
Backyard patio setup ideas with layouts, sizing, traffic paths, and surface materials plus shade and hiring tips.
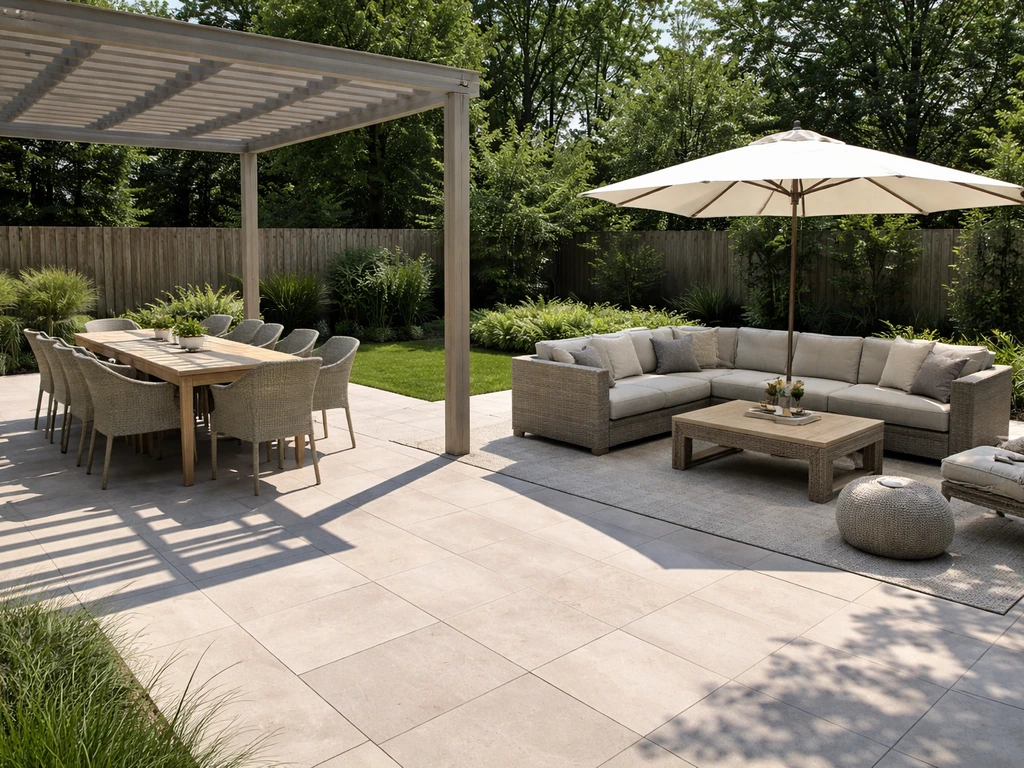
Good Patio Ideas: Layout, Materials, Shade, and Comfort Tips
Smart good patio ideas for layout, flooring, shade, and comfort upgrades with budget friendly tips and climate ready cho