A solid backyard patio setup starts with three decisions made in the right order: pick your layout and zones first, size everything so people can actually move around, then choose materials and comfort features that match your climate and budget. Get those three right and you'll avoid the most common mistakes, like a dining area that's too cramped to pull out chairs, pavers that crack after the first hard winter, or a pergola that turns into a wind sail. This guide walks you through every step with real numbers and specific recommendations so you can act on it today.
Backyard Patio Setup Ideas: Layout, Sizing, and Materials

Phoebe Foster
22 May 2026
Choosing a layout for your backyard patio
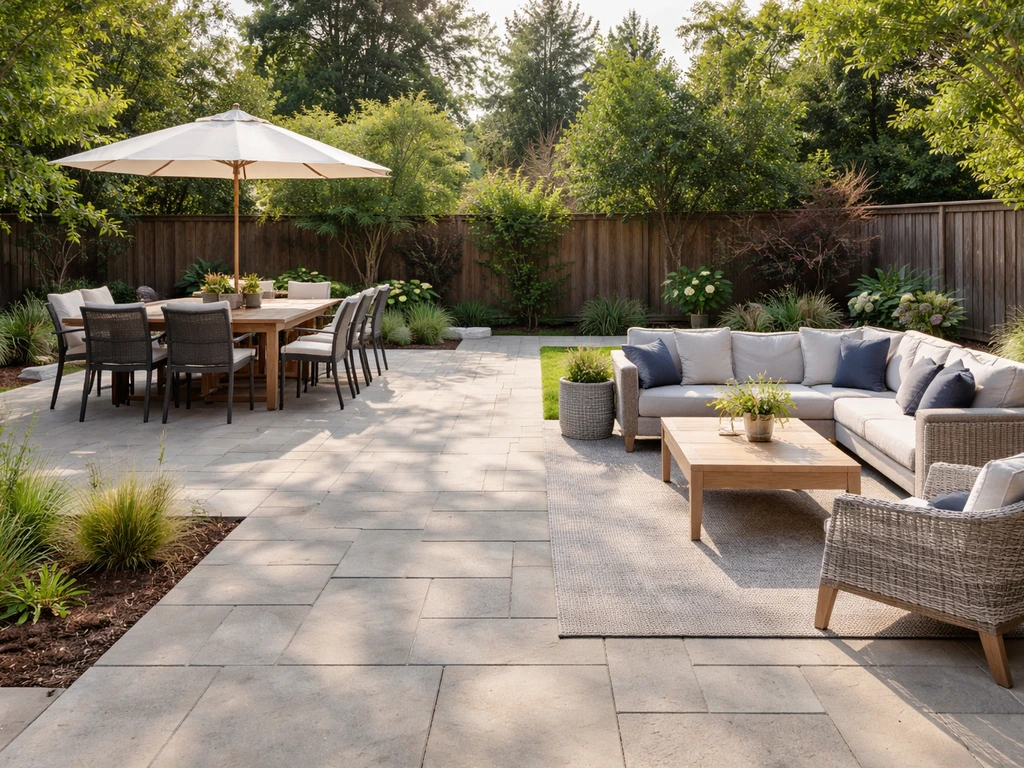
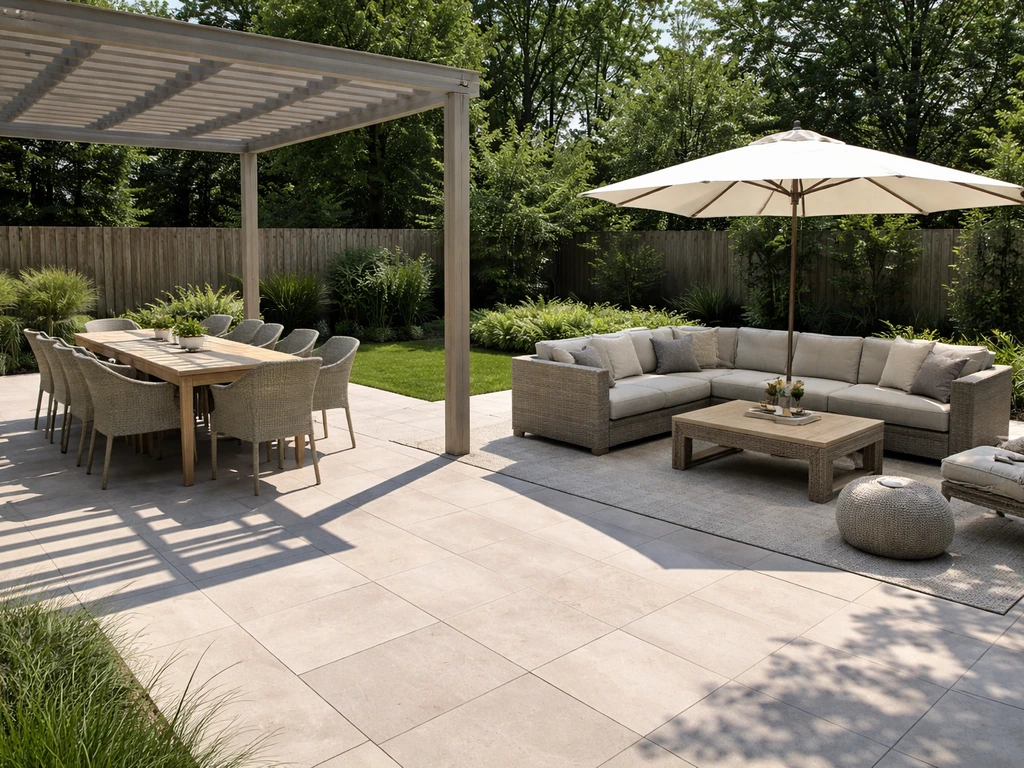
Before you pick a single paver or plant a single post, decide what your patio actually needs to do. Most backyard patios fall into four functional types: a lounge/conversation zone, a dining area, a cooking and grilling zone, or a fire pit gathering space. Many setups combine two or three of these into what's called a multi-zone layout. Which one you choose (or which combination you pick) determines everything downstream, from the square footage you need to the materials that make sense.
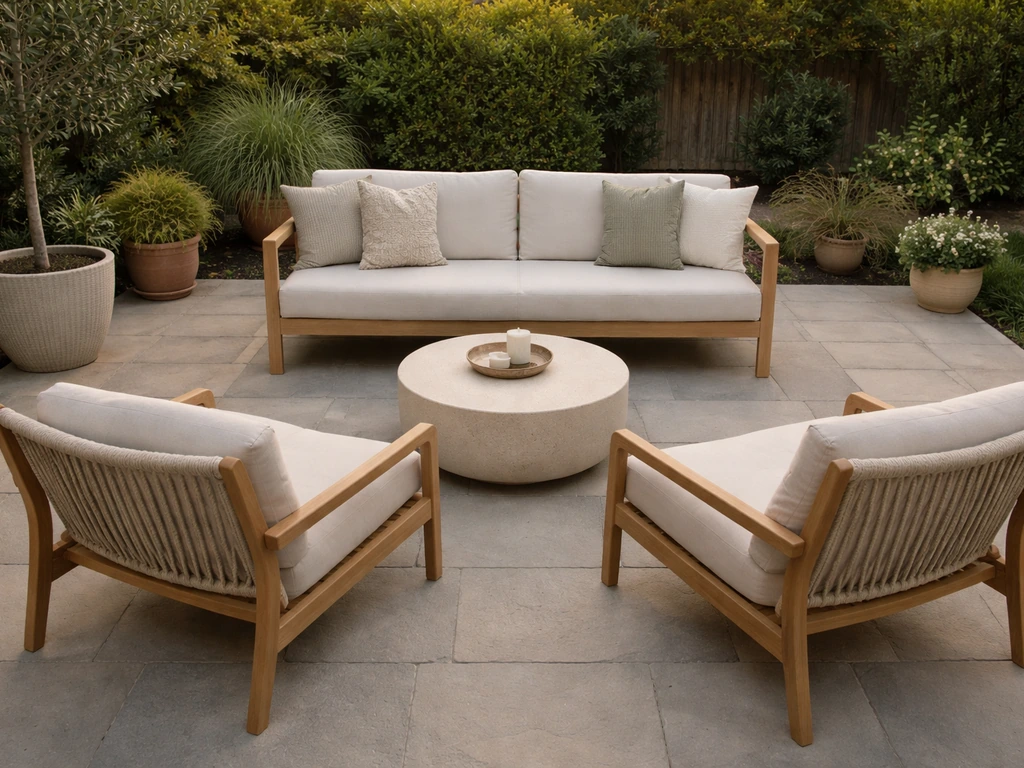
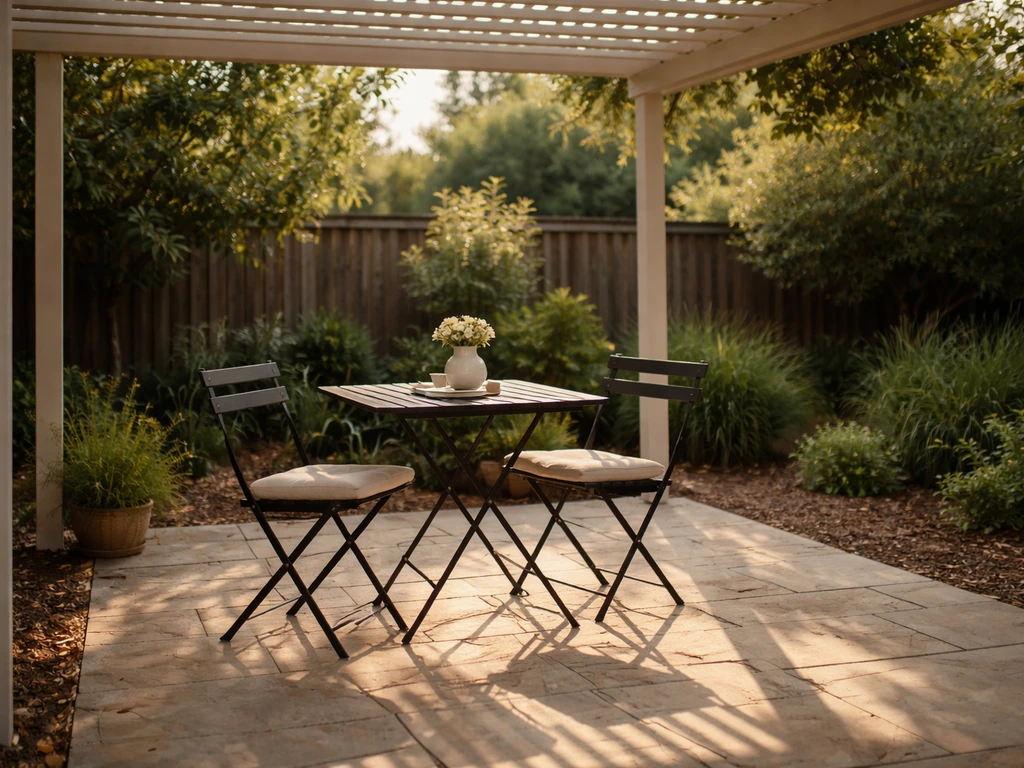
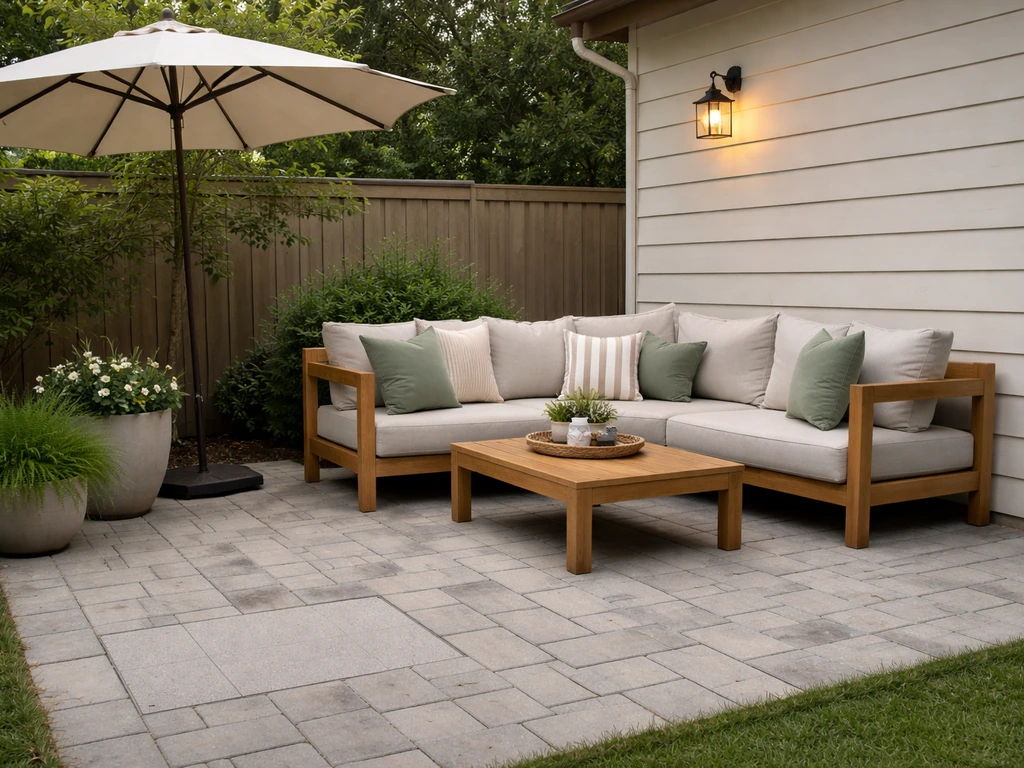
If your main goal is relaxing and entertaining, a lounge-forward layout with a sofa, chairs, and a low coffee table works best. If you eat outside often, center everything on a dining table with enough clearance for chairs and traffic. If grilling is a regular thing, treat the cooking zone as its own defined area with a hard, heat-resistant surface rather than squeezing a grill into the corner of a soft-surface deck. And if you want a fire pit, design that area deliberately rather than adding it as an afterthought, because the seating arrangement and clearances around it are non-negotiable for safety.
For a mixed-zone patio, a practical approach is to sketch three loose areas on paper before you measure anything outdoors: a primary activity zone (dining or lounge), a secondary zone (fire pit or secondary seating), and a transition or service zone (path to the grill, steps to the yard, or a small bar area). Keeping those zones visually and physically distinct, even with just a change in flooring material or a low planter border, makes a patio feel intentional instead of cluttered. There are plenty of good patio ideas that can spark your thinking before you commit to a specific layout direction.
Sizing, zones, and traffic flow
This is where most homeowners underestimate, and it's where patios either work well or feel frustrating every single time you use them. Let's talk real numbers.
Dining zone sizing
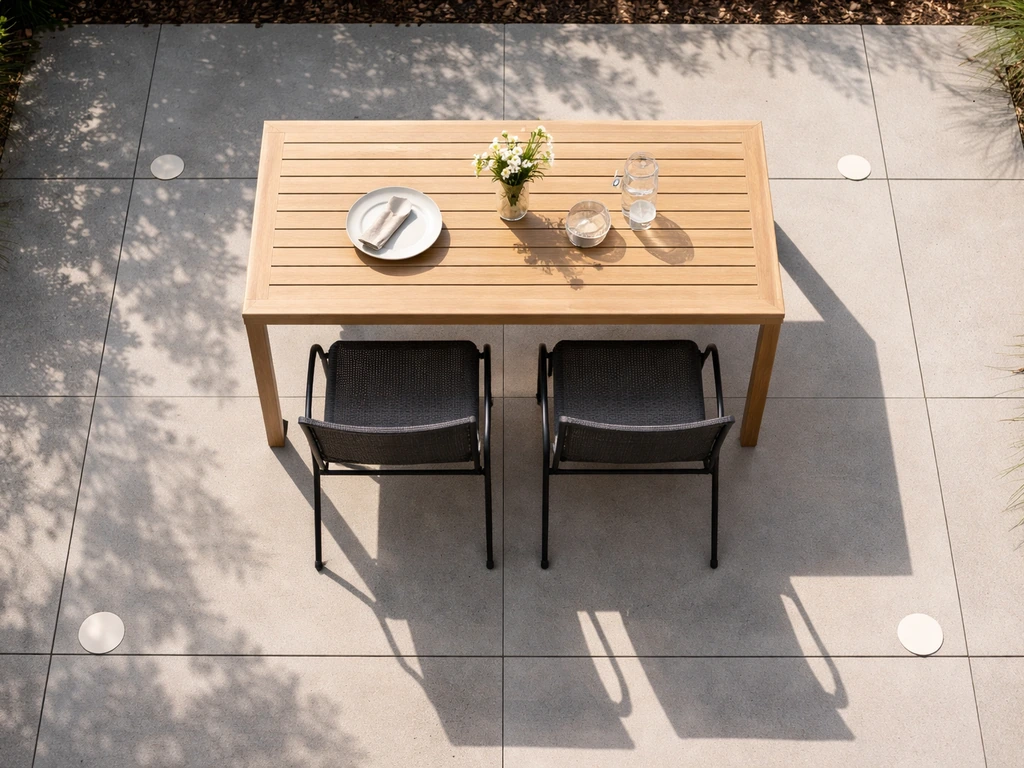
For an outdoor dining setup, the standard rule is 24 to 30 inches behind each chair for pushing it back, and a minimum of 36 inches on any side of the table that also serves as a walking path. For a simple round table with four seats, plan on 36 inches of clearance on all sides as a baseline. That means a 48-inch round table needs roughly a 10-foot diameter of usable patio space to feel comfortable. Go smaller and you're constantly bumping into people trying to get to the kitchen.
Fire pit zone sizing
Seating around a fire pit should sit roughly 18 to 24 inches from the fire pit edge, not pushed up against it. Budget about 24 inches of width per seat when you're spacing chairs or a curved bench around the pit. Also leave a circulation path behind the seating, not just in front of it, so guests aren't trapped in their chairs when someone wants to get up. And if you're placing a fire pit under any structure, check the specific appliance specs for overhead clearance before you build. Requirements can range from 84 inches up to 120 inches depending on the BTU output of the unit, so generic rules of thumb can get you in trouble.
Traffic paths and general flow
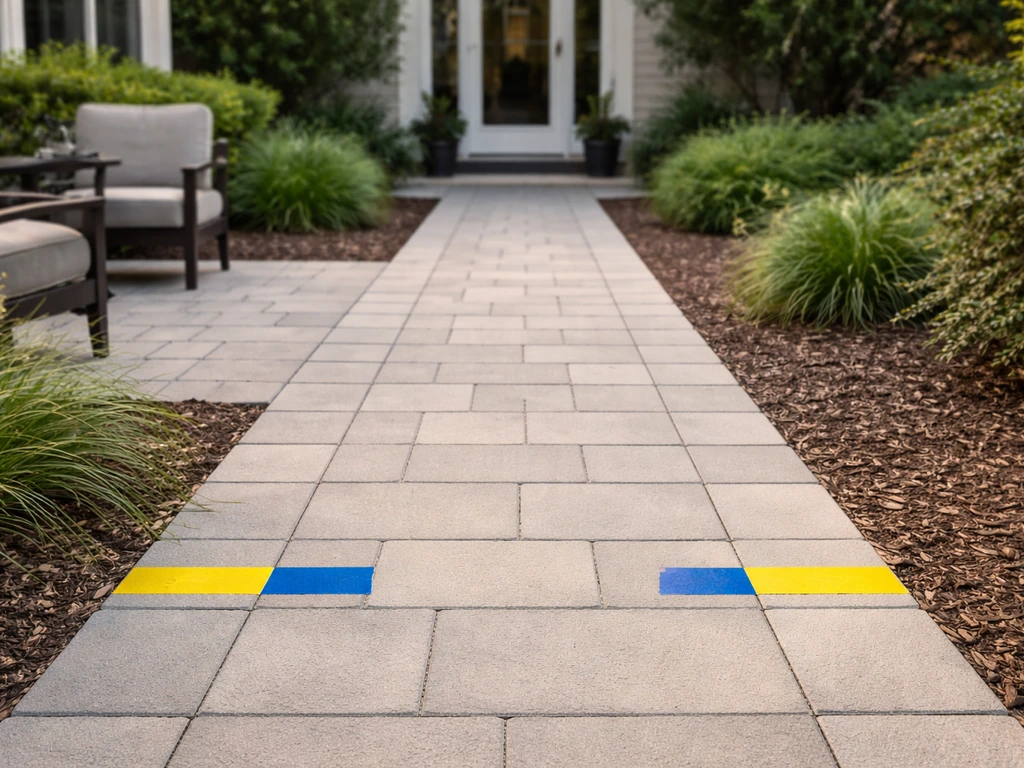
The minimum clear width for any path you expect two people to pass through comfortably is 36 inches. That's the same threshold used in accessible route design, and it translates directly to backyard patios. If you want the best backyard patio result, focus on creating clear zones and the right traffic flow so everything feels comfortable and functional backyard patios. If you're planning a path between a dining zone and a grill, or between the back door and a seating area, keep it at 36 inches minimum. Anything narrower starts to feel like a squeeze, especially with outdoor furniture that tends to get slid around over time.
Material selection for patio flooring and surfaces
Your flooring choice affects durability, drainage, maintenance, cost, and how the space looks. The right answer depends heavily on your climate and how much upkeep you're willing to do. Here's an honest comparison of the most common options.
| Material | Best climate fit | Durability | Drainage | Maintenance | DIY-friendly? |
|---|---|---|---|---|---|
| Concrete slab | Most climates; use air-entrained mix for freeze-thaw zones | High, but can crack over time; seal regularly | Poor without grading/drainage plan | Moderate; seal every 2–3 years | Yes, with prep |
| Concrete pavers | All climates; great for freeze-thaw if properly based | Very high; individual units can be replaced | Good if joints allow permeability | Low; re-sand joints periodically | Yes |
| Natural stone (flagstone, travertine) | Hot/dry climates best; can handle cold with right mortar | High if installed correctly | Good on sand-set; less so on mortar | Moderate; re-seal porous stone | Moderate difficulty |
| Composite/wood decking | Any climate; composite preferred in humid or wet areas | Moderate–high; composite outlasts wood | Good; gaps drain naturally | Low (composite); High (wood) | Yes |
| Gravel/crushed stone | Dry climates; good drainage anywhere | Low–moderate; shifts over time | Excellent | Moderate; re-level and top up annually | Very easy |
| Outdoor tile over concrete | Warm/moderate climates; risky in freeze-thaw zones | High if rated for exterior use | Needs proper slope | Low; clean regularly | Moderate difficulty |
If you're in a freeze-thaw climate like the Midwest or Northeast, concrete pavers are the most forgiving choice. They're installed over a 4 to 6 inch compacted aggregate base plus about 1 inch of bedding sand, which allows slight movement without cracking, and individual pavers can be lifted and replaced if something shifts. Concrete slabs work too, but you need an air-entrained mix and a controlled water-to-cement ratio to resist freeze-thaw scaling from de-icers, and once a slab cracks significantly, repair is more involved.
In hot, humid climates like the Gulf Coast or Southeast, concrete surfaces can develop mold, algae, and moisture-related surface wear faster than you'd expect. Plan for seasonal inspection and sealing, or consider a surface that's less prone to biological growth, like composite decking or certain natural stones. For outdoor tile over an existing concrete slab, make sure you're using exterior-rated, slip-resistant tile with the right adhesive system. Tile laid with interior products or over a cracked slab will fail quickly, especially once temperatures swing.
Gravel and crushed stone are the budget-friendly, DIY-friendly wildcards. They drain beautifully, they're easy to install, and they work great as secondary surfaces or fill-in areas around pavers. They're less ideal as a primary patio surface if you're setting furniture on them regularly, since chairs and table legs sink and shift. A common hybrid is using pavers for the main seating area and surrounding it with compacted gravel for a clean, permeable border.
Coverings and weather protection
Shade and weather protection are what turn a patio from a surface you built into a space you actually use. The options range from a simple shade sail to a full attached pergola, and the right choice depends on your budget, climate, and how permanent you want the installation to be.
Pergolas and shade structures
A freestanding or attached pergola is the most popular semi-permanent option and works well in almost every climate when built correctly. The appeal is that it creates an outdoor room feel without fully enclosing the space. You can add shade screens, a polycarbonate roof panel, or a retractable canopy to adjust how much sun and rain it blocks. If you're in a wind-prone area, the structure needs to be anchored properly, and posts typically need to go deeper than you'd think. For louvered pergola systems and adjustable-roof kits, follow the manufacturer's structural specs.
Retractable awnings
Retractable awnings attach to the house wall and extend outward, which makes them a strong option if you want coverage you can control. A single standard unit can cover roughly 20 by 20 feet (about 400 square feet), which is plenty for a mid-size dining or lounge area. They're best in moderate climates; very high-wind areas can stress the arms and fabric even when retracted, so check wind ratings before purchasing. They typically require professional installation since they attach to the structure of the house.
Shade sails
Shade sails are the most affordable freestanding option and they look great when installed well. The catch is that installation matters enormously. Posts need to go deep enough to handle wind loads, and for an 8-foot above-ground post, you're looking at burying roughly 2.7 to 3 feet below grade. Wind forces on a shade sail can be substantial in exposed yards, and a poorly anchored sail becomes a liability in storms. In high-wind areas, either engineer the mounting properly or plan to take the sail down seasonally.
Simple tarps and canopy tents
For renters, budget setups, or temporary coverage while you plan something permanent, a quality outdoor canopy tent or UV-blocking tarp strung between posts works better than most people expect. They're not long-term solutions, but they're inexpensive, easy to reconfigure, and give you a season or two to figure out exactly where you want permanent coverage before you commit to digging post holes.
Comfort upgrades: lighting, fans, misters, seating, and decor
Once you have a layout and some weather protection, the comfort upgrades are what make the space feel finished and actually usable through a wider range of conditions. These don't all need to happen at once, but it helps to plan for them from the start so you're not retrofitting electrical and plumbing later.
Outdoor lighting
String lights, recessed step lighting, and post-mounted fixtures are all popular, but the most important thing to get right is the UL rating. Damp-rated fixtures are fine for covered patios where rain doesn't make direct contact. Wet-rated fixtures are required for any location that gets direct rain exposure. Using the wrong rating is a safety issue, not just a product lifespan issue. For outlets, any outdoor receptacle needs GFCI protection per code, and you should use weather-resistant outlets rather than repurposing indoor hardware. An EC&M code Q&A explains that receptacles around dwelling outdoor spaces within required distances for typical sink and similar hazards must be GFCI protected any outdoor receptacle needs GFCI protection per code. If you're adding any new circuits or outlets, that's permitted electrical work in most jurisdictions.
Ceiling fans and misting systems
In hot climates like Texas or Arizona, outdoor ceiling fans and misting systems are genuinely game-changing, not just nice-to-haves. For a ceiling fan under a covered patio, you need at minimum a UL Damp-rated fan. If the fan will be exposed to direct rain, you need UL Wet-rated. Don't skip this: a standard indoor fan outdoors is a fire and warranty problem. For misting systems, overhead installation on your pergola or shade structure works best, with mist lines ideally mounted at 8 to 14 feet, with the sweet spot around 10 to 12 feet for even coverage without soaking people directly below. High-pressure systems create a finer mist that evaporates faster and feels more comfortable than low-pressure budget options.
Seating and decor
For seating, prioritize frames that match your climate: aluminum and teak hold up in humid environments, steel needs a powder coat or it rusts, and wicker needs to be resin-based (not natural) to survive outdoors year-round. Deep-seat cushions with outdoor fabric (look for solution-dyed acrylic like Sunbrella-type fabrics) stay cleaner and last significantly longer than standard polyester. For decor, a few well-placed planters, an outdoor rug that's actually rated for outdoor use, and consistent lighting will pull the space together more than trying to do too much. There's a lot of inspiration worth exploring when you're thinking about how to decorate a backyard patio once the functional decisions are made. If you want fresh inspiration, check out the best outdoor patio ideas that blend layout, materials, and comfort. If you want to make your patio look cohesive, learn how to decorate backyard patio spaces with the right layout, lighting, and finishing touches.
Budget vs. DIY plan and when to hire a contractor
This is where a lot of homeowners get paralyzed, so here's a straightforward way to think about it: there are things you can DIY to save real money, and there are things where hiring a professional protects you from much more expensive mistakes.
What's genuinely DIY-friendly
- Gravel or crushed stone patio surfaces: excavate, add landscape fabric, add 4 inches of compacted gravel base, top with decorative stone. Straightforward and forgiving.
- Sand-set paver patios on flat ground: requires time and some know-how, but YouTube and ICPI guidelines make this very achievable for most homeowners.
- String lights and plug-in outdoor fixtures: no electrical work required, just use outdoor-rated products.
- Freestanding pergola kits: most come with clear instructions and can be installed by two people over a weekend.
- Shade sails: DIY-installable, but take post depth and anchoring seriously.
- Furniture assembly and arrangement: always DIY.
When to hire a pro
- Any new electrical circuits or hard-wired outdoor lighting: requires a licensed electrician and permits in most areas.
- Poured concrete slabs: grading, forming, and finishing concrete correctly is harder than it looks and expensive to fix if done wrong.
- Attached pergolas and structures tied to the house: structural connections to the house framing need to be done correctly to avoid water intrusion and structural issues.
- Retractable awning installation: typically requires attachment to the home's structure and precise leveling.
- Drainage issues: if your yard slopes toward the house or you have standing water, get a landscaper or drainage contractor involved before you build anything.
What to ask a contractor before you hire
- Are you licensed and insured in this state, and will you pull the necessary permits?
- Can you provide references for similar patio projects (not just decks or landscaping in general)?
- What's included in the base price, and what triggers additional costs (grading, drainage, demo of existing surface)?
- What's the base thickness and material spec for the foundation or sub-base?
- What's the warranty on materials and workmanship, and how do you handle issues in the first year?
- Do you use subcontractors, and if so, who is responsible for their work?
A realistic budget framework
| Project scope | DIY cost range | Contractor cost range |
|---|---|---|
| Basic gravel patio (200–300 sq ft) | $200–$600 | $800–$2,000 |
| Sand-set paver patio (200–300 sq ft) | $600–$1,500 | $2,500–$6,000 |
| Poured concrete slab (200–300 sq ft) | $800–$1,800 (if skilled) | $3,000–$7,000 |
| Freestanding pergola (kit) | $500–$2,500 | $2,000–$6,000+ |
| Retractable awning | $1,000–$3,000 (unit only) | $2,500–$6,000 installed |
| Outdoor lighting (plug-in string) | $50–$300 | N/A |
| Hard-wired outdoor lighting | Not recommended DIY | $500–$2,000+ |
| Misting system (DIY kit) | $100–$500 | $800–$2,500 installed |
Your next steps checklist
- Measure your backyard and mark the footprint you're working with. Note where doors, gates, AC units, and utilities are.
- Decide on one to three primary zones (dining, lounge, fire pit, cooking) and sketch a rough layout on paper.
- Check your local climate patterns and select a flooring material that fits your freeze-thaw, humidity, and drainage reality.
- Decide on shade/cover type based on your budget and how permanent you want it. Get two to three quotes if hiring out.
- Plan electrical early. If you want ceiling fans, hard-wired lights, or outlets, mark those locations now and budget for a licensed electrician.
- Price out materials from two or three local suppliers, not just big-box stores. Local hardscape suppliers often have better quality pavers at competitive prices.
- Build in phases if budget is tight. A solid paver patio with simple string lights and good furniture is a better version one than a rushed full build with features that don't quite work.
- Get permits where required, especially for structures attached to the house and any electrical work.
FAQ
How do I choose the right patio size if I do not know how many people I usually host?
Start with a “minimum comfortable” zone: plan at least 36 inches of clearance around the primary table or seating cluster, then scale in 2 to 3 extra feet of usable space for walkways and furniture wiggle room. For example, if you expect 4 people most of the time, a 48-inch round table needs about a 10-foot overall usable diameter, but if you often add a grill or bar cart, add an extra 2 to 3 feet to one side so traffic does not spill into the dining zone.
What’s the most common backyard patio setup mistake when mixing dining and a fire pit?
Putting the fire pit too close to the dining traffic route. A practical approach is to keep the dining clearance rules intact first, then place the fire pit so its seating faces inward to the gathering area and circulation stays behind it (so guests can get up without crossing directly in front of diners).
Can I use one flooring material everywhere, or should I blend surfaces for a multi-zone patio?
Blending surfaces helps define zones without building walls. If you want one cohesive look, use the same primary material for the main activity area and change only a smaller border or transition strip (for example, pavers for the seating area with compacted gravel as a thin perimeter). This keeps the patio easier to maintain while still making movement feel intuitive.
Do I need to worry about furniture legs sinking on gravel or crushed stone areas?
Yes, if people will sit directly on or frequently roll chairs over gravel. Gravel works best as a secondary border or filler, not as the primary walking and seating surface where table legs and chair frames will shift. If you must use gravel, add a firm-edged ring where most furniture sits, such as pavers or a grid base under the heaviest pieces.
How do I plan safe spacing around a fire pit if my patio has a lot of doors or foot traffic?
Treat the fire pit like the center of a “no-cross” zone. Keep the seated area roughly 18 to 24 inches from the fire edge, and ensure the circulation path behind the seating leads to exits or the grill without forcing guests to pass between the fire and other people. If space is tight, reduce the seating radius and pick a smaller table or fewer chairs rather than compressing the walkway.
What electrical rating should I use on string lights or patio fixtures?
Match the fixture to exposure, not just the weather. Damp-rated fixtures are appropriate for locations that rarely get direct rain, but wet-rated fixtures are required where rainfall can hit directly or during storms (for example, under open pergola edges). For outlets, use GFCI protection and weather-resistant covers, and avoid using indoor receptacles or cords outdoors even temporarily.
Is a retractable awning worth it if my yard has strong winds?
It can be, but wind rating matters more than general coverage size. Even when retracted, strong winds can overload awning arms and fabric, so check the manufacturer’s wind performance specifications and plan for take-down or retraction discipline during storms. If your area regularly sees high gusts, a pergola with fixed roof panels or a smaller shade structure may be safer long-term.
How deep should I anchor shade sail posts or pergola posts?
Depth depends on the post height, wind exposure, and soil conditions, not just a single rule of thumb. As a starting point, the article’s example for an 8-foot above-grade post is about 2.7 to 3 feet below grade, but you should still verify post-hole sizing and anchoring method for your wind zone and local soil. In rocky or poor-draining soils, you may need deeper footings or different anchoring hardware to prevent wobble or tilting.
What should I do about drainage if my patio area already slopes toward the house?
Regrade or detail the drainage before you lay flooring. A common fix is creating a slight fall away from the house (and ensuring the base layer is properly compacted so water does not pool under pavers). If you are using a slab, confirm the water management plan so you do not trap moisture between the slab and any overlay or setting system.
Which patio materials should I avoid if I want the least maintenance?
Avoid setups that require frequent sealing or frequent biological cleanup if you do not want ongoing work. In humid climates, concrete surfaces can develop mold and algae faster, so consider options like certain natural stones or composite decking and plan for seasonal inspection and sealing. Also verify that any outdoor tile system uses exterior-rated components and is built over a stable, properly prepared substrate.
How do I decide what to DIY versus hire out for a backyard patio setup?
DIY is usually best for “surface-level” work like assembling furniture zones, adding planters, and installing permeable borders with gravel or simple leveling. Hire out or get professional help for structural and safety-critical steps, especially electrical wiring, attaching pergola elements to the house, and any work that affects drainage or involves major concrete/subgrade construction. If your plan includes new circuits or outlets, electrical permitting and code compliance are the safest reason to involve a licensed pro.
Next Articles
Good Patio Ideas: Layout, Materials, Shade, and Comfort Tips
Smart good patio ideas for layout, flooring, shade, and comfort upgrades with budget friendly tips and climate ready cho

Do It Yourself Outdoor Patio Ideas: Build, Upgrade, Maintain
DIY outdoor patio ideas for planning, building, upgrading, and maintaining floors, shade, privacy, lighting, and decor.
Quick Fix Patio Ideas for Instant Comfort and Style
Quick fix patio ideas for fast comfort and style: cleanups, repairs, shade, flooring tweaks, and safe upgrades on any bu