The best patio ideas start with two questions: how do you actually want to use the space, and what does your local climate demand? Once you nail those two things, every other decision, from the surface material underfoot to the shade structure overhead, becomes a lot easier to make. This guide walks you through each layer in order, so you're not buying furniture before you've figured out your floor or adding lights before you've sorted shade.
Good Patio Ideas: Layout, Materials, Shade, and Comfort Tips

Phoebe Foster
3 May 2026
Start with your goals and the style you actually want
Before you browse a single photo or price a single paver, spend ten minutes being honest about how you'll use the patio. Is this primarily for outdoor dining with family? Evening drinks and conversation? A spot for the kids to play while you watch from a lounge chair? Or a full backyard entertaining setup with a grill station and room for a crowd? Each use case drives a completely different layout and material choice, so skipping this step is why a lot of patios end up feeling awkward or underused.
Style matters too, but it's easier to land on than people think. Walk through your house and notice what you already like: the finishes, the furniture shapes, whether you lean toward warm tones or cool ones. Your patio should feel like a continuation of your interior, not a separate world. Common styles that work well outdoors include modern minimalist (concrete, clean lines, neutral tones), Mediterranean or Spanish (terracotta pavers, wrought iron, lush plants), coastal relaxed (weathered wood tones, rope furniture, whites and blues), and rustic farmhouse (natural stone, lanterns, wooden benches). Pick one as your anchor and let it guide your material and decor decisions from there.
Budget is part of this first conversation too. A realistic range for a basic DIY patio refresh (new surface, a rug, some lighting) is $500 to $2,000. A mid-range built patio with pavers, a pergola, and basic furniture runs $5,000 to $15,000. A fully designed outdoor living space with a cover structure, built-in lighting, and high-end furniture can easily hit $20,000 to $40,000 or more. Knowing your range up front helps you decide what to DIY, what to phase in later, and what to prioritize now.
Layout and zoning: plan how the space will actually work
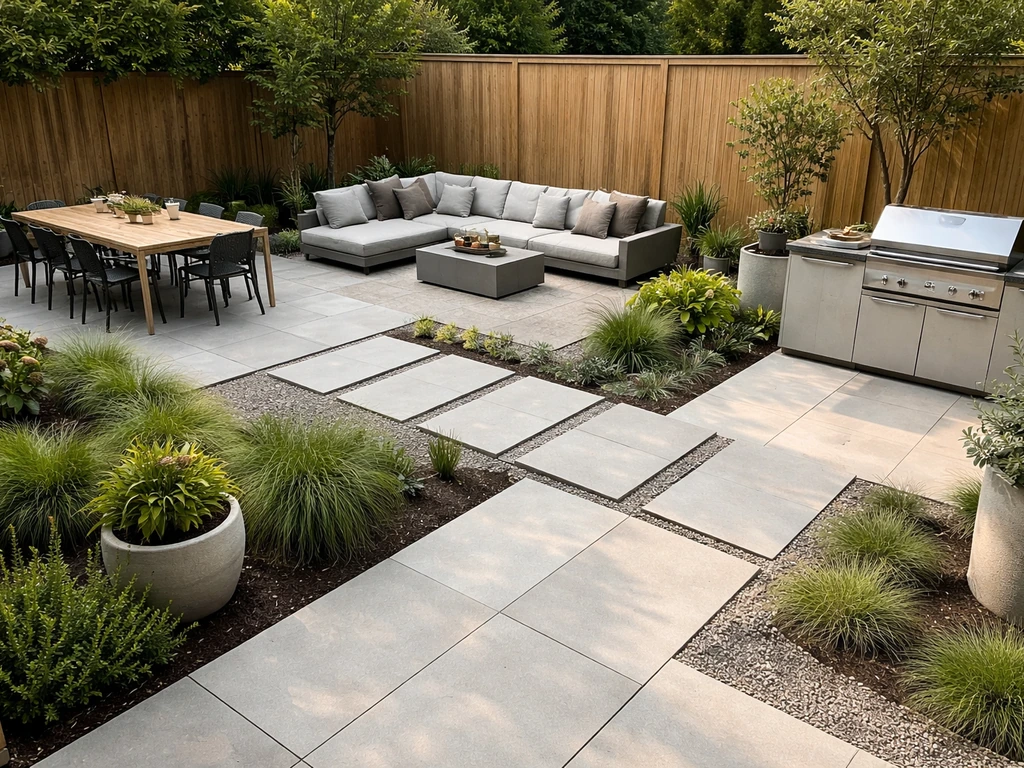
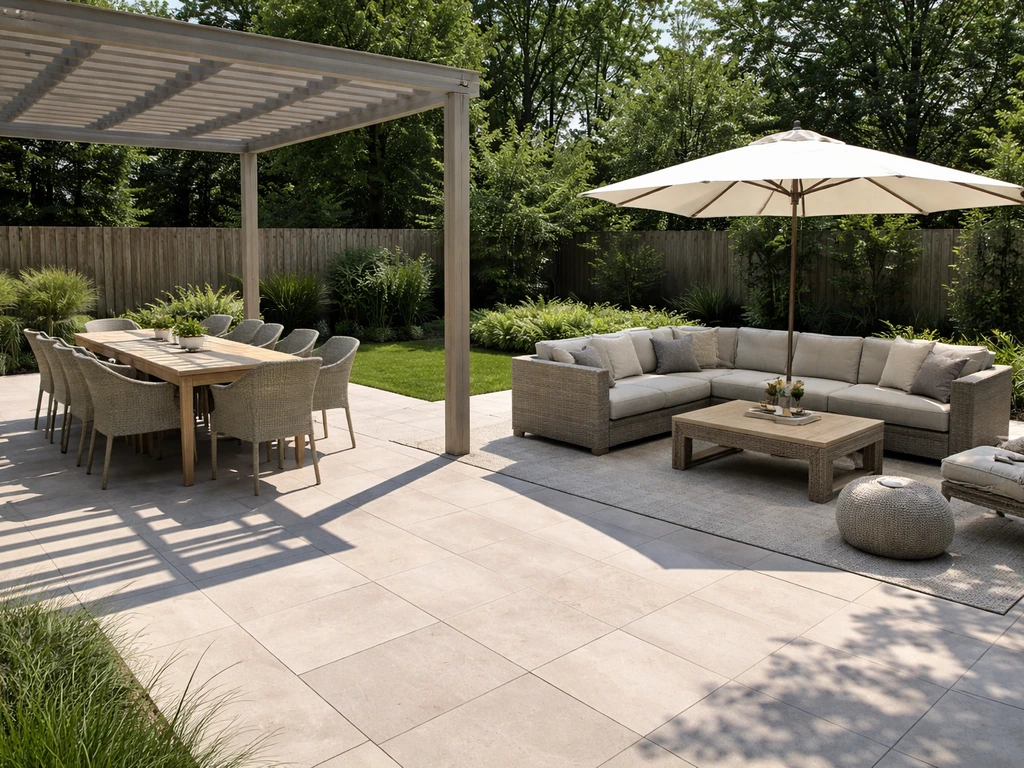
A patio that functions well is almost always a zoned patio. That means deliberately separating the dining area from the lounge area from the grill area, even if the total space is small. Zones create flow and stop the space from feeling like furniture was just dropped wherever it fit.
For dining zones, the single most practical rule is to allow at least 36 inches of clear space around the perimeter of your table so chairs can pull out and people can walk past without squeezing. A good target is 36 to 48 inches on all sides. If you're planning a larger table that seats eight or more, you'll want even more breathing room and a rug sized at 9x12 feet or 10x14 feet so chair legs stay on the rug even when scooted back. For smaller tables seating four to six, an 8x10 rug typically works well.
Lounge zones work best slightly separated from dining, even if just by a change in rug or a low planter as a divider. Position lounge seating to face a focal point, whether that's a fire pit, a garden view, or a TV mounted under a covered area. If you're adding a grill or outdoor kitchen, keep it on the edge of the patio with a clear path from the house, not wedged into a corner where someone has to carry hot food through a crowd.
One thing worth planning early: traffic flow. You want a clear path from the house door to the main seating without having to walk around furniture. For reference, a comfortable pedestrian path is at least 36 inches wide, and 48 to 60 inches if you expect multiple people moving through at the same time. Sketch this out roughly before you buy anything, and you'll avoid the common mistake of buying a table that's too large for the space once chairs are added.
Flooring and surface options: what to put underfoot
The surface is the foundation of every other decision, and it has the biggest long-term impact on how the patio looks and how much maintenance you'll deal with. Here's a practical look at the five most common options.
| Material | Durability | Maintenance | Cost (installed) | Best for |
|---|---|---|---|---|
| Concrete | Very high | Low (seal every 2-3 years) | $6–$15/sq ft | Clean, modern looks; budget-friendly base |
| Porcelain pavers | Extremely high | Very low | $15–$30/sq ft | High-end look, frost and stain resistance |
| Concrete pavers | High | Low to moderate | $10–$20/sq ft | Flexible patterns, easy repairs, timeless look |
| Natural stone | High | Moderate (sealing needed) | $20–$40/sq ft | Rustic, Mediterranean, or high-end styles |
| Gravel/decomposed granite | Moderate | Low (raking, edging) | $2–$6/sq ft | Budget patios, cottage gardens, large areas |
| Composite/wood decking | Moderate to high | Low to moderate | $15–$35/sq ft | Elevated decks, warm aesthetic, coastal styles |
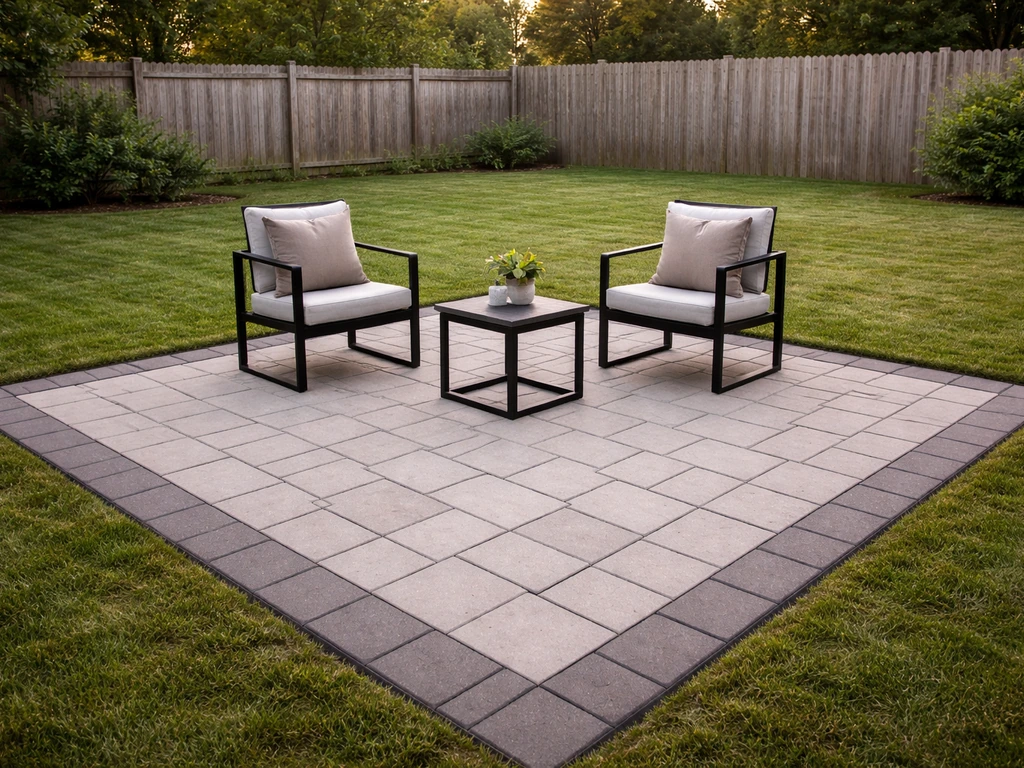
If budget is a top concern, poured concrete is the most cost-effective hard surface and can be stamped or stained to look significantly more expensive. If you're in a freeze-thaw climate like the Midwest or Northeast, porcelain pavers are worth the premium because they're virtually immune to cracking from frost cycles. In hot, sunny climates like Texas or Arizona, lighter-colored materials like light gray concrete pavers or travertine stay cooler underfoot than dark stone or asphalt-adjacent materials.
Gravel and decomposed granite are genuinely good options for large areas or budget-first projects. They drain perfectly, cost a fraction of hard surfaces, and look great in the right style (cottage, rustic, xeriscaped). The trade-off is that furniture legs can sink in, so you'll want pavers or stepping stones under heavy pieces.
Coverings and shade: blocking sun and rain without ruining the look
Shade is the upgrade that makes a patio actually usable in summer, especially in warmer climates. The structure you choose depends on how permanent you want it to be, how much you want to spend, and whether you need rain protection or just sun coverage.
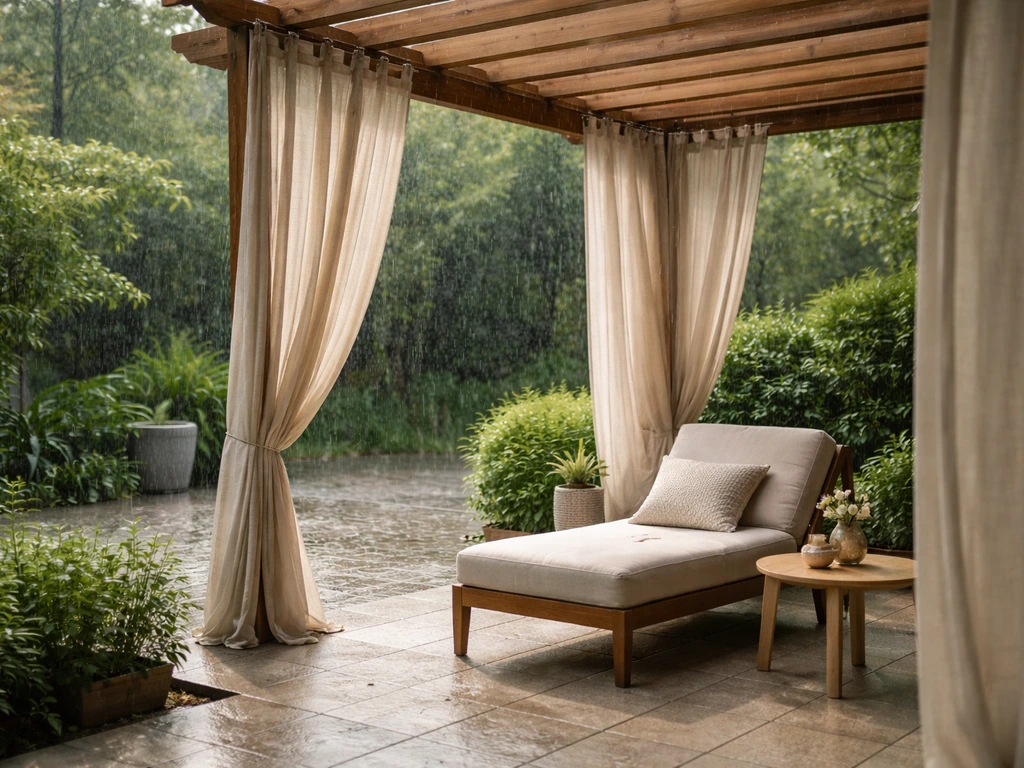
Pergolas
A pergola is the most popular mid-range option because it adds architectural presence without requiring a full roof structure. Traditional wood pergolas start around $2,500 to $5,000 for a DIY kit and can go well above $15,000 for a custom-built version with a louvered roof. Aluminum louvered pergolas (like those from brands such as Renson or StruXure) let you adjust the roof panels for full sun, partial shade, or rain coverage, which is genuinely useful and worth the extra cost if you live somewhere with unpredictable weather. A basic lattice-top pergola gives aesthetic shade but won't keep you dry.
Retractable awnings
Awnings are ideal when you want shade that disappears when you don't need it. Motorized retractable awnings from brands like Sunsetter or Somfy range from $1,500 to $4,000 installed and can cover a 12 to 20 foot span. They work well attached to the house above a sliding door or large window, and they protect against both sun and light rain. The limitation is wind: most retractable awnings should be retracted in winds above 20 to 25 mph, which matters if you're in a gusty area.
Shade sails and umbrellas
For a budget-friendly and flexible solution, shade sails (starting around $50 to $200) and large cantilever umbrellas ($150 to $600) are hard to beat. A 11-foot cantilever umbrella positioned over a dining table gives solid coverage and can be angled as the sun moves. Shade sails work beautifully in modern or coastal setups and can be layered for coverage of larger areas. Neither option is great in heavy rain, but for pure sun protection in dry climates, they're excellent.
Outdoor comfort upgrades that make your patio usable year-round
Getting the structure and surface right means you have a nice patio. Adding the right comfort upgrades means you'll actually want to be out there. The right choices depend heavily on your climate.
Fans and misters for hot climates
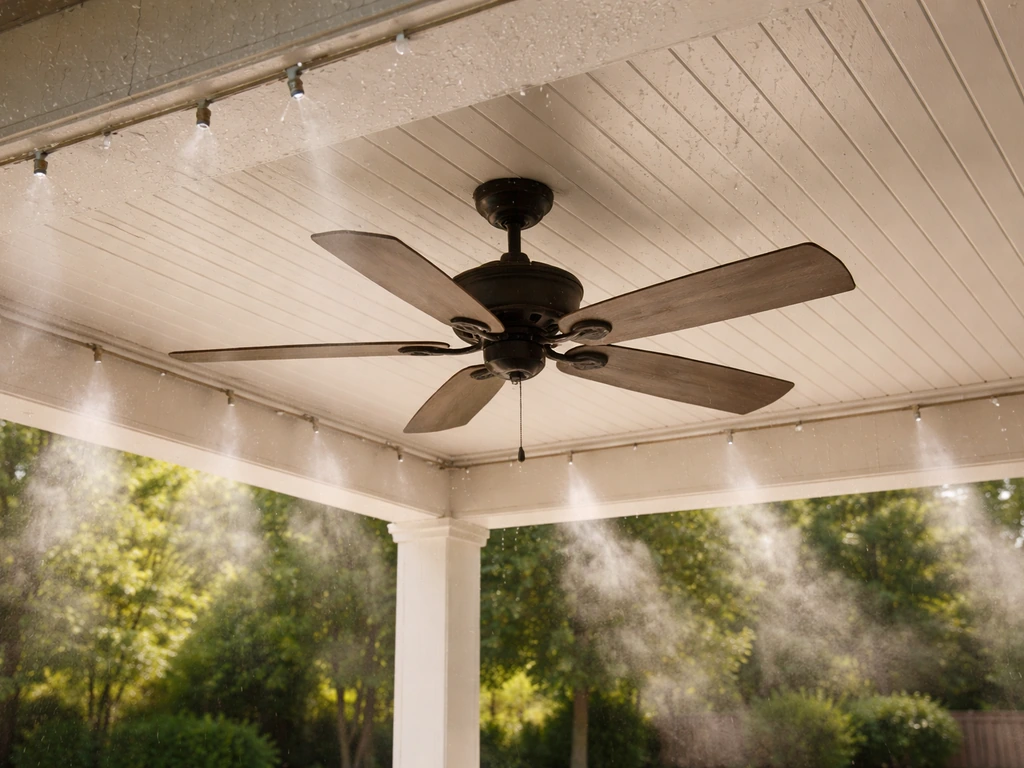
If you're in the South or Southwest, an outdoor ceiling fan under a covered patio is close to non-negotiable. Look for fans rated for wet or damp locations (the label matters for longevity) in the 52 to 60 inch blade span range for a 12 to 16 foot covered area. Brands like Hunter and Minka Aire make solid outdoor-rated fans starting around $100 to $200. Misting systems are a step further and can drop perceived temperatures by 10 to 20 degrees Fahrenheit in dry heat. A basic DIY misting kit runs $30 to $80 and attaches to a standard garden hose; more permanent pressurized systems run $300 to $1,500 installed.
Heaters for shoulder seasons and cold climates
Patio heaters extend your outdoor season by weeks or months depending on where you live. Freestanding propane tower heaters are the most flexible option ($80 to $300), while wall-mounted or ceiling-mounted infrared heaters are more efficient and permanent. For any mounted heater, clearance to combustible materials is a critical safety requirement: most manufacturers, including Sunpak, specify minimum clearances on all sides, and the heater itself should be mounted at least 7 feet from the floor. Read your specific heater's installation instructions for exact clearances before mounting.
Lighting
Lighting is the most underrated comfort upgrade because it determines whether you use the patio after dark, which for most people is actually the most pleasant time to be outside. String lights (café lights) strung overhead are the easiest and most affordable upgrade, typically $30 to $80 for a 48-foot strand. Layer in pathway lighting for safety and uplights for trees or architectural features if you want a more polished look. Smart bulbs and low-voltage LED systems let you control zones and color temperature, which is worth it if you use the space often.
Fire pits
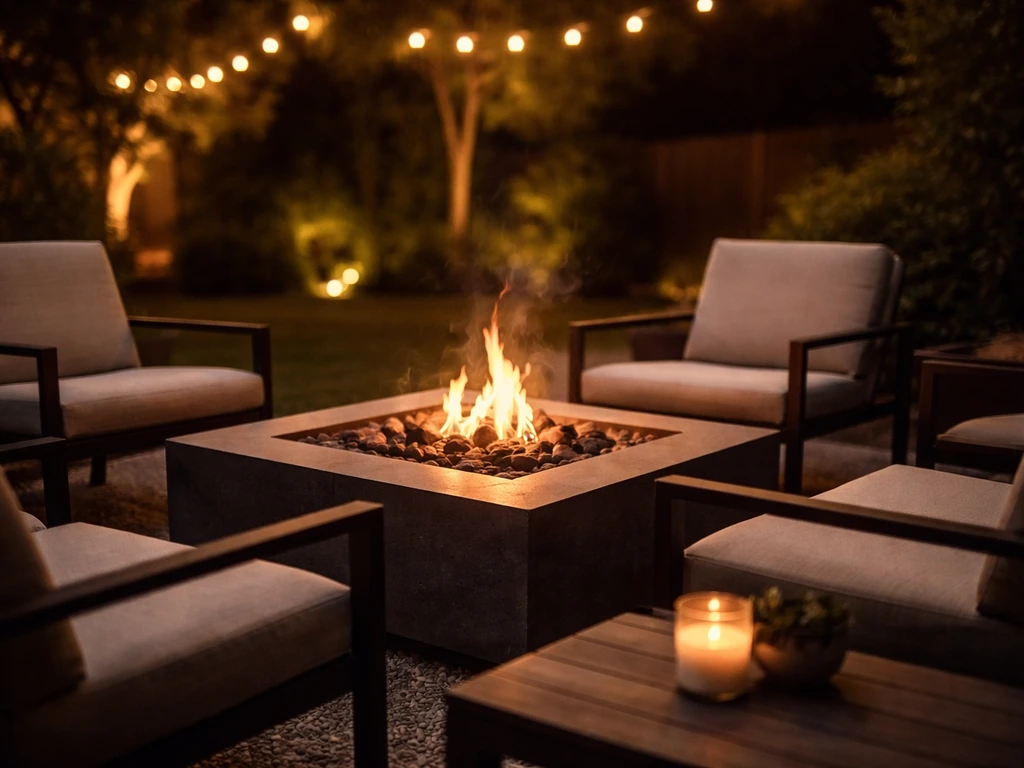
A fire pit is both a comfort feature and a focal point, which makes it one of the best investments for a lounge zone. Gas fire pits are cleaner and easier but cost more ($300 to $1,500 for a good portable or built-in option). Wood-burning fire pits are more affordable ($50 to $400) but require more safety discipline. Local fire regulations can also set limits on outdoor fire features, including a blank" rel="noopener noreferrer">maximum fire pit diameter of 3 feet. blank" rel="noopener noreferrer">Keep wood-burning fire pits at least 15 feet from the house, fences, covered patio structures, overhanging branches, and any other combustible structures. Most guidelines also recommend keeping fire pit diameter at 3 feet or less for a standard residential backyard.
Decor and finishing touches that make it look done
The difference between a patio that looks finished and one that looks like furniture was dumped outside usually comes down to a few small decisions. Here's what actually makes the difference.
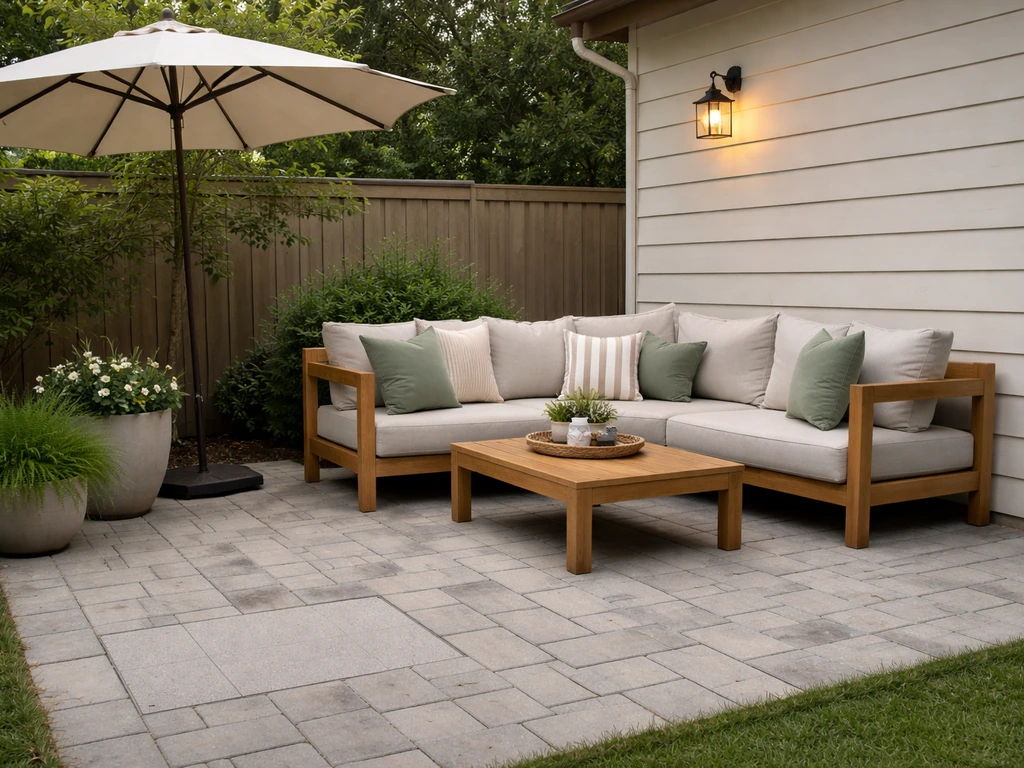
- Anchor each zone with an outdoor rug. Even a modest rug pulls furniture together and makes the space feel intentional. For dining areas, size up: a 9x12 or larger rug keeps chair legs on the rug when pushed back. For lounge areas, an 8x10 works well for a standard sofa-and-chairs arrangement.
- Use consistent materials across your furniture and decor. You don't need matching sets, but repeating one or two materials, such as teak, black metal, or wicker weave, creates visual cohesion.
- Add at least one large planter or a cluster of three. Plants are the single fastest way to make an outdoor space feel alive and finished rather than staged.
- Layer your lighting: overhead string lights for ambiance, a table lantern or two for warmth, and pathway lighting for safety. All three together make the space usable and attractive after dark.
- Include a side table or surface near every seat. This sounds small, but having nowhere to put a drink is genuinely annoying and makes a space feel incomplete.
- Add outdoor throw pillows in a pattern or texture that ties into your style anchor. Weather-resistant fabrics like Sunbrella hold color and resist mildew for several years, which makes them worth the extra cost over basic polyester covers.
- If you have a fence or wall bordering the patio, do something with it. A coat of exterior paint, a simple trellis, or a few wall-mounted planters immediately elevates how finished the whole space looks.
One more thing: edit ruthlessly. Patios that feel crowded or cluttered usually have too much furniture or too many decorative objects. Leave open floor space, keep pathways clear, and resist filling every corner. The spaces that photograph well and feel great to sit in are almost always the ones that held back a little.
What to decide first
If you're starting from scratch or doing a major refresh, work through decisions in this order to avoid expensive backtracking. Surface and layout come first because everything else is built around them. Shade structure comes second because it may affect where posts go and what electrical runs are needed. Comfort upgrades like fans, heaters, and misters come third because they often require electrical work that's easiest to do before furniture is in place. Decor and finishing touches come last, once the bones are set and you can see the actual proportions and light in the space. With the layout and comfort upgrades in place, focus on decor and finishing touches to help your backyard patio feel cohesive and inviting.
- Define your goals and budget (even roughly)
- Sketch a layout with zones and traffic paths, measuring your actual space
- Choose your surface material based on climate, style, and budget
- Select your shade or cover structure
- Plan and install comfort upgrades (fan, heater, mister, lighting, fire pit)
- Furnish each zone starting with the anchor piece (dining table or sofa)
- Add rugs, plants, lighting layers, and decor to finish the space
A good patio doesn't require a massive budget or a professional designer. It requires making decisions in the right order and being deliberate about how you actually want to use the space. Whether you're starting with a bare concrete slab or redesigning an existing setup, the same principles apply: zone it well, protect it from your climate, and finish it with enough detail that it feels like a room, not an afterthought.
If you plan your layout and comfort upgrades around how you'll live outside, you’ll quickly end up with practical things to do on a patio that actually fit your routine. Choosing the best backyard patio for your home also means tailoring materials, shade, and layout to your everyday routine. A smart backyard patio setup also accounts for traffic flow, comfort upgrades, and the right shade so the space works from morning to night.
FAQ
How do I plan traffic flow if my patio is small or irregularly shaped?
Aim for a patio that takes you from indoor entry to your main seating with one obvious route, and avoid forcing people to cross between table and lounge. A common fix is to keep furniture pulled off edges just enough to preserve a continuous walkway (roughly 36 inches minimum), then use rugs and lighting to define zones instead of narrowing paths.
What’s the best way to size a dining area if I do not have room for chairs to pull out?
If you cannot maintain clearances around the dining table, reduce the table size or switch to a bench, because the 36 to 48 inches rule assumes chairs can fully pull out. Also consider a round or slightly smaller rectangular table, since it typically needs less “chair swing” space than a long, fixed-width rectangle.
Can I create a weatherproof patio if I only have partial cover?
Yes, but you need to treat it like waterproofing, not decoration. Outdoor upholstery and cushions should be rated for wet or covered exposure, use sealed outdoor fabrics, and add breathable storage for off-season. For surfaces, confirm joints and underlayment are appropriate for your climate to prevent trapped moisture that leads to algae or cracking.
What lighting setup actually makes a patio usable at night, not just pretty?
Choose lighting for tasks, not just ambiance. Start with path lighting for safe steps and entrances, then add a small set of overhead or wall-wash lights near the dining and lounge zones, so you avoid harsh shadows. If you use string lights, keep them at a consistent height above walkways, then add a separate dimmer or smart control for each zone.
How do I choose an outdoor ceiling fan without getting the wrong size or rating?
Look for a label that specifies the fan is for damp or wet locations, and match blade size to your covered area width. If the ceiling is low, prioritize a fan with a shorter downrod and sufficient clearance to avoid bumping, and balance the fan with airflow needs, for example higher ceilings may benefit from a larger blade span or multiple fans in big spaces.
Can I use gravel or decomposed granite and still have stable seating and rugs?
For gravel or decomposed granite, stabilize the “foot traffic zones” under heavy furniture with pavers or stepping stones, then lay a base layer that supports drainage. That prevents chair legs from sinking and helps rugs sit flat. If you want a rug, use an outdoor rug pad designed for those surfaces to reduce shifting.
How do I plan shade placement so it works through different seasons and wind patterns?
If you have trees or a roof overhang, do not mount shade sails or umbrellas in spots that will be blocked seasonally. For umbrellas, confirm the center post will still clear your seating when angled, and for shade sails, check tensioning points so they can handle wind direction. In coastal or gusty areas, consider designs that allow controlled airflow rather than fully enclosed shade.
What are common mistakes when adding a patio heater or fire feature?
Yes, but it is easy to create a “hot spot” or a cold edge if you do not coordinate heat source and seating layout. Keep a consistent seating radius around the heater or fire feature, then set wind breaks or positioning so you are not heating the direction of prevailing wind. If you mount infrared heaters, verify clearances to combustibles and avoid placing them where people will touch or where heat will hit nearby umbrellas.
How can I budget for lighting without ending up with dim or patchy areas?
For string lights, aim for enough coverage so every seating area has light, then reinforce with pathway and accent lighting, especially along steps and gate entries. If you want smart control, consider using low-voltage LED landscape lighting systems for consistent brightness rather than relying only on décor bulbs.
How do I keep a patio from looking like it has too many different styles?
Start by deciding which zone gets the “anchor” material, then repeat it once or twice elsewhere to look intentional. A quick method is to match the metal tone on furniture accessories (for example black or bronze) to the finish used in lighting fixtures, then choose one or two accent colors that show up in cushions or planters, keeping the rest neutral to avoid visual crowding.
Next Articles

Do It Yourself Outdoor Patio Ideas: Build, Upgrade, Maintain
DIY outdoor patio ideas for planning, building, upgrading, and maintaining floors, shade, privacy, lighting, and decor.
Quick Fix Patio Ideas for Instant Comfort and Style
Quick fix patio ideas for fast comfort and style: cleanups, repairs, shade, flooring tweaks, and safe upgrades on any bu
Cheap Do It Yourself Patio Ideas: Budget Build Guide
Budget DIY patio ideas with step-by-step flooring, prep tips, cost ranges, upgrades, and safety mistakes to avoid.