
A backyard patio needs six things to actually work: a solid, properly drained surface; a defined layout with room to move; weather protection (shade at minimum); seating scaled to how you use the space; outdoor-rated lighting and at least one GFCI-protected outlet; and a plan for what goes between your patio and the house so water never pools at the foundation. Everything else, the fire pit, the pergola, the built-in grill, is an upgrade you layer in once those fundamentals are right. This guide walks you through each one in order, from measuring your yard to comparing materials to knowing when to pull a permit. For a quick summary of what every patio needs, see the essentials checklist.
Backyard Patio Must Haves: Complete Checklist & Design Guide

Phoebe Foster
10 Aug 2026
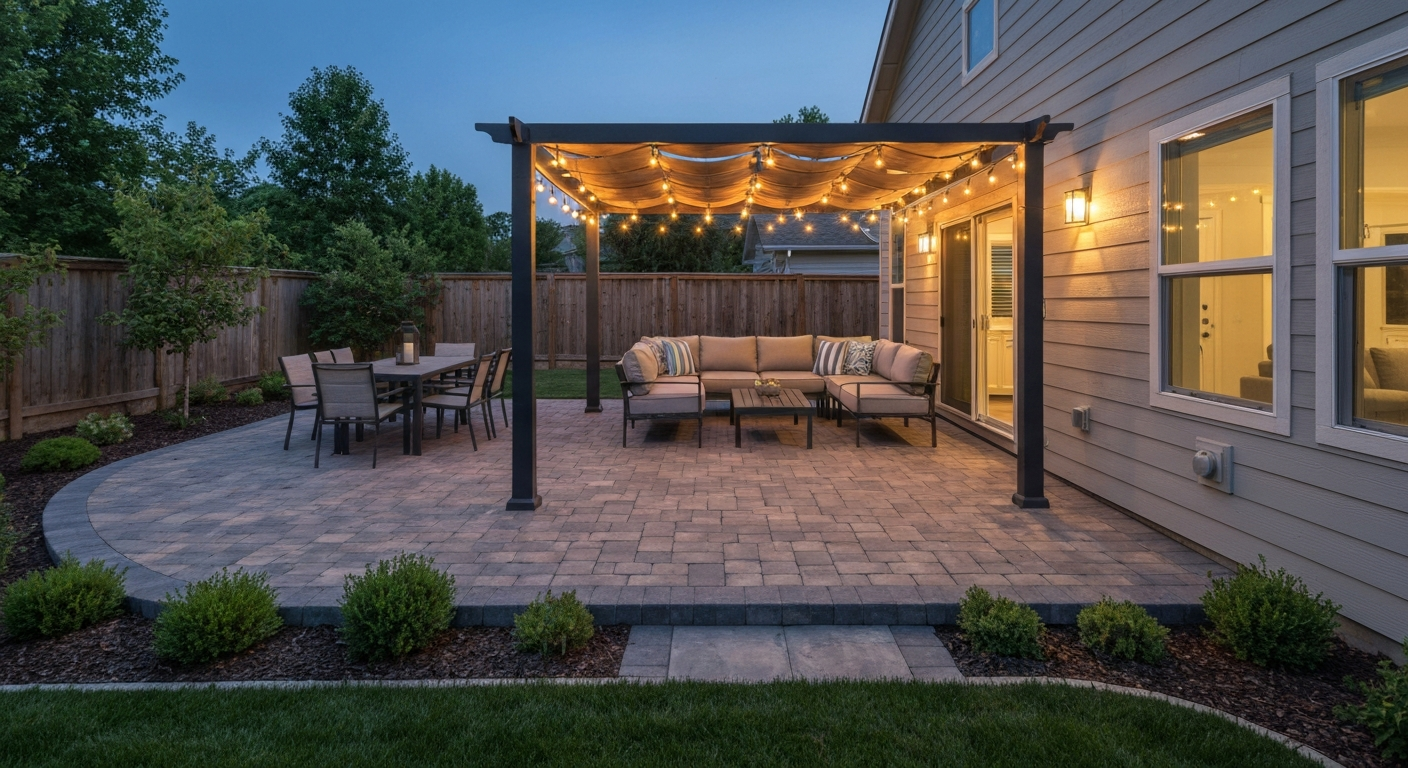
How to use this guide
Think of this as a build sequence, not a wish list. The sections follow the order you actually make decisions: priorities and budget first, then layout, then site work, then materials, then finishes, then power and lighting. If you skip the first two steps and jump straight to Pinterest-style inspiration, you end up with a beautiful patio that floods every time it rains or costs twice your original budget. Each section also flags where a licensed contractor or permit is genuinely necessary versus where confident DIYers can save real money. For readers focused specifically on pool-adjacent patios, the slip-resistance and drainage sections are especially relevant, and the pool patio must haves topic expands on those specifics in more detail.
Set your priorities before you shop for anything
Before you pick a single paver or look at pergola prices, answer four questions honestly: How will you use it (dining, lounging, cooking, entertaining large groups, kids' play)? How many people need to sit comfortably at one time? What style fits your house and yard? And what is your realistic all-in budget including labor, permits, and a 15% contingency? These answers drive every other decision. A quiet morning coffee space for two people needs maybe 100 square feet and a ceiling fan. A backyard entertaining hub for 20 guests needs 400-plus square feet, serious lighting, a covered zone, and probably a dedicated circuit. Getting this wrong is the most expensive mistake I see homeowners make.
On budget, here are realistic all-in ranges (materials plus professional installation) for 2025-2026 in most U.S. markets. DIY labor can cut these by 30-50% on simpler surfaces.
| Budget Tier | Approx. Cost (200 sq ft) | What You Get |
|---|---|---|
| Entry / DIY | $1,500 – $4,000 | Gravel or basic concrete slab, simple furniture, string lights, one outlet |
| Mid-range | $5,000 – $12,000 | Concrete pavers or stamped concrete, basic cover (umbrella or sail shade), ambient lighting |
| Upper-mid | $12,000 – $25,000 | Natural stone or premium pavers, pergola or retractable awning, built-in lighting, fan |
| Premium | $25,000+ | Full outdoor room: high-end stone, permanent structure, outdoor kitchen, full electrical, landscaping |
Style preference matters most when it comes to long-term satisfaction. A modern concrete patio with clean lines will feel wrong against a farmhouse with board-and-batten siding. Take photos of your house exterior before you look at any materials and use them as a filter. The American Society of Landscape Architects recommends using a site-driven approach rather than choosing a look first and forcing it onto an incompatible yard, and that advice holds up every time I've seen it ignored.
How to plan, measure, and calculate materials
Accurate measurement is the difference between ordering enough and wasting hundreds of dollars on overage, or running short and holding up your project waiting for a second delivery. Start with a simple site sketch on grid paper. Measure the house wall where the patio will connect, then measure outward to any obstacles: trees, garden beds, property lines, utility boxes. Mark any slopes because you will need that information for grading.
Taking off material quantities
- Sketch the patio footprint on grid paper (1 square = 1 foot works well for most yards).
- Calculate square footage: length times width for rectangular shapes; for irregular shapes, break them into rectangles and add the totals.
- Add 10% waste factor for cut pieces at edges; add 15% for patterns like herringbone or diagonal that create more cuts.
- For pavers: divide square footage by the coverage per pallet listed by the manufacturer, rounding up to whole pallets.
- For concrete slabs: cubic yards = (length x width x depth in feet) divided by 27; a 4-inch-thick 200 sq ft slab needs about 2.5 cubic yards.
- For subbase: a 4-inch compacted crushed-stone base over 200 sq ft requires approximately 2.5 tons of 3/4-inch compacted aggregate.
- For bedding sand under pavers: 1-inch depth over 200 sq ft requires approximately 0.6 cubic yards or about 1 ton of coarse sand.
- Mark utility lines before any excavation: call 811 (U.S. Dig Safe) at least three business days ahead.
The Interlocking Concrete Pavement Institute (ICPI) Tech Spec 2 is the go-to reference for paver construction sequencing and layer depths. For pedestrian patios, the standard base is 4 to 6 inches of compacted crushed stone (compacted to approximately 98% of Standard Proctor per ASTM D698) followed by a 1-inch bedding sand layer, then the 60 mm (about 2 3/8 inch) paver units. If your subgrade is soft or poorly draining, go with the deeper 6-inch base. These numbers aren't suggestions; skipping them is why patios sink and shift after a few winters.
Layout options for common patio shapes
- Rectangle/square: simplest to build, easiest to calculate, best for furniture arrangement and most DIY-friendly.
- L-shape: great for wrapping a corner of the house or separating a dining area from a lounging area without a wall.
- Freeform/curved: visually striking and good for irregular lots, but requires more cutting, more waste, and significantly more installation skill.
- Multi-level: works well on sloped lots; each level change requires its own retaining structure or step design and may trigger permit requirements.
Patio layout and zoning: traffic flow, activity zones, and furniture placement
A patio that functions well is zoned, meaning different activities happen in defined areas rather than one crowded open space. The most common zones are a dining zone (table plus chairs, typically 12x12 ft minimum for four people, 14x14 ft for six), a lounging or conversation zone (sectional or chair grouping, 10x10 ft minimum), and a transition zone near the door where foot traffic moves without cutting through seating. If you have an outdoor kitchen or grill, that becomes its own functional zone, ideally positioned so the cook is part of the conversation and smoke blows away from seating.
Traffic flow is the detail most homeowners overlook on paper. Allow at least 36 inches of clear walkway for primary paths (ADA guidelines use 36 inches as a minimum accessible width) and 18 to 24 inches between chairs and tables for people to move comfortably while others are seated. I always lay out furniture with painter's tape on the actual patio surface before finalizing a layout because what looks right on a floor plan often feels cramped in real life.
Sun and wind orientation matter more than most guides acknowledge. If you're in a hot climate like Texas or Arizona, the primary seating zone should be on the east or north side of the house to catch morning light and afternoon shade. In the Midwest or Northeast, afternoon sun in the sitting area extends your season by weeks. Prevailing wind direction determines where a misting system or outdoor fan is actually useful versus annoying.
Essential site work: grading, subbase, and drainage
This is the section most homeowners want to skip because it's unglamorous. Don't. Every material failure I've seen on a backyard patio, whether it's sunken pavers, cracked concrete, or a flooded door threshold, traces back to improper site work. The DOE Building America guidance is specific: patio slabs should slope away from the house at a minimum of 0.25 inch per foot (roughly 2%) for at least 10 feet. That's your non-negotiable starting point. If your existing yard slopes toward the house, you need to grade it before anything else.
Drainage and stormwater basics
For most residential patios, a properly sloped surface directing water to a lawn or garden bed is enough. For larger patios or tight lots where water has nowhere to go, you have two options: a channel drain (a linear drain at the patio's low edge that connects to a drywell or storm system) or permeable paving. Permeable interlocking concrete pavement (PICP) and permeable concrete both let water infiltrate through the surface rather than run off. Maintenance and acceptance testing for PICP commonly references the blank" rel="noopener noreferrer">ASTM C1781/C1781M surface infiltration test to measure surface infiltration rates and assess clogging. The EPA's Stormwater BMP guidance and blank" rel="noopener noreferrer">ASCE/ICPI 68-18 standard both support permeable paving as an effective stormwater control, but these systems require annual maintenance (vacuuming or pressure washing the joints) to prevent clogging, which is verified with the ASTM C1781 infiltration test. If you're in an area with heavy clay soils, permeable paving may not drain fast enough without an engineered subsurface drainage layer underneath.
Soil type matters for subbase decisions. Sandy or loamy soils drain well and are forgiving of minor base depth variations. Heavy clay soils hold water and can heave in freeze-thaw cycles, meaning you need a deeper base (6 inches minimum compacted stone) and potentially a geotextile fabric between the subgrade and base layer to prevent migration. Expansive soils in parts of the South and Southwest can move enough to crack a slab; a local soils report or a conversation with a local concrete contractor is worth the time.
Comparing patio materials: pavers, concrete, stone, wood, and composite
No single material is best for every situation. Cost, climate, maintenance tolerance, and the look you want all push toward different answers. Here is an honest side-by-side comparison based on the most common residential patio materials.
| Material | Installed Cost (per sq ft) | Lifespan | Maintenance | DIY Friendly? | Best Climate Fit |
|---|---|---|---|---|---|
| Concrete pavers (ASTM C936) | $10 – $20 | 30–50+ years | Low; occasional re-sanding of joints | Yes, with prep work | All climates; use air-entrained for freeze-thaw |
| Poured/stamped concrete | $6 – $18 | 20–30 years | Low-medium; sealing every 2–3 years | Moderate (finishing skill needed) | Best in mild climates; can scale/crack in freeze-thaw |
| Natural stone (flagstone, bluestone) | $15 – $35 | 50+ years | Low; periodic re-pointing of joints | Possible but heavy/irregular | All climates; excellent in wet/humid regions |
| Pressure-treated wood | $8 – $15 | 10–15 years | High; annual sealing/staining | Yes | Mild to moderate; poor in wet or extreme climates |
| Composite decking (ASTM D7032) | $12 – $25 | 25–30 years | Very low; periodic cleaning | Moderate | All climates; check UV/heat data for hot regions |
| Gravel/decomposed granite | $2 – $6 | 5–10 years (top layer) | Low-medium; periodic raking/topping | Yes, easiest DIY | Dry climates; avoid in heavy rain areas without edging |
Concrete pavers
Concrete pavers are the most versatile choice for most homeowners and the one I recommend as a starting point for comparison. They meet ASTM C936 strength and absorption standards, which means you have a consistent product specification to hold suppliers to. The interlocking installation means individual units can be removed and replaced if a pipe breaks or a paver shifts, which is genuinely useful over a 30-year lifespan. In freeze-thaw climates, properly installed pavers with correct joint sand outperform poured concrete for cracking resistance because the joints accommodate movement.
Poured and stamped concrete
Poured concrete is often the cheapest hard-surface option and the fastest to install over large areas. Stamped concrete mimics stone or brick and can look impressive at a lower cost than real stone. The drawback is that poured concrete is monolithic: when it cracks (and it will crack eventually), the repair is obvious. In freeze-thaw regions, air entrainment in the concrete mix is critical for durability, as the Portland Cement Association and ASTM C666 freeze-thaw test data consistently show. Without it, surface scaling begins within a few winters.
Natural stone
Flagstone, bluestone, travertine, and slate offer the highest-end look and the longest lifespan of any patio surface. They're also the most variable in price depending on local availability. Travertine is a popular choice in hot, sunny climates because it stays cooler underfoot than dark stone or concrete. In wet climates, choose a stone with a naturally textured surface rather than a polished finish; smooth stone becomes dangerously slippery when wet.
Wood and composite
Wood and composite make more sense for raised deck platforms adjacent to a patio than for ground-level surfaces, but some homeowners use wood pavers or composite tiles as a patio surface. Composite decking products rated under ASTM D7032 carry structural and performance ratings including span tables and load values, which matter if you're building a raised platform. Consumer Reports testing through 2026 shows that premium capped composite decking typically lasts 25 to 30 years with minimal maintenance and resists fading and staining far better than wood. Major manufacturers like TimberTech offer residential limited warranties in the 25 to 30-year range depending on the product line, though those warranties are voided by improper installation. Wood requires annual sealing or staining to approach even half that lifespan in most climates.
Surface finishes and slip resistance
Slip resistance is the most underappreciated safety consideration in patio design, and it becomes critical near pools or in climates with frequent rain. The standard measurement method is the ASTM E303 pendulum skid tester, which measures the dynamic coefficient of friction on wet and dry surfaces. While residential patios aren't held to the same slip-resistance standards as commercial properties, using ASTM E303 test data to compare products is a practical way to pick safer surfaces.
As a rule: textured, matte, or brushed surfaces grip better than smooth, polished, or sealed-glossy ones. Brushed concrete, tumbled pavers, natural cleft stone, and broom-finish concrete all perform well in wet conditions. Glossy travertine, polished porcelain tile, and smooth stamped concrete with a high-gloss sealer are all slip hazards when wet. If you have an existing slippery surface, anti-slip coatings and additive sealers (which contain fine aggregate or aluminum oxide) are a cost-effective fix before replacement. For pool-adjacent surfaces specifically, the combination of bare feet, constant water, and algae growth makes a slip-resistant surface selection a genuine safety requirement, not just a preference.
Finish options and what they mean for safety and appearance
| Finish Type | Slip Resistance (Wet) | Appearance | Maintenance Notes |
|---|---|---|---|
| Broom-finish concrete | Good | Utilitarian, clean | Seal every 2–3 years to prevent scaling |
| Exposed aggregate concrete | Very good | Textured, natural look | Periodic sealing; inspect for loose aggregate |
| Stamped concrete (matte sealer) | Moderate | Decorative, mimics stone/brick | Reseal every 1–2 years; avoid high-gloss sealer |
| Tumbled concrete pavers | Very good | Rustic, aged look | Re-sand joints annually in high-traffic areas |
| Natural cleft flagstone | Good to very good | Natural, irregular | Re-point joints every 5–10 years |
| Polished or honed stone | Poor when wet | High-end, refined | Add anti-slip coating or avoid near water |
| Composite decking (capped) | Moderate to good | Clean, modern or wood-look | Check manufacturer slip ratings; rinse regularly |
Power, lighting, and utilities: what to plan before you pour
Electrical planning is one area where most homeowners genuinely underinvest, and it's the hardest to fix after the patio is built. Running conduit under a slab or through a pergola post is a one-time job during construction; retrofitting it later means jackhammering or surface-mounting conduit that looks like an afterthought. Think through every device you'll want: string lights, a ceiling fan, a TV, a refrigerator, an outdoor kitchen circuit, landscape lighting, and a phone-charging outlet near the seating area. Plan circuits for all of them even if you don't install them on day one.
GFCI protection and code requirements
The 2023 National Electrical Code (NEC 210.8(A)(3) and related provisions) requires ground-fault circuit interrupter (GFCI) protection for all outdoor receptacles. This is a minimum, not a goal. GFCI protection is what stands between a wet outdoor outlet and a serious shock hazard. Recent NEC editions expanded GFCI requirements to outdoor kitchen areas and sink locations specifically. If you're hiring an electrician, verify that every outdoor outlet will be GFCI-protected and weatherproof-rated; if you're pulling permits (which you should for any new outdoor circuit), the inspector will check this.
Lighting layers that actually work
Good patio lighting uses three layers. Ambient light (string lights, overhead fixtures, or a pendant in a covered patio) sets the mood and provides general illumination for the whole space. Task lighting targets specific zones: a pendant or directional fixture over the dining table, under-counter lights in an outdoor kitchen, a dedicated light over the grill. Safety lighting handles stairs, path edges, and transitions between surface levels. Low-voltage LED landscape lights handle safety lighting efficiently and can be DIY-installed without an electrician; overhead fixture circuits should be handled by a licensed electrician for both safety and permit compliance.
Outlet and utility placement tips
- Place at least one outlet on each wall or post that borders the patio so no device needs an extension cord to reach.
- Rough in a dedicated 20-amp circuit if there is any chance of a future outdoor refrigerator, blender station, or outdoor kitchen; standard 15-amp circuits fill up fast.
- Install a weatherproof in-use cover (bubble cover) on all outdoor outlets, not just the standard flat plate.
- Run low-voltage landscape wire in conduit even if you're installing simple DIY path lights; it protects the wire and makes future upgrades easier.
- If you plan a ceiling fan in a covered patio, install a dedicated switch leg from the start; adding one later requires opening the ceiling.
- For outdoor TV mounting, place the outlet and the cable/data conduit behind the future TV location before any surface work is done.
- Outdoor kitchens with a sink require both GFCI outlets and potentially a plumbing permit depending on your municipality.
Permits and patio covers: what triggers a requirement
Electrical work almost always requires a permit. Patio covers (pergolas, solid-roof covers, attached shade structures) usually do too. The IRC Appendix H treats patio covers as one-story accessory structures with specific requirements for height (up to 12 feet in most adopting jurisdictions), foundation type, and anchorage. Municipal guidance like the City of San Diego's Information Bulletin 206 (updated March 2026) makes clear that permit submittal includes plans, manufacturer documentation (ICC-ES or IAPMO reports for prefab structures), and compliance with local foundation and anchorage rules. The bottom line: if it's attached to the house, over a certain size, or involves any electrical, gas, or plumbing work, assume a permit is required and call your local building department before starting. Unpermitted work creates real problems at resale.
Weather protection options: covers, shade, and climate control
The right shade or cover solution depends on your climate, how much you want to spend, and whether you want something permanent or flexible. Here's a quick comparison of the most common options.
| Option | Approx. Cost Installed | Sun/Rain Protection | Permit Needed? | Best For |
|---|---|---|---|---|
| Freestanding umbrella | $100 – $600 | Sun only (partial) | No | Budget option, small spaces, renters |
| Shade sail | $150 – $800 DIY | Sun; minimal rain | Usually no | Modern aesthetic, dry climates |
| Retractable awning (motorized) | $1,500 – $4,500 | Sun and light rain | Sometimes | Flexibility; good for mixed climates |
| Open pergola (wood or aluminum) | $3,000 – $12,000 | Partial sun; no rain | Yes (attached) | Climbing plants, ceiling fan, string lights |
| Louvered pergola (motorized) | $8,000 – $20,000+ | Full sun and rain | Yes | Year-round use; hot or rainy climates |
| Solid patio cover (attached) | $5,000 – $15,000 | Full sun and rain | Yes | Full outdoor room; cold or wet climates |
In very hot climates like the Southwest or Gulf Coast, a solid or louvered cover combined with a ceiling fan or misting system is the difference between a patio you use and one you avoid from May through September. Misting systems lower the perceived temperature by 15 to 25 degrees Fahrenheit in dry heat (they're much less effective in high humidity). High-velocity outdoor fans (rated UL listed for damp or wet locations) are effective in humid climates where misting would add uncomfortable moisture. In the Midwest and Northeast, a retractable awning or open pergola often provides enough seasonal protection without the cost of a full solid cover.
Seating, furniture, and the must-have setup for your zone
Outdoor furniture fails in two ways: it's undersized for the space (a 48-inch table for six people when you need at least 60 inches) or it's made from materials that won't survive your climate. For coastal climates, marine-grade polymer, teak, or powder-coated aluminum resist salt air and humidity. For dry desert climates, UV resistance is the priority, and cheap sling fabric fades within one season. For cold climates, choose furniture you can leave out or can store easily, or invest in covers rated for freezing temperatures.
A dining zone needs a table sized for your actual guest count plus at least 36 inches of clearance on all sides for chairs to pull out and people to walk behind. A lounging zone anchored by an outdoor rug (choose polypropylene or other synthetic materials rated for outdoor use) feels more intentional and keeps furniture from migrating. A side table or outdoor coffee table in every seating group is a small detail that makes a real difference in daily usability.
Garden, decor, and privacy additions
Plants and greenery are the element that makes a patio feel finished rather than like a concrete pad with chairs on it. Planters allow you to add greenery without permanent landscaping commitments and can be moved to adjust the layout. Large planters (16 to 24 inches wide) do double duty as visual privacy screens and space dividers. Vertical gardens on a fence or wall take up no floor space and work well in small patios. For privacy from neighbors, a combination of tall planters, a lattice panel, or a horizontal wood screen is typically faster and cheaper than waiting for a hedge to grow. The best patio garden ideas topic covers plant selection and container gardening in detail.
Privacy screens made from cedar, aluminum, or composite material can be freestanding or fence-mounted and typically run $200 to $800 for a DIY panel section. They serve three purposes at once: privacy, wind break, and visual anchor for the patio edge. If you want to add outdoor art, wall-mounted pieces, or decorative features, choose materials rated for exterior use (powder-coated metal, marine-grade polymer, or treated wood) since standard indoor materials deteriorate quickly outdoors.
Maintenance and safety essentials
Even a well-built patio needs a simple annual maintenance routine to stay safe and looking good. The biggest issues over time are joint sand migration in paver patios, sealer wear on concrete, algae or moss growth on shaded surfaces (a serious slip hazard), and loose or deteriorated structural connections on pergolas and covers.
- Re-sand paver joints with polymeric sand every 2 to 3 years or whenever you see significant loss; loose sand leads to paver shifting.
- Reseal stamped or broom-finish concrete every 2 to 3 years using an exterior-rated penetrating or film-forming sealer appropriate for your climate.
- Pressure wash algae and moss from shaded surfaces each spring before they become a slip hazard; apply a mildewcide treatment if growth returns quickly.
- Check permeable paving infiltration annually by pouring a bucket of water on the surface; if it pools rather than soaking in within 60 seconds, joints need vacuuming or refreshing (this is the field check behind ASTM C1781 infiltration testing).
- Inspect pergola post bases, anchor bolts, and beam-to-post connections each spring for rust, rot, or loosening; tighten or replace hardware as needed.
- Test all GFCI outlets monthly by pressing the test and reset buttons; replace any that don't trip or reset correctly.
- Clear debris from channel drains and drain grates after heavy rain or leaf fall to prevent blockage.
- Check outdoor lighting fixtures for water infiltration and corrosion, especially after a wet winter.
DIY versus hiring a contractor: an honest breakdown
Most homeowners with basic skills and a weekend or two can handle: simple paver patios on a prepared base, gravel or decomposed granite surfaces, low-voltage landscape lighting, freestanding shade structures (umbrellas, sail shades, freestanding pergola kits), container gardens, and outdoor furniture setup. These are the areas where DIY saves the most money without significant technical risk.
Hire a licensed contractor for: grading and drainage work involving significant excavation, poured concrete with sloped drainage requirements, any electrical circuit (GFCI outlets, overhead fixtures, dedicated kitchen circuits), attached patio covers that require structural engineering or permits, outdoor kitchens with gas lines, and natural stone work requiring mortar-set installation. The permit process itself is also a reason to hire professionals for structural and electrical work; a licensed contractor knows which inspections are required and is responsible for code compliance.
What to ask a contractor before signing anything
- Are you licensed and insured in this state for this type of work? (Request license number and verify online.)
- Will you pull all required permits and schedule inspections, or is that my responsibility?
- Can you provide three recent local references for patio or hardscape projects?
- What is the exact subbase depth and compaction standard you will use for this project?
- What drainage slope will you build into the slab or paver field, and how will you direct water away from the house?
- What warranties do you provide on labor, and what warranties does the product manufacturer provide on materials?
- What is your payment schedule, and will you provide a lien waiver at final payment?
Get at least three bids for any project over $5,000, and compare them by scope, not just price. A bid that is 30% lower than the others usually means someone is skipping the subbase work or using lower-grade materials. The scope of work section of each bid should specify base depth, compaction method, drainage slope, and materials by product name or standard (ASTM C936 pavers, for example), not just vague descriptions.
Your patio essentials checklist
Use this checklist to verify your plan covers the fundamentals before any work starts. It's organized by phase, so you can use it as a build sequence as well as a planning tool. The what every patio needs and best patio additions topics expand on specific line items here for readers who want more depth on any single element.
- PLANNING: Defined use case, capacity, style, and all-in budget with 15% contingency confirmed.
- PLANNING: Utility lines marked via 811 Dig Safe call placed at least 3 business days before excavation.
- PLANNING: Permit requirements verified with local building department for surface, cover, and electrical work.
- SITE WORK: Grading plan established; surface slope of 0.25 in/ft (2%) away from house confirmed.
- SITE WORK: Subbase depth specified (minimum 4 in. compacted crushed stone for pedestrian use; 6 in. for poor subgrade or freeze-thaw climates).
- SITE WORK: Drainage solution chosen (surface slope, channel drain, or permeable paving) based on soil type and runoff destination.
- SURFACE: Patio material selected based on climate, budget, maintenance tolerance, and slip-resistance requirements.
- SURFACE: Waste factor applied to material quantities (10% standard; 15% for diagonal or complex patterns).
- SAFETY: All outdoor outlets planned as GFCI-protected and weatherproof-rated per NEC 210.8.
- LIGHTING: Three-layer lighting plan (ambient, task, safety) drafted before electrical rough-in.
- ELECTRICAL: Conduit stubbed for future circuits (fan, TV, kitchen) even if not immediately installed.
- COVER/SHADE: Weather protection solution matched to climate and sized for primary seating zone.
- FURNITURE: Table and seating sized for actual guest count; 36 in. clearance around all chair positions.
- DECOR: Privacy solution, planters, or garden elements planned to complete the visual perimeter.
- MAINTENANCE: Annual maintenance schedule written down: joint sand, sealer, drain clearing, fixture inspection, GFCI test.
FAQ
What building codes and local regulations should I consult when creating a comprehensive patio guide?
Primary sources: the International Residential Code (IRC) — especially Appendix H for patio covers — and the National Electrical Code (NEC/NFPA 70) for outdoor power and GFCI requirements. Also include municipal building department bulletins and permit guides (example: City of San Diego Info Bulletin 206) because local adoption, setbacks, heights, foundation and anchorage rules, and permit thresholds vary by jurisdiction.
Which industry and professional design standards are essential for durable, code‑compliant patio construction?
Key standards: ICPI Tech Specs (construction of interlocking concrete pavements, base compaction and edge restraint), ASCE/ICPI standard for Permeable Interlocking Concrete Pavement (design/construction/maintenance), and ASLA residential design guidance for landscape/site‑driven planning. These provide proven methods for structural design, stormwater handling, and comfort/sustainability planning.
What material performance standards and test methods should be referenced for surfaces, decking and slip resistance?
Important standards: ASTM C936 for concrete pavers, ASTM D7032 for wood‑plastic composite decking performance/spans, ASTM C666 and Portland Cement Association guidance for concrete freeze‑thaw durability, and ASTM E303 (pendulum skid test) for wet/dry slip resistance. Use these to compare product claims, specify acceptable test results, and recommend materials by climate and use.
What stormwater and drainage guidance is needed for patio design, including permeable options?
Use U.S. EPA’s Permeable Pavements BMP and ASCE/ICPI permeable pavement standard (ASCE/T&DI/ICPI 68‑18) for hydrologic design, construction and maintenance of permeable pavements. Reference ASTM C1781 (surface infiltration test) for commissioning and maintenance acceptance of permeable unit pavers. Also cite DOE/PNNL/Building America guidance for slab grades and runoff slopes (minimum ~0.25 in/ft away from house).
Which sources are authoritative for electrical, lighting and outdoor power planning?
The National Electrical Code (NEC/NFPA 70) is the authoritative reference for outdoor receptacles, GFCI protection and outdoor lighting circuits. For practical installation practices and product selection, include manufacturer installation guides and local utility/permit requirements; reference NEC latest editions and relevant local amendments.
What expert/consumer testing and manufacturer documentation should be used to compare decking and finish materials?
Combine third‑party testing and reviews (e.g., Consumer Reports composite decking tests) with manufacturer technical data and warranties (example: TimberTech warranty documents). Use ASTM performance standards (D7032) and independent lab test reports to verify claims, and include warranty terms and common exclusions when comparing products.
Next Articles
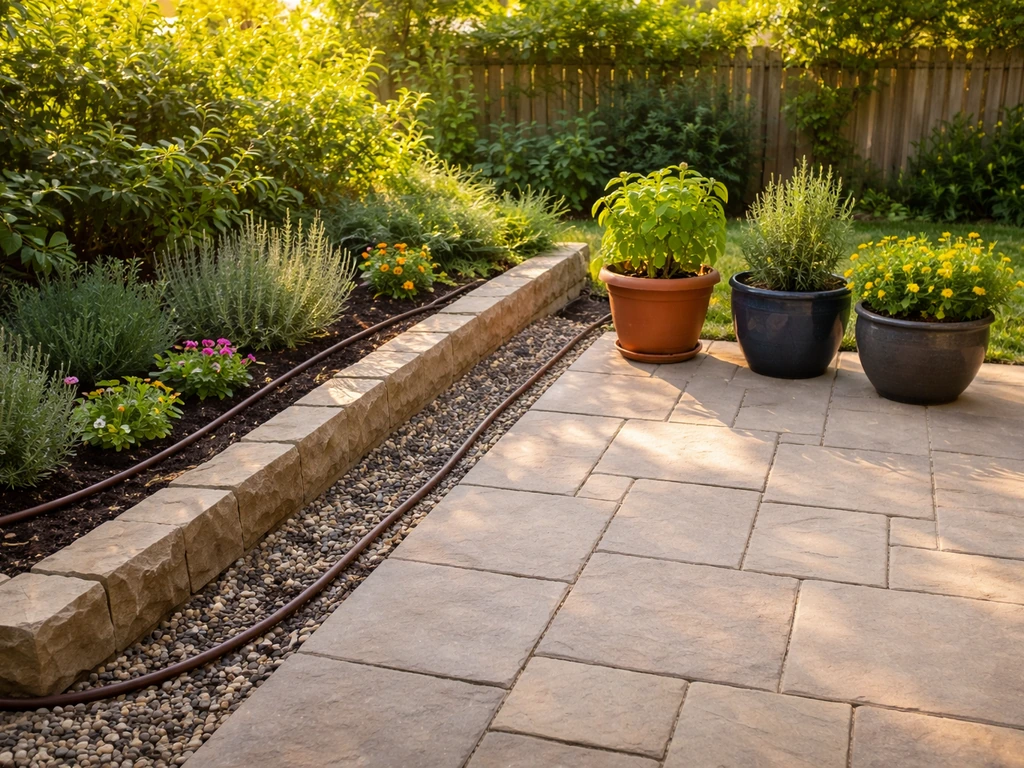
Best Patio Garden Ideas: Step-by-Step Plan for Buildable Success
Practical best patio garden ideas with step-by-step layout, plant picks, drainage irrigation, and DIY vs pro guidance.
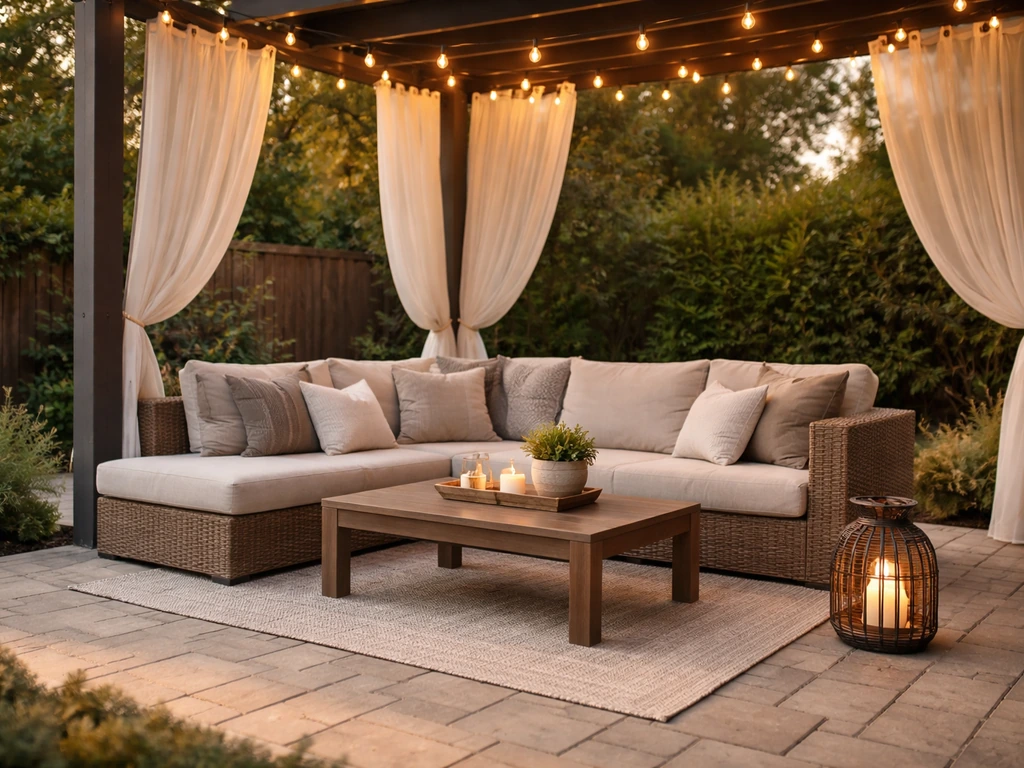
What Every Patio Needs: Essentials, Upgrades, and Checklist
Practical patio checklist with essentials, upgrades, zone ideas, material tips, and DIY vs contractor guidance for lasti
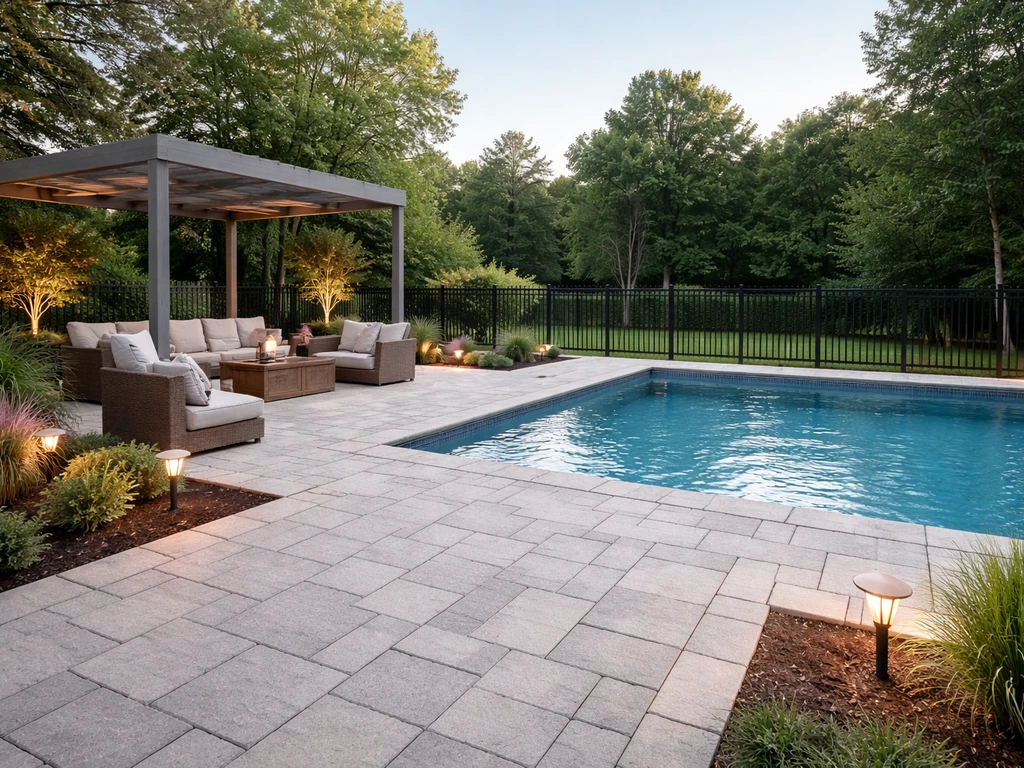
Pool Patio Must Haves Checklist: Safe, Comfortable, Durable
Pool patio must haves checklist for safe, comfortable, durable outdoor living, with DIY tips, budgeting, and material ch