A top quality patio comes down to four things working together: it holds up to your local weather for decades, it drains water without pooling, it stays safe underfoot when wet, and it looks intentional rather than slapped together. The material you choose matters a lot, but so does the base, the slope, the edges, and who puts it together. Get those five things right and you end up with an outdoor space that genuinely adds value to your home. If you want to bring birds right to your space, pairing your patio with the best bird feeders for patios can turn it into a lively backyard spot. Get even one of them wrong and you're patching cracks or pulling up pavers within five years.
Top Quality Patios: Materials, Build Tips, Costs, Maintenance

Phoebe Foster
29 Apr 2026
What 'Top Quality' Actually Means for a Patio
A lot of homeowners think quality is mostly about how a patio looks in photos. It isn't. A premium patio performs on several dimensions at once, and aesthetics is honestly the easiest one to get right.
- Durability: The surface and base resist freeze-thaw cycling, UV exposure, heavy furniture loads, and foot traffic for 20 to 30-plus years without major intervention.
- Slip resistance: Wet surfaces are safe to walk on. The ADA Standards for Accessible Routes require slip-resistant ground and floor surfaces for accessible routes, and while no single numeric coefficient of friction (COF) minimum is mandated for all outdoor ground surfaces, testing methods like ASTM C1028 exist to verify slip resistance on pavers and tile. Look for textured or brushed finishes rather than polished ones outdoors.
- Drainage: Water moves away from the house and off the patio surface quickly. The standard accepted slope for exterior concrete slabs is 1/4 inch drop per foot, and in heavy-rain climates you may want to go steeper.
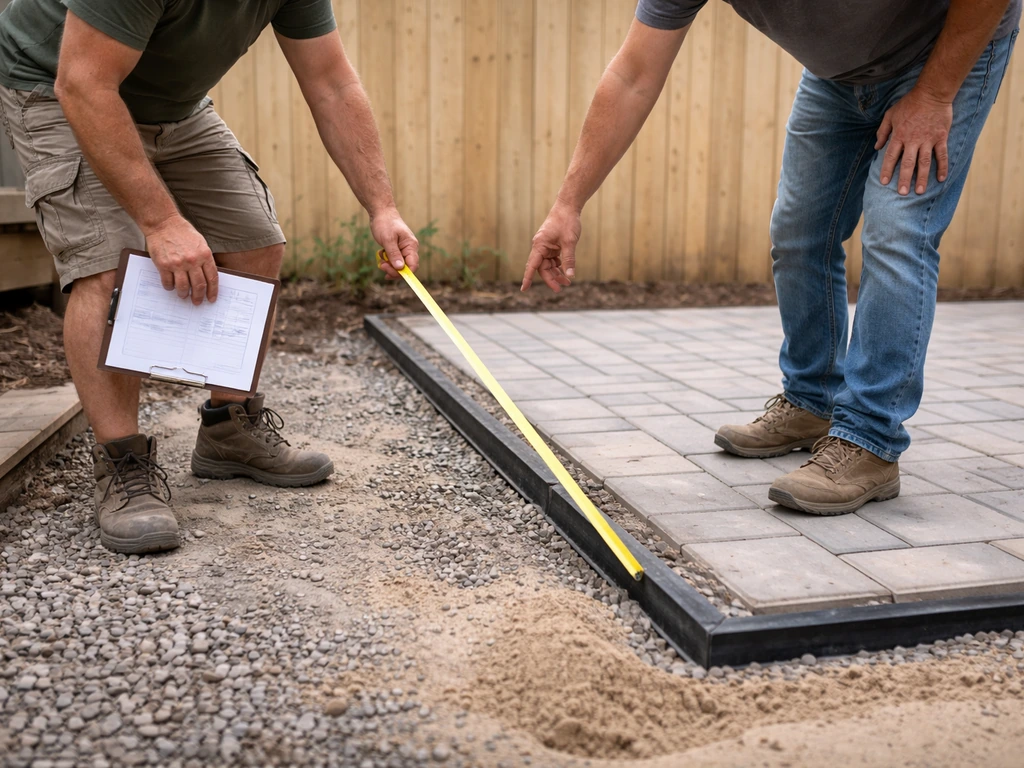
- Structural soundness: The base is properly compacted, the sub-base is deep enough for your soil and frost depth, and edges are restrained so nothing shifts or heaves.
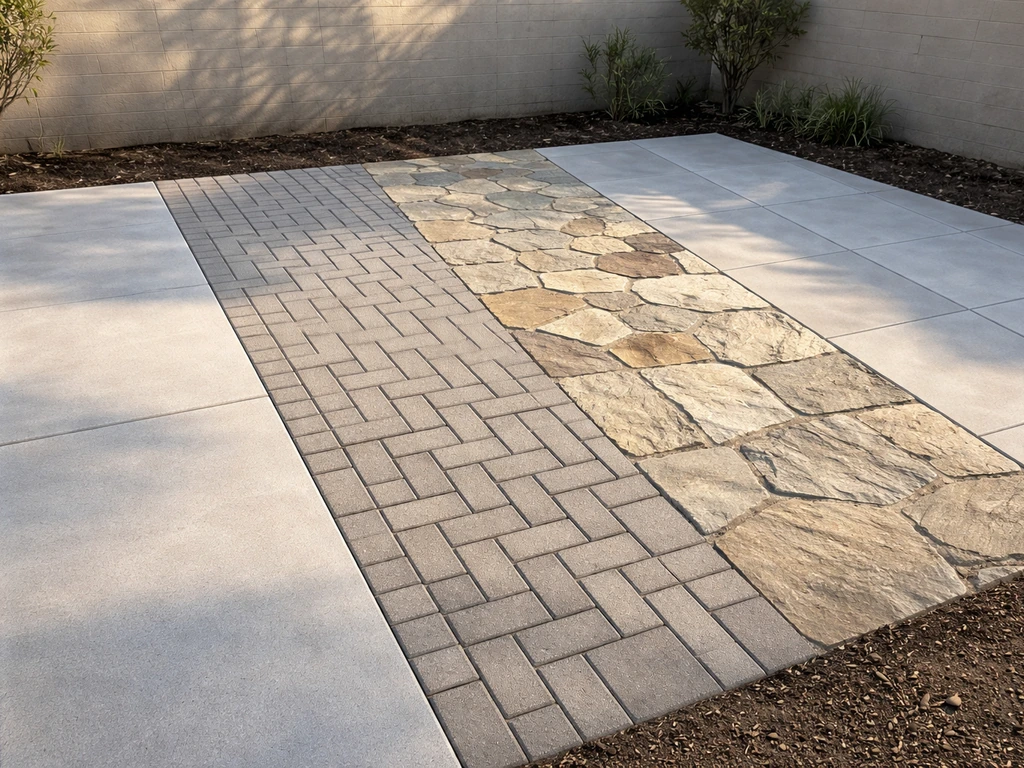
- Finish quality: Clean transitions between materials, consistent joint widths, no lippage between pavers, and details like inlays or borders that look deliberate.
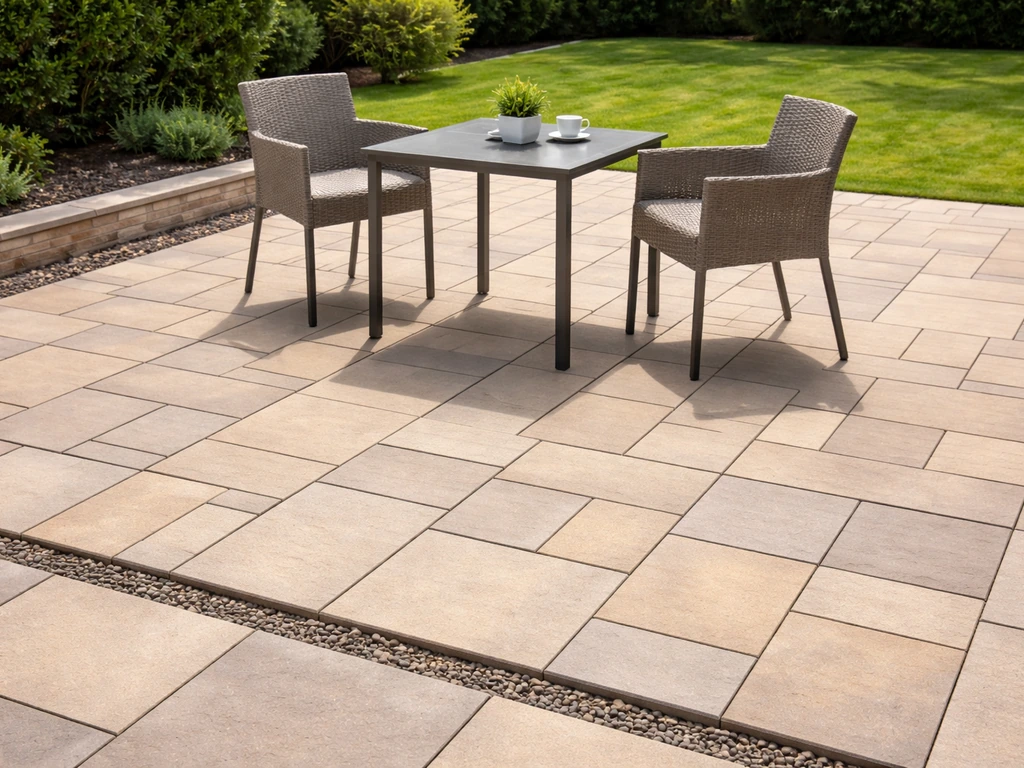
Comfort and livability round out the picture: shade coverage, privacy screening, integration with outdoor seating or kitchen areas, and the feel of the surface underfoot (a rough flagstone reads differently than a smooth broom-finished concrete, and both work in the right context). If you're also thinking about deck surfaces nearby, the same durability and drainage logic applies to quality decks and patios as a system. If you're planning both, you can prioritize the same durability and drainage details to get top notch decks and patios that work as one outdoor system quality decks and patios. If you want a better bird deck porch patio, match the same drainage and durability priorities so transitions look intentional and wear well deck surfaces nearby.
The Best Materials for a High-End Patio
Each material has a sweet spot in terms of climate, budget, and maintenance commitment. Here's an honest breakdown of what the top options actually deliver.
Concrete (Poured Slabs)
Poured concrete is the workhorse of the patio world and, done right, one of the most durable options available. For freeze-thaw regions, air entrainment is critical: research from the FHWA shows that microscopic entrained air voids dramatically improve concrete's resistance to freeze-thaw damage by protecting the paste phase, and concretes with around 2.5% to 3% total air content have performed well in freeze-thaw testing. Freeze-thaw deterioration typically shows up first as scaling and map cracking near joints and free edges, so those areas need the most attention during installation and sealing. Decorative finishes like stamped concrete, exposed aggregate, or broom texturing can elevate plain gray slab into a genuine premium surface, but they don't change the underlying need for a properly compacted base and adequate thickness (typically 4 inches for residential, 6 inches if you're parking vehicles or using heavy furniture).
Concrete Interlocking Pavers
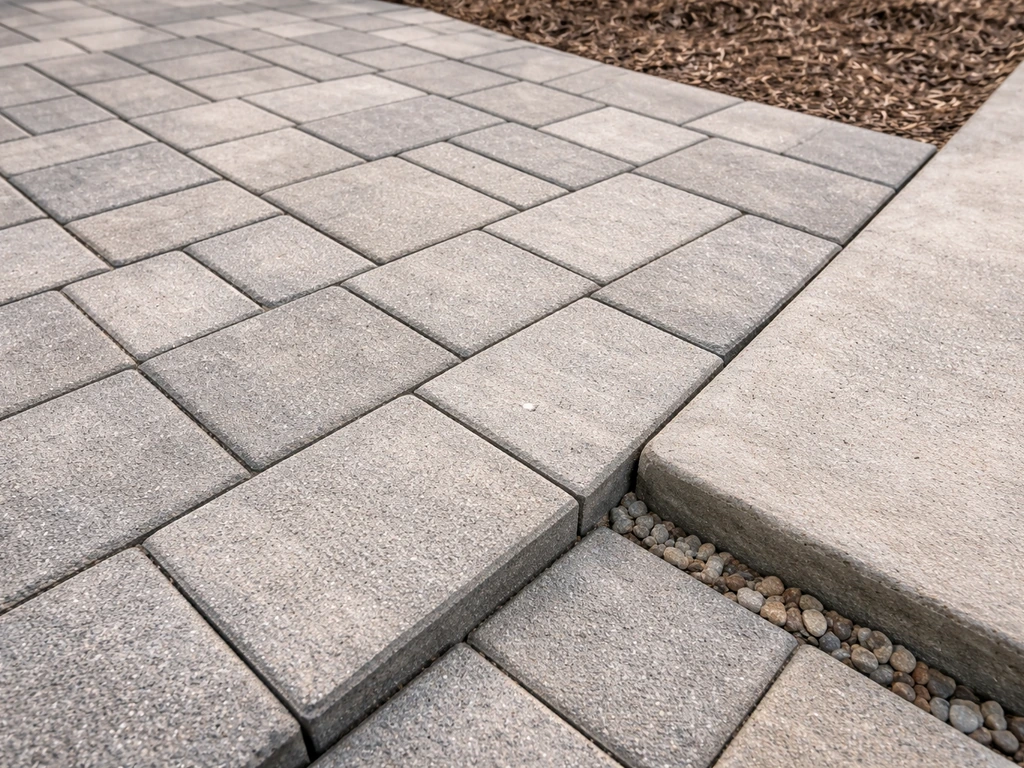
Concrete pavers are my personal favorite for most residential projects because they're repairable, drain well when dry-laid, and can handle freeze-thaw movement better than a monolithic slab. The Interlocking Concrete Pavement Institute (ICPI) installation system calls for a compacted aggregate base, approximately 1 inch of bedding sand, the pavers themselves, and then edge restraints to keep everything locked in place. Quality pavers should meet ASTM C936 (or CSA A231.2 in Canada) for physical and manufacturing requirements, including abrasion resistance testing per ASTM C418. For the joints, use polymeric jointing sand rather than plain sand: it firms up after wetting and resists washout and weed intrusion. Techniseal and similar manufacturers note that proper wetting during installation is essential for the sand to stabilize correctly.
Natural Stone
Bluestone, travertine, flagstone, and slate all read as genuinely premium surfaces in a way that's hard to replicate. The catch is variability: natural stone absorbs water at different rates depending on the species, some stones are more prone to freeze-thaw spalling than others, and installation skill matters enormously. Travertine filled and honed for outdoor use, for example, is a very different product from travertine left porous, and the wrong choice in a cold climate will pit and flake within a few winters. Always ask your supplier for freeze-thaw test data for the specific stone and finish you're considering.
Porcelain Pavers
Porcelain outdoor pavers have become a serious high-end option in the last decade. They typically have water absorption of 0.5% or less, which makes them extremely resistant to freeze-thaw damage and staining. Freeze-thaw resistance is commonly tested per ASTM C1026. The 20mm thickness format (about 3/4 inch) is designed for mortar-set or pedestal installation on rooftop terraces and elevated decks, with pedestal systems like the LATICRETE NXT system offering height adjustment from about 3/4 inch up to over 41 inches and rated load capacities. The downside: polished or semi-polished finishes can be slippery when wet, so specify textured or grip-surface finishes for any outdoor application.
Wood and Composite Decking
Wood and composite are most at home as deck materials, but they're frequently used for ground-level patio platforms, especially where a slab would require permits or significant grading. Composite decking has come a long way: brands like Trex offer limited residential warranties ranging from 25 to 50 years depending on the product line, and MoistureShield backs some products with a 50-year structural warranty. These aren't small claims, and they reflect how much better today's composites are compared to the early products that faded and split within a decade. Real hardwoods like ipe and teak hold up exceptionally well but require regular oiling or they'll gray out. For best patio decks that sit at or near grade, composite is usually the smarter long-term choice because it doesn't rot or absorb standing water the way natural wood can. If you are comparing options, our guide to the best patio decks can help you pick the most durable material for your climate and use. If you're comparing options, see our guide to the best patio decking for what tends to perform best near grade.
| Material | Best Climate Fit | Durability (Years) | Maintenance Level | Relative Cost |
|---|---|---|---|---|
| Poured Concrete | Most climates with proper air entrainment | 30–50+ | Low to moderate (sealing every 2–3 years) | $ to $$ |
| Concrete Pavers | All climates including freeze-thaw zones | 25–40+ | Low (joint sand refresh every few years) | $$ to $$$ |
| Natural Stone | Mild to moderate climates; select species for cold zones | 30–50+ | Moderate (sealing, occasional re-leveling) | $$$ to $$$$ |
| Porcelain Pavers | All climates including coastal | 30–50+ | Very low (non-porous, easy to clean) | $$$ to $$$$ |
| Composite Decking | All climates; great for elevated/grade-level platforms | 25–50 (warranty-backed) | Low (annual cleaning, no sealing needed) | $$ to $$$ |
Design Details That Separate Premium Patios from Basic Ones
You can use the best materials on the market and still end up with a mediocre patio if the design decisions are sloppy. These are the details that make the difference.
Layout and Flow
Size matters more than most people expect. A patio that feels generous for a dining set typically needs at least 12 by 16 feet just for the table and chairs, with additional space for circulation. Traffic flow from the house to the patio and across it should feel natural, not like an obstacle course. Think in zones: dining, lounging, cooking. Separate zones work better when they're defined by a change in material, a step, or a planting bed rather than just furniture placement.
Grading and Drainage
This is the single most underestimated quality factor. The standard 1/4-inch-per-foot slope away from the house applies to concrete slabs, but in climates with heavy summer rain or Pacific Northwest levels of precipitation, a slightly steeper slope or a channel drain along the far edge is worth the investment. Permeable paver systems offer another route: they let water drain through the joints and into a gravel base, which reduces runoff and can help with local stormwater codes. Whatever system you use, keeping drainage features functioning by moving runoff away reduces safety and performance problems, which FHWA highlights in its guidance on correcting unsafe drainage features. Whatever system you use, the goal is zero standing water on the surface 20 minutes after rain stops.
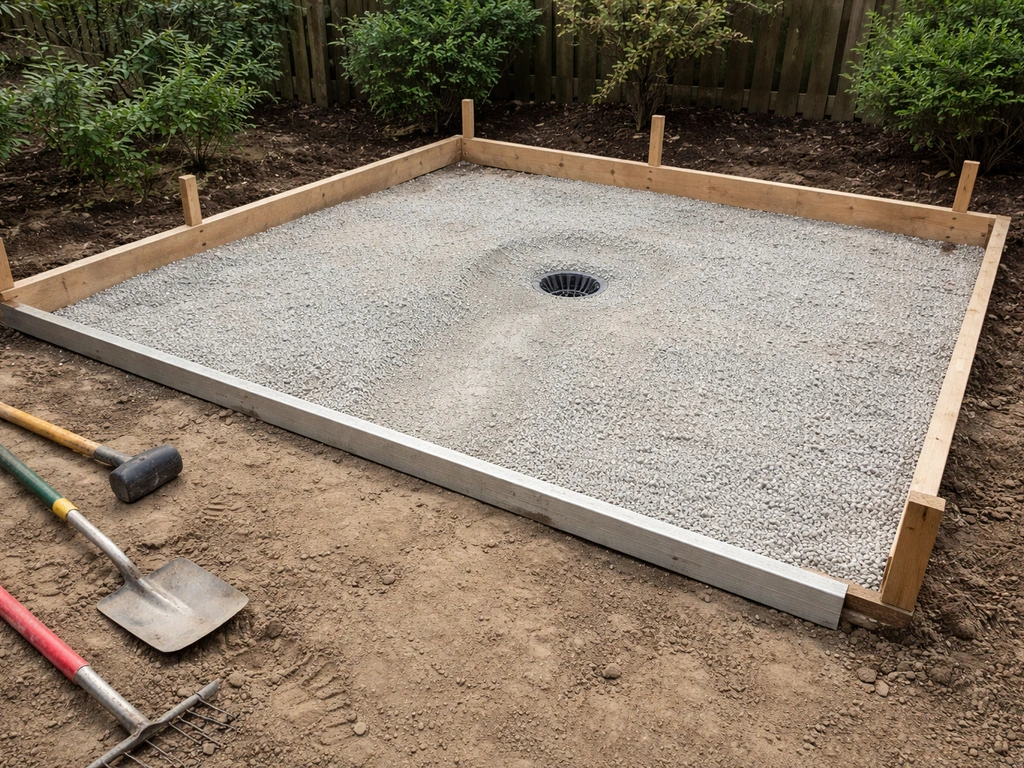
Sub-Base and Edges
A premium patio lives or dies on its base. For paver systems, ICPI guidance emphasizes that edge restraints are central to long-term performance: without them, pavers migrate outward over time no matter how well they're set. Plastic or aluminum edge restraints spiked into the compacted base keep everything locked in. For concrete, control joints placed at proper intervals prevent random cracking. Thickness and base depth should be spec'd for your local frost depth, not just guessed.
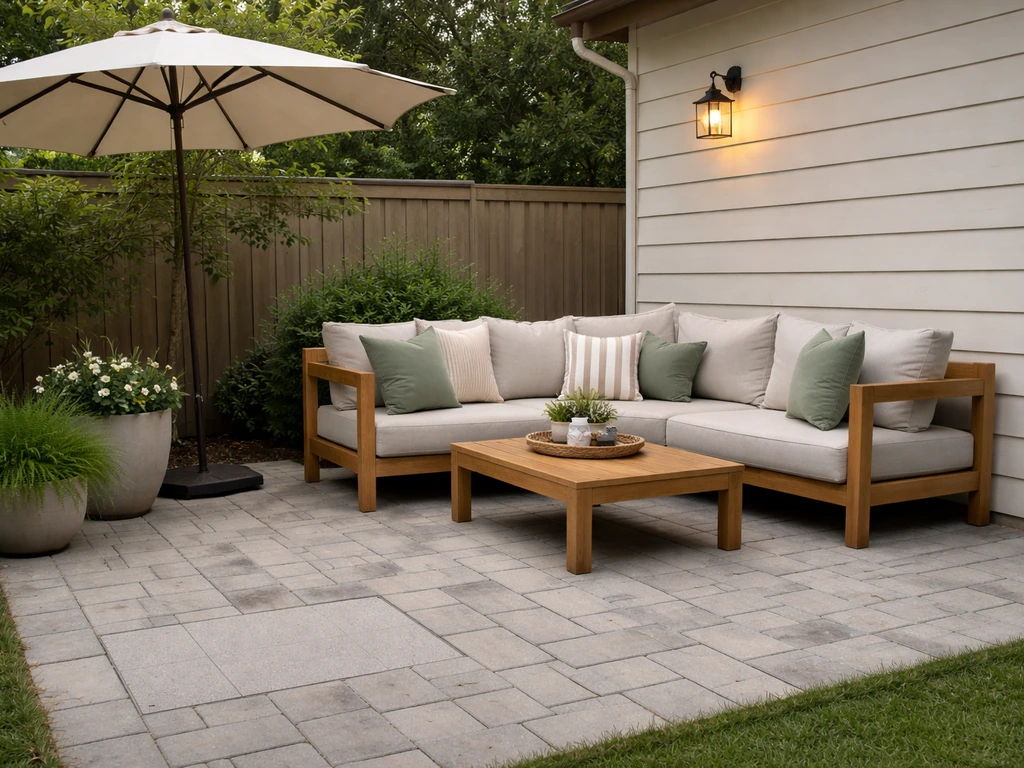
Shade, Privacy, and Feature Integration
A top quality patio feels like a room, not just a slab. A pergola or sail shade overhead transforms how usable the space is on hot afternoons, especially in climates like Texas or Arizona where unshaded concrete is unbearable by 10am in July. Vertical privacy (board-on-board fencing, planted screens, or decorative panels) makes the space feel enclosed and intentional. If an outdoor kitchen or built-in seating is on your list, rough-in the gas and electrical at the same time as the patio construction. Retrofitting those utilities later means breaking up what you just built.
How Climate Should Drive Your Material Choice
Climate is probably the biggest variable in this whole decision, and it's also the one most often ignored when homeowners shop by looks alone.
- Freeze-thaw zones (Midwest, Northeast, Mountain West): Air-entrained concrete and ASTM C936-compliant pavers are your safest bets. Porcelain pavers with sub-0.5% water absorption are also excellent. Avoid porous natural stones like travertine unless they're rated for your frost depth. Seal regularly and keep deicing salt away from concrete surfaces.
- Hot and dry climates (Southwest, Texas): UV resistance and thermal comfort matter most. Light-colored concrete or travertine-colored pavers stay cooler underfoot than dark materials. Concrete tends to do well, but high-UV exposure will break down sealers faster, so plan to reseal every 1 to 2 years instead of 3.
- High rainfall and humidity (Southeast, Pacific Northwest): Drainage is paramount. Slip resistance on wet surfaces is a daily safety concern, not an occasional one. Textured pavers, broom-finished concrete, and rough-sawn natural stone all outperform smooth finishes here. Composite decking handles the moisture better than wood.
- Coastal environments: Salt air and salt spray accelerate corrosion of metal fasteners, edge restraints, and any embedded hardware. Specify stainless steel or hot-dipped galvanized hardware throughout. Porcelain and concrete pavers handle salt exposure far better than natural stone species that are prone to salt spalling.
- Variable climates (Mid-Atlantic, Midwest): Design for the worst case. If you get both hot summers and hard freezes, you need materials and a base system that handle both.
A Realistic Maintenance Plan
Even the best materials need some attention. Here's what to actually expect over the life of a quality patio, broken down honestly.
Concrete Slabs
Seal a new concrete patio 30 to 60 days after installation once the concrete has cured, then reseal every 2 to 3 years (or annually in high-UV or high-traffic settings). Clean with a pressure washer and a pH-neutral cleaner once or twice a year. Hairline cracks are common and mostly cosmetic; larger cracks near joints or edges may indicate a sub-base issue and should be evaluated before they grow. Avoid chloride-based deicers, which accelerate freeze-thaw scaling.
Pavers
Polymeric joint sand typically needs to be refreshed every 3 to 5 years as it slowly breaks down from UV and water exposure. When you do reapply it, note that Techniseal and similar manufacturers recommend waiting about 30 days after installation for natural efflorescence to work its way out of new pavers before applying certain treatments. Efflorescence (the white mineral deposits that appear on new pavers) is normal and fades with time and weathering. Reseal permeable or colored pavers every 2 to 3 years. If a paver settles or cracks, the individual unit can be pulled and replaced without disturbing the rest of the patio, which is one of the biggest long-term advantages of paver systems over monolithic concrete.
Natural Stone and Porcelain
Porous natural stones (flagstone, travertine, slate) need sealing on a similar schedule to concrete. Porcelain, with its near-zero water absorption, needs almost no sealing but benefits from occasional cleaning to prevent algae buildup in shady spots. Check mortar joints on any stone set in mortar every few years and repoint where needed.
Composite Decking
Composite decking is the lowest-maintenance option in this category. Annual cleaning with soap and water or a manufacturer-approved composite cleaner keeps it looking new. No staining, no oiling, no sealing. Check the structural framing underneath annually for signs of rot or fastener corrosion, especially in wet climates.
Hiring a Contractor vs. Going DIY
This is where a lot of patio projects go sideways. A great material installed poorly is worse than a modest material installed correctly, because bad installation is expensive to fix.
When DIY Makes Sense
Dry-laid paver patios are the most forgiving DIY patio project. With proper base preparation (compacted gravel, screeded sand bed, edge restraints) a careful homeowner can produce a genuinely durable result. Composite decking at grade is also a reasonable DIY project if you're comfortable with basic framing. Poured concrete, mortar-set stone, and anything requiring significant grading or drainage engineering is where most DIYers get in trouble: the margin for error is smaller, and mistakes are costly to correct.
What to Ask a Contractor
- Are you licensed and insured in this state, and can I see your current certificates?
- Have you installed this specific material (pavers, stamped concrete, natural stone) before, and can you show me completed projects I can visit or verify?
- What base depth and compaction method are you planning to use, and why?
- What edge restraint system do you use for paver installations?
- Will you pull the required permits, and who is responsible if work doesn't pass inspection?
- What's your warranty on labor, separate from the material manufacturer's warranty?
- What does your payment schedule look like, and do you have a written contract with scope of work?
Red Flags to Watch For
- Requests for more than 30% to 40% upfront payment before any work begins
- Vague or verbal-only quotes without a written scope
- No mention of base preparation or drainage in the estimate
- Unable or unwilling to provide references or photos of past patio projects
- Recommending an unusually thin base (under 4 inches of compacted gravel for most residential paver projects)
- Pressure to start immediately without time to review the contract
ICPI certification (for paver installation) and NARI membership are positive indicators of professionalism, but they're not a substitute for checking actual past work and calling references. Always ask to see a project similar in scope to yours, not just the contractor's best showpiece.
Budgeting for a Top Quality Patio
Patio costs vary wildly by region, material, size, and site conditions, but here's a realistic framework to work from as of 2026.
Cost Drivers
- Material choice: Basic broom-finished concrete runs roughly $8 to $15 per square foot installed. Stamped concrete adds $5 to $15 per square foot. Concrete pavers typically range from $15 to $25 per square foot installed. Natural stone and premium porcelain can run $25 to $50 or more per square foot depending on the stone species, thickness, and labor complexity.
- Site conditions: Poor drainage, soft soil, steep slopes, or difficult access all add cost. A patio on flat, accessible ground with good soil costs less than the same patio on a sloped lot with drainage issues.
- Size and complexity: Simple rectangular patios are significantly cheaper per square foot than patios with curves, multiple levels, built-in planters, or inlaid borders.
- Features: Outdoor kitchens, fire pits, lighting, and pergolas are separate line items, often adding $3,000 to $15,000 or more depending on complexity.
Value and ROI
A well-built patio consistently returns 60% to 80% of its cost in home resale value according to remodeling cost-vs-value data, and it adds usable square footage that directly affects how buyers perceive the property. More importantly, if you're going to use it for 10 to 20 years, the daily value of a comfortable, attractive outdoor space is genuinely hard to put a number on. Spending an extra $2,000 to $4,000 to get proper drainage, better materials, or a more experienced installer is almost always the right call: you'll spend more than that fixing a failed patio in five years.
Smart Ways to Stretch Your Budget
- Start with the base and drainage right, even if you need to phase the decorative features later. A great base with a simpler surface is better than a fancy surface on a weak foundation.
- Choose a smaller but well-designed patio over a large, basic one. A 200 square foot patio done beautifully beats a 400 square foot slab done cheaply.
- DIY the polymeric sand re-jointing and sealing yourself rather than paying a contractor to return every few years.
- Get at least three competitive bids. Patio pricing has wide variation, and a 20% to 30% spread between equally qualified contractors isn't unusual.
- Consider concrete pavers over natural stone if budget is tight: you get comparable durability, easier repair, and a lower installed cost.
Your Next Steps: From Idea to Decision
Here's a practical checklist to move from idea to a confident decision without spinning your wheels.
- Define your climate zone and list your biggest weather challenges (freeze-thaw, heavy rain, intense sun, coastal salt). This narrows your material list immediately.
- Measure your space and sketch a rough layout with zones (dining, lounging, cooking). This gives contractors something concrete to bid on.
- Pick your material shortlist: two or three options that fit your climate, budget, and aesthetic. Use the comparison table in this article as a starting point.
- Assess drainage before you do anything else. Walk your yard in heavy rain and note where water goes. If it moves toward the house, drainage is your first priority.
- Get three written bids with full scope: base depth, compaction method, edge restraint system, joint sand type, slope specification, and warranty terms.
- Check references and visit at least one completed project per contractor before signing anything.
- Confirm permits are included in the contract and that the contractor, not you, is responsible for pulling them.
- Plan your maintenance schedule before the patio is built: know when you'll need to reseal, refresh joint sand, and inspect the base. Set a calendar reminder.
A top quality patio isn't about spending the most money. It's about making smart decisions at every step: the right material for your climate, a base system built to last, drainage that actually works, and a contractor (or your own DIY skills) you can trust. Do those things and you'll have an outdoor space that holds up for decades, stays safe year-round, and genuinely improves your home. ADA.gov provides the blank" rel="noopener noreferrer">ADA Standards for Accessible Design, which address how Title II and Title III relate to physical accessibility requirements. If you are also considering top notch decks and patios, focus on matching the deck surface and framing to your climate just as carefully as you would for a patio base and drainage.
FAQ
How can I tell if my patio will drain properly after a rain, before it becomes a problem?
After installation, confirm there is no standing water on the surface for at least 20 minutes after rainfall (or test with a controlled hose run). For pavers, also check that edges and low points do not sink, because even small dips can trap water and accelerate algae, joint sand washout, and slip hazards.
Do I need a vapor barrier or geotextile under a patio base?
Often, yes, but the exact type depends on your soil and drainage plan. In most designs, geotextile helps separate subgrade soil from the aggregate base to reduce pumping and base contamination, but it should not block drainage where you rely on infiltration, so ask your installer to explain how water moves through the system.
What’s the best way to prevent weeds in and around paver patios?
Weed control starts with the build, not the chemical. Use proper base depth and compaction, install edge restraints to prevent movement, and use polymeric joint sand so joints stabilize. Then keep vegetation trimmed back and avoid disturbing the joint sand layer, because cracks and voids are where weeds take hold.
Should I choose permeable pavers if my area has strict stormwater rules?
They can be the right choice, but you must match permeability to the soil and site conditions. If your subgrade is poorly draining or high in groundwater, a permeable design can fail without additional underdrains or amended base, so verify infiltration capability and local code requirements before committing.
What’s the common mistake that causes paver patios to heave or fail in freeze-thaw climates?
The most frequent issues are inadequate base thickness, poor compaction, and missing or weak edge restraints. If the base is underbuilt for local frost depth, water can move within the layers during freeze-thaw cycles, pushing pavers out of plane and creating joint failure and cracking near free edges.
If I’m using concrete, is broom finish safer than stamped or smooth finishes for wet conditions?
Generally, yes for slip resistance, but it depends on texture depth and surface finish quality. If the patio is near pools, shaded areas, or gets frequent rain, choose finishes with higher texture and confirm there’s adequate curing and sealing so the surface does not become slick when wet.
How should I handle efflorescence on new paver patios before sealing?
Let it fully work out first, do not rush sealing or coating. Efflorescence is common on new pavers and mortar-set areas, and manufacturers often recommend waiting about a month for it to fade naturally, because sealing too early can trap salts and create persistent white staining.
What’s the correct approach if one section of a patio settles or cracks?
For paver patios, the advantage is localized repair. The installer can remove and reset affected units, fix the underlying base or bedding issue, then restore joint sand. For concrete slabs, localized patching can still leave visible transitions and might not stop the cause, so you may need to address base and drainage first.
Are polymeric joint sand and traditional sand always interchangeable?
No. Polymeric sand is designed to lock joints, resist washout, and reduce weed growth, but it needs correct wetting during installation to activate. Using plain sand where polymeric is required can lead to joint loss, sediment infiltration, and faster deterioration.
How often should I inspect a patio, and what should I look for?
At least once a season, and after major storms. Look for joint erosion, edge movement, small dips, loose or missing pavers, early scaling or map cracking, and signs of algae in shaded areas. Addressing small issues early is usually cheaper than waiting for drainage to fail.
Can I install a patio myself, or are there specific cases where I should hire a pro?
DIY is most realistic for dry-laid pavers and simple deck-at-grade projects with straightforward grading. Hire a pro for poured concrete, mortar-set stone, rooftop or elevated systems, and any plan that requires engineered drainage, significant utility rough-in, or work close to foundation waterproofing.
What should I ask a contractor before they start to reduce the risk of a low-quality patio?
Ask for their proposed base build-up, how they will handle slope and drainage, what type of edge restraints they will use (and at what thickness or embed depth), and whether they will provide freeze-thaw appropriate materials and sealing plans for your climate. Also request photos of past projects with similar soil conditions and spans to yours.
Next Articles
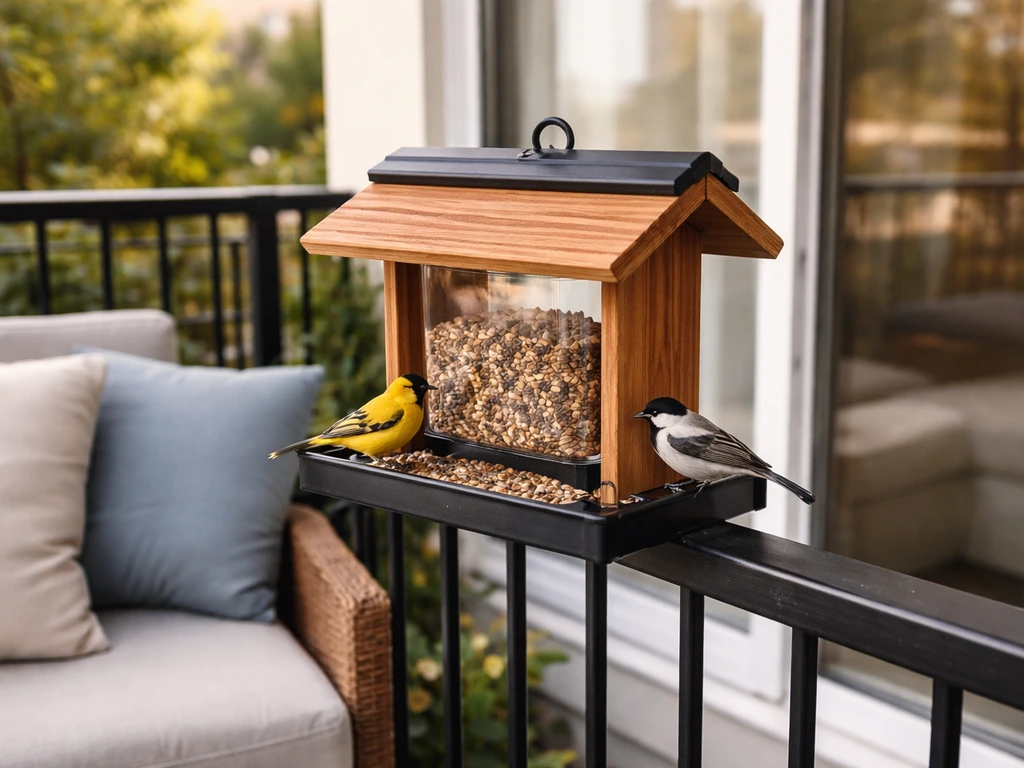
Best Bird Feeders for Patios: Types, Placement, and Buying Guide
Choose the best patio bird feeders with placement, weatherproofing, capacity, and easy cleaning tips for your space.

Do It Yourself Outdoor Patio Ideas: Build, Upgrade, Maintain
DIY outdoor patio ideas for planning, building, upgrading, and maintaining floors, shade, privacy, lighting, and decor.
Quick Fix Patio Ideas for Instant Comfort and Style
Quick fix patio ideas for fast comfort and style: cleanups, repairs, shade, flooring tweaks, and safe upgrades on any bu