
The best patio screen replacement for most homeowners is fiberglass mesh in a charcoal or black finish, splined into an aluminum frame. It is affordable (a 48-inch by 25-foot roll runs about $28 at big-box stores), easy to cut and install yourself in an afternoon, and holds up well across most climates. If you have pets, step up to vinyl-coated polyester like Phifer PetScreen. If you need serious shade, switch to a solar mesh with a 1–5% openness factor. Everything else, including which product category fits your space and whether to DIY or hire, comes down to a handful of measurements and honest answers about how you use your patio. For a quick recommendation, the best screen for outdoor patio installations is charcoal fiberglass for general use, stepping up to PetScreen for pets or solar mesh for serious shade.
Best Patio Screen Replacement Guide: Materials, DIY, Costs

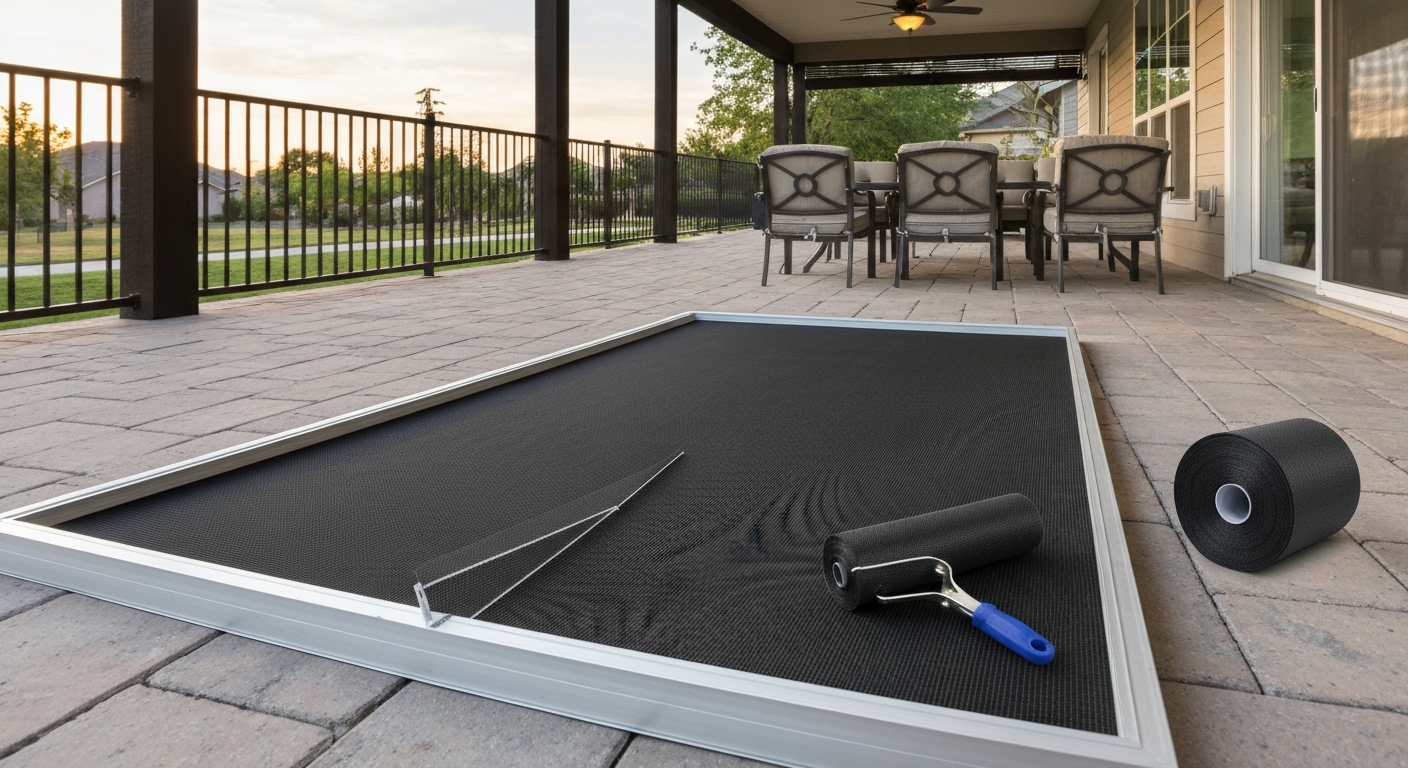
Who this guide is for and what you will walk away with
Whether you are dealing with a single blown-out panel on a screened porch, a sagging roll-up shade that no longer retracts, or an entire lanai that needs a full re-screen, this guide covers it. I have walked through screen replacements on everything from a basic 10x12 covered patio in central Texas to a large Florida-style lanai with aluminum framing, so the advice here comes from actual project experience rather than catalog reading. By the time you finish reading, you will know which mesh type matches your specific needs, how to measure correctly before you order anything, what things cost in the real world, when DIY makes sense and when calling a pro saves money, and what to check for by climate and household situation.
Repair vs. replace and DIY vs. hire: your one-page decision flow
Before you buy a single roll of screen, run through this decision chain. It saves a lot of wasted trips to the hardware store.
Step 1: Is the frame still good?
Push on each corner of the frame with your thumb. If the mitered joints hold firm, the frame is reusable and you only need new mesh and spline. If corners are cracked, bent beyond flat, or the aluminum channel is corroded through, replace the whole frame. Pre-made aluminum replacement frames cost $15–$40 for standard door and window sizes, so replacing the frame at the same time as the mesh adds very little cost and eliminates a weak link.
Step 2: Repair or full re-screen?
A single hole smaller than a quarter can be patched with a stick-on fiberglass repair patch (under $5). Anything larger than a few inches, or multiple holes in the same panel, means the whole panel needs new mesh. Patching a large area never looks clean and the patch edges tend to lift within a season. Just re-screen the panel.
Step 3: DIY or hire a pro?
A standard spline-in-frame re-screen is genuinely beginner-friendly. First-time DIYers typically finish one panel in one to two hours with a spline roller, utility knife, scissors, and a flathead screwdriver. If you have a screened porch with 10 or more panels, doing it yourself saves real money: professional rescreening typically runs $2–$6 per square foot, with minimum call-out fees that can push a small job to $200 or more even before materials. On the other hand, if your enclosure has aluminum framing that needs straightening, any panels are above eight feet, or you are dealing with a full tear-down rebuild, a pro with the right bending tools and scaffold experience is worth it. Also check with your local building department: some jurisdictions require a permit for full structural screen-room enclosures, especially in Florida and coastal counties where wind-load ratings apply to screen panels.
| Situation | Best path | Rough cost |
|---|---|---|
| Single hole smaller than a coin | Patch kit, DIY | Under $5 |
| One or two damaged panels, frames intact | Re-screen, DIY | $10–$30 in materials per panel |
| Whole porch, 10+ panels, frames intact | Re-screen, DIY or pro | $80–$200 DIY materials; $400–$1,200 pro labor + materials |
| Bent/corroded frames needing replacement | New frame + mesh, DIY or pro | $15–$40 per frame + mesh |
| Full new screened enclosure or screen house | Hire contractor | $25–$120+ per sq ft depending on structure |
| Roll-up or retractable system needing mechanism repair | Hire specialist or manufacturer service | Varies widely; $150–$600+ for mechanism replacement |
Best patio screen materials ranked by what matters most to you
Screen mesh is not one-size-fits-all. Here is how the main materials stack up against the priorities I hear most from homeowners. For a concise comparison to help you choose the single best patio screen material for your situation, see the section on best patio screen material.
| Priority | Best material choice | Runner-up | Notes |
|---|---|---|---|
| Maximum outward visibility | Phiferglass BetterVue / UltraVue (vinyl-coated fiberglass) | Standard charcoal fiberglass | Finer weave reduces visual 'haze'; passed 2,500 kJ Xenon arc weathering in Phifer testing |
| Overall durability | Phifer TuffScreen (vinyl-coated polyester, 17x13 mesh) | Aluminum insect screen | Grab tensile ~170/142 lb (warp/fill per ASTM D5034); much tougher than standard fiberglass |
| Privacy | Solar mesh, 1–3% openness factor | Solar mesh, 5% openness | 1–5% openness blocks most outward view from outside; also provides serious heat reduction |
| Pet-proofing | Phifer PetScreen (vinyl-coated polyester) | TuffScreen | About 7x stronger than standard fiberglass; ~40–41% openness, ~59–60% UV blockage |
| Shade and heat reduction | SunTex solar screen, 1–5% openness | Solar mesh, 10% openness | Standard insect mesh has ~45–70% openness and blocks very little solar heat |
| UV and salt/coastal resistance | Stainless steel woven mesh (18x16 or 18x18) | Vinyl-coated fiberglass with aluminum or stainless frame | Stainless open area 59–76% depending on count; test to ASTM B117 salt spray and ASTM G154 UV |
Mesh types explained in plain language
Walk into any hardware store and you will see fiberglass, aluminum, pet screen, and solar screen rolls. Here is what each one actually does and what it costs.
Standard fiberglass insect mesh
This is the workhorse: vinyl-coated fiberglass in an 18x14 or 18x16 weave, typically charcoal or black. A 48-inch by 25-foot roll runs about $28 at big-box retailers. It blocks common insects, is easy to cut and spline, and resists rust. The downside is it tears more easily than polyester options and will not slow down a determined cat. This is the right call when budget is the main concern and there are no pets or extreme weather factors involved.
No-see-um mesh
No-see-um mesh uses a tighter weave, such as an 18x18 or 20x20 count, to block biting midges and tiny gnats that pass straight through a standard 18x14 screen. Phifer publishes No-See-Um constructions in their technical spec guides. The trade-off is reduced airflow and slightly less outward visibility. If you live near marshes, rivers, or any coastal area with heavy midge activity, this is worth the small upcharge.
Pet-resistant mesh
Phifer PetScreen is vinyl-coated polyester and is commonly cited as the go-to for households with dogs or cats. Independent buyer guides such as Best pet‑resistant window screens, Journeyman HQ (buyer guide) commonly recommend Phifer PetScreen and TuffScreen for pet resistance and name Phiferglass/BetterVue for maximum visibility blank" rel="noopener noreferrer">Best pet‑resistant window screens — Journeyman HQ (buyer guide). Its openness factor sits around 40–41%, which is slightly less open than standard fiberglass, and it blocks about 59–60% of UV. Phifer's PetScreen swatch/spec card lists PetScreen (vinyl‑coated polyester) with an openness factor of about 40–41% and UV blockage of roughly 59–60% blank" rel="noopener noreferrer">PetScreen swatch/spec card — Phifer. A 48-inch by 50-foot roll costs roughly $173–$177 retail, so it costs more per square foot than standard mesh, but a single season of cat claw repairs in fiberglass will cost you more in labor and frustration. If your pet is on the smaller side or mainly leans against the screen rather than clawing it, TuffScreen (17x13 polyester) is another solid choice with published tensile strength around 170 lb grab (ASTM D5034), which is meaningfully tougher than standard fiberglass.
Solar and solar-privacy mesh
Solar screens are woven fabrics with a defined openness factor, typically 1%, 3%, 5%, 10%, or 20%. The lower the number, the more solar energy is blocked and the more privacy you get from outside. A 5% openness solar screen blocks the majority of direct sun and makes it genuinely difficult for passersby to see in during daylight hours. Standard insect meshes have openness factors in the 45–70% range, so they do almost nothing for heat reduction by comparison. Phifer SunTex in a 48-inch by 25-foot roll runs about $81 retail. If summer afternoon heat is making your patio unusable, solar mesh on the sun-facing sides makes a bigger difference than almost any other upgrade.
Corrosion-resistant and coastal mesh
For homes within a few miles of salt water, standard aluminum insect screen corrodes faster than most people expect. Stainless steel woven insect screening in 18x16 or 18x18 counts has open areas typically in the 59–76% range depending on wire diameter, and it holds up against salt air in ways that aluminum and even some coated meshes do not. Quality coastal-grade products are evaluated against ASTM B117 (salt spray) and ASTM G154 (accelerated UV weathering) protocols. Stainless costs significantly more than fiberglass or aluminum, but on a coastal installation the longer service life makes the math work.
Which product category fits your patio
Replacement screen is not just about mesh; you also need to decide what kind of system the mesh goes into. These four categories cover the vast majority of residential situations.
Fixed spline-frame panels
This is the standard setup for screened porches, lanais, and enclosed patios. Aluminum channels are secured to a structural frame, and mesh is pressed in with a rubber spline. Panels can be DIY-replaced in an afternoon. This is the most durable and cost-effective long-term option, and it handles wind loads better than roll-up systems. If your existing framing is sound, you almost certainly want to stay with this approach rather than switching to something more complex.
Roll-up and retractable screens
Retractable screens hide when you do not need them and deploy when you do. They work well on patio openings where you want an unobstructed view part of the day. The mesh used in retractable systems is usually proprietary to the manufacturer, and replacing just the mesh is often not practical without sourcing OEM parts. If the mechanism has failed, expect replacement or repair costs between $150 and $600 or more depending on the system. For patio openings in the 8–12 foot range, purpose-built retractable screen units from brands with available replacement parts are worth the investment. Wider spans or very windy locations tend to stress retractable systems faster than fixed panels.
Screen doors
A patio screen door is usually the first thing that fails because it takes the most physical abuse. Standard aluminum hinged screen doors in common sizes (32x80 or 36x80) are available as complete pre-framed replacement units for $30–$80 at big-box stores, which often makes buying a new door faster than re-screening the old one. Sliding screen doors for patio sliders need to match the original track dimensions; measure height, width, and track depth before ordering. Replacement rollers for sliding doors are often the real culprit when a door feels stiff or jumps the track, and rollers alone cost $5–$15.
Full screen-house and enclosure panels
If you are adding a freestanding screen house to your patio or replacing panels in a kit-built screen tent, the panels are typically framed sections that snap or bolt into a lightweight steel or aluminum skeleton. Replacement panel kits from the original manufacturer are the cleanest solution but are not always available for discontinued models. In that case, custom-cut mesh panels splined into new aluminum frames are the fallback. Screen houses for patios and full porch enclosures are related but distinct products; a full screened porch enclosure is a permanent structure, while a screen house is a removable unit. This distinction matters for permits and for budgeting.
Screen replacement choices by climate and use case
Where you live and how you use your patio should drive your mesh choice as much as brand or price. Here is what I recommend based on common regional and household scenarios.
Hot and sunny climates (Texas, Arizona, Southern California)
Heat is the dominant problem here. A standard insect screen does almost nothing to reduce solar gain. On south- and west-facing panels, replace standard mesh with a solar screen at 5–10% openness. The 5% option gives you better shade and daytime privacy; the 10% option is a fair compromise if you want more airflow and a better view. Keep standard insect mesh or no-see-um on the shaded sides for maximum airflow. Frame color matters more than most people think: bronze or dark-colored aluminum framing absorbs and retains heat in extreme sun, while lighter colors stay cooler.
High-wind areas and storm-prone regions
Fixed spline-frame panels outperform retractable and roll-up systems in wind. For hurricane-prone areas or high-desert regions with strong seasonal winds, use heavier-duty polyester mesh (TuffScreen or equivalent) rather than fiberglass, and make sure spline is fully seated in the channel with no gaps at corners. In wind-load-code jurisdictions (common in Florida, coastal Southeast, and parts of the Gulf Coast), check whether your panel framing meets the required wind ratings before installation. Some counties require engineered drawings for new screened enclosures.
Coastal and salt-air environments
Salt air is aggressive. Aluminum insect screen starts showing surface corrosion within one to two seasons within a half-mile of the ocean. For frames, look for marine-grade aluminum or powder-coated aluminum with fasteners rated for salt exposure (ASTM B117 test compliance is the benchmark to ask about). For mesh, stainless steel woven screen is the most durable long-term choice. If budget is tight, vinyl-coated fiberglass outlasts aluminum mesh in salt air and costs a fraction of stainless. Inspect all fasteners and frame connectors annually; the hardware often fails before the mesh does in coastal applications.
High-humidity climates (Southeast, Gulf Coast, Pacific Northwest)
Moisture promotes mold and mildew on frames and on the mesh itself, especially if debris accumulates in the spline channel. Fiberglass and polyester meshes resist mold better than aluminum mesh. Use stainless or powder-coated aluminum frames rather than bare aluminum. Rinse screens seasonally with a garden hose and mild detergent, and clear the spline channel of leaf debris to prevent standing moisture. In the Pacific Northwest, UV degradation is less of a concern than moisture; in the Gulf South, both are real factors.
Homes with pets and young children
PetScreen or TuffScreen on any panel within four feet of the floor is the practical solution. Children running into screens damage fiberglass quickly, and dogs leaning or pawing at a standard screen tear it within a season. The cost difference between standard fiberglass and PetScreen is real but not enormous when you factor in how often you would otherwise re-screen. Some homeowners use pet-resistant mesh only on the lower half of panels and standard mesh above, which cuts material cost while protecting the vulnerable zone.
When to repair, when to replace: a damage checklist
A quick inspection takes about ten minutes and tells you exactly what you need before you spend anything.
Mesh condition thresholds
- Hole smaller than a quarter with clean edges: patch with a stick-on repair patch
- Hole larger than a few inches, or multiple small holes in one panel: re-screen the full panel
- Mesh is sagging, bubbling, or pulling away from the spline channel at any corner: full re-screen
- Visible UV degradation (mesh feels brittle, chalky, or crumbles when bent): full re-screen, and consider upgrading mesh type
- Mold or mildew staining that does not wash off: re-screen, inspect frame channel for retained moisture
Frame condition thresholds
- Corners hold firm under thumb pressure and miters are flush: reuse the frame
- Corner inserts are loose but undamaged: re-seat with corner spline inserts, reuse frame
- Frame is bent more than 1/8 inch out of flat: replace the frame
- Aluminum channel is corroded through or shows pitting that catches your fingernail: replace the frame
- Spline groove is worn or cracked so new spline will not seat: replace the frame
Lifespan triggers
Standard fiberglass mesh in a typical climate typically lasts seven to ten years before UV degradation makes it brittle. Polyester meshes (PetScreen, TuffScreen) often run ten to fifteen years under normal conditions. Aluminum mesh in a non-coastal, low-humidity environment can last fifteen or more years but is the first to go in salt air. If your screen installation is more than eight to ten years old and you are noticing multiple panel failures in one season, that is usually a sign the entire enclosure needs re-screening rather than panel-by-panel patching.
Measure first, order second: your template and material checklist
More replacement projects go wrong at the measurement stage than at installation. Take the time to document everything before you order.
Measurements to take
- Measure each panel opening width and height at three points: top, middle, and bottom for width; left, center, and right for height. Use the smallest measurement to determine frame size.
- Measure the spline groove width with a spline gauge or by removing a short section of existing spline and bringing it to the store. Common sizes are 0.125 in, 0.140 in, 0.160 in, 0.175 in, and 0.250 in. Wrong spline width is the most common rookie mistake.
- Measure frame channel depth (how deep the groove is) to confirm spline diameter compatibility.
- For roll-up or sliding screen doors, measure track width and depth in addition to overall opening dimensions.
- Add 2–3 inches to each dimension when cutting mesh for spline-in-frame work. You trim after splining.
Photos to capture before you buy
- Full-face photo of each damaged panel in place
- Close-up of the spline channel showing groove width and any corrosion
- Corner joint photo showing how the miters are joined (corner inserts vs. welded vs. riveted)
- Any manufacturer labels or stamps on the existing frame (model numbers help match replacement frames)
- Frame profile cross-section if you can photograph a cut end or open corner
Parts and specs to verify before ordering
- Mesh type and width needed (confirm roll width covers your widest panel with the 2–3 inch overhang included)
- Spline diameter and material (rubber vs. foam; foam compresses more and suits slightly wider grooves)
- Frame material and finish if replacing frames (mill finish, bronze anodized, or powder-coated)
- Corner insert size if you are rebuilding frames
- Quantity: calculate total square footage of mesh, add 10–15% for waste and cutting error
- For solar or pet screens: confirm the openness factor and mesh color match your aesthetic and HOA requirements if applicable
DIY installation overview and tools you need
Re-screening a standard aluminum-framed panel is one of the more satisfying weekend projects because the results are immediately visible and the skill requirement is genuinely low. First-timers typically finish a standard window or patio panel in one to two hours. Here is the basic process.
- Remove the old spline by prying up one corner with a flathead screwdriver and pulling it out of the groove. The old mesh comes with it.
- Clean the spline channel with a stiff brush to remove debris and old rubber residue.
- Lay the new mesh over the frame with 2–3 inches of overhang on all sides. Keep the weave lines square to the frame edges; diagonal mesh will pucker.
- Starting at one corner, use a spline roller (concave wheel side) to press the spline and mesh into the groove along one long side. Pull the mesh taut as you work.
- Do the opposite long side next, pulling the mesh slightly taut before splining. Then do the two short sides.
- Trim excess mesh flush with the outer edge of the spline channel using a utility knife. Cut in one pass rather than sawing back and forth.
Essential tools: spline roller (a $5–$8 tool that pays for itself on the first panel), utility knife with a fresh blade, scissors, flathead screwdriver, and a measuring tape. A worktable at waist height makes the job noticeably easier than working on the ground.
What things actually cost
Cost transparency matters because a lot of online estimates are vague or badly outdated. Here is a realistic breakdown based on current retail pricing and typical contractor rates as of mid-2026.
| Item | DIY material cost | Pro installed (labor + materials) |
|---|---|---|
| Standard fiberglass mesh, 48in x 25ft roll | ~$28 (covers approx. 80–90 sq ft with waste) | N/A (material only) |
| PetScreen, 48in x 50ft roll | ~$175 | N/A (material only) |
| SunTex solar screen, 48in x 25ft roll | ~$81 | N/A (material only) |
| Spline roller tool | $5–$10 one-time | Included in labor |
| Spline, 25 ft roll | $3–$6 | Included in labor |
| Re-screen one porch panel (mesh + spline) | $8–$25 in materials | $40–$80 per panel labor + materials |
| Full porch or lanai re-screen (200 sq ft) | $60–$200 DIY materials | $400–$1,200 total |
| New aluminum replacement frame (standard size) | $15–$40 | Included in pro quote |
| Full new screened enclosure (structural) | Not a typical DIY project | $25–$120+ per sq ft |
Hiring a pro: what to check before you sign anything
If your project is a full porch re-screen or a new enclosure, a vetted professional will save time and almost certainly deliver a cleaner result than a first-time DIYer on a large-scale job. Here is how to vet them properly.
- Ask for a current license and general liability insurance certificate. Screen enclosure contractors in Florida and other Gulf states must be licensed; requirements vary by state.
- Get at least three written quotes itemizing mesh type, spline size, frame material, and labor separately. Vague 'per job' quotes make it impossible to compare.
- Ask which mesh brand and product they use. A reputable contractor should be able to name the mesh (not just 'fiberglass' or 'pet screen') and provide a spec sheet if asked.
- Ask about warranty: most quality contractors offer one to two years on labor and pass through manufacturer warranties on materials.
- Check local permit requirements before the contractor starts. In many Florida counties and some coastal jurisdictions, rescreening an existing enclosure requires a permit and inspection. A contractor who skips this may leave you with a code issue at resale.
- Review online reviews specifically for screen work, not general handyman services. Screen work is a specialty and quality varies significantly.
- Ask whether they offer solar or pet-resistant mesh upgrades. A contractor who only installs one type of mesh may not be giving you the best option for your situation.
Maintenance schedule to extend screen life
Screens are largely maintenance-free, but a small amount of regular attention doubles their service life in most climates.
| Task | Frequency | Notes |
|---|---|---|
| Rinse mesh with garden hose | Twice per year (spring and fall) | Use low pressure; high-pressure washing can stretch mesh |
| Wash with mild soap and soft brush | Once per year | Removes mold-feeding organic material from mesh and channel |
| Inspect spline for lifting corners | Once per year | Press lifted sections back; replace spline if it has hardened or cracked |
| Check frame corners for looseness | Once per year | Re-seat corner inserts or add sheet-metal screws if corners are wobbly |
| Inspect fasteners and hardware for corrosion | Once per year (twice in coastal areas) | Replace corroded screws before they seize or stain the frame |
| Clear spline channel of leaf/debris buildup | Each fall | Retained moisture in the channel accelerates frame and spline degradation |
Troubleshooting common screen problems
Mesh sagging or bowing outward
Sagging mesh is almost always a spline issue: the spline has hardened and shrunk, allowing the mesh to pull free from the channel at one or more edges. Remove the spline and re-screen. If the mesh itself has stretched, it will not tighten properly when re-splined and needs to be replaced.
Mesh pulled away from one corner
This usually happens when the spline was not pressed fully into the groove at a corner during installation, or when an impact (like a dog hitting the corner) pops the spline loose. Press the spline back in with a roller and a short piece of new spline material. If the groove is damaged at the corner, replace the frame section or the entire frame.
Screen door not latching or jumping the track
Check the rollers first. Worn or debris-clogged rollers are responsible for most sliding screen door problems. Replacement rollers cost $5–$15 and are available at big-box stores. If the door frame itself is bent or out of square, rollers will not fix it and the door frame needs replacement.
Visible diagonal wrinkles across the panel
Diagonal wrinkles mean the mesh was laid at an angle to the frame during installation. The only fix is to remove the spline and re-screen with the weave lines square to the frame edges. This is a pure installation error, not a materials problem.
Alternatives worth knowing about
Traditional spline-frame screens are not the only solution for an open patio. Depending on your patio layout and how you want to use the space, a few alternatives are worth a look. Retractable screen systems let you open the patio fully when conditions are good and screen it in when bugs or sun are a problem. Screened enclosures and purpose-built screen houses for patios are a step up from individual panel replacement, effectively turning an open patio into a protected outdoor room. At the more substantial end, patio window and door upgrades can convert a screened porch into a three-season or four-season space. For options on selecting the best patio windows for converting a screened porch into a three- or four-season space, see best patio windows. Each of these represents a meaningfully different investment level and scope compared to basic screen replacement, and they each warrant a full comparison of their own.
FAQ
What are the best patio screen materials for different priorities (visibility, durability, pet-proofing, privacy/shade, salt/UV resistance)?
Best choices by priority: Visibility — Phiferglass/BetterVue/UltraVue (vinyl-coated fiberglass) for high outward clarity and good weathering. Durability/strength — stainless steel woven mesh (18×16, 18×18, etc.) or heavy-duty TuffScreen for high tensile/tear resistance. Pet-proof — Phifer PetScreen or TuffScreen (vinyl-coated polyester) designed to resist claws; stainless is best where maximum chew/tear resistance is required. Privacy/Shade — solar/sunscreen fabrics with low openness (1–10%) provide shading and privacy (lower openness = more shade/privacy). No‑see‑um/tight insect control — No‑See‑Um / tight‑weave screens (e.g., Phifer No‑See‑Um) for tiny biting midges. Coastal/salt and UV resistance — use stainless hardware/frames and UV-stable meshes (Phifer’s WaterShed treatments/UV‑tested fiberglass); select ASTM‑tested coatings and corrosion-resistant fasteners for salt exposure.
How do I decide between repair and full replacement of patio screens?
Repair if: frame is square, hardware intact, and damage is limited to mesh tears or loose spline — replacement mesh and spline are inexpensive and quick (DIY ~1–2 hrs). Replace full screen (or frame) if: frame is bent/rotten, large sections sagging, multiple hardware failures, repeated mesh failures from pets/salt/UV, or when upgrading to a different product type (retractable, sunscreens). Also replace when you want a different function (solar shading, petproof, no‑see‑um) or when cost of repeated repairs approaches replacement cost.
What measurements and checklist do I need before ordering replacement patio screen material or a premade panel?
Measurement template/checklist: 1) Measure outside frame width and height at three points (top/middle/bottom for width; left/center/right for height) and record smallest dimension. 2) Measure frame depth and spline channel size. 3) Note frame material (aluminum, wood, PVC), corner condition, and attachment hardware type. 4) Record desired mesh type, color (charcoal/black/grey), and openness/shade % if using sunscreen. 5) Measure total linear feet for roll purchases and add 10% waste. 6) For retractables: measure opening width, clear headroom, and jamb depth to confirm mounting. 7) Photograph frame, spline channel, and hardware for vendor/contractor. Use these values when ordering pre-framed units, rolls, or contractor quotes.
What tools and materials are required for a DIY mesh replacement?
Essential tools: measuring tape, spline roller, flathead screwdriver or small pry bar (remove spline), utility knife or heavy scissors, replacement spline (match diameter), replacement screen roll, straight edge, work gloves, and optional channel brush or vacuum. For frame repairs: drill, rivets/screws, corner braces, epoxy/wood filler (for wood frames). For retractables or full-panel installs: level, drill/driver, anchors, and silicone sealant as needed.
What are realistic cost ranges and expected lifespans for common replacement options?
Material costs (retail examples): fiberglass roll (48″×25 ft) ~$25–40; PetScreen 48″×50 ft ~$170; SunTex sunscreen roll (48″×25 ft) ~$80; stainless woven insect cloth varies higher per sq ft. Pre-framed replacement panels or kits often <$30–$150 depending on size/material. Professional rescreening of an existing porch commonly runs ~$2–$6/ft² (regional variation and minimum call fees apply). Building a new screened porch ranges widely (~$25–$120+/ft²). Expected lifespans: standard vinyl-coated fiberglass 5–15 years depending on sun/UV and wind; PetScreen/TuffScreen 5–10+ years with pets; stainless steel screen 15+ years; sunscreen fabrics vary by openness/UV exposure (5–12 years). Lifespan shortens in high UV, salt, or high-wind environments.
When should I choose a retractable or roll-up screen versus fixed-frame replacement?
Choose retractable if you want an unobstructed view when not in use, occasional screening, or a cleaner aesthetic; good for door openings and some patios but higher cost and more maintenance. Choose fixed-frame replacement when you need continuous insect protection, lower upfront cost, simpler DIY installation, or when existing frame is integral to structure. If you need heavy pet resistance or maximum longevity in severe climates, fixed frames with stainless or heavy-duty mesh may be better. Consider frequency of use, exposure, and budget.
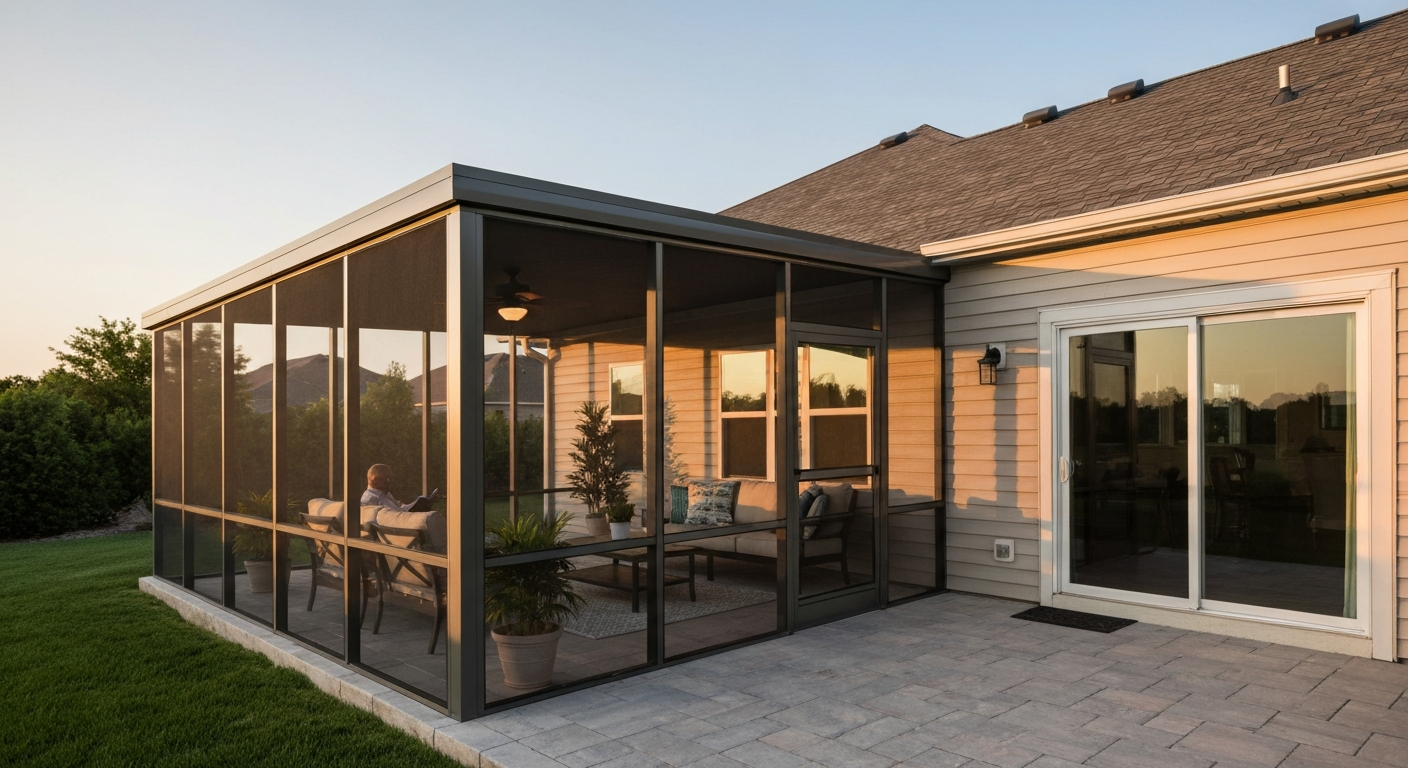
Find the best screen house for patio: compare styles, materials, sizes, costs, and pick the ideal option for your clima
Choose the best patio windows with types, materials, costs, ROI, climate performance, security, and install tips.
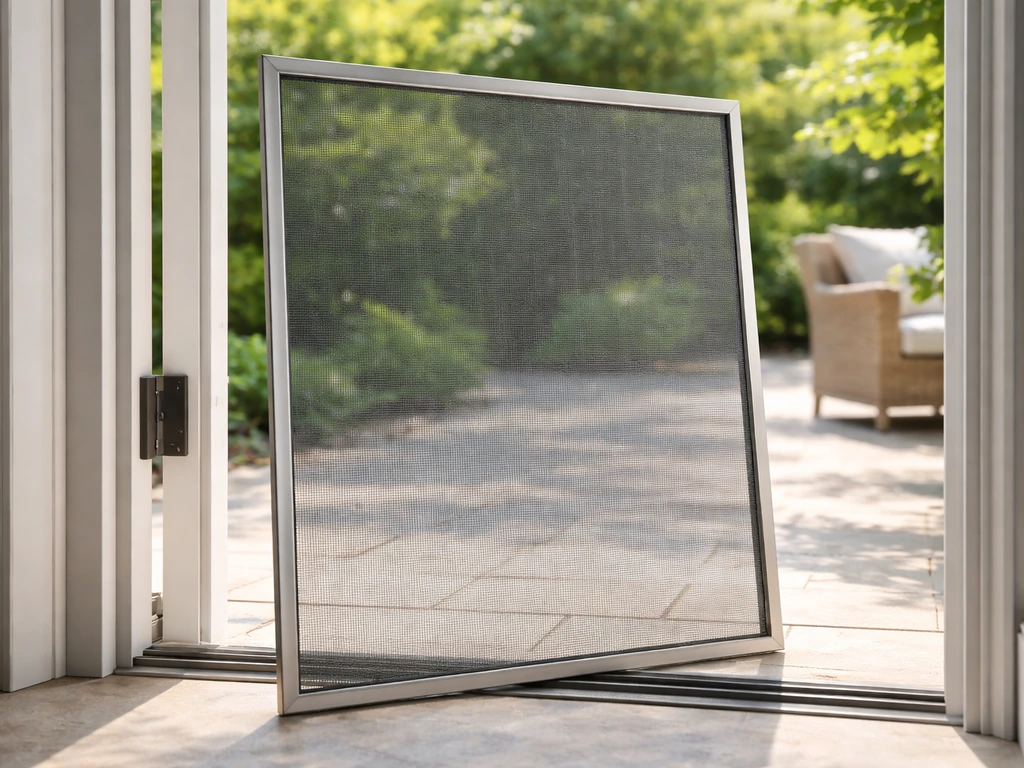
Compare fiberglass, aluminum, stainless and UV patio screens for insects, airflow, durability, pets, and weather to choo