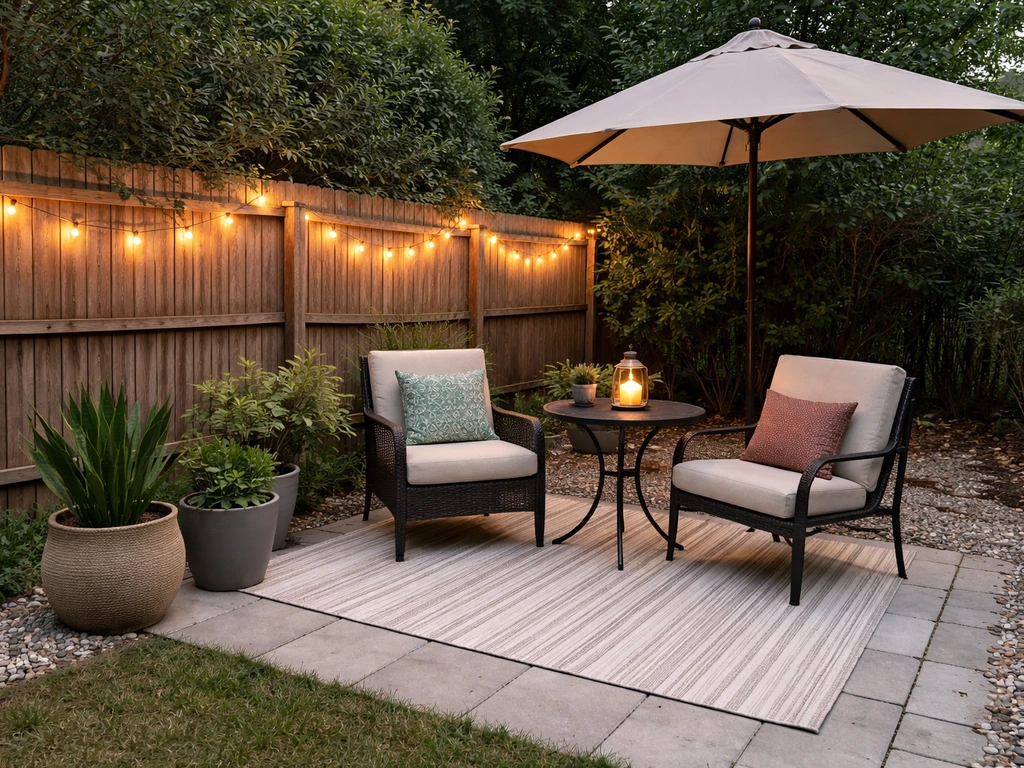
The best budget patio ideas come down to a simple formula: choose low-cost flooring that looks intentional, add one or two shade or privacy elements, layer in lighting and seating you already own or can buy secondhand, and skip the contractor for everything you can do yourself in a weekend. You can build a genuinely nice outdoor space for $500 to $3,000 depending on size and materials, and several of the upgrades below cost under $100 but deliver outsized visual impact.
Best Patio Ideas on a Budget: Plan, Build, and Upgrade

Phoebe Foster
29 Apr 2026
Set a budget and decide what 'best' actually means for your yard
Before you buy a single paver or string light, write down two numbers: what you can spend without stress, and the absolute ceiling you won't cross. Then ask yourself honestly what problem you're trying to solve. Is it that the backyard is just bare dirt and looks sad? Is it that you have a concrete slab but it's ugly? Or do you already have a decent surface but no shade, seating, or privacy? Your answer changes everything about how you allocate money.
A rough way to tier this: under $500 gets you a decor and lighting refresh (rugs, plants, string lights, a secondhand furniture set). $500 to $1,500 gets you flooring over an existing base, a shade sail or umbrella, and some basic furniture. $1,500 to $3,500 gets you a modest new paver or gravel patio from scratch, a simple pergola kit, and a full furniture setup. Above that, you're starting to get into contractor territory for the hardscape, which is fine, but it's worth being clear-eyed about where that line is before you start shopping.
Also decide what 'best' means visually for your space. A small, clean, intentional patio almost always looks better than a sprawling one that ran out of budget halfway through. If you're working with limited funds, a tighter footprint done well beats a large footprint done cheaply. Aim for a finished look in one zone rather than spreading your budget thin across the whole yard.
Layout ideas for small, awkward, or uneven yards
Most budget patio guides assume a flat, rectangular backyard, which is not most people's reality. Here's how to handle the common tricky situations.
Small yards
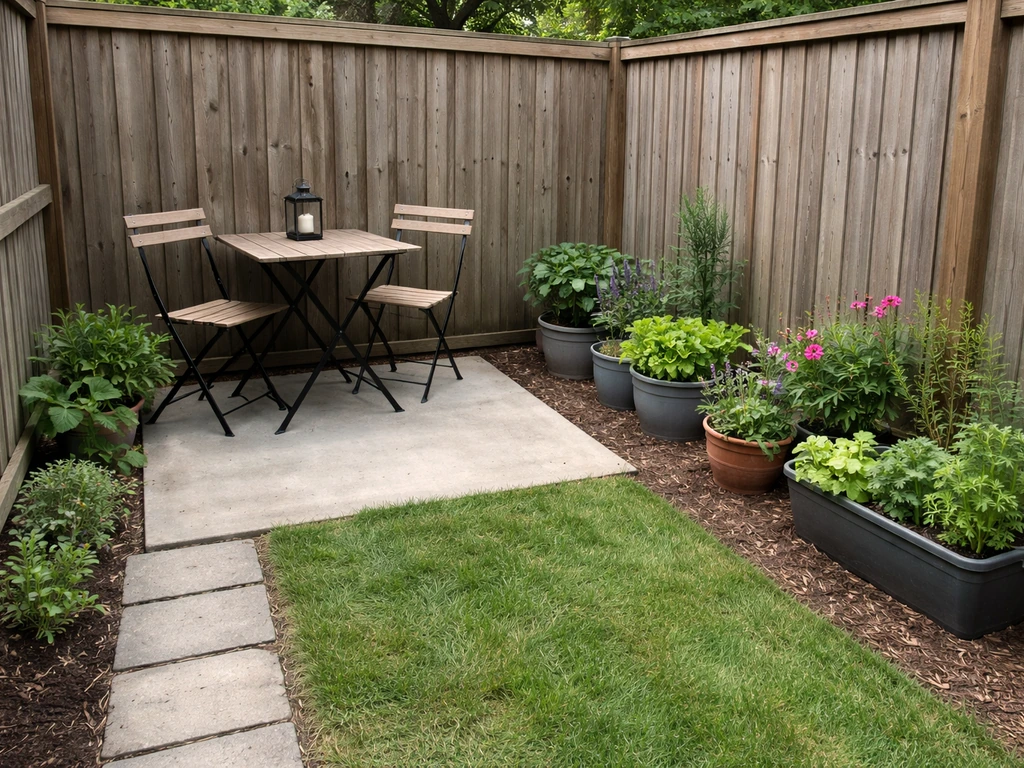
For small spaces, go tighter and taller. A 10x10 or 10x12 foot footprint is enough for a bistro table, two chairs, and a container garden. Define the edges with potted plants or a simple border of pavers, and the space feels intentional rather than cramped. Vertical elements (a wall-mounted planter, a trellis with climbing vines, an outdoor curtain panel on a tension rod) add visual interest without eating floor space.
Awkward or irregular shapes
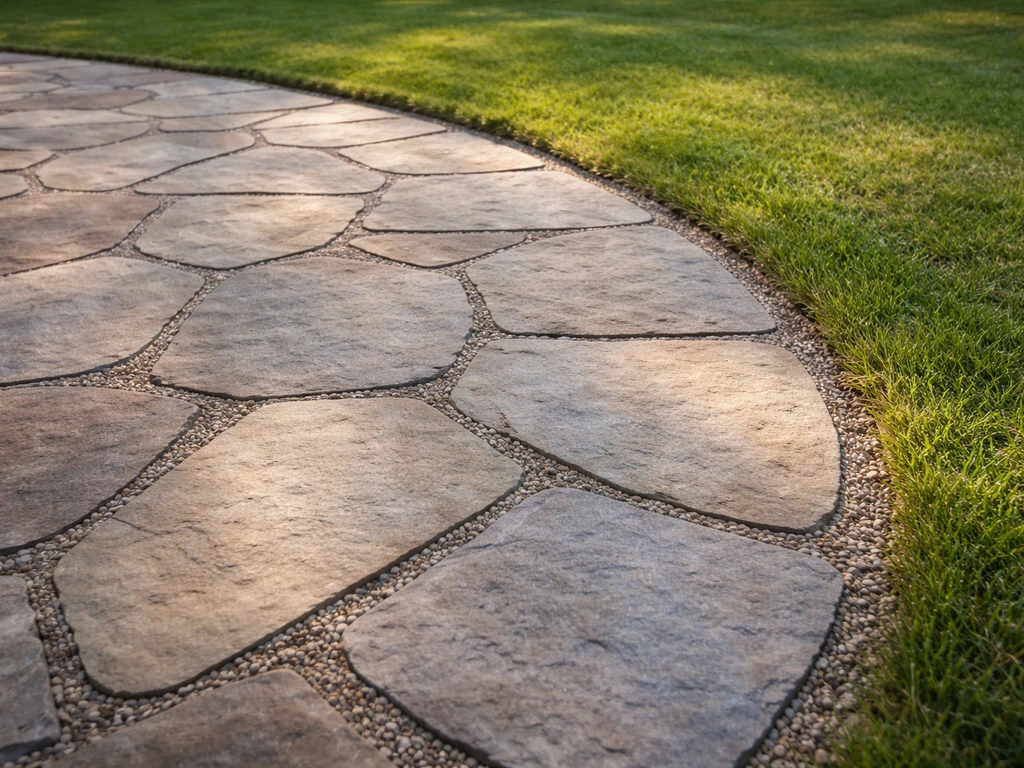
If your yard is oddly shaped, lean into it. A curved gravel patio or a freeform flagstone layout actually looks more natural and high-end than a forced rectangle in a weird corner. Gravel and decomposed granite are especially forgiving here because you don't have to cut anything to fit. Just define the border with steel edging or landscape timbers and fill it in.
Sloped or uneven ground
Slopes are the biggest budget-breaker if you try to fight them with a raised patio or major grading. A raised patio can run $10 to $85 per square foot installed, which adds up fast. The smarter budget move is to work with the slope using a simple stepped layout (two small flat terraces instead of one large level one) or to install a ground-level deck over the slope rather than excavating. If you do need to level any area for pavers, keep the footprint small and do the grading yourself. One important note: any patio surface should slope slightly away from your house, about a quarter inch per foot, to direct water away from the foundation. That's not optional.
Quick layout wins under $200
- Use a large outdoor rug to define a 'patio zone' on grass or dirt while you plan and save for hardscape
- Lay out pavers in a simple grid pattern on a grass area as a stepping-stone patio (no base material needed for light foot traffic)
- Use landscape fabric and a 2 to 3 inch layer of pea gravel or decomposed granite as a fast, no-cut, budget-friendly surface
- Repurpose pallets (sanded and sealed) as a temporary platform base for a small furniture zone
Budget patio flooring options (and how to pick the right one)
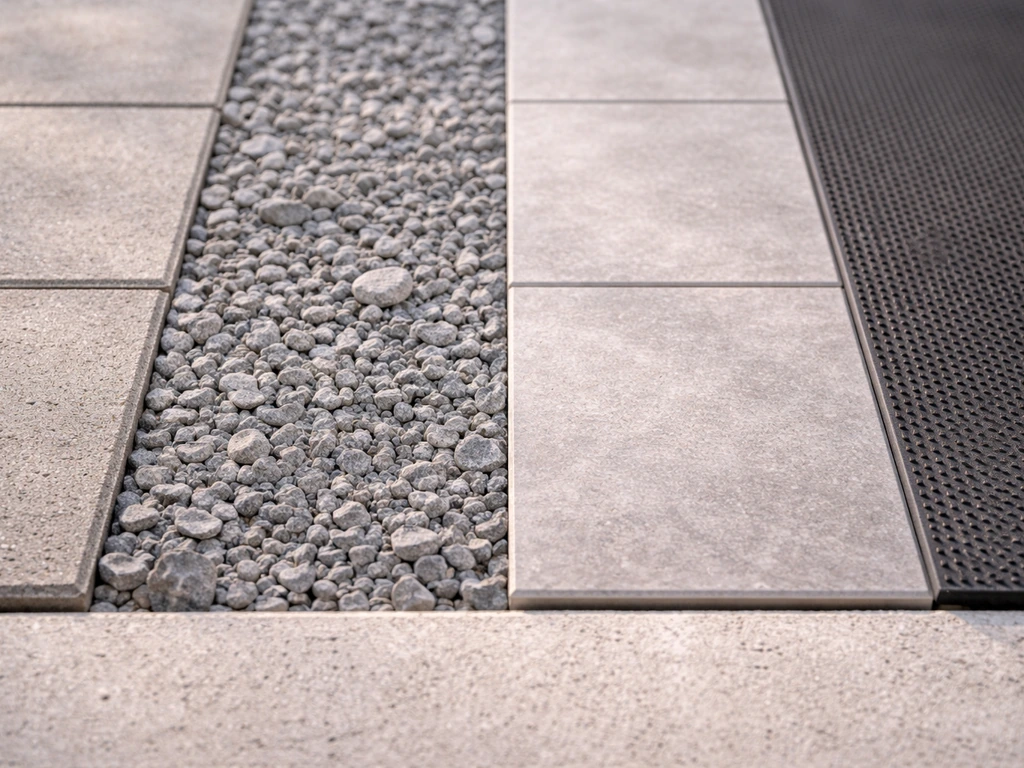
Flooring is usually where the budget either holds together or blows up. Here's a straightforward comparison of your main options, from cheapest to most expensive, with honest notes on each.
| Material | Installed Cost (per sq ft) | DIY Friendly? | Looks Like | Best For |
|---|---|---|---|---|
| Gravel / Decomposed Granite | $1–$4 | Yes | Casual, natural | Curved shapes, drought climates, quick installs |
| Concrete (basic pour) | $4–$15 | Partial | Clean, modern | Large flat areas, long-term durability |
| Concrete pavers | $6–$12 | Yes | Formal or modern | DIY rectangles, good resale look |
| Stamped or stenciled concrete | $8–$20 | Partial | Stone or tile look | Existing slab makeovers |
| Flagstone / natural stone | $15–$50+ | Partial | High-end, natural | Accent areas; expensive at scale |
| Outdoor porcelain tile | $5–$15 | Partial | Clean, upscale | Covered patios, mild climates |
| Permeable pavers | $10–$30 | Partial | Clean, functional | Areas with drainage issues |
If you already have an ugly concrete slab, resist the urge to rip it out. Concrete resurfacing, stenciling, or even a good outdoor paint job can completely transform a slab for $1 to $3 per square foot in materials. That's the single highest-return flooring move you can make on a budget. A stenciled concrete patio can genuinely pass for tile or stone from 10 feet away, and the whole project might cost you a weekend and $150 in supplies.
For a new surface from scratch, concrete pavers at around $8 per square foot installed (or cheaper if you do the labor yourself) hit the sweet spot of cost, durability, and looks. The key DIY requirement: you need to remove the top 6 inches or so of topsoil and add a compacted base layer of gravel before setting pavers, otherwise they'll shift and settle unevenly. Skip that step and you'll be resetting pavers in a year.
Gravel is the fastest and cheapest option and gets unfairly dismissed. If you use a finer, more compacted gravel like decomposed granite or crushed limestone and edge it cleanly, it looks great and drains perfectly. It does migrate over time and isn't great for bare feet, but for a side yard, garden zone, or casual entertaining space it's hard to beat at $1 to $4 per square foot.
Shade, privacy, and weather protection without overspending
This is the area where most people either overspend (buying a full pergola kit immediately) or underspend (doing nothing and then never using the patio because it's too hot or exposed). The smart play is to start with flexible, lower-cost options and only commit to permanent structures once you know how you actually use the space.
Shade options by budget
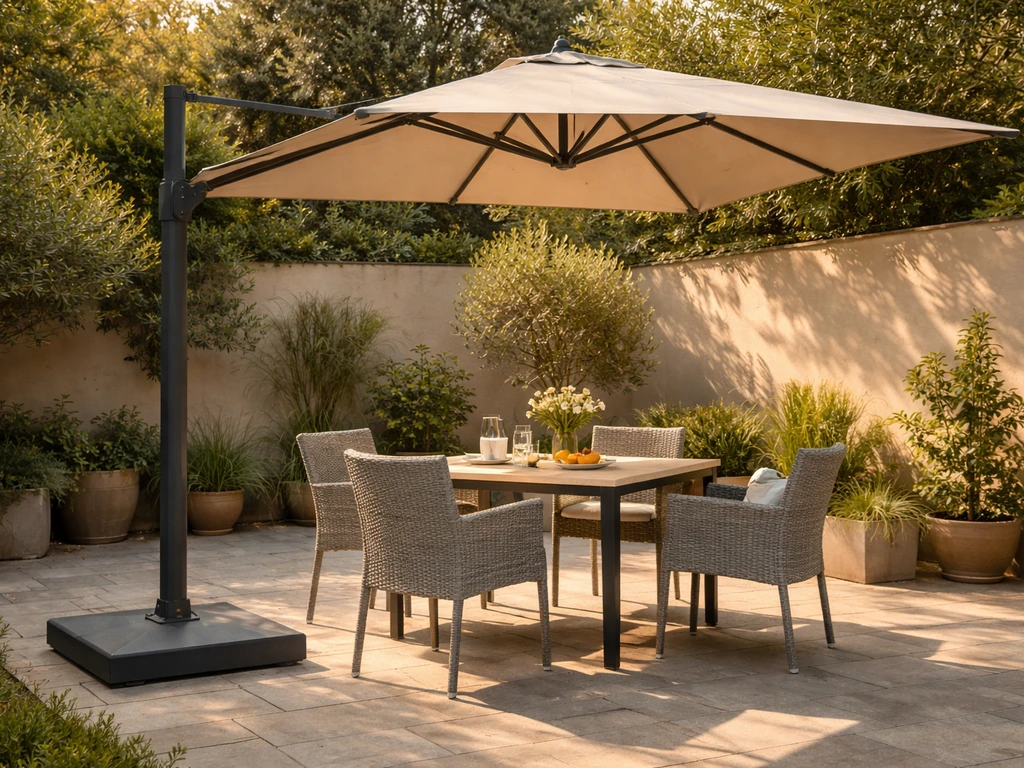
- Large cantilever umbrella ($80–$250): Best bang for the buck. Covers a dining table or lounge area, moves if you need it to, no installation required. Go for at least a 10-foot span and a weighted base.
- Shade sail ($40–$150): Great for covering an irregular zone or a larger area cheaply. Attach to existing fence posts, a wall anchor, and a freestanding post. Use two overlapping sails for full coverage.
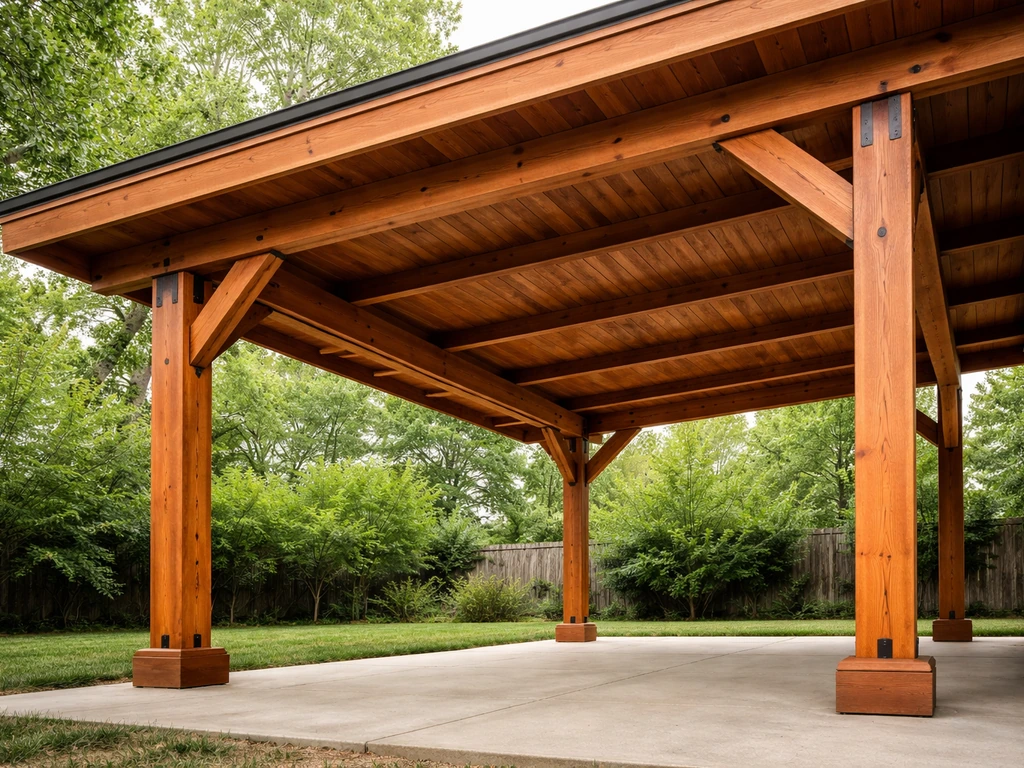
- Freestanding pergola kit ($300–$1,200): A step up in permanence and style. Cedar or aluminum kits from big-box stores go up in a day with two people. They don't block direct sun on their own, so pair with shade cloth, a sail, or a fabric canopy top.
- DIY lumber pergola ($150–$400 in materials): If you're handy, a simple 4-post pergola with 2x6 or 2x8 rafters is a weekend project. Four 4x4 posts, some hardware, and a weekend afternoon. Looks far more expensive than it costs.
- Outdoor curtains on a tension rod or cable ($30–$80 per panel): Hung from a pergola or fence, these add privacy and partial shade simultaneously. Use UV-rated fabric panels meant for outdoor use.
Privacy on a budget
Privacy screen panels (bamboo roll, reed fencing, or outdoor fabric panels) attach to an existing fence or freestanding frame and cost $20 to $60 for a 6-foot section. A row of tall ornamental grasses or fast-growing arborvitae along a fence line is a longer-play solution but very cost-effective. For instant privacy at a corner or along one side, a few large planters with tall grasses or bamboo (contained in pots to prevent spreading) work well and double as decor.
Weather protection for hot or buggy climates
If you're in Texas, Arizona, or anywhere with punishing summer heat, shade is not optional, it's the first purchase. A good shade sail or umbrella should come before new furniture. For humidity and bugs (common in the Southeast and Midwest), an outdoor ceiling fan mounted to a pergola or covered patio ceiling ($80 to $200) does double duty for cooling and keeps bugs away. A simple mosquito net canopy draped over an outdoor dining or lounge set runs $30 to $60 and works surprisingly well. Misters are a great add-on for dry heat climates but are less useful where humidity is already high.
Comfort upgrades that make a real difference
Lighting

String lights are the single best return-on-investment outdoor upgrade. A set of commercial-grade outdoor globe string lights (G40 or S14 bulbs) hung in a zigzag pattern overhead costs $25 to $60 and transforms a plain patio into a space people actually want to spend time in after dark. Solar-powered stake lights along a path or border cost $15 to $40 for a set and require zero wiring. For a step up in permanence, plug-in low-voltage landscape lighting kits run $50 to $100 and are easy to DIY.
Seating
New patio furniture sets are expensive. The best budget moves: check Facebook Marketplace and Craigslist for cast aluminum or resin wicker sets (people sell them all the time when they move), buy a basic metal frame set from a discount retailer and upgrade the cushions to a higher-quality outdoor fabric, or build a simple DIY sectional from concrete blocks and lumber with outdoor cushions on top. Concrete block sofas look genuinely modern and cost under $200 in materials including cushions.
Fire and heat
A basic steel fire pit costs $40 to $150 and is one of the most used outdoor purchases you can make. It extends the season in colder climates and creates a gathering focal point. Propane patio heaters ($80 to $200) are more practical for covered patios where an open fire isn't a good idea. A tabletop propane fire bowl ($60 to $120) works well for smaller spaces or apartments.
Bug control
- Citronella candles and torches ($15–$40): work for calm evenings with light bug pressure
- Outdoor ceiling fan on a covered patio: the most effective passive deterrent
- Mosquito coils or an electric lantern-style bug zapper ($20–$50): good for targeted areas
- Fine mesh canopy over seating area ($30–$60): best for high-mosquito zones
- Permethrin spray on furniture and rugs (treat once per season): highly effective, low cost
DIY vs. hiring a contractor: where to draw the line
The biggest budget mistake most people make is hiring out work they could reasonably DIY, or conversely, DIYing something that ends up needing to be redone professionally. Here's a practical breakdown.
Do it yourself with confidence: laying gravel or decomposed granite, setting pavers on a properly prepared base, installing a pergola kit, painting or staining an existing concrete slab, hanging string lights and outdoor curtains, building simple planter boxes, and assembling prefab furniture. These tasks require patience but no special skills or tools beyond a rental plate compactor for base work.
DIY with research and planning: building a basic lumber pergola from scratch, installing a shade sail with post anchors, laying flagstone with mortar in a small area, building a concrete block seating structure. These are doable but have enough variables that watching a few hours of video tutorials first is genuinely necessary, not optional.
Worth calling a pro: pouring a new concrete slab larger than about 200 square feet (concrete is unforgiving and fast-setting), any work near your foundation or involving drainage changes, electrical work for hardwired outdoor lighting or fans, and any project that requires permits in your municipality. Getting multiple bids is always worth it, and being specific in your brief (dimensions, materials, prep work included or excluded) is how you compare bids fairly.
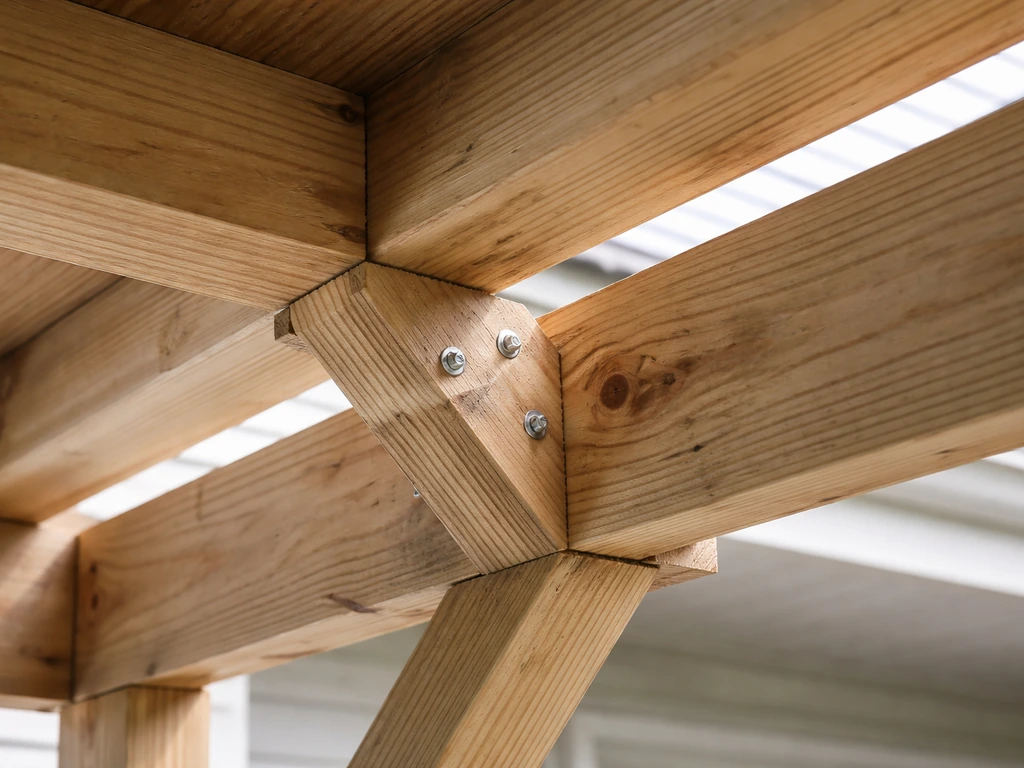
One common mistake worth calling out: skipping the base prep on paver projects. Pavers need a compacted gravel base (typically 4 to 6 inches) plus a sand setting layer to stay level over time. Skipping this because it feels like extra work or cost is the fastest way to end up with a wobbly, weedy patio two years from now. Rent a plate compactor for $50 to $80 a day and do it right.
If you're drawn to the DIY path, the related topics of cheap DIY patio ideas and step-by-step DIY outdoor patio ideas go deeper on specific build sequences and material sourcing, while quick-fix patio ideas covers the fastest low-effort upgrades if you want results this weekend.
Your build plan and shopping checklist
Use this as your starting framework. Adjust based on your actual measurements, chosen materials, and local prices.
Rough cost guide by project tier
| Tier | What It Includes | Estimated Cost Range | DIY or Pro? |
|---|---|---|---|
| Weekend refresh | String lights, outdoor rug, cushions, plants, fire pit | $150–$500 | Full DIY |
| Surface + decor | Gravel or paver patio (200 sq ft), umbrella, basic furniture | $600–$1,800 | DIY or partial |
| Full budget patio | Concrete pavers or slab, pergola kit, furniture, lighting, shade | $1,500–$4,000 | DIY + 1 pro task |
| Mid-range transformation | Pro concrete slab, DIY pergola, full furniture + shade set, lighting | $3,000–$7,000 | Mix of both |
Step-by-step build sequence
- Measure your space and sketch a rough layout. Mark the footprint with spray paint or rope before committing to anything.
- Decide on your flooring type and get a per-square-foot estimate (use the table above). Price out materials at your local home improvement store and compare to getting a pro quote for the same work.
- Address grading and drainage first. Make sure the surface will slope slightly away from the house (about 1/4 inch per foot). Don't skip this.
- Install or prep the surface: compact base, set pavers or pour concrete, or spread and edge gravel.
- Add shade first (umbrella or shade sail) before spending on anything else. Use it for a season if possible before committing to a pergola.
- Furnish with what you have or can source used. Add cushions, an outdoor rug, and potted plants.
- Hang string lights. Seriously, do this early. It's the fastest visual upgrade.
- Add privacy screening, curtains, or plants on whichever side faces neighbors or the street.
- Layer in comfort upgrades last: fan, bug control, fire pit or heater.
- If you need a pro, get at least three quotes. Provide exact dimensions and material specs so bids are comparable.
Pre-shopping checklist
- Measured patio footprint (length x width in feet)
- Flooring type decided and square footage calculated (add 10% for waste)
- Base material needed? (gravel base for pavers: yes. Existing concrete slab: no.)
- Shade solution chosen and anchor points identified
- Furniture plan confirmed (new, used, or DIY build)
- Lighting plan: string lights power source (outlet nearby or solar), stake lights for paths
- Privacy needs identified and solution chosen
- Bug/heat/cold situation addressed for your climate
- Total budget checked against rough estimates above
- Any tasks that need a pro quote identified and listed
The main thing that separates a budget patio that looks great from one that looks like it ran out of money is intentionality. Pick a footprint that fits your budget, finish it completely, and make deliberate choices about shade, lighting, and plants. A small, finished 10x12 patio with clean edging, a shade sail, good lights, and a couple of nice chairs will look and feel better than a sprawling surface with half a furniture set and bare bulbs. Start smaller, finish it well, and add on later.
FAQ
What’s the best patio layout for a budget if I want it to feel bigger?
Use one focal zone and define clear edges. For example, do a tight 10x12 footprint with a consistent border (pavers or steel edging) and keep furniture grouped around the fire pit or dining table. A single larger rug or runner outdoors also helps visually unify the area, so it reads as one finished room instead of scattered pieces.
How do I estimate how many pavers or how much gravel I need without wasting money?
Measure length and width, then add 10 to 15% for cuts, waste, and settling. For base materials, plan on at least 4 to 6 inches of compacted gravel before pavers, and remember that “inches” in a materials calculator refer to thickness before compaction, not the final height.
Should I put patio furniture directly on gravel or DG, or do I need a platform?
If you use gravel or decomposed granite, set furniture bases on outdoor pads or a small stepping-stone “deck” under key pieces so legs do not sink or tip. For dining sets, consider a paver strip or compacted leveling pad beneath chair legs so chairs stay stable when people sit and stand.
What’s the cheapest way to get a clean look if my existing patio is stained or cracked?
Start with a deep clean and repair first, then resurface. Outdoor concrete coatings or resurfacing patches can hide light cracking, while stenciling and a good outdoor paint system can dramatically change the look for low material cost. The key is prepping properly so the new layer bonds, not just covering stains.
Can I install pavers over an existing slab or patio?
Sometimes, but it depends on drainage and the slab condition. If water can’t drain away from the foundation or the surface is uneven, pavers can heave or trap moisture. If you do this, use a compatible leveling approach (often a thin mortar or leveling system) and confirm the patio’s slope remains away from the house.
How much slope should I build into a budget patio, and how do I measure it?
A practical target is about a quarter inch drop per foot away from the house. Use a string line and a simple level (or laser level) to mark height at both ends before you place the base, so you don’t end up “fixing” the slope after pavers are set.
What’s the best budget shade option if I don’t want to drill into the house?
Choose a shade sail with deck or post anchors, or use a freestanding umbrella with a weighted base that matches your furniture layout. If you have wind, pick an umbrella and sail size that allows clearance, and position it so the wind can vent around it rather than acting like a sail attached to furniture.
Do string lights need to be wired, and how do I keep them from becoming a tangled mess?
They don’t. Stake lights for paths are wire-free, and many overhead string lights use standard outdoor plugs. To avoid tangling, plan a zigzag line with two anchor points (posts, fence mounts, or hooks), then secure with small outdoor-rated clips instead of wrapping tightly around railings.
What’s the biggest risk with DIY gravel patios, and how can I prevent it?
Migration and uneven texture over time. Prevent this by using a clean edging system (steel edging or timbers), then choose a finer compactable gravel or DG, compact it well, and top it with a uniform depth. If you have bare-foot areas, add a small paver or mat zone where traffic is heaviest.
If I want privacy cheaply, what should I buy first for the best immediate impact?
Buy something that works right away, not only in future growth. Large planters with tall grasses, bamboo kept in contained pots, or outdoor fabric privacy panels give instant coverage. Save living screening for longer-term layers like arborvitae, because mature plants cost more up front.
When is it actually worth hiring a pro, and what should I ask them?
Hire out when you need foundation drainage changes, electrical hookups for hardwired fans or lighting, work near the foundation, or any project that needs permits. Ask for a scope that includes base prep, slope plan, and material brands, and request a timeline for inspections and curing if concrete is involved.
What’s a smart “small patio” first upgrade if I’m still deciding on flooring?
Start with lighting and seating accessories, then finalize the surface later. String lights, an outdoor rug, and two chairs can make the space usable immediately, while you gather measurements and compare flooring costs. This avoids paying for a full resurfacing or paver job before you know your real traffic flow.
Next Articles
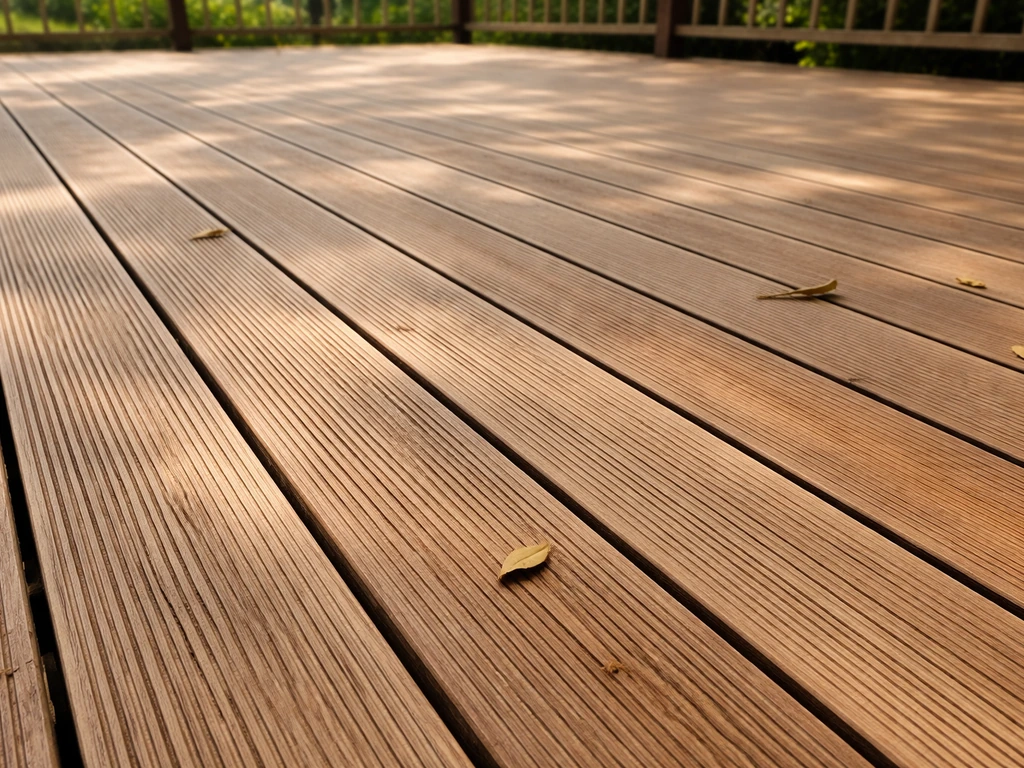
Best Patio Wood: Choose Decking That Lasts
Compare the best patio wood options for rot, mold, warping, and splinters by climate, maintenance, and slip resistance.
Best Wood for Patio Cover: Choices, Grades, and Tips
Compare cedar, redwood, and pressure-treated wood grades for patio covers, plus what to buy, finish, and maintain outdoo
Best Wood for Patio Roof: Top Species, Grades, and Care
Choose the best wood for a patio roof with top species, grades, fasteners, finishing, and climate-based care tips.