
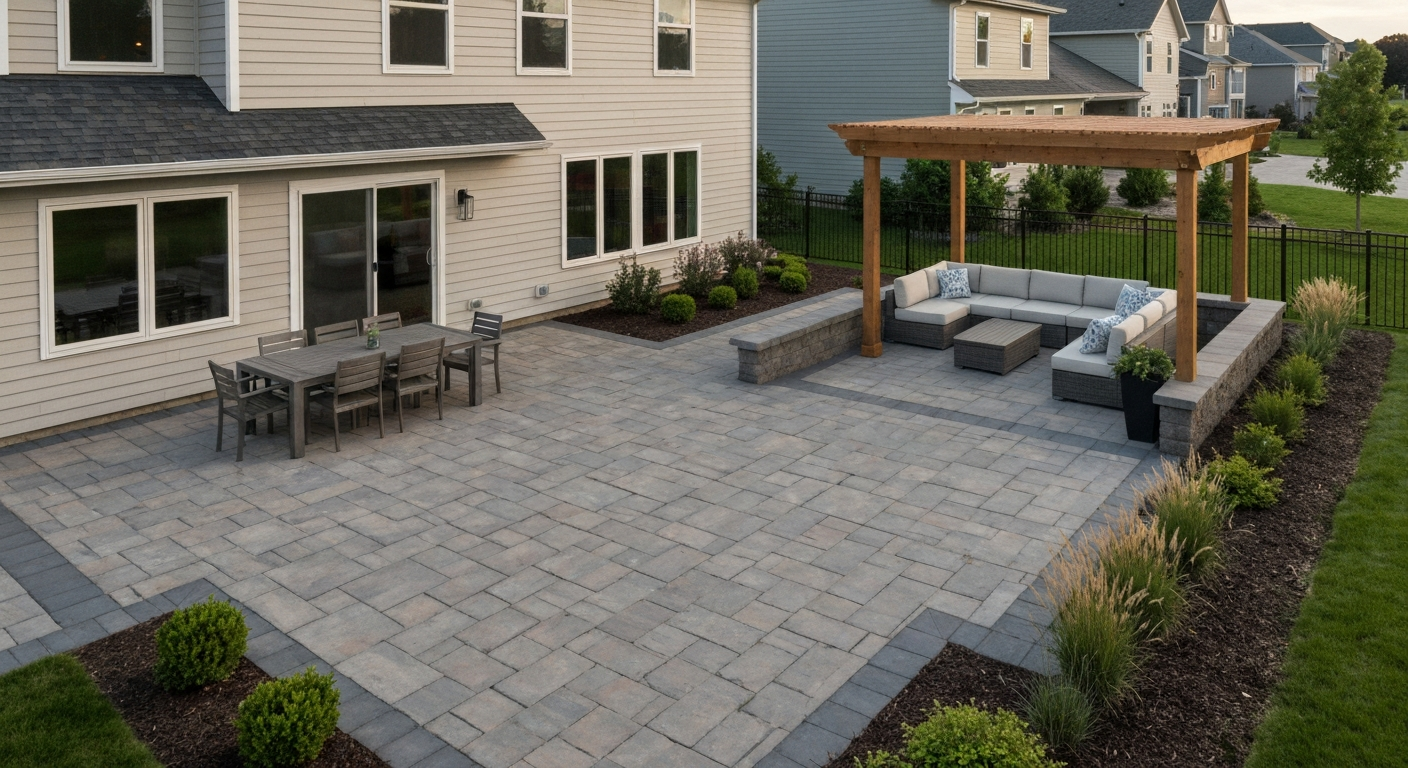
The best patio shape for most homeowners is a rectangle or L-shape. Rectangles are the easiest to build, the most furniture-friendly, and the least expensive per square foot. L-shapes are the go-to when you need to separate dining from lounging, work around a door or corner, or wrap a house edge. That said, the right shape really depends on what you're doing out there, how your yard drains, what your house looks like, and how much you want to spend. This guide walks you through every factor, shape by shape, so you can lock in your decision before you order a single paver or call a single contractor.
Best Patio Shapes: Choose the Right Layout for Your Yard

Phoebe Foster
24 Jul 2026
Who this guide is for
If you're starting from scratch, replacing a crumbling slab, or trying to figure out why your current patio feels awkward, this is for you. This guide covers every common patio shape, including rectangles, squares, circles, ovals, L-shapes, multi-level designs, curved patios, and freeform layouts. For each one, you'll get honest pros and cons, typical sizes, furniture fit, build complexity, cost ranges, DIY feasibility, and the kinds of constraints that should push you toward or away from a particular shape. There are also sections on drainage, integration with your home's architecture, shade structure compatibility, and materials, because shape doesn't exist in isolation. By the end, you'll have a clear recommendation for your specific situation.
Choose your shape in 5 steps
Before you get attached to any particular look, run through these five questions. Your answers will eliminate most options and point you toward one or two realistic shapes.
- What is your primary use? A single dining table needs about 12 x 12 feet minimum. A lounge area with a sectional needs at least 14 x 16 feet. Grilling zones need 6–8 feet of depth near an exterior wall. Multiple uses require either a larger footprint or an L-shape to zone them properly.
- How big and flat is your available space? Measure the usable area outside your back door. Note any slopes greater than 1 inch per foot, which will require grading or a multi-level design. Narrow side yards under 10 feet wide almost always dictate a long rectangle.
- What does your house look like? A traditional brick colonial pairs naturally with rectangular or square shapes. A mid-century modern home is a good match for geometric angles or an L-shape. Organic curves work best with craftsman, cottage, or landscape-forward homes.
- Do you need a cover or shade structure? Rectangular and square patios attach directly to standard pergola and awning kits. Curved and freeform shapes require custom fabrication, which adds significant cost and complexity.
- What is your budget and are you DIYing? Simple rectangle on a flat site with concrete pavers is the most budget-friendly shape and the most DIY-accessible. Every curve, every level change, and every non-standard angle adds labor time and material waste. Set your shape budget before you commit.
How patio shape affects function
Furniture layout
Shape is essentially the container your furniture lives in, and square footage alone doesn't tell the whole story. A 200-square-foot circle actually gives you less usable furniture space than a 200-square-foot rectangle, because furniture is rectangular and the circular edges waste corner space. Industry ergonomic guidance (adapted from NKBA kitchen planning standards, which designers frequently apply to outdoor spaces) recommends at least 36 inches from the edge of a dining table to any wall or railing for comfortable chair pull-out and passing traffic. If no one walks behind the chairs, 32 inches is workable. Where people need to walk behind seated guests, you want 44 to 60 inches. A standard 6-person rectangular dining set with chairs needs roughly a 12 x 14-foot zone to breathe properly.
Traffic flow
Think about how people will move from the house to the patio, from the patio to the yard or pool, and through the patio itself during a gathering. Rectangular shapes with a main entry from a sliding door or French door create a natural primary axis that traffic follows without bumping into furniture. L-shapes create a natural separation between a high-traffic zone (usually near the house entry) and a quieter lounge or dining zone at the far end. Circular and curved shapes look elegant in photos but can create ambiguous traffic paths where guests aren't sure where they're supposed to walk. If accessibility matters to you or your household, the 2010 ADA Standards call for a minimum 36-inch clear walking width along accessible routes, with a maximum running slope of 5% and cross slope of about 2%. Keep those numbers in mind when deciding how a path crosses or connects to your patio.
Sightlines
Shape also controls what you see from where you sit. A long rectangle oriented toward a garden view or fire pit puts the focal point directly ahead of seated guests. An L-shape can frame a corner of the yard, drawing the eye into a landscape feature. Multi-level designs create natural sightline hierarchy: the upper level looks outward, the lower level looks back toward the house and upper level. Circular patios work well as focal points in the center of a yard, where they function as destinations rather than extensions of the house.
Drainage, grading, and site constraints
This is the part that most people skip until water shows up in their basement or pools against their foundation, and I've seen it happen more times than I can count. Any patio surface, regardless of shape, needs to slope away from the house at a minimum of 1/8 inch per foot, and most installers use 1/4 inch per foot to be safe. Over an 8-foot-wide patio, that means a 1-inch drop from the house edge to the outer edge. On a rectangular patio that's straightforward to achieve. On a curved or irregular freeform shape, hitting a consistent drainage pitch across a non-linear surface takes more planning and more labor.
Sloped sites are one of the most common constraints that actually determine shape before any aesthetic preference comes into play. A natural slope toward the house almost always requires either a retaining wall, a multi-level terrace design, or significant grading, all of which increase cost and complexity. If your yard slopes away from the house, you have more flexibility, but you still need to verify the drainage pitch stays within control and doesn't accelerate stormwater runoff toward a neighbor's property or a drainage channel.
If runoff management is a priority, permeable paver systems are worth considering. The EPA and ICPI both publish guidance on permeable interlocking concrete pavement (PICP) systems that use an engineered subbase to allow stormwater to infiltrate rather than run off. These systems work with any shape but require a properly designed subbase with sufficient storage depth, and they need periodic vacuuming and joint-material maintenance to stay functional. They're not truly no-maintenance, but for homeowners in areas with stormwater restrictions or runoff issues, they're a legitimate engineering solution, not just a stylistic choice.
Fitting your patio to your house and landscape
A patio that looks disconnected from the house is one of the most common design mistakes I see, and it almost always comes down to shape. The general principle is to echo the dominant geometry of your home's footprint and roofline. If your house has a lot of right angles and symmetrical windows, a rectangle or square patio will feel intentional and cohesive. If your landscaping is full of flowing planting beds and organic shapes, a curved or freeform patio will tie the two together. A mismatch, such as a circular patio attached directly to a boxy brick ranch, tends to look like an afterthought.
Proportion matters too. A patio that is too small for the house looks like an afterthought. A rough rule that designers use is to size the patio so it's at least as wide as the main back entry or entertaining space of the house. For a home with a 20-foot-wide great room that opens to the backyard, a patio narrower than 16 to 18 feet will feel pinched. If you're planning with digital tools, the sibling topic on the best apps to design your patio covers the specific programs that let you test shapes against your actual house dimensions before anything gets built.
Landscape integration is equally important. Patios that are surrounded by planted beds rather than just ending at a lawn edge look finished and intentional regardless of shape. Curved shapes benefit most from soft planting edges; rectangular shapes benefit from crisp edging, boxwood hedges, or defined gravel borders. If you're working on a full redesign, the articles on latest patio designs and latest patio trends cover how current landscape design is incorporating patios as anchors of the entire outdoor living space rather than just a slab next to the door. For layout ideas tailored to different house styles, see our best patio home designs.
Covers, pergolas, awnings, and shade systems
If you plan to add a shade structure now or later, your patio shape needs to support it. This is a bigger constraint than most homeowners realize when they're in the planning phase.
Attached pergolas and awnings connect to the house via a ledger board, and that attachment requires specific flashing, fastener schedules, and sometimes a permit. The IRC and guides like the American Wood Council's DCA-6 prescribe exact lag bolt sizing and spacing for ledger connections. See 2024 International Residential Code (Chapter on Floors / deck attachment guidance), ICC for detailed ledger attachment, flashing, and fastener requirements 2024 International Residential Code (Chapter on Floors / deck attachment guidance) — ICC. A rectangular patio aligned squarely with the house wall makes this attachment clean and code-compliant. An angled or irregularly shaped patio that doesn't align with the house wall complicates the ledger attachment significantly and may require custom engineering.
Freestanding pergolas and shade sails are more flexible and can work over almost any shape, but they require footings anchored in the patio surface or just outside it, which means planning footing locations before you finalize your layout. A circle or oval patio can look stunning under a centered freestanding pergola or shade sail, but you need to think through post placement relative to furniture zones. Regarding permits: many jurisdictions treat attached patio covers as permit-required structures. Some, like the City of Fairfield, CA, explicitly require a building permit and plan submittal for patio covers. Check with your local building department before finalizing any shape that's designed to carry a cover.
HOA rules add another layer. If you live in a community with a homeowners association, your CC&Rs and Architectural Review Committee (ARC) guidelines likely require prior approval for any new patio or patio cover, and they may restrict materials, colors, and visible modifications. Review those documents before you get emotionally invested in any particular shape or material.
Material choices and how shape affects them
Shape and material are deeply linked, and choosing a shape without thinking about material costs and complexity is how projects go over budget. Here's the honest breakdown.
Poured concrete is cheapest on a simple rectangle or square (roughly $7 to $12 per square foot installed for basic gray), but the forming gets complicated on curves, and stamped or decorative work runs $12 to $30-plus per square foot. Every non-right-angle form adds labor. Concrete pavers are probably the most shape-flexible material for a DIYer: they run approximately $12 to $25 per square foot installed, and manufacturers like Unilock publish step-by-step installation guides for curved and irregular layouts. The tradeoff is that curved paver edges require rigid edge restraints (plastic, aluminum, or steel) anchored into the compacted base, and curved cuts increase material waste and labor time. ICPI technical guidance is clear that curved and circular shapes meaningfully increase cutting, fitting, and labor compared to straight-run rectangular layouts.
Natural stone is the most expensive and the most shape-sensitive: expect $20 to $50-plus per square foot installed, and curves require even more hand-fitting and cutting than pavers do. If you're drawn to a circular or curved shape and want to use flagstone, get a contractor estimate before committing. It may change your shape decision. Composite decking is essentially off the table for curved patio shapes unless you're building a raised deck structure: manufacturers like Trex specify joist spacing requirements, fastening schedules, and curvature limits that make freeform shapes impractical without significant structural framing.
Base preparation and edge restraints matter for long-term performance regardless of material or shape. ICPI standards and manufacturer installation guides consistently require a compacted granular base (with geotextile separation in problematic soils), rigid edge restraints anchored into the base, and consistent joint detailing. A rectangle is easier to compact and edge properly than a multi-curve freeform, which is one more reason irregular shapes cost more even when the surface material cost per square foot looks the same.
Rectangle and square patios: the workhorse shapes
If I had to give one recommendation to the majority of homeowners, it would be: start with a rectangle and make it bigger than you think you need. These two shapes dominate residential patios for good reason, and they're worth understanding in detail.
Rectangles
A rectangle is the easiest shape to build, the easiest to lay furniture into, the easiest to add a cover to, and the easiest to drain properly. It works with every material and every cover type. The most common mistake homeowners make with rectangles is sizing them too small. A 10 x 10-foot patio feels generous on paper and cramped in real life. For a dining table that seats 4 to 6 people, you need at least a 12 x 14-foot zone. For a lounging area with a sectional and coffee table, plan on 14 x 16 feet minimum. A combined dining-and-lounge rectangle typically needs 16 x 20 feet or more to feel comfortable. Using painter's tape on the ground to mock up furniture placement before you pour is one of the most valuable 30 minutes you can spend on this project.
Rectangles are the most DIY-friendly shape for any material. Straight lines mean straight cuts, square forms, and consistent base compaction patterns. Most manufacturer DIY guides and This Old House-style tutorials are designed around rectangular layouts. If you're budget-conscious, a rectangle in concrete pavers on a flat or gently sloping site is the most approachable shape to tackle yourself over a weekend or two.
Squares
Squares share all the building advantages of rectangles but have a different functional personality. A square layout tends to feel more centered and symmetrical, which makes it ideal as a destination space: a dining circle in the middle of a yard, a fire pit gathering area, or a hot tub surround. The limitation is that squares don't naturally suggest a direction of travel the way a rectangle does, so they can feel a bit static if attached directly to the back door as the primary patio. Where they shine is as a secondary zone connected to a main rectangular patio by a short path or step down.
Common square patio sizes run from 10 x 10 feet (a tight bistro setup for two) up to 16 x 16 feet (a generous fire pit area with 4 to 6 chairs). Build complexity and cost are essentially the same as for a rectangle of equivalent area.
Rectangle vs. square: quick comparison
| Factor | Rectangle | Square |
|---|---|---|
| Furniture fit | Excellent — aligns with standard furniture proportions | Good — works best with centered round tables or fire pits |
| Traffic flow | Natural directional flow along the long axis | Omnidirectional; works better as a destination than a through-space |
| Drainage pitch | Straightforward to slope in one or two directions | Same ease as rectangle |
| Pergola/cover compatibility | Best — standard kit widths match rectangular spans | Good — standard square pergola kits are available |
| Build complexity | Lowest of all shapes | Equally low |
| DIY feasibility | Highest | Equally high |
| Typical installed cost (pavers) | $12–$25/ft² | $12–$25/ft² |
| Best use case | Primary patio with dining and/or lounge zones | Secondary destination: fire pit, hot tub, bistro corner |
Other common shapes: pros, cons, and when they make sense
L-shapes
The L-shape is probably the most practical upgrade from a basic rectangle. It lets you wrap a corner of the house, zone two activities (dining in one arm, lounging or grilling in the other), and still keep the build complexity and material costs relatively close to a rectangle. Because it's made of two rectangles, every material and every cover option is still accessible. The main consideration is sizing each arm correctly: each zone should be at least 10 to 12 feet wide to be functional, which means L-shape patios usually need a minimum total footprint of around 200 to 300 square feet to work well. Labor costs run 10 to 20 percent higher than a comparable square-footage rectangle due to the additional corners and edge restraint work.
Circle and oval
Circular and oval patios look beautiful and work well as standalone destination spaces, particularly around fire pits, fountains, or in the center of a formal garden. They're poor choices as primary patios attached to a back door for two reasons: standard rectangular furniture doesn't fit them efficiently, and traffic flow becomes awkward. Build complexity is meaningfully higher. Circular cuts in pavers require wedge-cutting or specially manufactured curved border units and more edge-restraint detail. Poured concrete circles require custom curved forms. Natural stone circles are extremely labor intensive. Expect installed costs to run at least 20 to 30 percent more per square foot than a comparable rectangle of the same material, mostly due to labor.
Curved and freeform
Curved patios (one or more sides with a gentle arc) are the most popular shape in landscape architecture for one reason: they integrate beautifully with organic planting beds and natural yard shapes. A single curved front edge on an otherwise rectangular patio softens the geometry without adding much complexity. A fully freeform shape with multiple curves is the most expensive and the most difficult to DIY, requires the most material waste in cutting, and is hardest to attach standard covers to. If curves appeal to you, a modified rectangle with one curved edge is the best compromise between aesthetics and practicality.
Multi-level
Multi-level patios are a terrain solution as much as a design choice. If your yard steps down from the house, a two-level design can turn that grade change into a feature rather than a problem. The upper level sits close to the house and typically handles dining; the lower level handles lounging, a fire pit, or a pool surround. The connection between levels (steps, a retaining wall, or a low deck section) adds material and labor cost, and this is almost always a contractor job rather than a DIY project. Permitting is more likely to be required once you're building retaining walls or structures over certain heights. Multi-level designs also require the most careful drainage planning to ensure neither level pools water.
Shape recommendations by use case and yard type
| Situation | Recommended Shape | Notes |
|---|---|---|
| Primary dining patio | Rectangle (12×14 ft minimum) | Best furniture fit, easiest to cover, most cost-effective |
| Dining + lounging combined | Rectangle (16×20+ ft) or L-shape | L-shape lets you zone the two uses without crowding |
| Grilling/BBQ zone | Rectangle or L-shape arm (8+ ft deep) | Keep 6–8 ft of clear depth near grill; L-shape keeps smoke away from seating |
| Fire pit gathering | Square or circle (14–16 ft across) | Centered layout works naturally around a fire feature |
| Poolside patio | Rectangle or L-shape | Drainage pitch critical; rectangle easiest to manage runoff |
| Small yard (under 15 ft wide) | Long narrow rectangle | Maximize usable width; avoid curves that waste edge space |
| Sloped yard | Multi-level rectangles or terrace | Grade change becomes a design feature; requires retaining walls |
| Irregular/odd-shaped yard | Freeform or curved | Match the yard boundary; budget extra for material waste and labor |
| Formal garden or destination space | Square or circle | Works as a standalone destination, not attached to house |
| Narrow side yard | Long rectangle (8–10 ft wide minimum) | Single axis; avoid anything wider than the space allows |
Shape complexity, cost, and build approach compared
| Shape | Build Complexity | Typical Cost Range (pavers) | DIY-Friendly? | Best Material Match |
|---|---|---|---|---|
| Rectangle | Low | $12–$25/ft² | Yes | Any |
| Square | Low | $12–$25/ft² | Yes | Any |
| L-shape | Low-Medium | $13–$27/ft² | Yes, with planning | Pavers, concrete |
| Curved (one edge) | Medium | $14–$28/ft² | Possible | Pavers (wedge-cut), concrete |
| Circle/Oval | High | $18–$35+/ft² | Difficult | Pavers (specialty units), concrete |
| Freeform | High | $20–$40+/ft² | Not recommended | Pavers, flagstone |
| Multi-level | Very High | $25–$50+/ft² | No | Any, with retaining walls |
Labor consistently represents 40 to 60 percent of total patio installation cost. Shape complexity multiplies labor time more than it multiplies material cost. A contractor who quotes a flat per-square-foot rate for a simple rectangle will typically add a complexity premium for curves, multiple levels, and difficult site access. Get itemized quotes and ask specifically whether the per-square-foot price accounts for site grading and drainage work, because those line items can double a project budget on sloped or problem sites.
Regional and climate considerations
Shape alone doesn't change how well a patio holds up in your climate, but it does interact with material and drainage choices that are climate-dependent. In freeze-thaw climates (most of the Midwest and Northeast), poured concrete is more vulnerable to cracking from frost heave than interlocking pavers, which can flex slightly and be reset if sections shift. Rectangular paver layouts are easiest to repair section by section without visible patches. In hot desert climates like the Southwest and Texas, concrete and dark-colored pavers absorb significant heat, and the size of the patio matters as much as the shape: a large unshaded rectangle in Phoenix in July is basically unusable without a cover. In wet climates like the Pacific Northwest, drainage pitch and permeable materials become priority factors that should influence both shape and material selection before aesthetics come into play.
Permitting, HOA, and planning checklist
Before finalizing any shape, run through this checklist. Skipping these steps is how you end up tearing out work or dealing with stop-work orders.
- Check your local building department: ground-level patios without covers often don't require a permit, but attached covers, raised decks, and retaining walls over certain heights usually do. Rules vary significantly by city and county.
- Review your HOA CC&Rs and ARC guidelines if applicable: most HOAs require prior approval for patios, patio covers, and pergolas, and may restrict materials, colors, or setbacks from property lines.
- Identify underground utilities before any digging: call 811 (USA) for a free utility locate service.
- Measure setbacks: most municipalities require patios to be set back a minimum distance from property lines (commonly 3 to 5 feet, but varies).
- Confirm drainage direction: use a level and a long board to map your yard's existing slope before finalizing the patio location and shape.
- Mock up furniture placement with painter's tape or cardboard cutouts before committing to a size. Most people discover they need more space than they estimated.
- Get at least two contractor bids if your shape involves any curves, grading, retaining walls, or attached shade structures.
Digital planning tools and measuring tips
You don't need to hire a designer to visualize your shape options before anything gets built. Free and low-cost apps let you trace your yard's footprint, drop in furniture, and experiment with shapes on screen before you commit to anything physical. The related article on the best apps to design a patio covers the specific tools worth using, from simple floor-plan apps to full 3D landscape design programs. The key measurement habit to build before using any of these tools is getting accurate outside dimensions of your house's rear wall, the distance to any fences or property lines, the location of all doors and windows that open to the patio, and any grade changes of more than 2 inches across the planned patio area. With those four data points, any design app becomes genuinely useful rather than just decorative.
Current patio shape trends worth knowing
The dominant trend in 2025 and into 2026 is the multi-zone patio: a primary rectangular or L-shaped base with a secondary circular or square zone (often lower or edged in a contrasting material) used for a fire pit or focal-point seating area. This approach gives you the practicality of a rectangle for everyday use and the visual interest of a contrasting shape for entertaining. Mixed-material borders, where the main field is poured concrete or large-format pavers and the accent zone is a different material or color, are increasingly common as a way to define shape without building walls or level changes. If you want to see how these trends are playing out in real patio designs, the latest patio trends and latest patio designs articles on this site go deeper into what's currently being installed and what's resonating with homeowners in different regions.
FAQ
What primary standards and building codes should inform patio-shape guidance for safety, accessibility, and attachments to the house?
Include the 2010 ADA Standards (accessible route slopes, clear widths, turning spaces), the International Residential Code (IRC) and local building codes for attachments/ledger details and structural limits, and relevant local municipal permit requirements. Cite specific sections for slope, clearances, ledger flashing, fastener schedules, and when a permit is required for covers or raised elements.
Which authoritative installation and materials guides are essential to advise on constructability, edge restraints, base prep, and shaping constraints?
Use ICPI technical manuals and Tech Specs for paver systems (base, edge restraints, PICP detail), manufacturer installation guides for natural stone and modular pavers (e.g., Unilock), and composite decking vendor installation/warranty guides (e.g., Trex) to show how material choice affects the feasibility of curves, multi‑levels, and unusual shapes.
What drainage, grading and stormwater design references are needed to make reliable slope and runoff recommendations?
Cite EPA green infrastructure/permeable pavement resources for runoff and infiltration strategy, ICPI PICP manuals and university guide specifications for subbase/infiltration design and maintenance, and common contractor guidance (This Old House/Home Depot) for practical pitch recommendations (roughly 1/8"–1/4" per foot away from the house). Include local stormwater or public works design standards if regionally relevant.
What ergonomic and furniture-layout evidence should underpin sizing and circulation guidance for dining, lounge, and multi‑zone patios?
Combine NKBA Kitchen & Bath Planning Guidelines (clearance recommendations: ~36" min, 32" conditional, 44"–60" for passing) with ADA circulation rules (36" minimum route; turning/clear space specs) and designer heuristics (per-seat width ~24", 60" for full wheelchair passage). Recommend scale mockups (tape or cutouts) as practical verification.
What cost and complexity data sources are needed to give realistic budget ranges and labor impact of shape choices?
Use industry cost aggregators/marketplaces (Angi/HomeAdvisor) for regional per‑square‑foot benchmarks and labor shares, and ICPI/manufacturer notes on labor impacts of complex shapes (increased cutting/fitting). Supplement with contractor quotes or case studies to show how grading, drainage, and difficult access raise costs.
Which sources inform tradeoffs between porous/permeable vs impermeable patio systems and their maintenance needs?
Reference EPA green infrastructure materials, ICPI PICP manuals, and university guide specifications (e.g., UC Davis/CCPIC) that provide subbase/infiltration design, performance limits, required maintenance (vacuuming, joint care), and long‑term considerations for low‑maintenance claims.
Next Articles
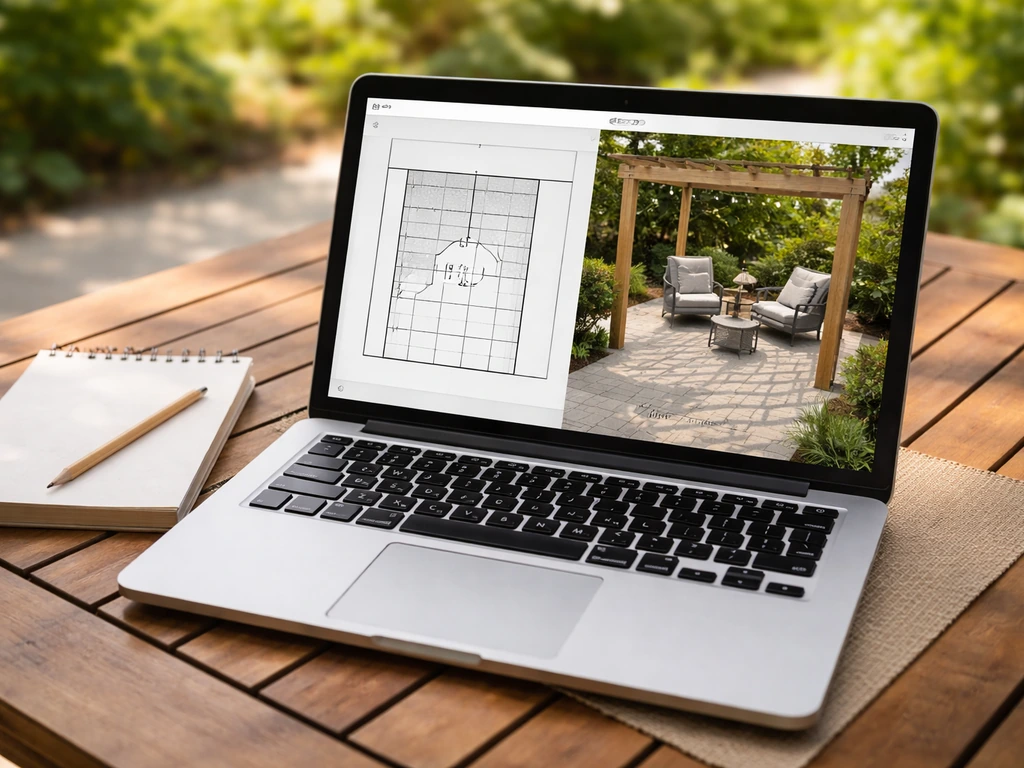
Best App to Design a Patio: Top Picks and How to Choose
Compare top patio-design apps with steps, feature checklist, and direct picks for DIYers to share contractor-ready plans
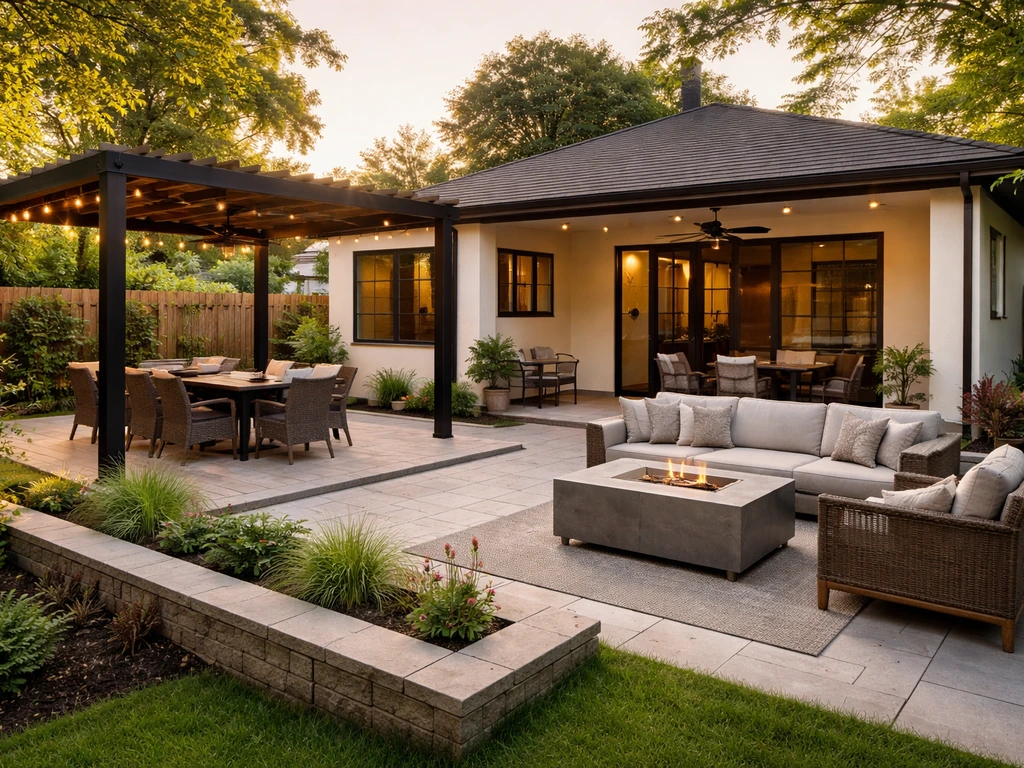
Best Patio Home Designs: Choose the Right Layout for You
Find the best patio home design for your yard: match layouts, materials, budgets, and climate for outdoor living.
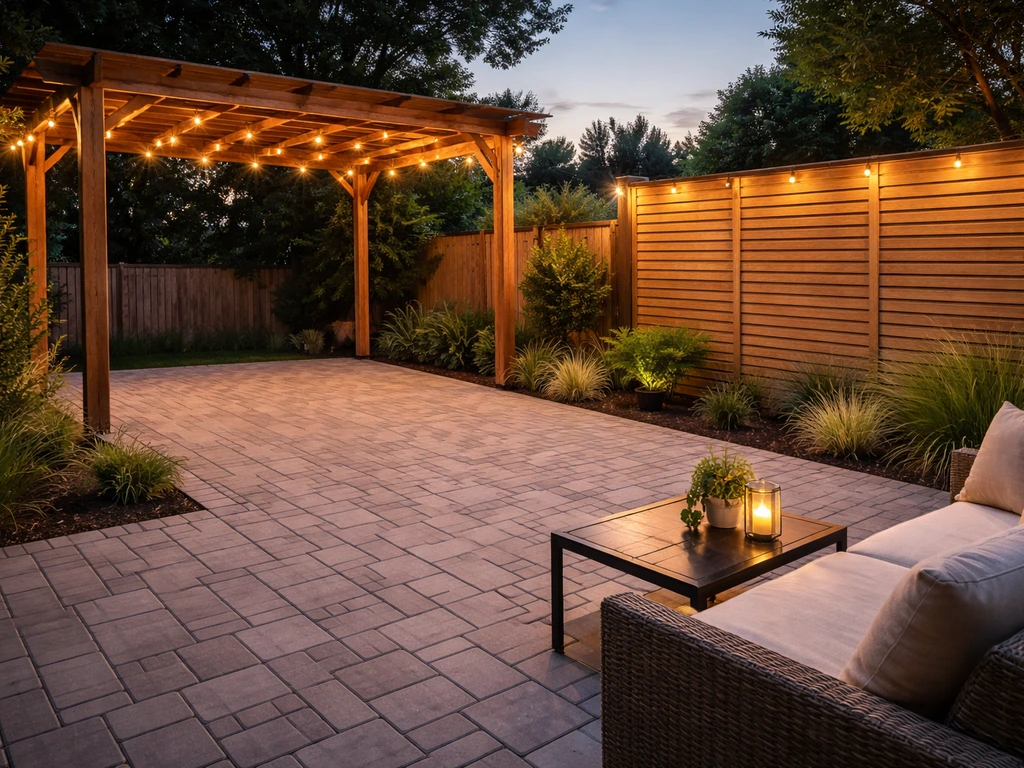
Do It Yourself Outdoor Patio Ideas: Build, Upgrade, Maintain
DIY outdoor patio ideas for planning, building, upgrading, and maintaining floors, shade, privacy, lighting, and decor.