The best patio screen for most homeowners is a fiberglass insect screen in a fixed frame system, it keeps bugs out, lets air flow, costs the least, and is genuinely DIY-friendly. But "best" shifts fast depending on where you live, what bothers you most (mosquitoes vs. no-see-ums vs. neighbors vs. wind), and whether you want something permanent or the option to open things up completely. This guide walks through every real decision so you can pick the right screen, size it correctly, and know exactly what you'll spend.
Best Patio Screen: How to Choose the Right One

Phoebe Foster
19 May 2026
How to choose the best patio screen for your needs
Start with your single biggest problem. Are you fighting mosquitoes every evening? Dealing with no-see-ums that slip through standard mesh? Trying to get some privacy from a close neighbor? Blocking afternoon wind off a lake or the coast? Your answer to that question should drive every other decision, mesh type, frame style, and how much you spend.
The four goals that come up most often are bug protection, airflow and comfort, privacy, and sun or glare control. In high-humidity regions like Central Texas, the Gulf Coast, or Florida, bug pressure is intense enough that mesh tightness becomes a real specification decision, not just a preference. In drier, windier climates like the Mountain West or Midwest, wind resistance and frame durability matter more than mesh gauge. Know your climate before you shop.
Here's a quick decision framework: if bugs are your main issue, focus on mesh openness (smaller = better protection). If airflow and visibility matter most, go with an open-weave screen like Phifer BetterVue. If privacy is the goal, look at privacy mesh or solar screening. If you want flexibility for entertaining, a retractable system earns its higher price. Most people end up balancing two or three of these, and that's where the comparisons below help.
Screen types and where each works best
Fixed screens
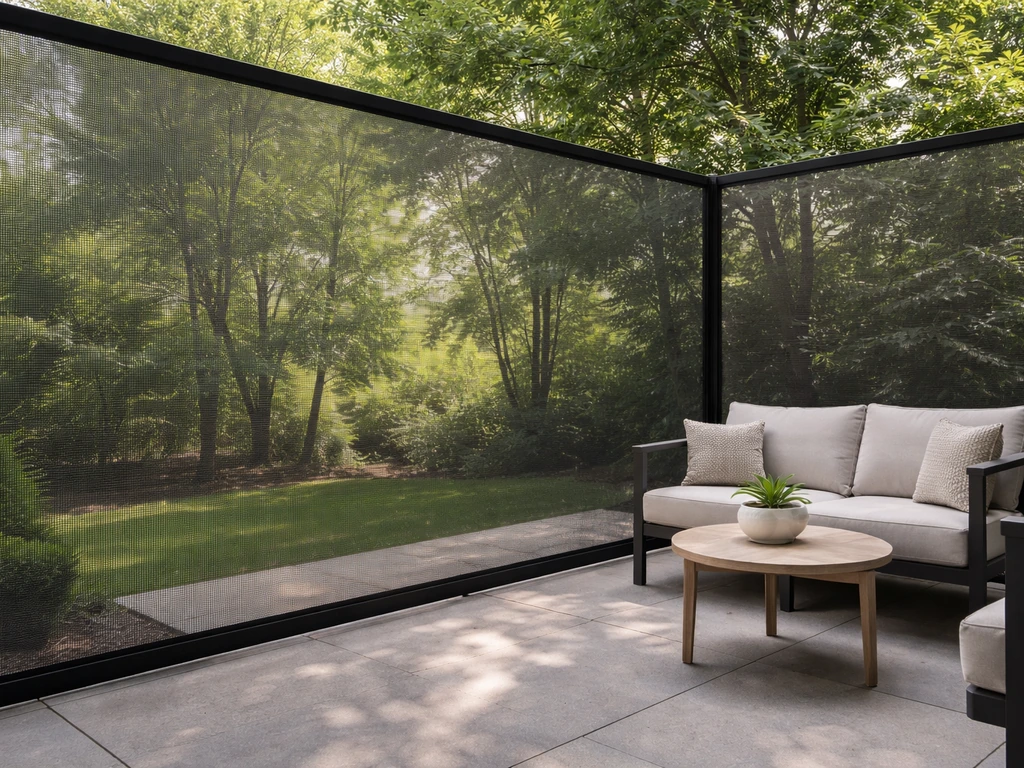
Fixed screens are the classic option, a frame with screen mesh stapled or splined in place, permanently attached to your patio posts or structure. They're the most affordable route, the easiest to DIY, and they do the job reliably for years. The tradeoff is that they're always there. If you're hosting a party and want a completely open patio, you're looking through a screen, not at an open sky. For everyday bug protection and airflow, that's rarely a problem.
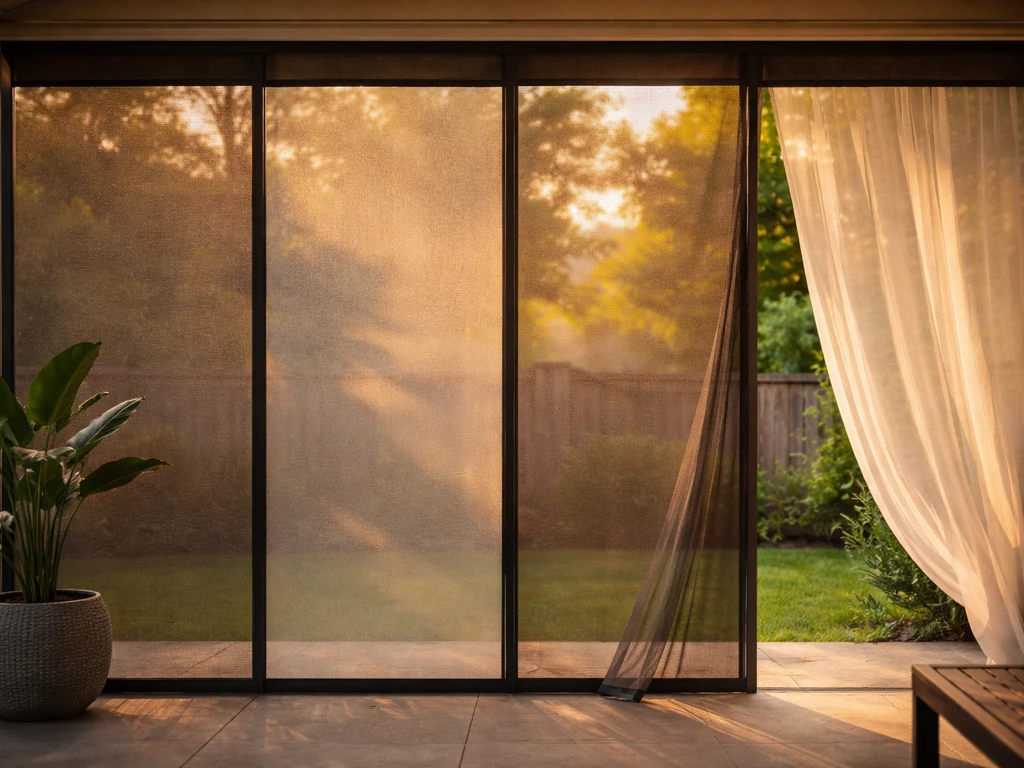
Retractable screens
Retractable screens roll up or fold away when you don't need them, giving you a fully open patio on demand. That flexibility is genuinely useful if you entertain often or just like having the option. The tradeoff is cost, retractable systems are a bigger upfront investment than fixed screens, and motorized versions cost significantly more than manual ones.
High-end motorized retractable screens, like those from Larson or Sea Cool, are engineered for serious wind exposure (some rated to 155 mph for coastal applications) and retract automatically to protect themselves in bad weather. If you live on the coast or in a high-wind corridor, a quality motorized retractable screen isn't just a luxury, it's a practical choice.
For most suburban patios with standard conditions, a fixed screen delivers the same bug and airflow performance for a fraction of the cost.
Mesh types: insect screen vs. no-see-um vs. solar/privacy mesh
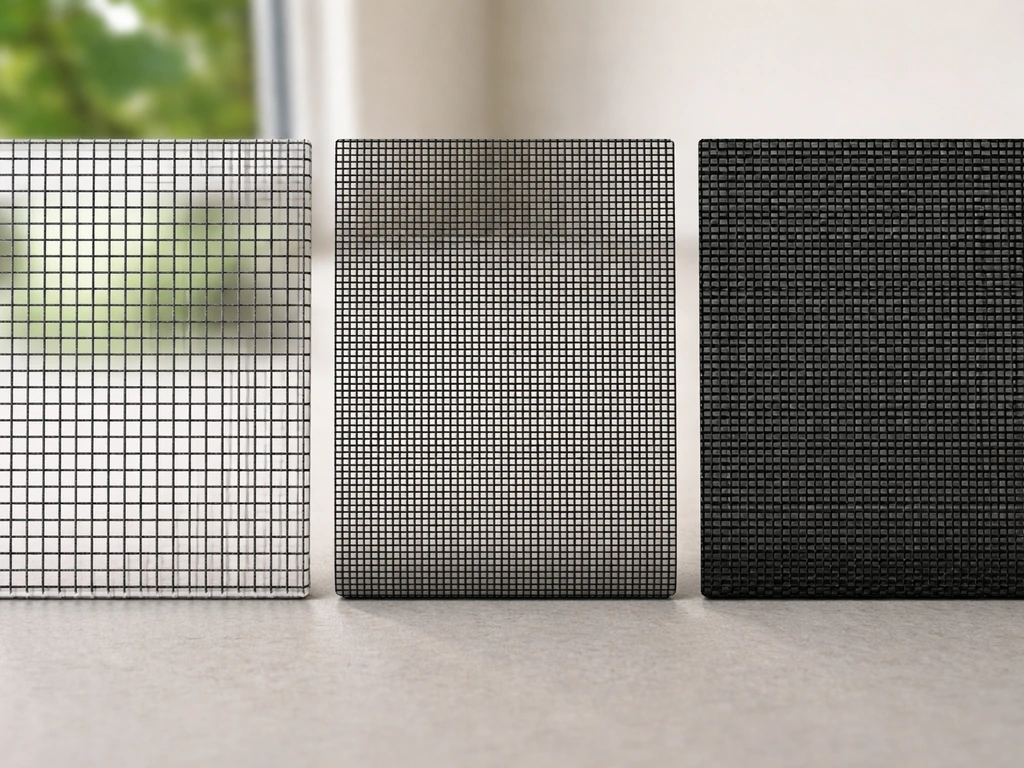
Standard insect screen (typically 18x16 mesh) handles mosquitoes, flies, and most common bugs. If you're dealing with no-see-ums, the tiny biting midges common near water and in coastal areas, you need a tighter weave. [Phifer's No-See-Um screen uses a 20x20 mesh construction](https://screening. phifer.
com/products/no-see-um) specifically designed to block those smaller insects. It does restrict airflow slightly compared to standard mesh, but in areas with heavy no-see-um pressure, it's worth it. Phifer's BetterVue screen sits on the other end of that spectrum: it's designed for improved airflow and better outward visibility while still providing solid insect protection, a good all-around choice for patios where views and comfort matter as much as bug blocking.
Solar screening or privacy mesh blocks more light and visibility (from the outside looking in), which is useful when a neighbor's yard is uncomfortably close, though it's worth noting that dedicated patio privacy screens and patio blinds are often better tools if privacy is your primary goal.
| Screen Type | Best For | Airflow | Privacy | Cost Level |
|---|---|---|---|---|
| Standard insect (18x16) | General bug protection | Good | Low | Low |
| No-See-Um (20x20) | Tiny insects, coastal areas | Moderate | Low | Low-Moderate |
| BetterVue / open-weave | Visibility + airflow balance | Excellent | Low | Moderate |
| Solar/privacy mesh | Sun control + privacy | Reduced | High | Moderate |
| Pet-resistant screen | Homes with dogs or cats | Good | Low | Moderate |
| Fixed frame system | Permanent, budget-friendly setup | Depends on mesh | Depends on mesh | Low |
| Motorized retractable | Flexibility + wind exposure | Full when open | Low when retracted | High |
Materials, durability, and weather performance
Fiberglass is the most common patio screen material and for good reason. It's flexible, easy to cut and install, won't oxidize, and resists corrosion. A quality fiberglass screen in a sheltered patio can realistically last 10 to 15 years. The downsides: it can sag in extreme heat if not tensioned properly, and it's not the toughest option if you have dogs or active kids pushing against it regularly.
Aluminum screen is stiffer and more rigid than fiberglass, which makes it hold its shape better in larger openings. But it dents more easily, can feel restrictive to airflow compared to open-weave fiberglass alternatives, and oxidizes in salty coastal air. It's a good middle-ground material for inland patios where you want durability without the premium cost of stainless steel.
Stainless steel mesh and high-quality powder-coated aluminum screens offer the longest service life in the most demanding conditions, direct sun, coastal salt air, and high humidity. They resist UV degradation and corrosion better than fiberglass or standard aluminum. The tradeoff is cost and workability: stainless steel mesh is harder to cut and handle for a DIY install. If you're near the ocean or have a fully exposed patio baking in south-facing sun all day, the longer lifespan justifies the higher material cost.
For frame material, aluminum extrusions are the standard for both DIY and professional patio screen systems. They're lightweight, rust-proof, and available in standard channel sizes compatible with spline-based mesh installation. Vinyl systems like Screen Tight use a cap-and-base channel approach that snaps together quickly and works well for covered porches and patios with existing wood framing. Metro Screenworks describes Screen Tight’s vinyl porch screening system as a cap-and-base approach that snaps together for quick and secure DIY installation Vinyl systems like Screen Tight use a cap-and-base channel approach that snaps together quickly.
Sizing, installation approach, and DIY vs. pro options
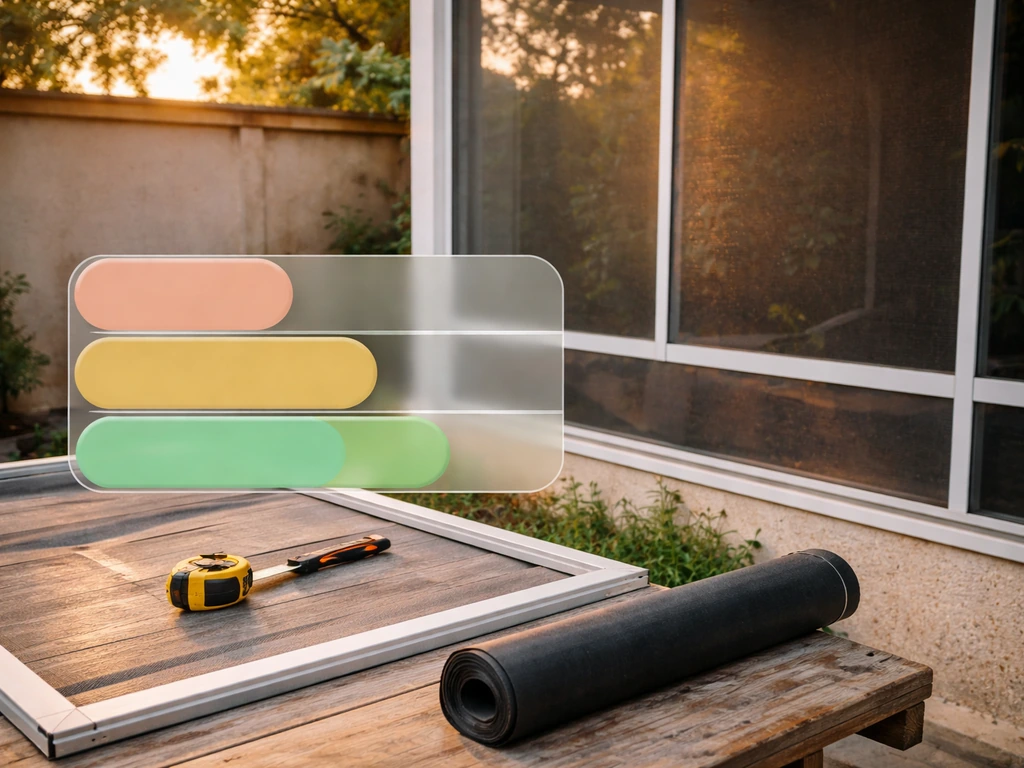
Getting your measurements right
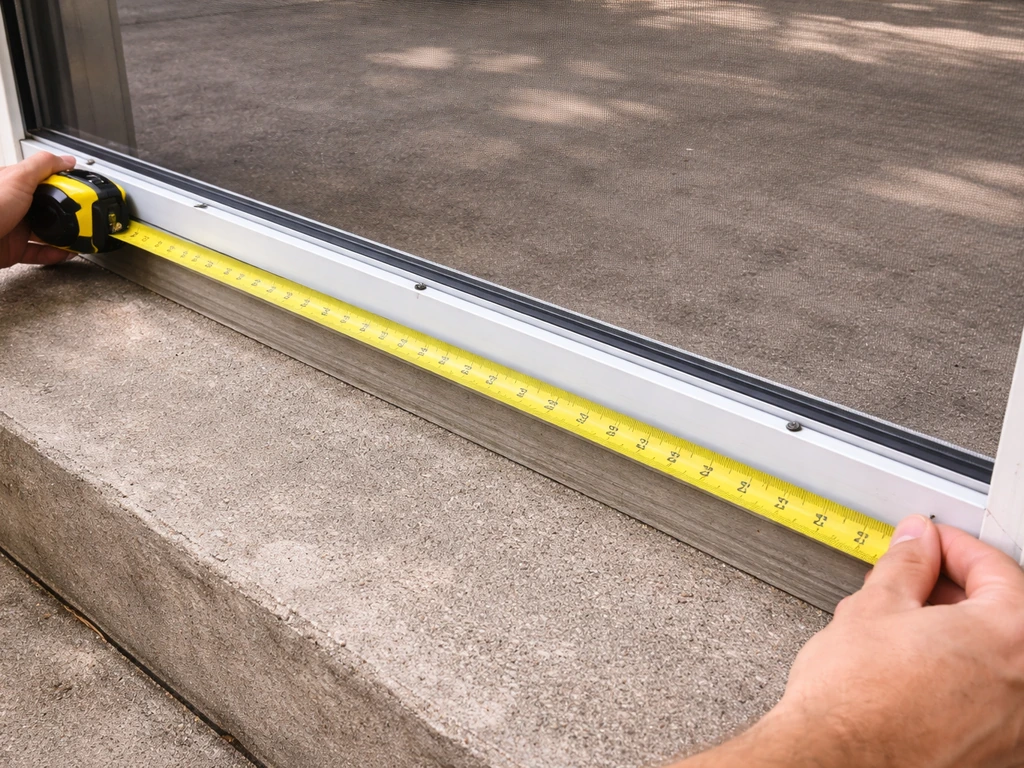
Measure each opening individually, patio frames are rarely perfectly square, and even a few millimeters off can cause a bad fit. For spline-based systems (the most common DIY approach), your screen mesh needs to overlap the channel groove by at least one inch on all sides. Cut your mesh larger than the opening, roll it into the spline groove, and trim the excess. That one-inch overlap rule comes straight from installation specs for systems like Screen Tight and is the most common mistake DIYers make when cutting too small.
DIY installation
For a basic fixed screen on an existing porch or covered patio, DIY is very achievable for most homeowners. The easiest route is a channel-and-spline system like Screen Tight's Mini Track: you screw aluminum track channels into your existing porch frame, roll the screen mesh into the track groove using a spline and roller knife, and snap on the cap. No specialized tools beyond a spline roller and a utility knife.
Material kits for this type of system run roughly around $2 per square foot for the track components, plus your mesh cost. Budget an afternoon for a standard 10x12 patio opening if it's your first time. If you're building a screen frame from scratch (rather than using an existing structure), expect more complexity, you'll need to construct the framing, cut channels, and assemble everything before you even start with mesh.
When to hire a pro
Hire a contractor if you're screening a large, irregular space, adding motorized retractable systems, or starting from bare posts with no existing enclosure structure. Motorized screens in particular need accurate header and side-track installation to function properly, and a misaligned install will cause constant problems. For straightforward re-screening of existing frames, a pro can do it faster but it's rarely necessary unless you have a large number of panels.
Key features: bugs, privacy, wind and rain, and airflow
Bug protection
Standard 18x16 mesh handles mosquitoes, flies, and beetles. If you're in a coastal area or near marshes where no-see-ums are a problem, upgrade to a 20x20 no-see-um mesh. The tighter weave comes with a small airflow penalty but it's the only reliable way to stop those tiny insects. Make sure your frame seals tightly at corners and along the base, gaps around the frame edge undo the best mesh in the world.
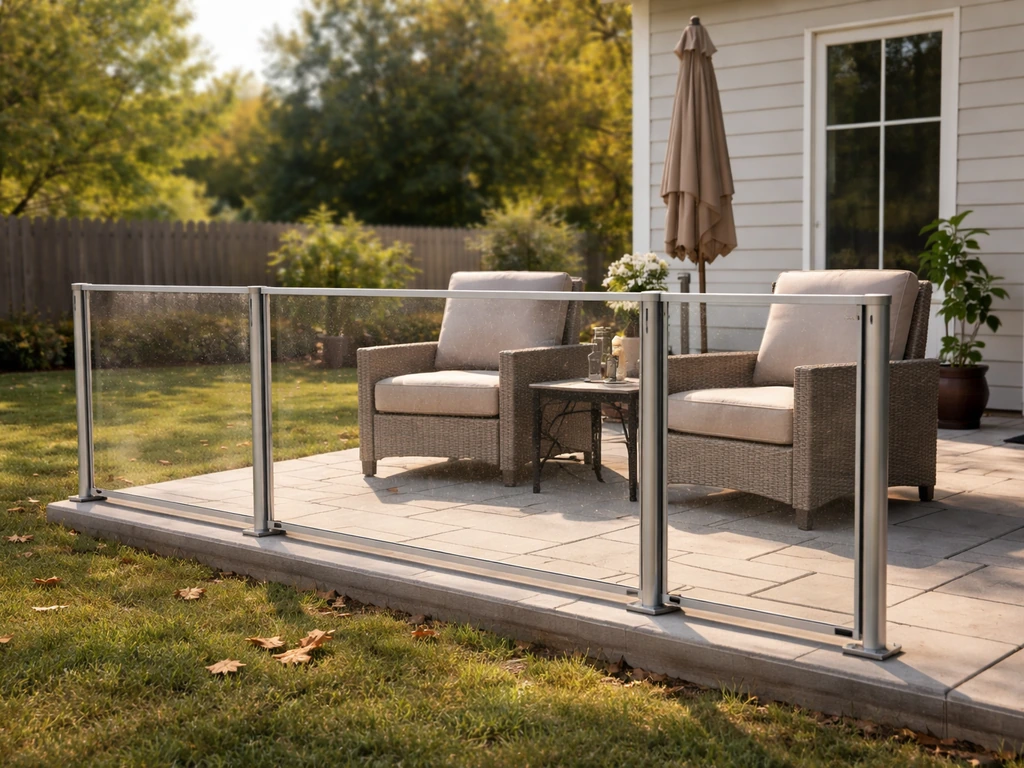
Privacy
Standard insect screen provides almost no privacy, neighbors can see through it clearly. If privacy matters, solar mesh (typically 80–90% openness factor) blocks the view from outside during the day while letting you see out. For serious privacy, dedicated patio privacy screens or patio blinds tend to do a better job than screening alone, since they're designed specifically for that purpose rather than bug control. Dedicated patio privacy screens or patio blinds tend to do a better job than screening alone when privacy is your primary goal. If you want the best patio blinds for privacy, compare openness levels and light control so you get shade without losing airflow.
Wind and rain
Fixed screens don't move in wind, but they also can't get out of the way. In high-wind regions, a fixed screen can act like a sail and stress your framing if it's not built solidly. Motorized retractable screens earn their keep here because they can retract automatically before a storm, protecting the mesh and the frame.
When you compare the best motorized screens for patio use, prioritize models that retract automatically, seal tightly, and match your local wind conditions Motorized retractable screens. Sea Cool's coastal-rated motorized systems are engineered for winds up to 155 mph, far beyond what any fixed screen can tolerate. For moderate wind exposure, a well-secured fixed screen with heavy-gauge aluminum framing handles typical storms without issue.
For patio wind blocking in general, a dedicated wind blocker is sometimes a better first layer than a screen.
Airflow
This is where mesh choice matters most. A tighter mesh (no-see-um 20x20) reduces airflow noticeably. Standard 18x16 is a solid balance. Open-weave screens like Phifer BetterVue are specifically designed to maximize airflow and outward visibility, they're a good call for hot climates where you're relying on the screen enclosure to stay cool without air conditioning. If you're in Texas, Florida, or anywhere with brutal summer heat, BetterVue-style mesh can make a real difference in how comfortable the space feels. For many homeowners looking for the best patio curtains alternative, airflow-focused screens like BetterVue-style mesh can keep the space comfortable while still blocking insects.
Pets
If you have dogs or cats that push against or paw at screens, standard fiberglass won't last long. Pet-resistant screen, a thicker, stiffer mesh material, is worth using at least on the lower portion of each panel where pets actually make contact. It costs more per square foot but it's far cheaper than re-screening repeatedly.
Cost ranges, value comparisons, and maintenance
What you'll actually spend
Costs vary a lot based on whether you have an existing structure to screen in or you're building from scratch. Here's a realistic breakdown based on current pricing:
| Scenario | Cost Range | Notes |
|---|---|---|
| DIY re-screen (existing frame) | $1–$3 per sq ft materials | Mesh + spline + track only |
| Pro labor, existing porch | $4–$10 per sq ft labor | Plus materials |
| Full screened porch (existing structure) | $3,200–$5,800 total avg | Pro installation, standard size |
| New screened porch construction | $22–$60 per sq ft labor | $25–$120 per sq ft total |
| Motorized retractable system | Significantly higher | Varies widely by size and brand |
For most homeowners working with an existing covered patio, the sweet spot is hiring a local screen contractor for labor at $4 to $10 per square foot while supplying your own mesh material. That way you control mesh quality without paying markup, and you get professional installation that seals correctly. For simple re-screening of existing frames, DIY is genuinely easy and the material cost is low.
Maintenance
Patio screens are low-maintenance but not zero-maintenance. Clean the track channels and head frame channels once or twice a year, dirt and debris in the track is one of the most common causes of sliding or retractable screen problems. For fixed screens, inspect the spline every couple of years for shrinkage or cracking, which can let the screen loosen at the edges.
Keep frame base strips out of prolonged direct sunlight exposure if you're using vinyl systems, UV degradation is the main enemy of vinyl channel systems over time. Fiberglass mesh that gets torn or poked can be patched with a screen repair kit for small holes, but once the mesh starts sagging broadly or has multiple tears, it's easier and cheaper to re-screen the whole panel.
Your quick action checklist
- Identify your primary goal: bugs, privacy, wind resistance, or airflow (pick your top one or two).
- Check your local insect pressure — if no-see-ums are common, budget for 20x20 mesh instead of standard 18x16.
- Decide fixed vs. retractable based on your budget and whether you entertain often enough to justify the premium.
- Measure every opening individually and add at least one inch of overlap on all sides for spline-based installs.
- Choose your mesh material: fiberglass for most patios, stainless or high-quality aluminum for coastal or high-UV exposure.
- If you have pets, use pet-resistant screen on the lower 24–36 inches of each panel.
- Get two or three quotes from local screen contractors if you're doing a full enclosure — labor rates vary significantly by region.
- For DIY installs, pick up a spline roller, utility knife, and a channel system like Screen Tight Mini Track before you start.
- Plan for annual track cleaning and a spline inspection every two years to get maximum lifespan from your system.
FAQ
Should I prioritize tighter mesh or better airflow if my main issue is mosquitoes and it is very humid where I live?
If mosquitoes are your main problem, you usually want a standard insect mesh first, 18x16, because it blocks effectively without as much airflow loss as tighter no-see-um options. In humid areas, the bigger comfort risk is actually poor frame sealing and airflow restriction from adding privacy or solar layers, so ensure the screen seals at corners and along the base before switching to a tighter 20x20 weave.
How do I know my patio screen fit will actually seal, and not leave gaps even if the size looks right?
Do a dry-fit check with the screen material slightly oversized, then verify there is consistent overlap into the channel groove on all sides. The most common leak points are corners and where the frame meets the base, so press along those edges after installation and recheck that there is no visible light gap or consistent lift.
Can I use the same screen mesh for a retractable system as I would for a fixed panel?
You can, but you must match the mesh type and tension expectations of the specific retractable hardware. Retractable systems typically perform best with mesh that won’t overly resist rolling or folding, and airflow-focused open-weave screens may retract more easily than very tight no-see-um mesh depending on the kit. If the manufacturer specifies a mesh range, follow it to avoid friction and uneven retraction.
What is the best choice if I want privacy from neighbors but I also need strong airflow?
Instead of going straight to solar screening everywhere, consider using privacy mesh or solar screening only on the most exposed sides (for example, the yard-facing elevation) and keep other sides standard insect mesh or an airflow-focused open-weave. This reduces the overall airflow penalty while still blocking direct sight lines where you need it most.
Is it worth upgrading to stainless steel mesh for a DIY install?
Usually not unless you are comfortable with tougher handling and more labor time. Stainless can last the longest, but it is harder to cut and manage neatly during spline or channel installation, so the DIY margin for error is smaller. Many homeowners achieve the best value by choosing premium fiberglass or coated aluminum unless they are in direct coastal salt exposure or very harsh UV conditions.
What should I do if my fiberglass screen sags after installation?
Sagging is commonly caused by insufficient tension at install time or heat expansion in extreme temperatures. Check the spline seating and corner overlap, then re-tension or re-seat the mesh if the screen has loosened. If the mesh is repeatedly pulling away or the sagging is widespread, patching won’t solve the root issue, a full re-screen of that panel is typically the cheaper long-term fix.
How can I reduce wind damage or sail effect if I have a fixed screen in a high-wind area?
First, confirm your framing is heavy-gauge and well anchored, fixed screens rely entirely on the rigidity of the enclosure. If you get frequent storms, consider a retractable system that automatically retracts before bad weather, or add a dedicated wind-blocker layer as the first barrier. Retrofitting is easier when you plan the attachment points early rather than trying to secure to trim after the fact.
My patio screen slides or won’t retract smoothly, what’s the first thing to check?
Clean the track and head frame channels, debris in the grooves is the most frequent cause of sticking and uneven retraction. After cleaning, inspect for bent components or loose fasteners that can cause misalignment. If it still sticks, the issue may be an installation alignment problem that requires adjusting side tracks or header position.
If I have pets that paw screens, where exactly should I use pet-resistant material?
Use pet-resistant screen on the lower portion of each panel that pets actually reach, often the lower third to half depending on their height and behavior. Putting it only where contact happens avoids unnecessary cost, and it is especially useful on the panel faces that get direct attention from pets.
What maintenance schedule actually matters for long screen life?
Plan a simple inspection and cleaning twice a year: clear dirt from track channels, check corner tightness, and look at the spline for cracking or shrinkage. If you use vinyl channel systems, protect channels from prolonged direct sunlight because UV degradation is the main failure mode, and small preventive checks can prevent a later rework.
Next Articles
Best Patio Wind Blocker: Choose, Size, and Install Fast
Pick the best patio wind blocker for your wind direction, size, and budget with DIY install steps and material compariso

Do It Yourself Outdoor Patio Ideas: Build, Upgrade, Maintain
DIY outdoor patio ideas for planning, building, upgrading, and maintaining floors, shade, privacy, lighting, and decor.
Quick Fix Patio Ideas for Instant Comfort and Style
Quick fix patio ideas for fast comfort and style: cleanups, repairs, shade, flooring tweaks, and safe upgrades on any bu