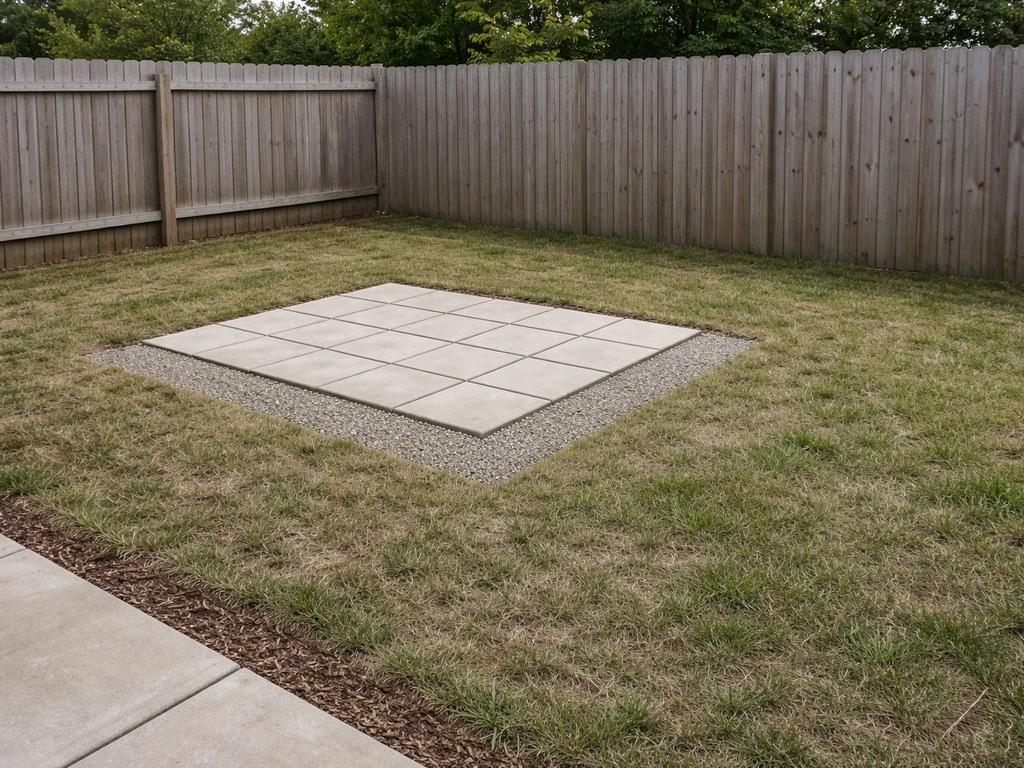
You don't need a full concrete slab or a professionally laid paver patio to have a functional, comfortable outdoor space. Gravel, interlocking deck tiles, decomposed granite, artificial turf, and even a well-placed outdoor rug over compacted ground can all do the job for a fraction of the cost. The real trick is figuring out whether you need a full patio replacement or just a smarter partial upgrade, because those are two very different projects with very different price tags.
Cheap Patio Alternatives: Easy Options, Costs, and Next Steps

Phoebe Foster
6 May 2026

What 'cheap patio alternative' actually means for your space
Before you start pricing materials, get honest about what problem you're actually solving. There's a big difference between 'I want a defined outdoor living area where I don't currently have one' and 'I have an old cracked concrete patio and I want something better without spending a fortune.' The first situation opens up a wide range of ground-up alternatives. The second might just need a surface overlay or a partial fix.
Ask yourself three questions. First: is this a full replacement or an upgrade? Second: what's the primary use, furniture seating, grilling, kids' play, or all of the above? Third: how permanent does it need to be? A renter or someone who moves every few years has completely different needs than a homeowner putting down roots. Cheap alternatives range from temporary setups you can pull up in an afternoon to semi-permanent installs that last a decade with the right prep.
Also think about size realistically. A 12x12 area (144 sq ft) is a solid starting point for a bistro table and two chairs. A 16x20 area (320 sq ft) handles a full dining set plus a grill station. Knowing your square footage before you shop is non-negotiable, because every material estimate, from gravel tonnage to the number of deck tile boxes, runs off that number.
Budget breakdown: DIY vs. pro-installed options
Here's a realistic look at what different patio surface options cost when you DIY versus when you hire it out. These ranges reflect 2026 pricing and assume a typical 200–300 sq ft project. Your actual cost will shift based on site prep needed, region, and material choices.
| Surface Type | DIY Cost (per sq ft) | Pro-Installed Cost (per sq ft) | Notes |
|---|---|---|---|
| Gravel / crushed stone | $0.50–$2.00 | $2.00–$5.00 | Cheapest full-coverage option; needs edging and weed barrier |
| Decomposed granite | $1.00–$2.50 | $3.00–$6.00 | Compacts firm; great in dry climates |
| Interlocking deck tiles | $2.00–$5.00 | $4.00–$8.00 | Snap-together; great over existing slabs or firm ground |
| Concrete pavers (DIY base) | $3.40–$6.20 materials | $9.65–$17.10 total | Base prep and labor add up fast with a pro |
| Stamped concrete | Not DIY-friendly | $10–$21 | Complex process; hire a pro or skip it on a tight budget |
| Pressure-treated deck | $5.00–$15.00 materials | $15–$45+ | Full deck build is a bigger project; consider tiles instead |
| Outdoor rug over existing surface | $0.50–$3.00 | DIY only | Not a ground cover; used over existing hard surface |
The DIY savings are real, but they're mostly in labor. A professional paver installation runs about $6.25–$10.90 per sq ft in labor alone, on top of $3.40–$6.20 per sq ft in materials. That means a 300 sq ft paver patio can run $3,000–$5,000 DIY (materials and rental tools) versus $6,000–$12,000 or more when you hire it out. Gravel and deck tiles are where the biggest DIY savings live because the skill ceiling is low and the tools are basic.
Easy-install options that anyone can actually do
If you've never done any outdoor hardscaping before, start with one of these. They require minimal demo, no special tools, and most can be finished in a weekend.
Interlocking deck tiles
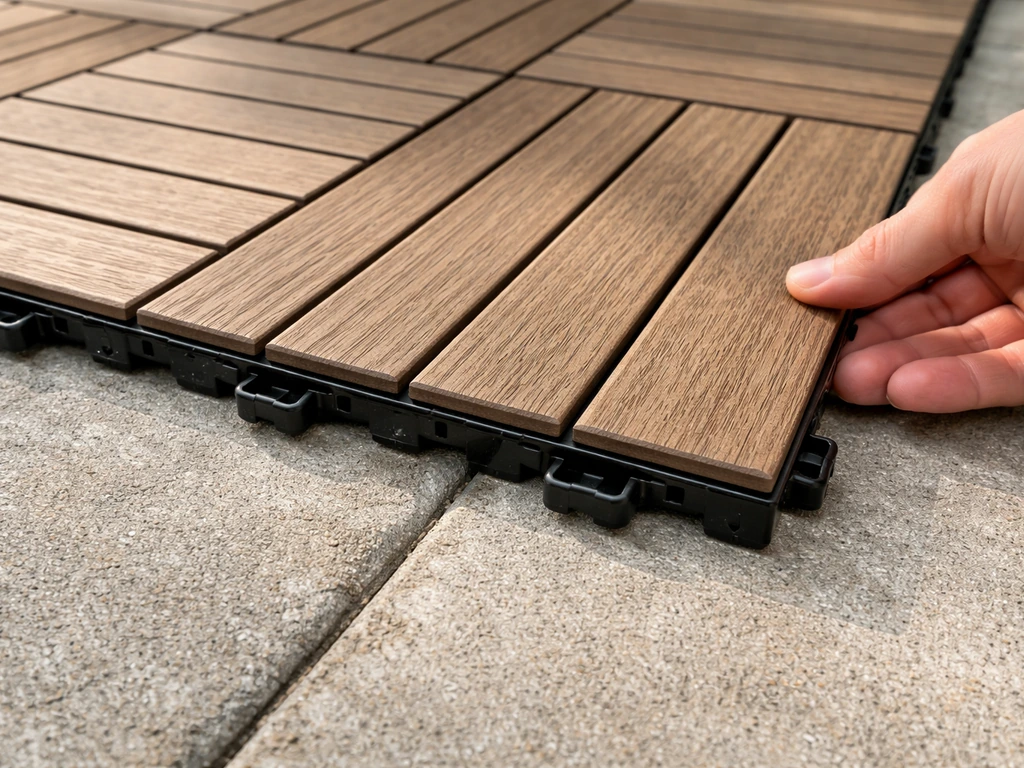
These are probably the fastest way to create a polished-looking outdoor floor without any mixing, cutting, or heavy equipment. They snap or clip together over an existing hard surface (an old concrete slab, a wood deck, even a firm paved area) and come in wood, composite, and stone-look finishes. You don't need adhesive or grout. If a tile gets damaged, you pop it out and swap it. They run about $2–$5 per sq ft for materials if you shop around. The main catch is that they work best on an already-level surface. If your ground is uneven or soft, you'll need to prep it first.
Gravel or crushed stone
Gravel is genuinely the cheapest full-ground-coverage option out there. A rough estimating rule of thumb: at 3 inches deep, one ton covers about 80–100 sq ft depending on the stone size and how much it compacts. For a 200 sq ft area you're looking at roughly 2–3 tons, which can cost as little as $100–$400 in materials depending on your region and stone type.
The steps are simple: mark your border with landscape edging, lay weed barrier fabric over the ground, dump and rake the gravel. Done. It drains extremely well, handles freeze/thaw cycles without cracking, and costs almost nothing to repair. The trade-off is it shifts underfoot, furniture legs can sink in, and it's not the right base for anything heavier than outdoor chairs without a stabilizing grid.
Decomposed granite (DG)
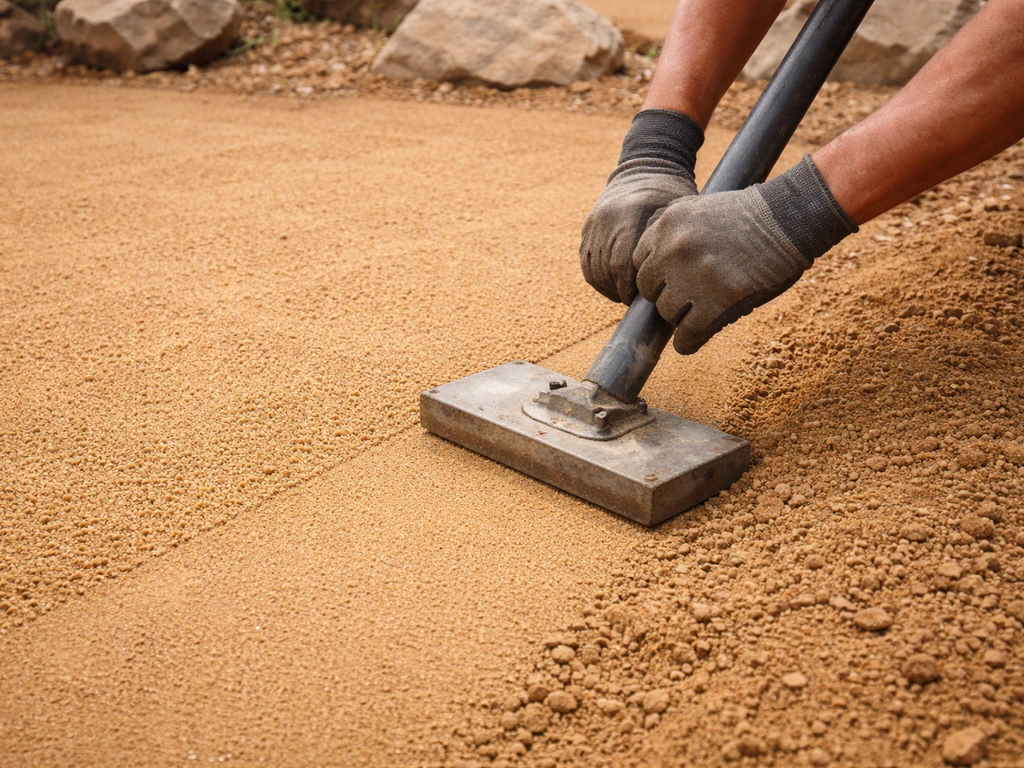
Decomposed granite compacts into a firm, almost-solid surface that feels much more like a patio than loose gravel. It's especially popular in dry climates like the Southwest and Texas, where it holds up beautifully in heat and doesn't wash out as easily as you'd expect if you use a stabilized version. At 1–2.5 per sq ft for DIY materials, it's one of the most cost-effective hard-ish surfaces available. Apply it in 2–3 inch layers, compact it with a plate compactor or hand tamper, and edge it to keep it in bounds.
Stepping stones or flagstone on sand
For a semi-formal look on a tight budget, large stepping stones or irregular flagstone set in a sand bed are very approachable for a first-timer. You dig out a few inches, add compacted sand, set the stones, and fill gaps with polymeric sand or gravel. It's slower than gravel but gives you a defined, attractive surface that holds furniture without sinking. Budget for the stone and about 2 inches of bedding sand.
Affordable surfaces that actually function like a patio
These are the materials worth comparing closely if you want something that looks more intentional and lasts longer than basic gravel. Each has a different sweet spot depending on your budget, climate, and skill level.
Concrete pavers
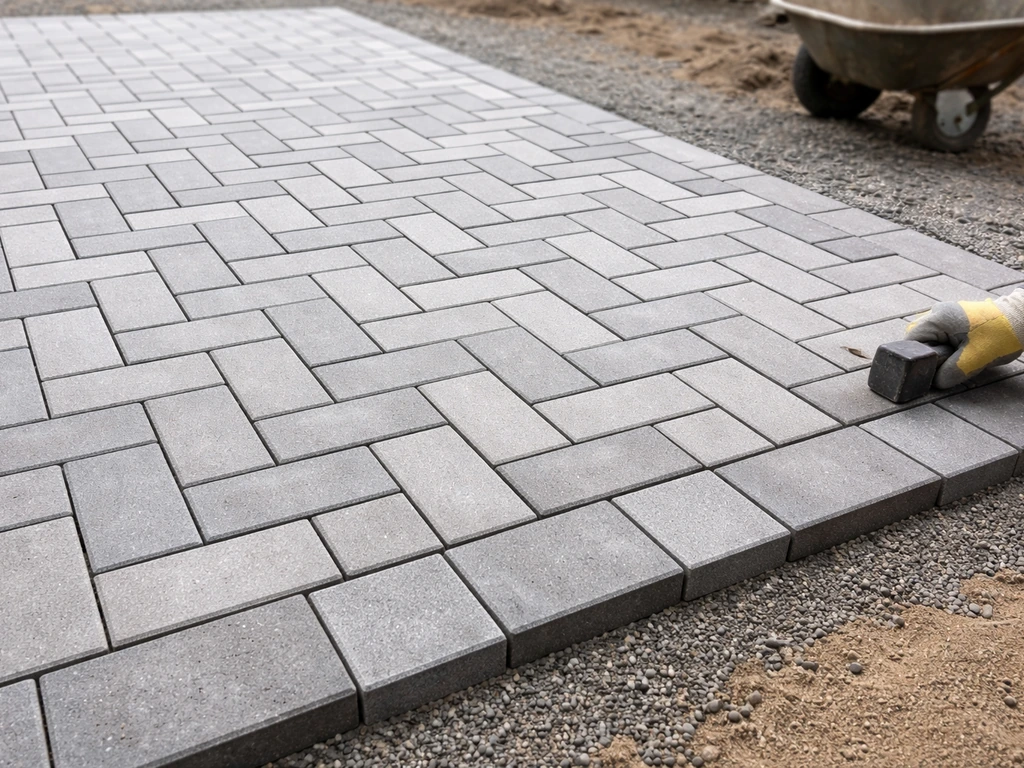
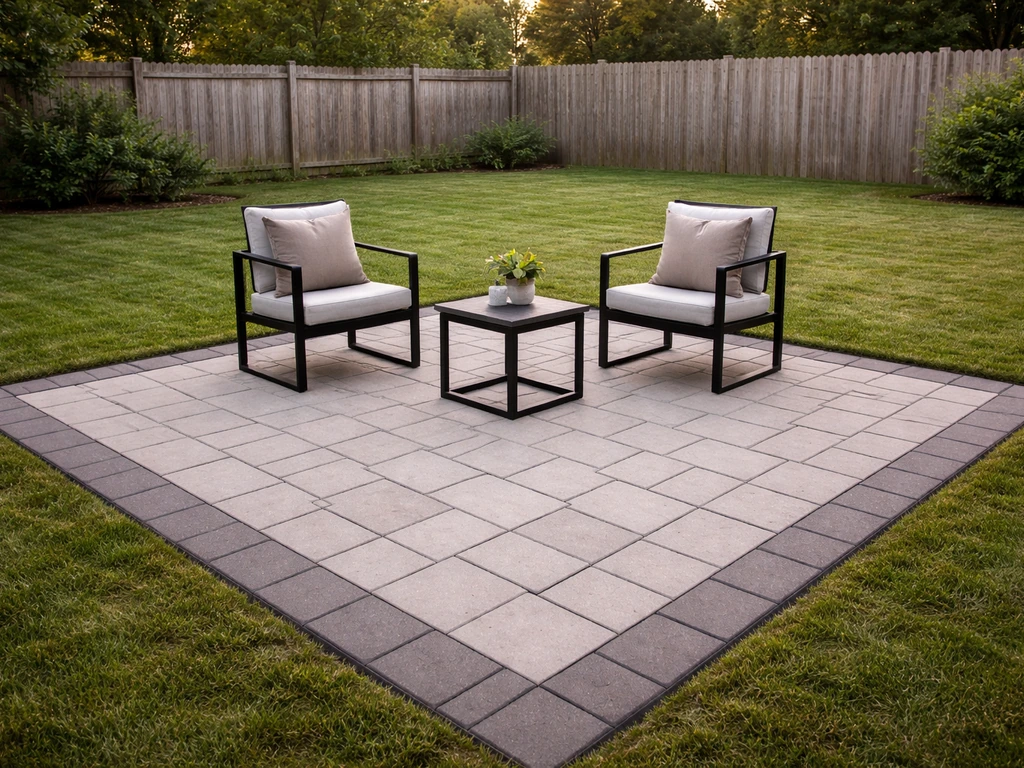
Concrete pavers are one of the best long-term value plays in patio surfaces. They're durable, repairable (individual pavers can be swapped), and they come in a huge range of styles. On a tight DIY budget, materials run about $3.40–$6.20 per sq ft, but you have to factor in the base: a proper install needs 4–6 inches of compacted gravel base plus 1 inch of bedding sand. Skipping base prep is the most common and most expensive mistake beginners make, because without it pavers shift, settle unevenly, and trap water. If you're hiring this out, expect total costs of roughly $9.65–$17.10 per sq ft once labor is included.
Pea gravel with a stabilizing grid
Pea gravel looks great and is inexpensive, but it migrates everywhere without containment. Plastic stabilizing grids (sold at most home improvement stores) hold the gravel in honeycomb cells so it stays put under furniture and foot traffic. This combination gives you the drainage and low cost of gravel with a much more stable surface. It's a smart upgrade from plain gravel for almost the same price.
Rubber or foam interlocking tiles
Often overlooked for outdoor use, rubber tiles designed for outdoor spaces are slip-resistant, comfortable underfoot, and hold up in wet climates. They're not the most attractive option, but for a utility patio, exercise zone, or play area, they're hard to beat on cost and ease of install. Look specifically for outdoor-rated rubber, not the foam gym tiles sold for indoor use.
Artificial turf
Modern artificial turf has gotten significantly better in the last few years. A section of quality outdoor turf over a compacted base or geotextile layer creates a soft, low-maintenance surface that works well for smaller sitting areas or as a complement to a hard-surface zone. If you want a softer look underfoot, rubber and artificial turf are popular alternative patio materials for smaller sitting areas. It drains well if installed correctly, doesn't crack or fade like cheap alternatives, and costs roughly $2–$5 per sq ft for mid-grade material. The downside: it can get hot in direct sun in southern climates, and it has a finite lifespan of around 10–15 years before it starts to degrade.
Budget concrete (broom-finish slab)
A plain broom-finish concrete slab is often underrated as a budget option. It's not glamorous, but it's incredibly durable and cheap compared to stamped concrete (which runs $10–$21 per sq ft installed). A basic concrete pour from a contractor can land closer to $5–$10 per sq ft for a simple slab, depending on thickness and region. It's DIY-possible if you have some experience with forms and concrete work, but hiring a local concrete contractor is usually worth it for slabs over 150 sq ft.
Quick upgrades that deliver patio function without a full build
Sometimes you don't need a new surface at all. You need shade, definition, and comfort. These additions can transform a bare yard or a sad existing slab into a usable outdoor room for a few hundred dollars.
Shade sails and canopies
A shade sail installation runs about $1.50–$6.50 per sq ft depending on the fabric quality and how complex the anchor points are. For a 10x12 shaded zone, that's roughly $180–$780 installed, or much less if you DIY with hardware-store anchors and posts. Shade changes how long you actually use an outdoor space, especially in warm climates, so this is one of the highest-return additions you can make. For a more structured look, a basic gazebo kit adds overhead coverage and a visual anchor for your furniture arrangement, with DIY screen kits available for about $250–$600 if you want to add insect screening later.
Outdoor rugs
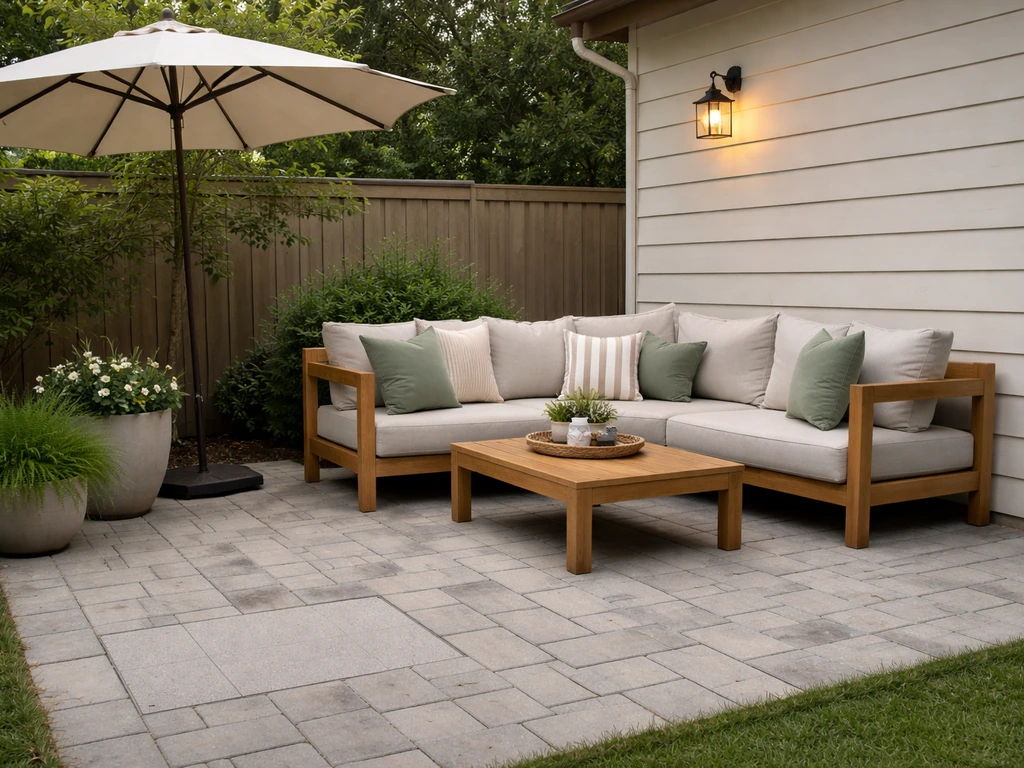
An outdoor rug anchors a furniture grouping visually, softens a hard surface underfoot, and makes a loose gravel area feel intentional. This isn't a ground cover on its own, but layered over gravel, pavers, concrete, or deck tiles, it's a fast way to elevate the feel of any outdoor surface. Outdoor patio alternatives like gravel, deck tiles, and decomposed granite can be a big upgrade without the cost of a full replacement outdoor surface. Look for polypropylene rugs rated for outdoor use, which resist fading and mildew. A good 8x10 outdoor rug runs $50–$200 at most retailers. Rinse it off periodically and let it dry before putting it back down to prevent mold under it.
Edging and containment
Landscape edging sounds boring but it's one of the most underrated upgrades for a cheap patio alternative. It gives a gravel or DG area a clean boundary, prevents material from migrating into your lawn, and makes the whole space look designed rather than dumped. If you want more variety beyond basic gravel, explore garden patio alternatives that focus on durability, comfort, and how the surface handles your climate. Steel edging gives a crisp, modern edge and lasts decades. Plastic edging is cheaper but less durable. Timber edging (landscape timbers or railroad ties) adds a rustic border and can double as low bench seating.
Privacy screens
A privacy screen turns an exposed patch of yard into an actual room. If you're looking for alternatives to patio blinds, consider adding privacy screens or curtains that work with your chosen patio setup. DIY screen installation along a 50-foot section takes about 1–3 hours and costs roughly $1–$5 per linear foot for basic mesh options or $3–$8 per linear foot for premium slat panels. Attach them to existing fence posts, freestanding posts, or a pergola frame. Combined with a shade sail and a gravel floor, screens can make a defined outdoor space feel genuinely private and finished for under $1,000 total.
How your climate should drive your material choice
The cheapest material in the store is not always the cheapest material over five years. Climate is the biggest factor that separates a great budget choice from a frustrating mistake.
Freeze/thaw climates (Midwest, Northeast, Mountain West)
Water expands when it freezes, which means any surface that traps moisture will eventually crack or heave. Concrete pavers handle freeze/thaw much better than poured concrete slabs because each paver can move slightly without cracking the whole surface. Gravel and DG actually excel here because water drains straight through and there's nothing to crack. If you're in a climate with hard winters, avoid large-format porcelain tiles or thin concrete overlays, both of which are prone to cracking after a few freeze cycles unless specifically rated for freeze/thaw use.
Hot, dry climates (Southwest, Texas, Southern California)
Heat is hard on rubber and artificial turf (surface temperatures can spike dramatically), and UV exposure degrades lower-quality plastics and composites quickly. In these climates, decomposed granite, concrete pavers, and natural stone are your best friends. DG stabilizer helps it hold together during monsoon-season rain events. Gravel stays cool-ish when shaded and doesn't degrade in heat.
Wet climates (Pacific Northwest, Southeast, Gulf Coast)
Drainage is everything. Any surface that holds water becomes a slip hazard and a mold problem. Gravel and open-jointed pavers are naturally permeable. If you go with wood deck tiles, choose composite or hardwood (like teak or ipe) rather than pressure-treated pine, which rots faster in consistently damp conditions. Weed barrier fabric under gravel or DG helps initially but plan to replace or refresh it every 3–4 years because organic matter accumulates on top over time, seeds root through, and the fabric becomes harder to manage the longer it sits. Pairing gravel with a stabilizing grid and good perimeter edging reduces long-term weed pressure considerably.
Slip resistance
Any surface near a pool, in a shaded wet area, or on a slope needs a slip-resistant finish. Smooth concrete and glazed ceramic tiles are the worst offenders when wet. Brushed concrete, textured pavers, rubber tiles, gravel, and DG all have naturally better grip. For a poured slab, a broom finish (dragging a stiff broom across wet concrete before it cures) is the standard low-cost way to add texture. If you're shopping pavers, look for a tumbled or brushed surface finish.
Weed control and long-term maintenance
Every permeable surface needs a weed management plan. Landscape fabric buys you time (2–4 years of solid suppression in most conditions) but it's not a permanent fix. For the longest-term weed control under gravel or stone, the most reliable approach is a thick base layer (4+ inches), solid perimeter edging to prevent soil migration in from the edges, and polymeric jointing sand between any pavers. Expect to top off gravel areas every 2–3 years as material settles or is displaced.
How to actually plan and execute your project
Here's how to move from 'I want a cheap patio alternative' to 'I have a usable outdoor space' without making the common expensive mistakes.
Step 1: Measure your space and define your boundary
Measure the area you want to cover in feet and calculate square footage (length x width). For irregular shapes, break them into rectangles and add up the totals. Add 10% to any material order to account for cuts, waste, and future repairs. Mark the boundary with spray paint or a garden hose so you can visualize scale before you buy anything.
Step 2: Check your grade and drainage
Water must flow away from your house. The general guideline is about 1 inch of slope per 8 feet of run, moving away from the foundation. If your yard is flat or slopes toward the house, you'll need to address this before putting down any surface material. Poor drainage is the number one reason cheap patio installs fail early.
Step 3: Decide on DIY vs. hiring based on scope
Gravel, DG, outdoor tiles, and basic stepping stones are genuinely beginner-friendly if you're willing to do some digging and hauling. Concrete pours, complex paver patterns, and any project requiring significant grading are worth at least getting a contractor quote. For pavers specifically, the base prep (excavation, compaction, gravel, sand bedding) is where most DIY mistakes happen and where professional skill pays off most.
Step 4: Shop smart and stage the project
- Get material prices from at least two suppliers (big-box stores and local landscape supply yards often differ significantly on bulk materials like gravel and DG).
- Order bulk materials (gravel, sand, DG) by the ton or yard from a landscape supplier if your project is over 150 sq ft; it's almost always cheaper than bags from a home improvement store.
- For pavers and tiles, buy from a single batch or production run to ensure consistent color matching.
- Stage delivery so heavy materials are dropped as close to the work area as possible; moving gravel by wheelbarrow across a yard adds hours to a project.
- For a large area, break the project into sections and complete them fully before moving on rather than doing a partial rough-in across the whole space.
Common mistakes that cost money
- Skipping base prep to save time: pavers and tiles on unprepared ground shift, sink, and crack within a season or two.
- Underestimating weed pressure: installing gravel or DG without edging or weed barrier leads to constant maintenance battles.
- Choosing the wrong material for the climate: smooth tiles in a wet climate, or thin concrete overlays in a freeze/thaw zone, fail faster than they should.
- Not accounting for drainage: any flat surface near the house that doesn't slope away will eventually cause water problems.
- Buying materials by the bag for a large area: bulk landscape supply pricing is dramatically cheaper than bagged material at a home improvement store for any project over about 100 sq ft.
- Ignoring edging: without solid perimeter containment, gravel migrates into lawn, pavers shift at the edges, and the whole installation looks sloppy within a year.
The best cheap patio alternative is the one that matches your actual conditions: your climate, your skill level, your use case, and how permanent you need it to be. Start with your budget and square footage, rule out anything that doesn't fit your climate, then pick the easiest option that meets your use requirements. Gravel and interlocking tiles are the fastest path to a functional space.
Pavers and concrete are the better long-term investments if you can handle the upfront work. And if you just need your existing space to feel more like a patio, shade and an outdoor rug will do more than you'd expect. A simple way to improve comfort is to add patio shade alternatives like shade sails, canopies, or a pergola.
FAQ
What’s the biggest reason cheap patio alternatives fail after a year or two?
A surface can be cheap, but the base cost can erase the savings if you skip prep. If your goal is gravel or decomposed granite, plan on edging and a 4+ inch base where traffic is regular, and accept that you will occasionally top off material every couple of years. If you want something that you can park furniture on without sinking, interlocking deck tiles over an existing hard surface or pavers over a properly compacted base are usually the safer bets than loose gravel alone.
How much extra material should I buy for cheap patio alternatives?
Measure for square footage, then add at least 10% for cuts, uneven edges, and mistakes. For gravel or DG, also add extra for settling during compaction, especially if you’re placing 3+ inches. When ordering deck tiles, buy one extra box if your patio shape isn’t a simple rectangle, because trimming and pattern matching can leave you short.
Can I install cheap patio alternatives directly over an existing concrete slab or deck?
Yes, but only for the right situation. Interlocking deck tiles can work on an existing concrete slab or firm paved surface if it’s reasonably level, because they need support to avoid rocking. If you’re trying to cover cracked or heaving concrete, deck tiles will hide the surface but may still move, so you may need leveling compound or grinding first. Loose systems like gravel or DG are generally easier over imperfect ground, as long as you build proper edging and drainage.
Which cheap patio alternatives hold up best in cold winters?
Freeze-thaw climates usually do better with permeable surfaces (gravel, decomposed granite) or individually movable units (pavers). Avoid large-format tile overlays or any thin surface layer that can’t flex if water freezes under it. Also prioritize perimeter edging that stays solid and prevents water from migrating under the material, because that’s where heaving starts.
I want something that won’t shift under patio furniture, what should I choose?
If you need a patio that stays flat, choose solutions that resist lateral movement. Pavers on the right base, deck tiles over a stable hard surface, or gravel contained in stabilizing grids tend to perform better. Pure loose gravel often shifts under chair legs, grills on carts, or foot traffic, even when it’s “fine” at first.
How do I prevent weeds under gravel or decomposed granite long-term?
It depends on what “weeds” means in your space. Landscape fabric helps initially, typically a few seasons, but it can clog with organic matter and become harder to manage over time. The longer-term approach is a thicker base layer, sealed perimeter edging to stop soil creep, and proper joint filling for pavers (like polymeric sand) so cracks don’t become weed highways.
Are rubber tiles or artificial turf good cheap patio alternatives in hot or wet climates?
Not always. Rubber and turf can be comfortable, but both can get very hot in full sun and turf can degrade over time. If you’re placing near a pool or in wet shade, use outdoor-rated materials and ensure drainage or you can end up with slick footing. In southern heat, DG, pavers, or shaded gravel often give a better balance of comfort and longevity than turf.
What’s the best way to make a cheap patio alternative safe near a pool or in the rain?
For patios near a pool or any area that gets wet, slip resistance matters more than appearance. Textured pavers, DG, gravel, brushed concrete, and rubber tiles generally grip better than smooth or glossy surfaces. If you’re using any flat flooring, avoid slick finishes and consider adding a broom finish on concrete pours or choosing a tumbled or brushed paver surface.
How do I make sure my cheap patio alternative won’t create drainage or tripping problems?
Start with drainage, then accessibility. If water runs toward the house or the area is flat, even the cheapest surface can become a moldy, slippery mess. Create a slope away from the foundation, check that the patio area isn’t trapping water, and make sure pathways are wide enough for moving chairs or a grill safely without stepping through uneven gravel.
Which cheap patio alternatives are realistic DIY projects for a first-timer?
If you’re planning to DIY, start with projects that require minimal grading and rely on existing hard surfaces. Interlocking deck tiles over solid concrete or a firm paved area, outdoor rugs layered over gravel, stepping-stone layouts, and edging plus gravel are good beginner wins. Paver patios are DIY-able, but most of the expensive mistakes come from inadequate excavation, poor compaction, and missing base thickness.
Can I phase my patio project, starting with a cheaper option first?
Yes, and it can be the smartest strategy when budgets are tight. Add shade first (shade sail, canopy, or small pergola kit) to make the space usable, then upgrade the surface later once you’ve saved for base work. You can also use an outdoor rug over gravel or deck tiles to “finish” the look while you decide whether you want a more permanent surface like pavers.
When should I hire a pro for cheap patio alternatives instead of DIY?
If it’s within your budget, get a quote specifically for excavation, base prep, and compaction, not just materials. If those steps look complex (grading, slope management, removing stubborn soil, or major drainage corrections), that’s where professionals save you money by preventing early settlement. For small, simple repairs or overlays on stable existing surfaces, DIY often makes more sense.
Next Articles

Do It Yourself Outdoor Patio Ideas: Build, Upgrade, Maintain
DIY outdoor patio ideas for planning, building, upgrading, and maintaining floors, shade, privacy, lighting, and decor.
Quick Fix Patio Ideas for Instant Comfort and Style
Quick fix patio ideas for fast comfort and style: cleanups, repairs, shade, flooring tweaks, and safe upgrades on any bu
Cheap Do It Yourself Patio Ideas: Budget Build Guide
Budget DIY patio ideas with step-by-step flooring, prep tips, cost ranges, upgrades, and safety mistakes to avoid.